There are lots of occasions when it’s possible you’ll need to replicate the content material of the disk. For instance, when you have a digital machine and you’ve got some information to the VM A disk and also you need the identical information to be out there to VM B. So on this case, a snapshot comes within the image. You possibly can take the snapshot of the information disk and create a brand new disk of that snapshot. Later you may connect that disk to the digital machine. Snapshots additionally can be utilized to take a backup of an OS or an information disk. Please be aware that it is a separate useful resource and you can be charged for this accordingly.
So to display this, I’m going to make use of two digital machines that are having a Home windows server as an underlying OS and so they’re in the identical location. Allow us to see how can we implement this idea utilizing these two machines.
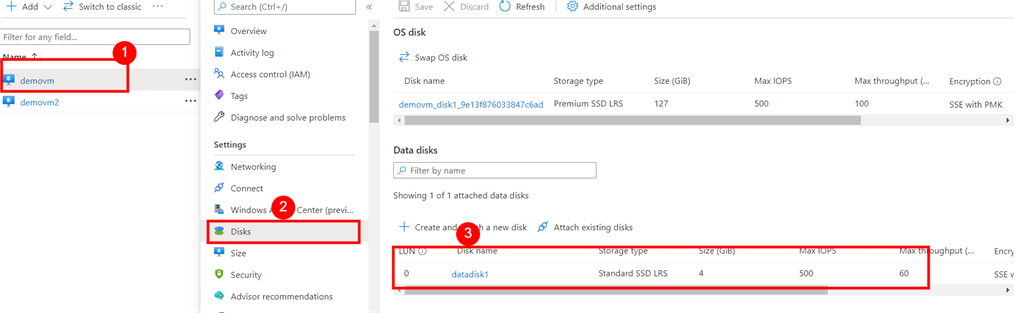
So I’m going to demovm and click on on the disk after which create and fix the disk. if you do not know how you can create and fix a disk then you may be taught from these articles.
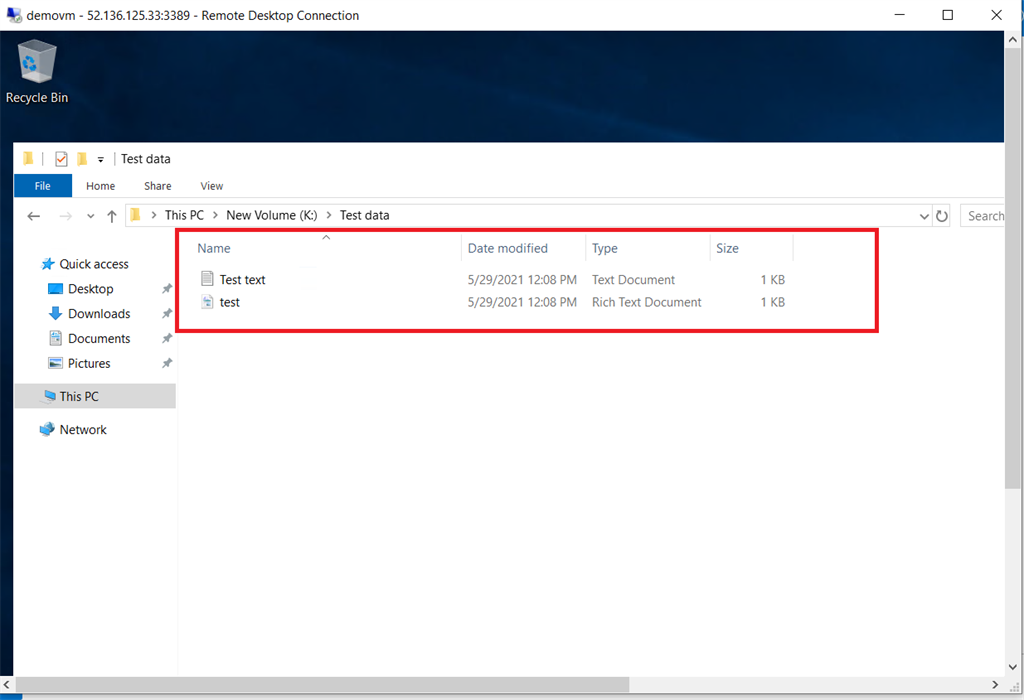
Earlier than creating the snapshot, I’ve related it to my demovm and I’ve added some information on the disk.
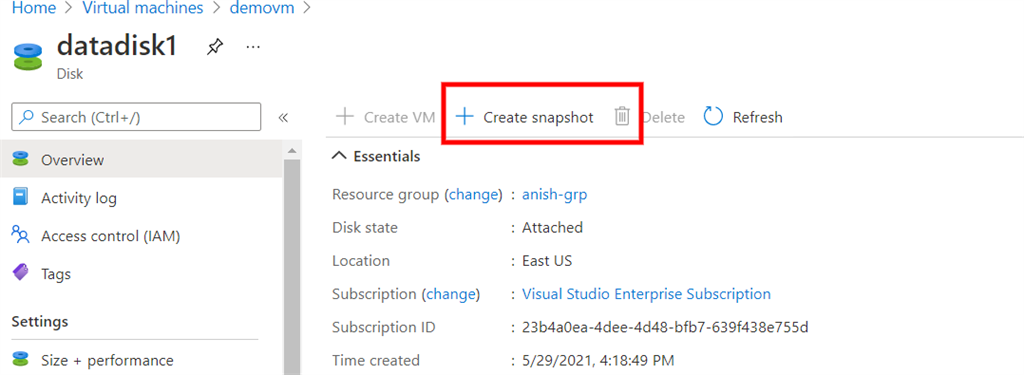
So go to the disk and click on on the disk then you can be redirected to the overview web page.
Click on on create snapshot after which fill within the particulars and click on on evaluate and create. Give it a while for deployment.
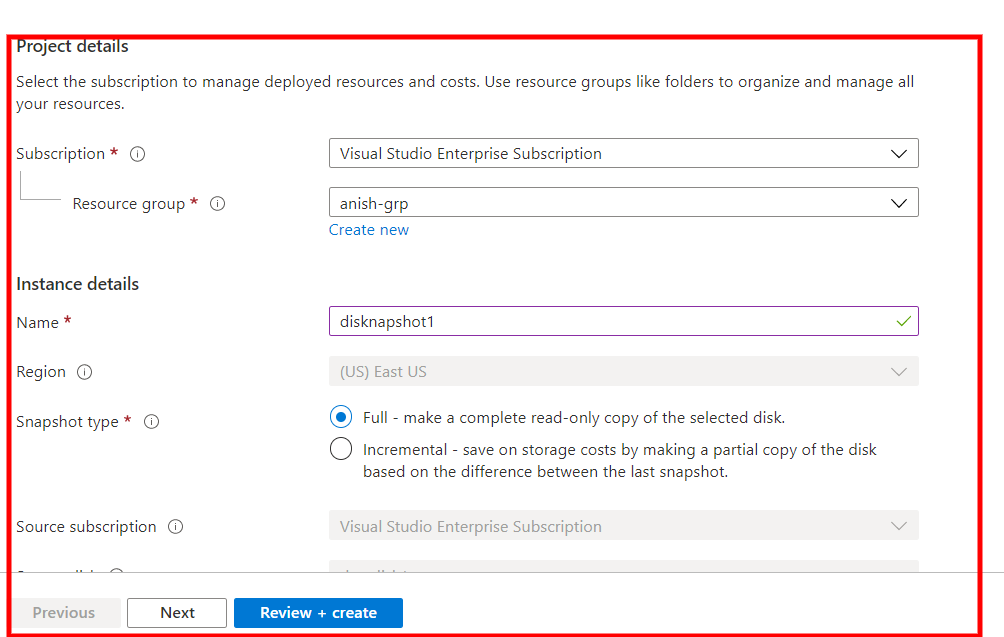
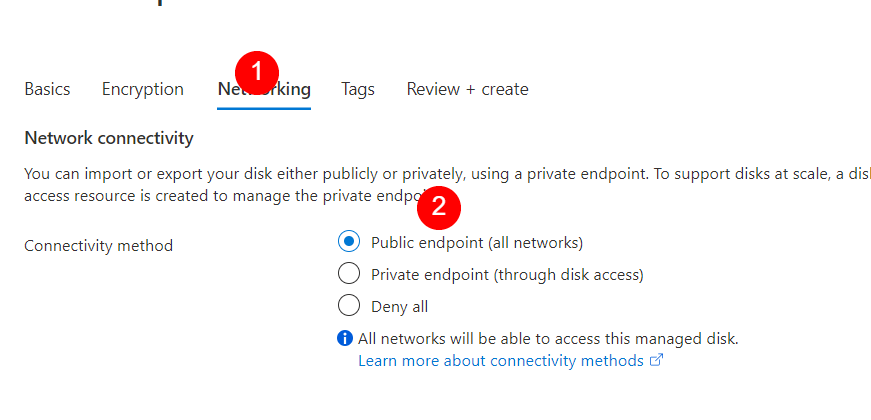
Enter the small print and for different tabs depart all the pieces as it’s. However go to Community and select public endpoint (all community).
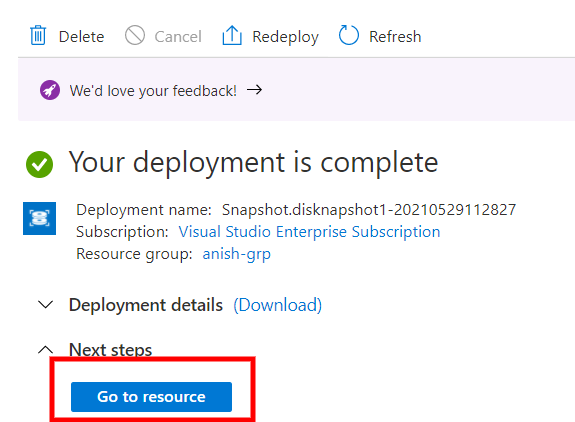
As soon as the deployment is full, go-to useful resource. Once more bear in mind this can be a separate useful resource and you can be charged for this accordingly.
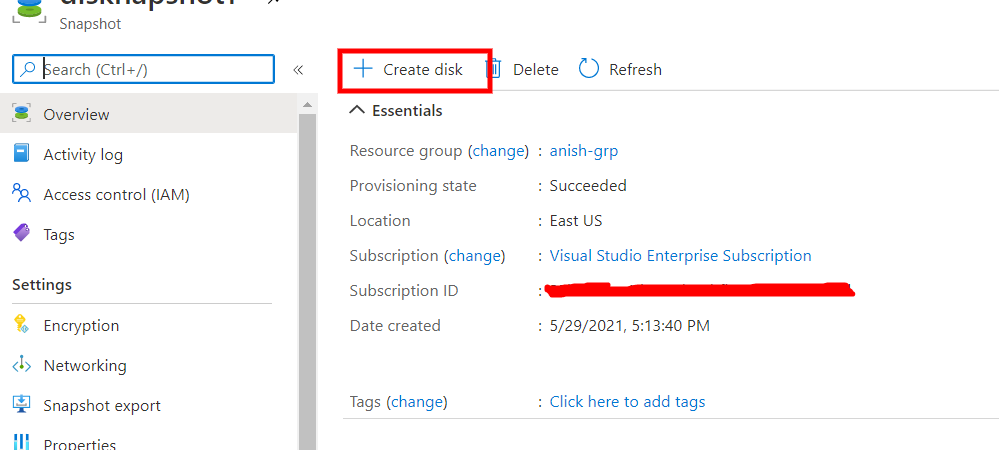
When the deployment is full you must go to the useful resource itself and click on on create disk as a result of bear in mind we’re creating disk from the snapshot and this disk could have all the information of the disk from demovm. So click on on Create Disk and fill in all the small print and provides it a while for deployment. As soon as the deployment is full, the disk can be prepared to connect to the demovm2.
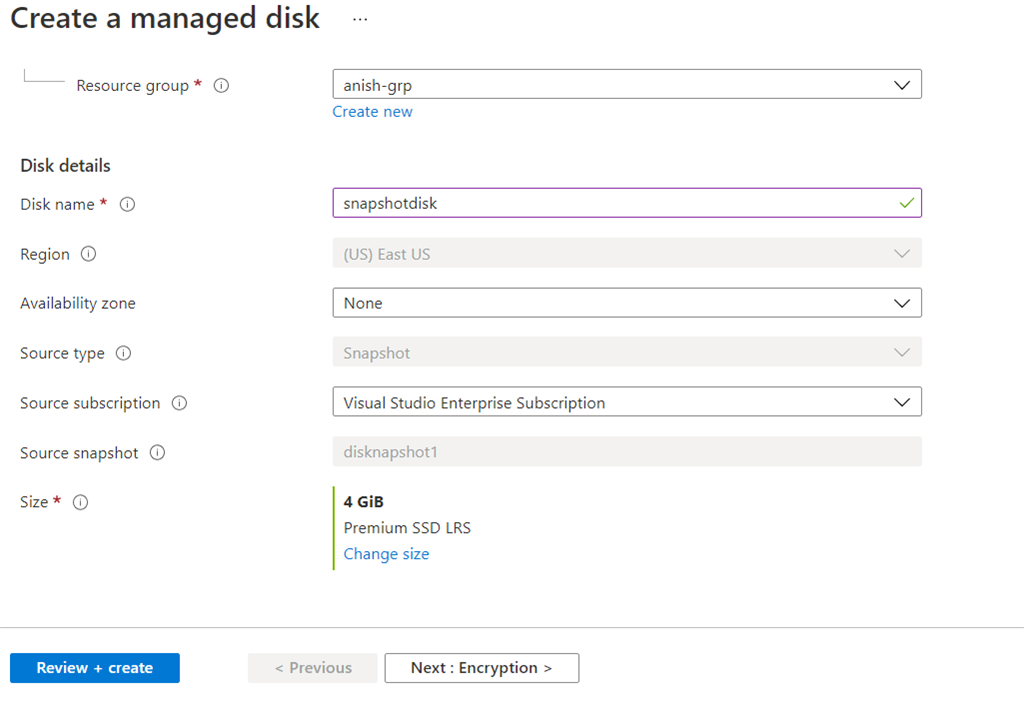
Now fill in all the small print and depart all the pieces as it’s. After filling in all the small print click on on Overview and Create.
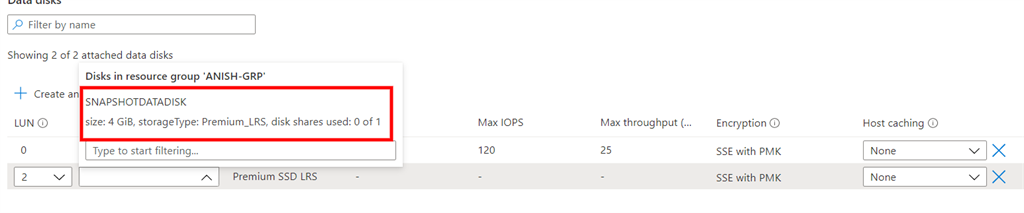
Now we’re executed with making a snapshot and making a disk of that snapshot. Now allow us to go and fix this to our second digital machine. So I’m going to demov2 and click on on disk. Then click on on connect the present disk. Now you will notice the record of the disk. If do not see the disks then please refresh the web page and you will notice the newly created disk. which is used for the snapshot.
Now, I’ll go to demovm2 after which connect with this machine. Now you will notice the server supervisor dashboard click on on file and repair. Then click on on the disk. You will note the disk connected there.

Now if you’ll open the drive from explorer then you will notice the content material of the disk from demovm.
So on this article, we created a disk-based on the snapshot after which connect it onto one other Azure digital machine. Feedbacks are appreciated and be happy to ask when you have any confusion. Thanks for studying and keep secure.


