Azure permits us to make use of share a disk for a couple of digital machine. When you have two digital machines and also you need to use one single information disk for storage on each of the digital machines then it’s attainable to try this. Azure shared disk permits a managed disk to be connected to a number of digital machines.
Please word that by default, one disk can solely be connected at a time to at least one digital machine however you probably have a clustered workload then each of the digital machines can share a single disk.
For instance, in case your VM has a SQL Server workload and if it has been clustered then each of those digital machines can use a single shared disk.
One other factor to notice right here is that on the subject of shared disks, it will probably solely be enabled for premium and extremely disks which means you can not use the usual disk as a shared disk.
The way it works
Bear in mind if now we have a workload that’s clustered then all of the digital machines in that cluster can learn or write to their connected disk. Cluster software is used to order the disk for digital machines so based mostly on the reservation chosen by the clustered software every digital machine will get the prospect to learn and write or use the connected disk.
Advantages
- Save value because you solely pay for one disk utilization
- Good efficiency
- Higher IOPS due to premium and extremely disk
Pricing
it’s based mostly on the disk you employ like when you select premium or extremely then it depends upon that. Please consult with this hyperlink to study extra about pricing.
The best way to create and use Azure shared disk
We have to first create the disk in order that we are able to connect it to our digital machine whereas creating it.
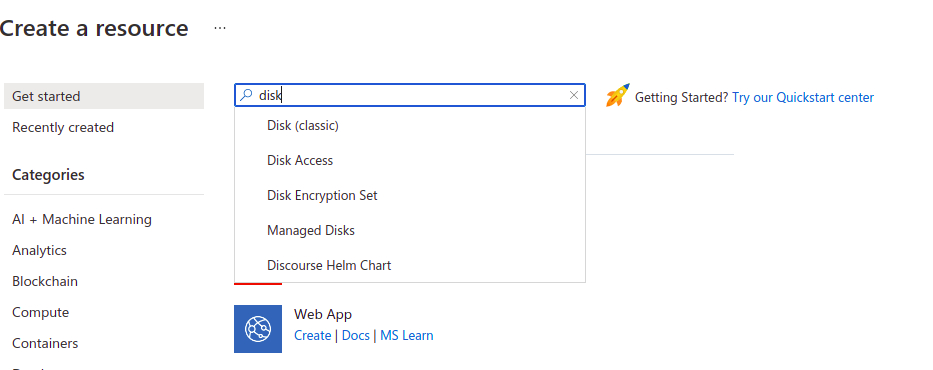
Go to Azure Portal and click on on create a useful resource and seek for the disk.
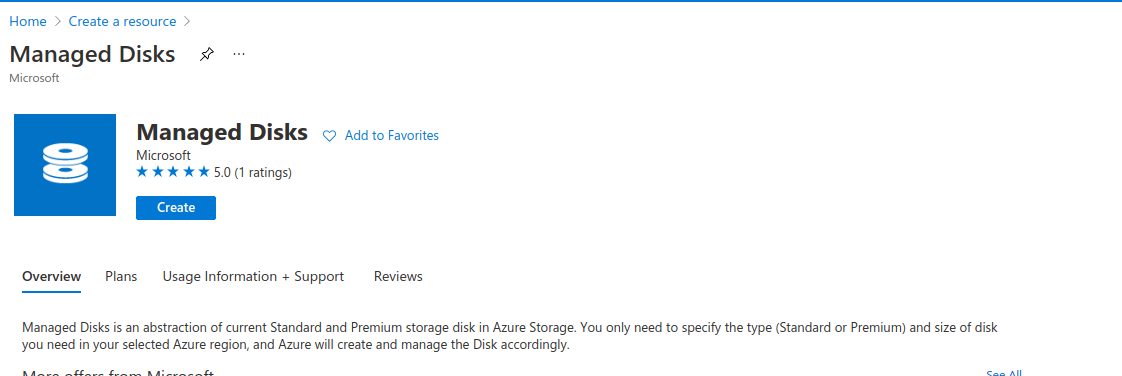
Choose managed disk and click on on create. Fill in all the main points like subscription, useful resource group, location, disk identify, and measurement.
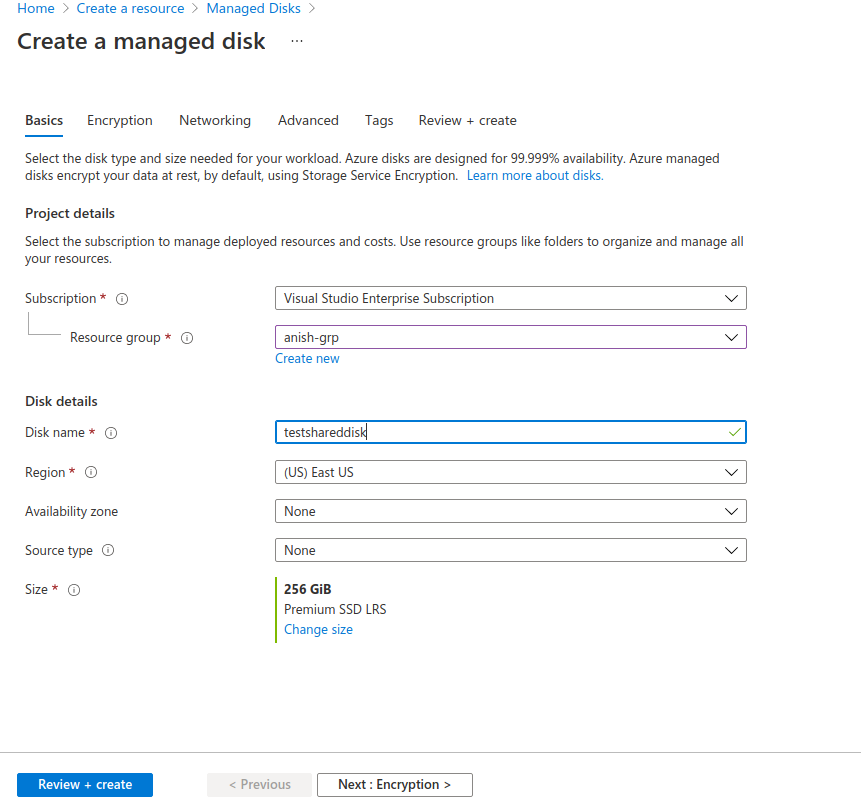
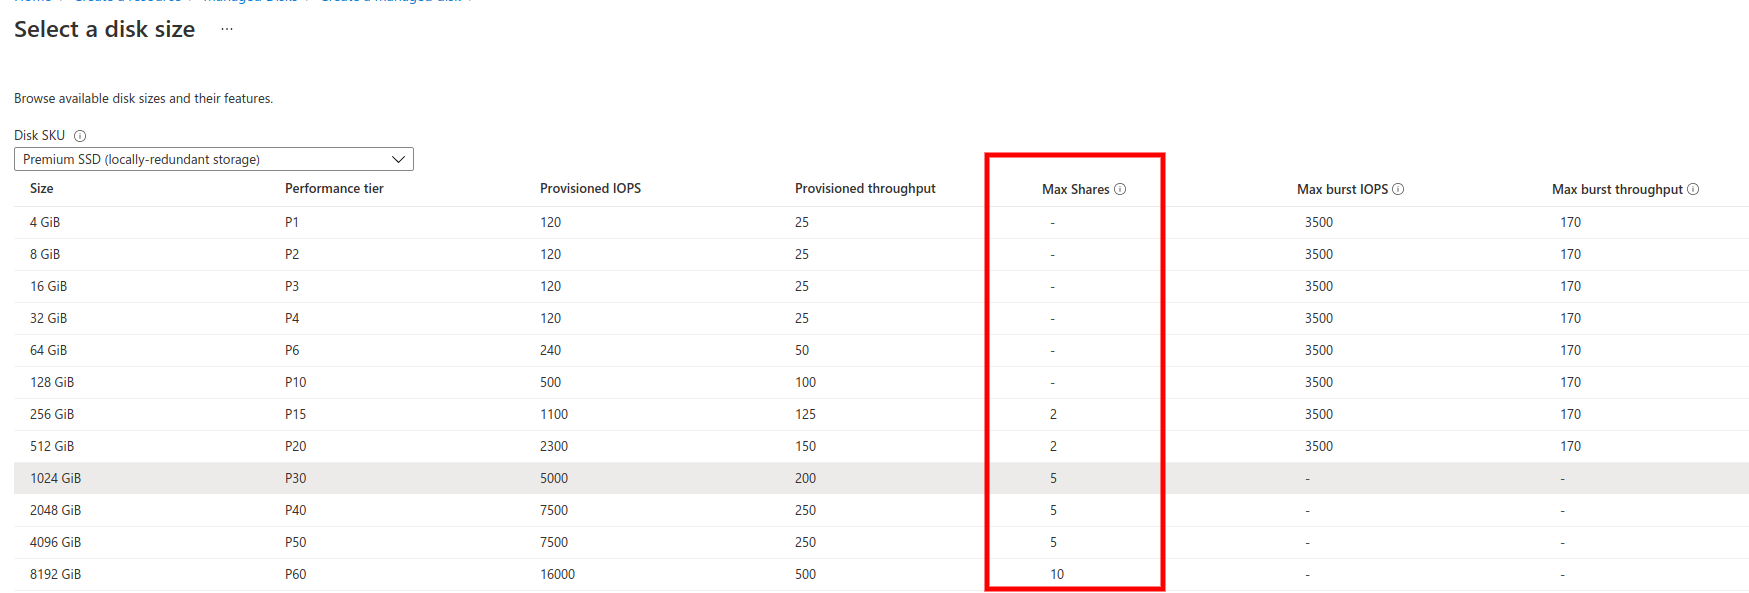
Relating to measurement click on on change measurement and select the disk measurement which has most shares. Please be certain to decide on a disk measurement that helps the usage of most shares. I’m going for 256 GiB which has two max shares and could be shared by two digital machines.
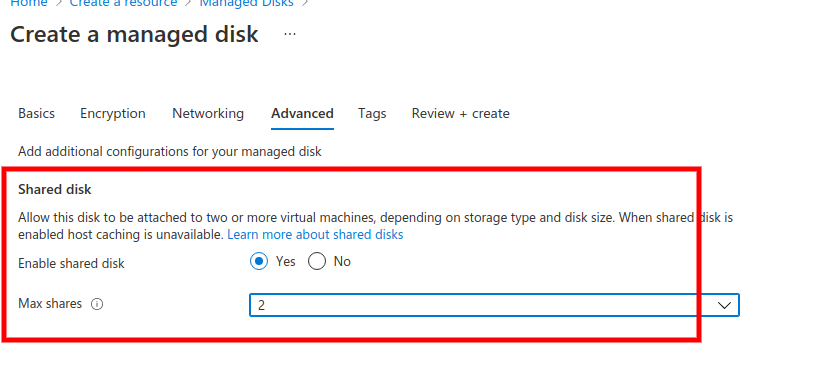
You’ll be able to depart all the things default and go to the Superior tab and allow shared disk and within the most shares, I’ll select two. Now click on on assessment and create and provides it a while for deployment. As soon as the deployment is full and the disk is prepared, now we are able to connect the disk to the digital machine.
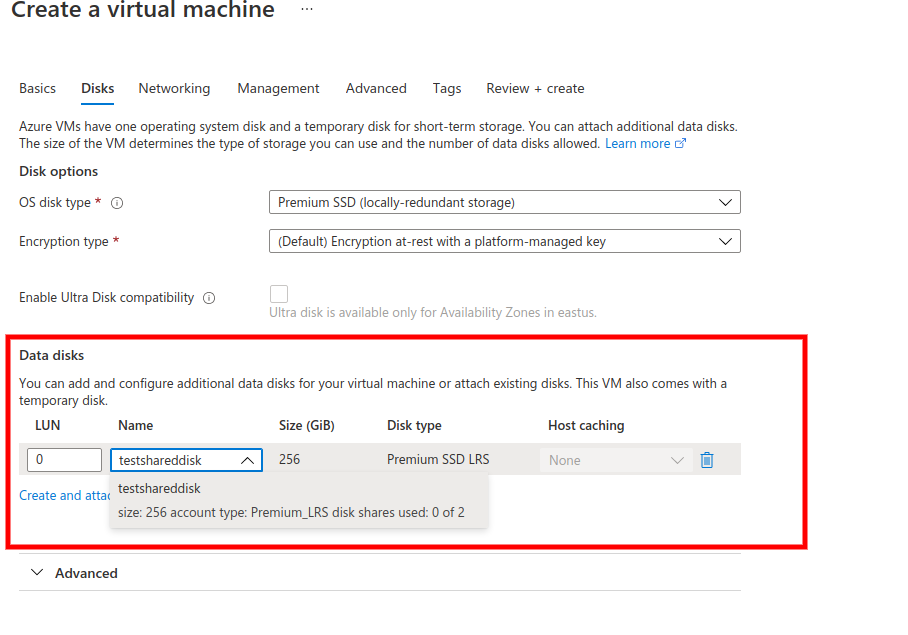
Now while you’re making a digital machine you may go to the Disk tab and beneath Information Disk you may click on on connect an current disk and it is going to be connected to your digital machine. Now all it’s essential go to each of your digital machines and initialize the disk to make use of the disk.
You’ll be able to consult with this text the place I’ve defined find out how to create and add an information disk to an Azure digital machine and the remainder of the method is defined on this article.
Now, on this article I defined find out how to create and fasten a shared disk however if you’d like information on the disk to be shared throughout digital machines through shared disk then it’s essential use the clustered software as I’ve defined in the beginning of this text. You should use the service out there on Home windows Server for a file cluster as a result of the cluster software will make sure that the information can be found on each machines. It’s liable for making certain that the information will get shared throughout the machines.
So on this article, we realized find out how to create and fasten shared disks on Azure for digital machines and what are the benefits and pricing.


