
Azure Service Bus is a totally managed enterprise message dealer with message queues and publish-subscribe subjects.
This text will clarify about creating Azure Service Bus and a Queue in Azure Portal.
Pre-requisite
An lively Microsoft Azure On-line Subscription.
Comply with the beneath steps for creating the Azure Service Bus and a Queue.
Step 1
Click on right here to navigate to Azure Portal.
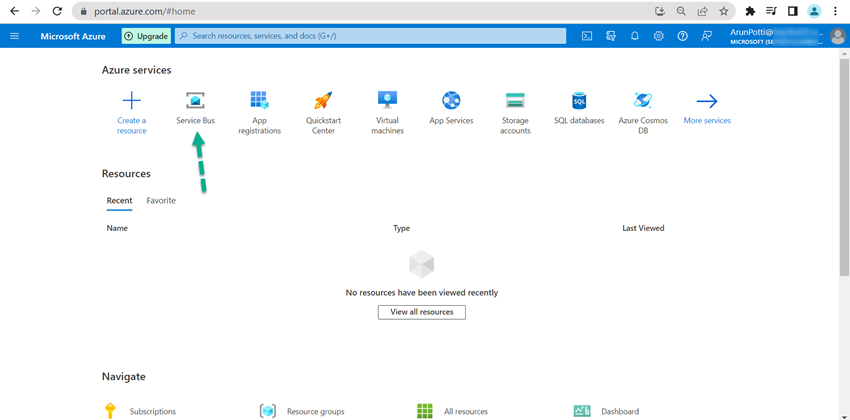
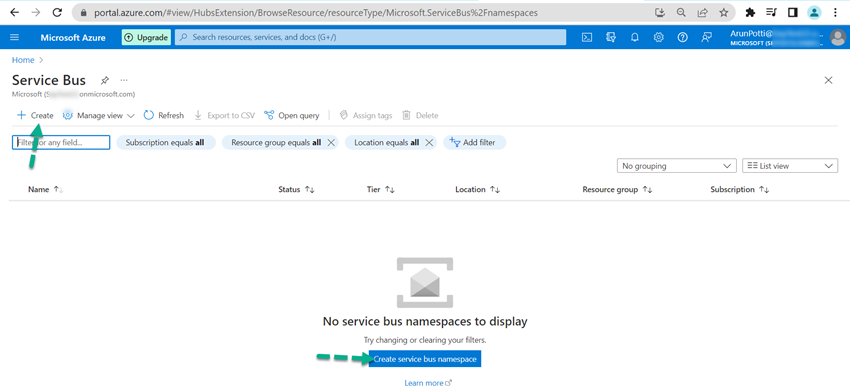
Step 2
Click on on Create or Create service bus namespace.
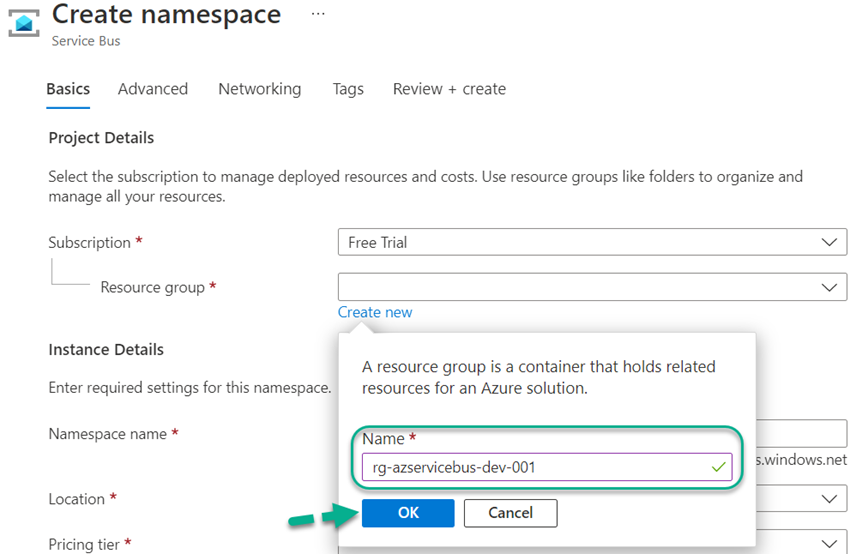
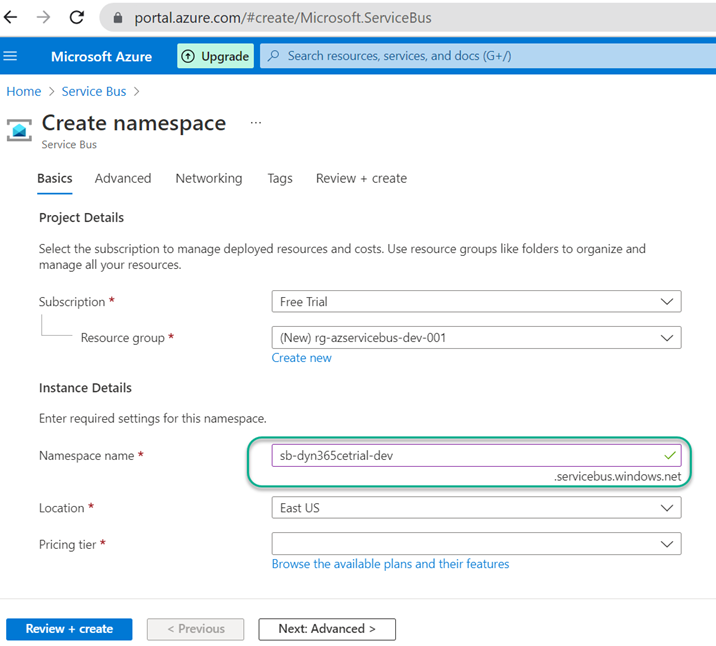
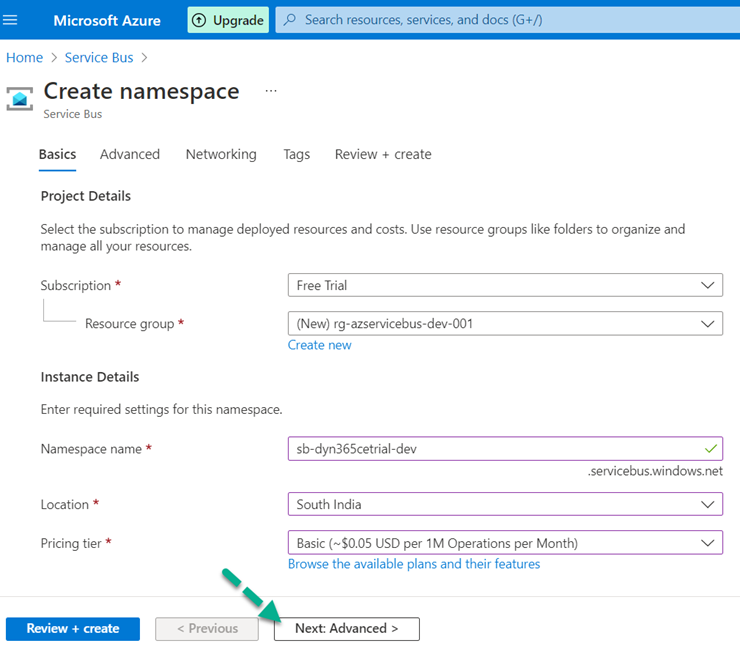
Step 3
Select the Useful resource group (when you’ve got any)
Or
Click on on Create new to create a brand new useful resource group.
Word: For this text, am going to create a brand new useful resource group.
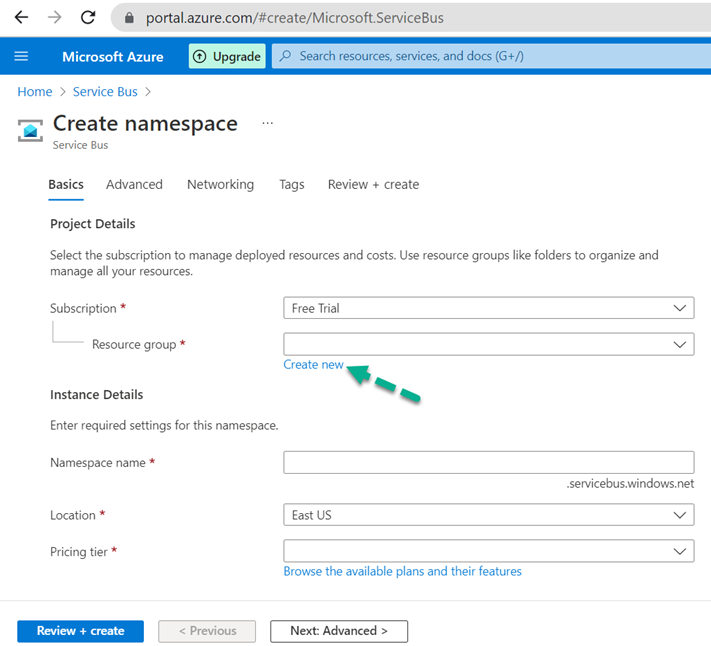
Step 4
Present the Useful resource Identify and Click on on OK.
Step 5
Present some distinctive Namespace identify for the Service Bus.
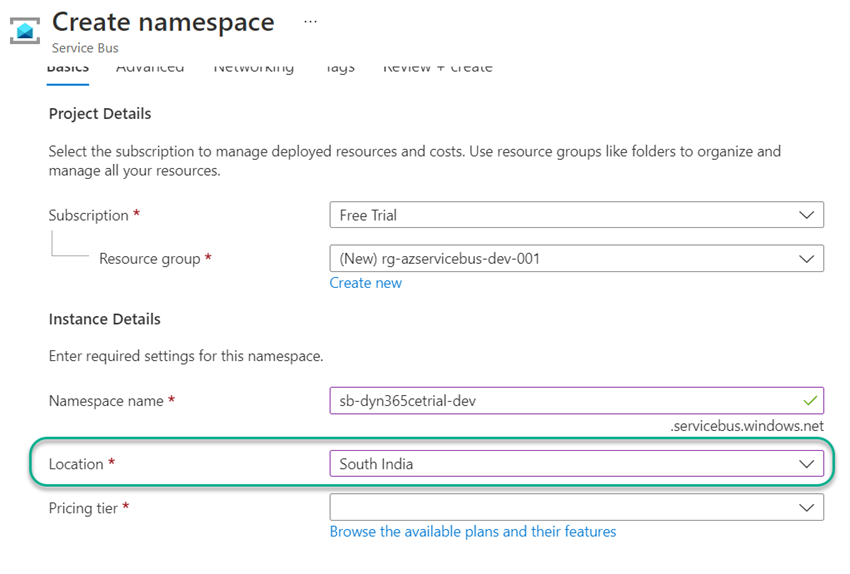
Step 6
Select the closest Location.
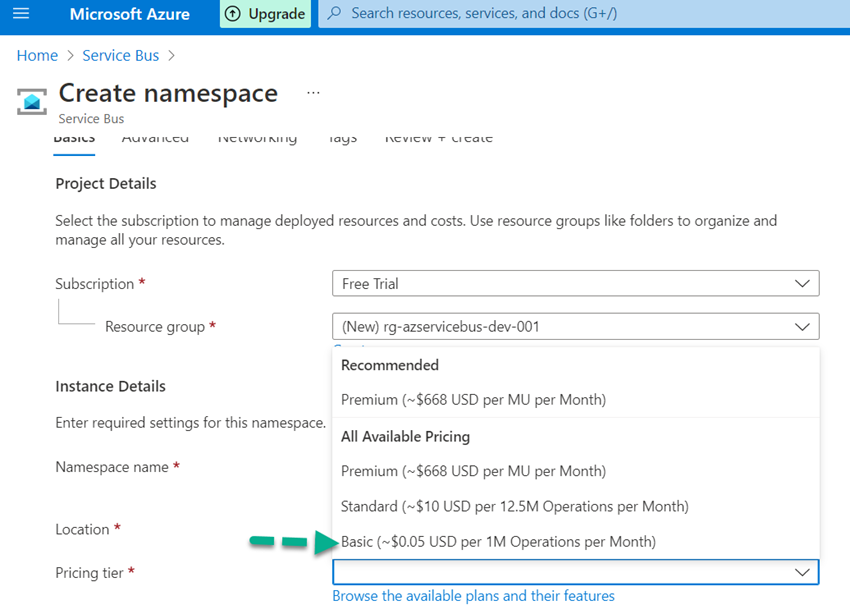
Step 7
Select the required Pricing tier.
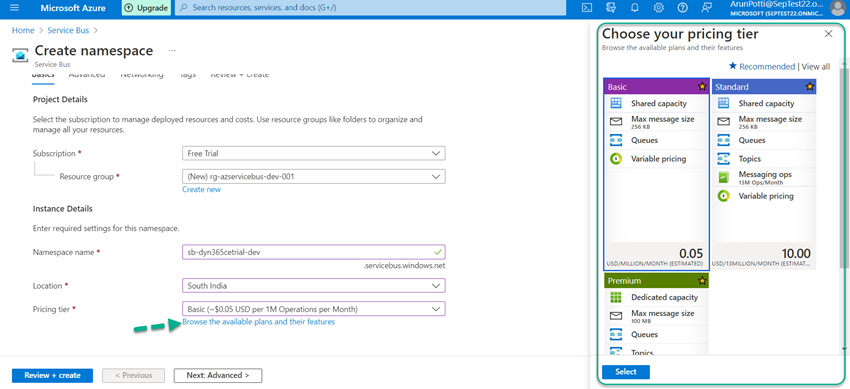
Word: Click on on the Browse the out there plans and their options to see the options of the Pricing tier.
Step 8
Click on on Subsequent: Superior >
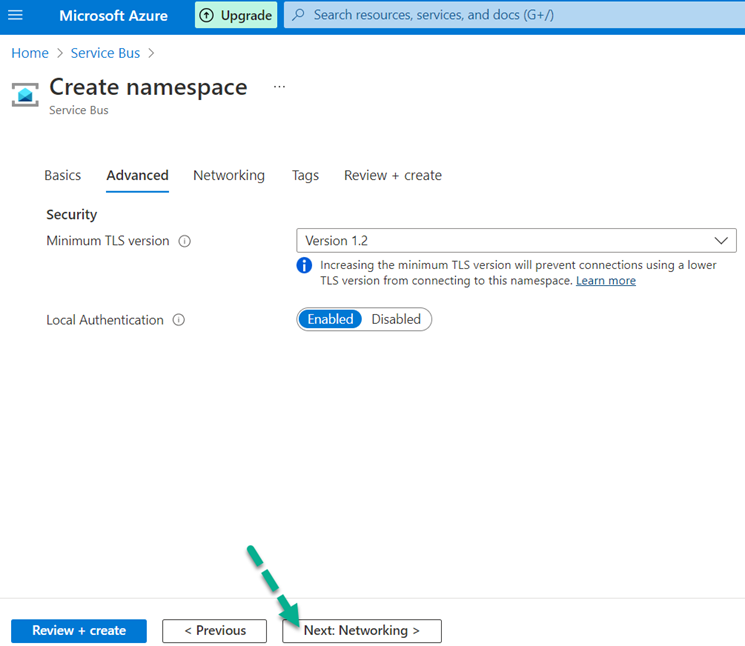
Step 9
Click on on Subsequent: Networking >
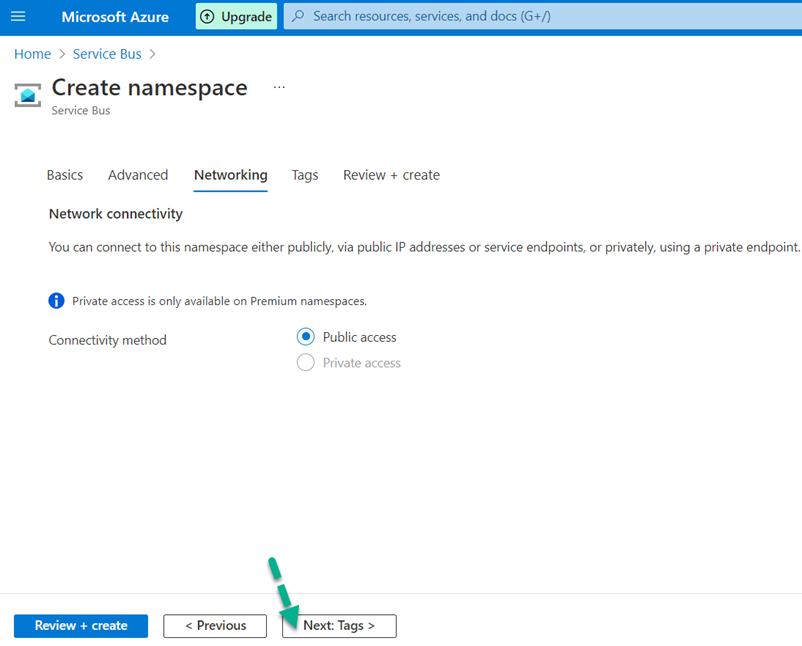
Step 10
Click on on Subsequent: Tags >
Step 11
Present Tags and Click on on Subsequent: Evaluation + Create >
For this text, I had supplied the beneath Pattern Tags.

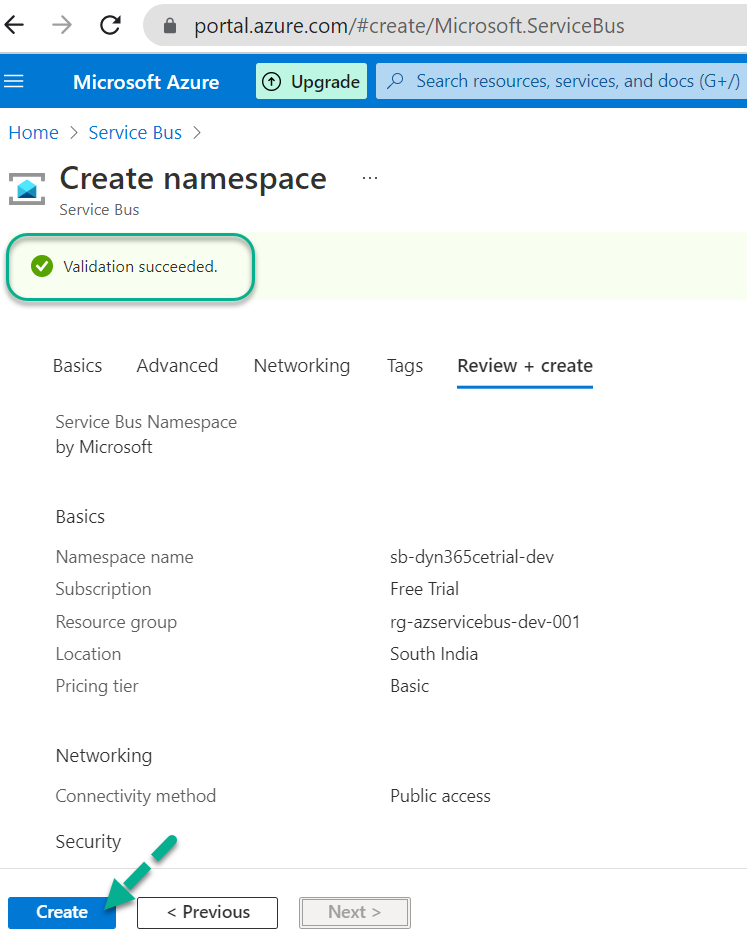
Step 12
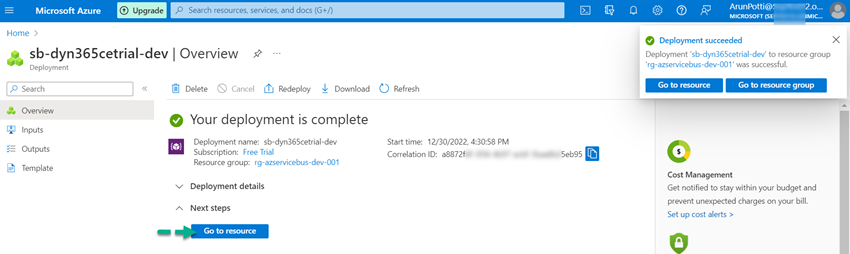
As soon as the Validation succeeded, Click on on Create.
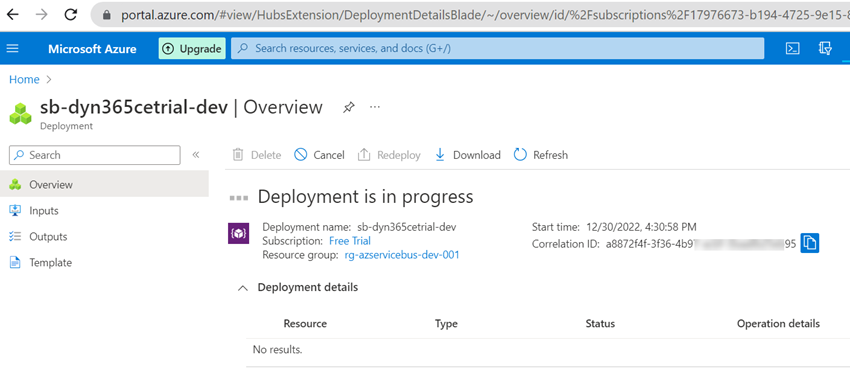
Service Bus Deployment is in progress.
Step 13
As soon as the Deployment is accomplished, Click on on Go to useful resource.
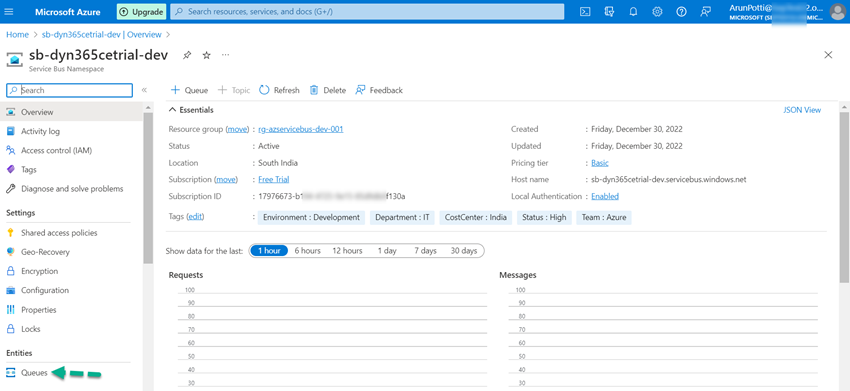
Step 14
Service Bus has been efficiently created now and can create a Queue underneath this Service Bus.
Click on on Queues.
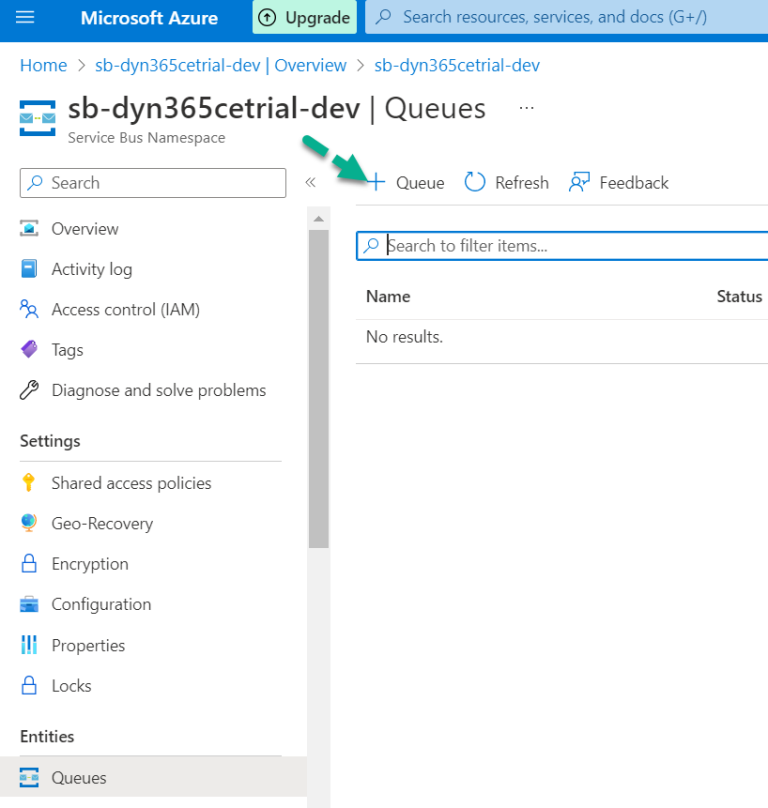
Step 15
Click on on Queue.
Step 16
Present Identify and Click on on Create.

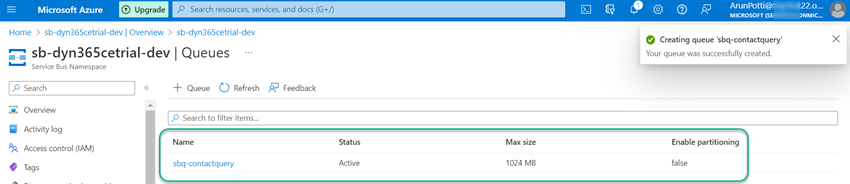
Service Bus Queue has been created efficiently.
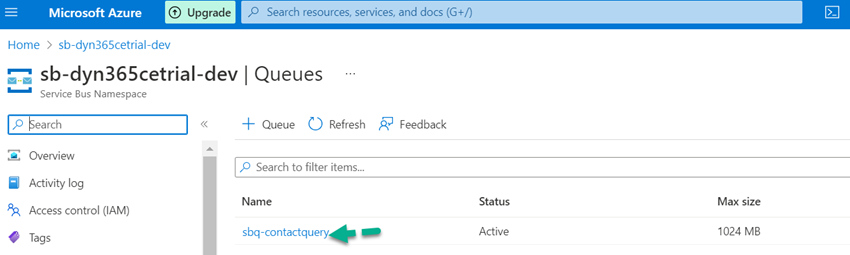
Step 17
Click on on the Queue sbq-contactquery.
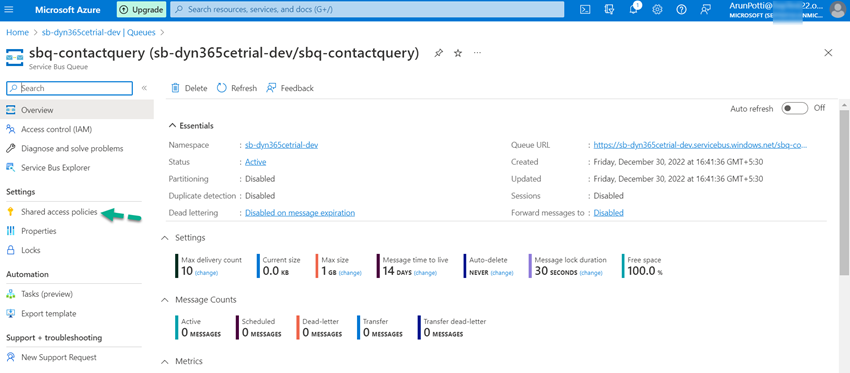
Step 18
Click on on Shared entry insurance policies.
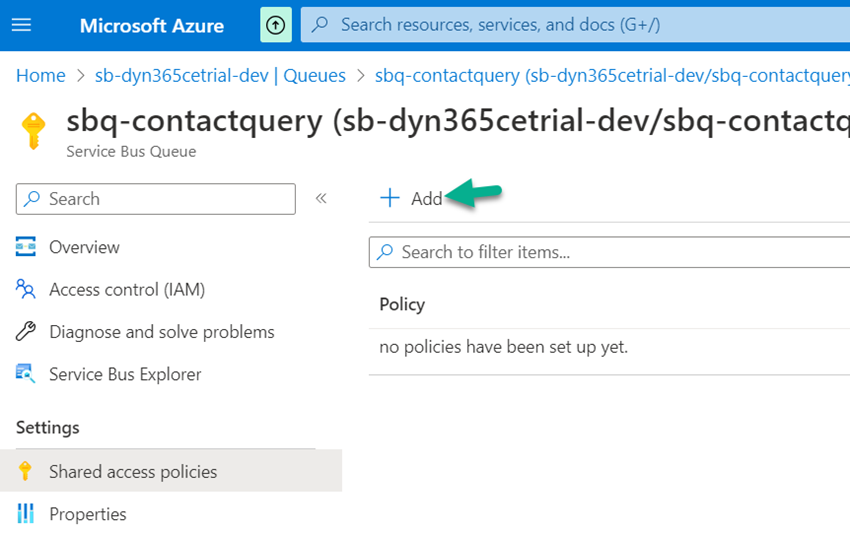
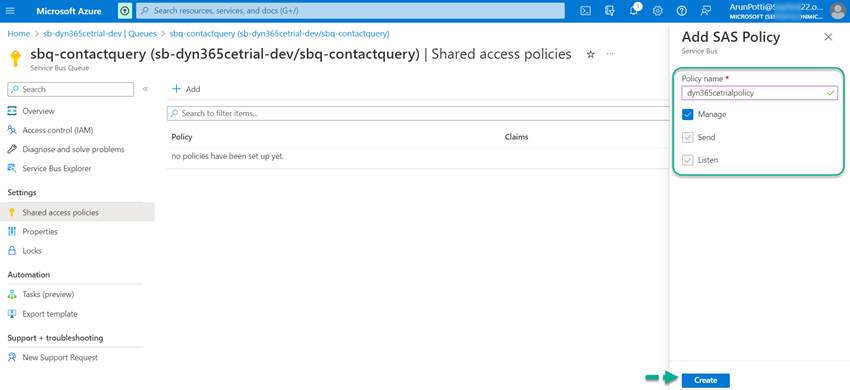
Step 19
Click on on Add.
Step 20
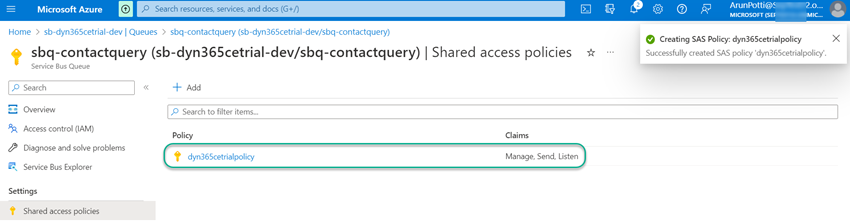
Present the Coverage identify, Choose Handle and Click on on Create.
SAS Coverage has been created efficiently.
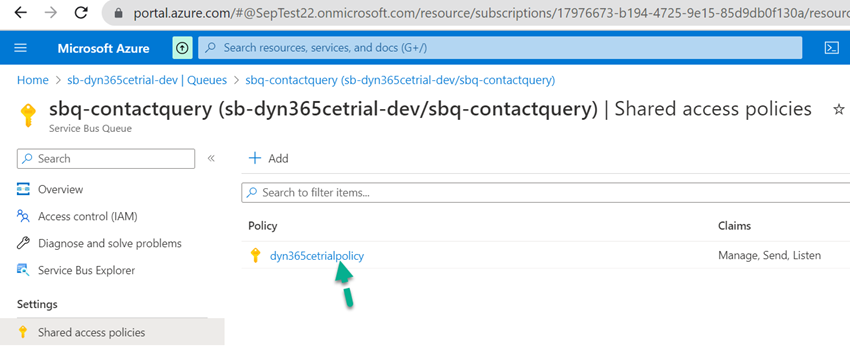
Step 21
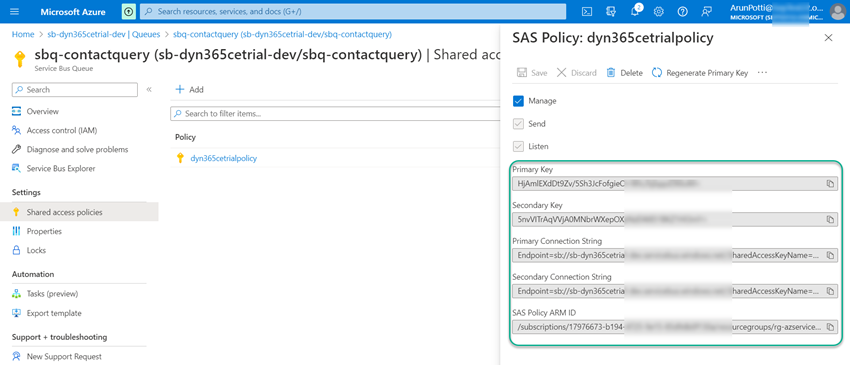
Click on on the Coverage.
You possibly can see the Major Key, Secondary Key, Major Connection String, Secondary Connection String and SAS Coverage ARM ID.
Hope you have got efficiently created Azure Service Bus and the Queue within the Microsoft Azure Portal.
Like and share your useful suggestions on this text.


