This article will clarify the best way to create Azure Storage Account and discover numerous choices offered by it like Blob storage, File share, and so forth. We are going to see it step-by-step.
Please seek advice from my earlier article Creating Azure Useful resource Group And Utilizing Tags.
Earlier than we begin, let’s perceive the target of this demonstration which tells what precisely can be lined on this article.
- Create a Storage Account.
Conditions
- Conceptual understanding of Storage Accounts and their numerous choices like containers, file share, and so forth.
- You will need to have Azure Portal Entry.
So, let’s get began.
Storage Account
An Azure storage account incorporates all your Azure Storage information objects, together with blobs, file shares, queues, tables, and disks. The storage account supplies a novel namespace to your Azure Storage information that is accessible from anyplace on this planet over HTTP or HTTPS. Information in your storage account is sturdy and extremely out there, safe, and massively scalable.
Step 1
Open the Azure administration portal and log in to https://portal.azure.com
Step 2
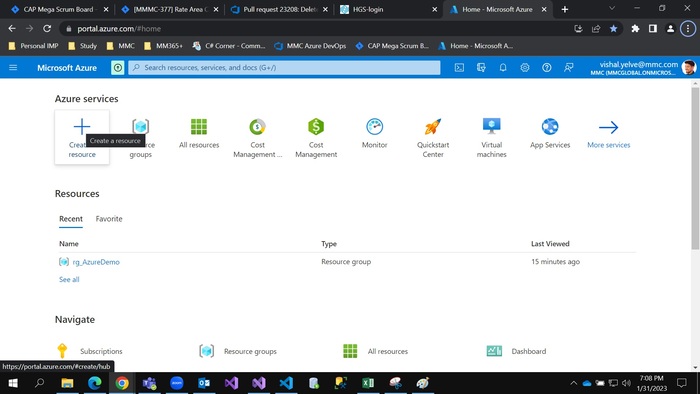
Click on on “Create a Useful resource“
Step 3
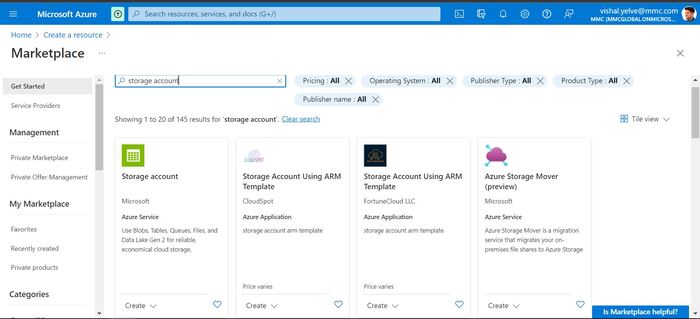
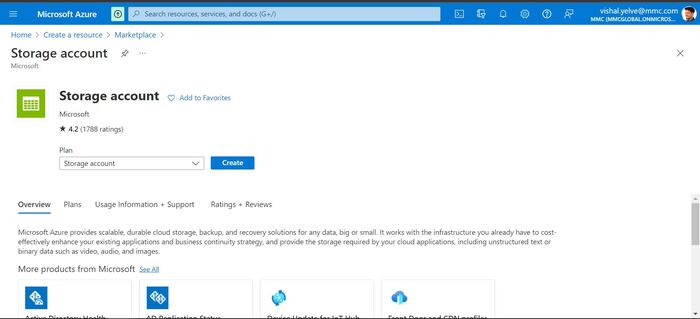
Search and Choose “Storage Account“. Then, Click on on “Create“

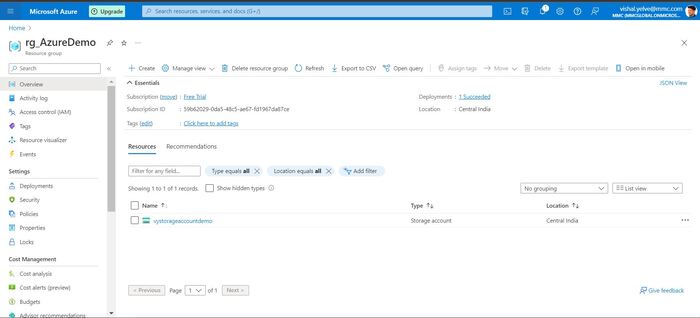
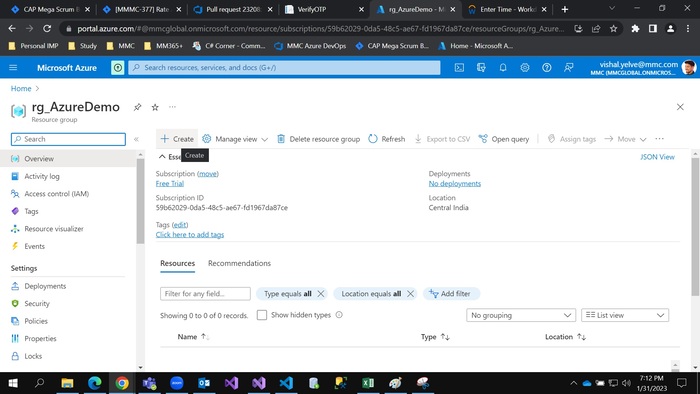
Additionally, we are able to create a “Storage Account” from “Useful resource Group”. Open “Useful resource Group” Then, Click on on “Create“
Step 4
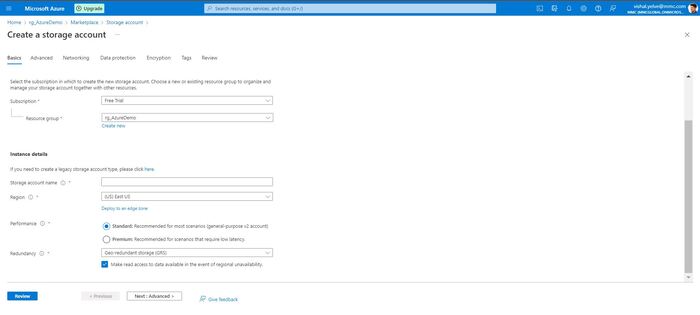
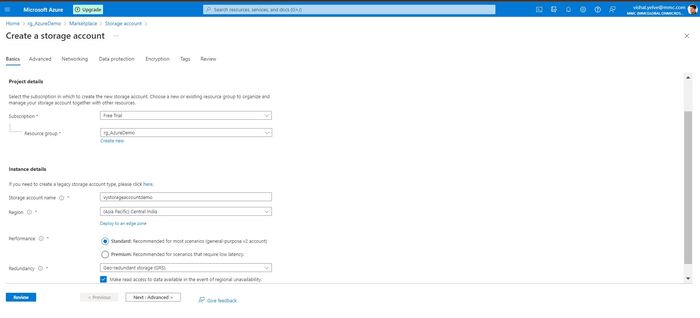
After clicking create possibility, fill within the required particulars within the Fundamentals tab
- Subscription
Select an acceptable subscription.
- Useful resource group
Useful resource group is a container that holds associated sources for an Azure resolution. You may hold the useful resource group as it’s or you may also create one by clicking “Create New”.
- Storage Account Title
Point out a reputation to your storage account. Keep in mind, You’ll probably must sort this title to entry the storage account, so make it one thing cheap.
- Location
Select the placement to your server based mostly in your geographical location.
- Efficiency
Select efficiency type- Customary or premium. Customary (common goal v2 account) ought to be tremendous for many use instances. Premium is advisable for situations that require low latency.
- Redundancy
If the information you’ll be storing is business-critical and can’t be misplaced at any time, then you must go for the extra dependable Geo-redundant storage (GRS) setting. It’s endorsed for backup situations. If the information destined to your Azure storage account might be replicated from different sources, then the a lot inexpensive Regionally redundant storage (LRS) ought to be chosen. LRS is advisable for non-critical situations
Earlier than particulars are stuffed.
After the small print are stuffed.
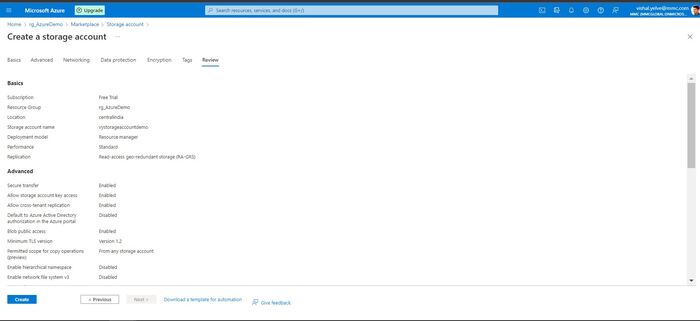
Step 5
Click on on “Assessment” to validate the settings. After clicking on it, If Validation is Handed it’s going to allow the “Create” button.
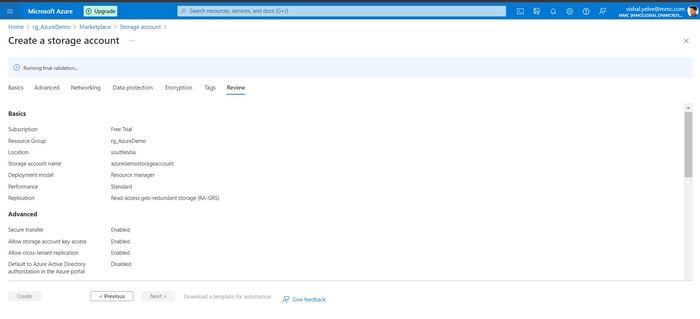
After Validation Handed
Step 6
Now, as soon as the “Validation is Handed”, Then, click on on Create button on the backside for the deployment course of.

Step 7
A message will notify you that your Storage Account is created.
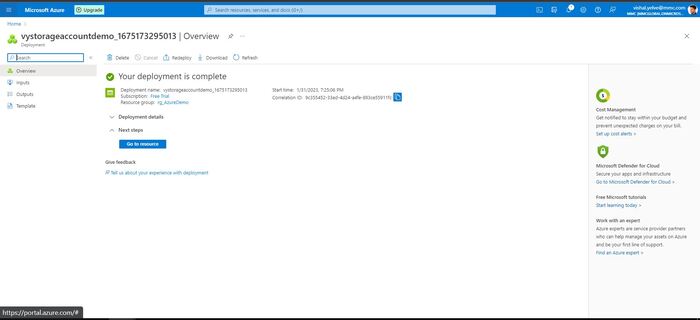
Step 8
Now as soon as your Azure Storage Account is efficiently created. Click on on “Go to Useful resource” to overview your storage account inside it.