Introduction
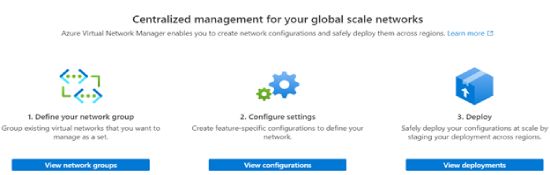
The Azure Digital Community Supervisor (VNM) is a brand new community service with administration capabilities. We are able to use Digital Community Supervisor (VNM) to handle a number of digital networks and implement well-known community topologies like hub-and-spoke or mesh in goal subscriptions with out configuring the community assets individually. It additionally permits us to handle digital networks by way of logical community teams and apply safety and connectivity configurations to those teams. This submit will consider Azure Digital Community Supervisor connectivity configurations.
Configuring Azure Digital Community Supervisor
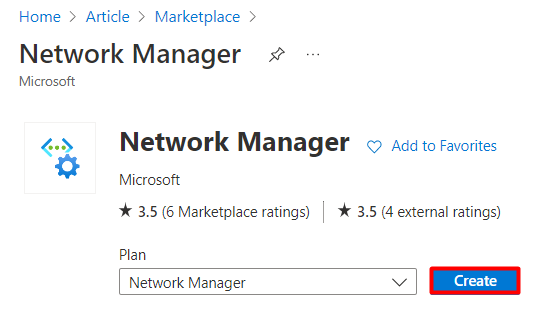
Step 1: Within the Azure portal search, Community Supervisor and click on Create.
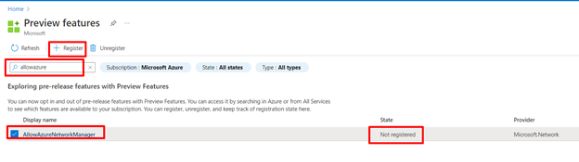
Observe: Should you don’t have this function, Click on right here to enter the Azure Preview Options Web page, search AllowAzureNetworkManager, and Click on + Register.
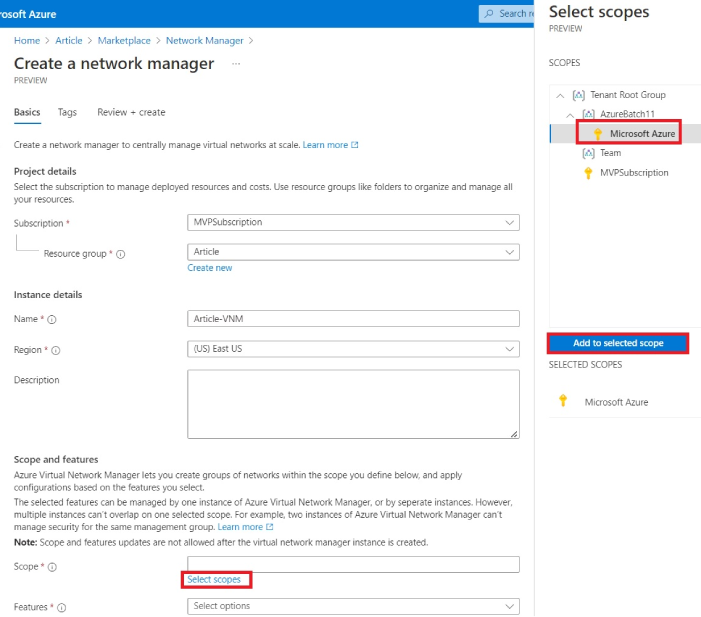
Step 2: On the Fundamental web page, Enter the mandatory info like Subscription, Useful resource group, the title of the Community supervisor, and the Area.
On the Scope and options half, click on Choose scopes, choose the subscription beneath the Administration group, click on Add to chose Scope after which click on Add.
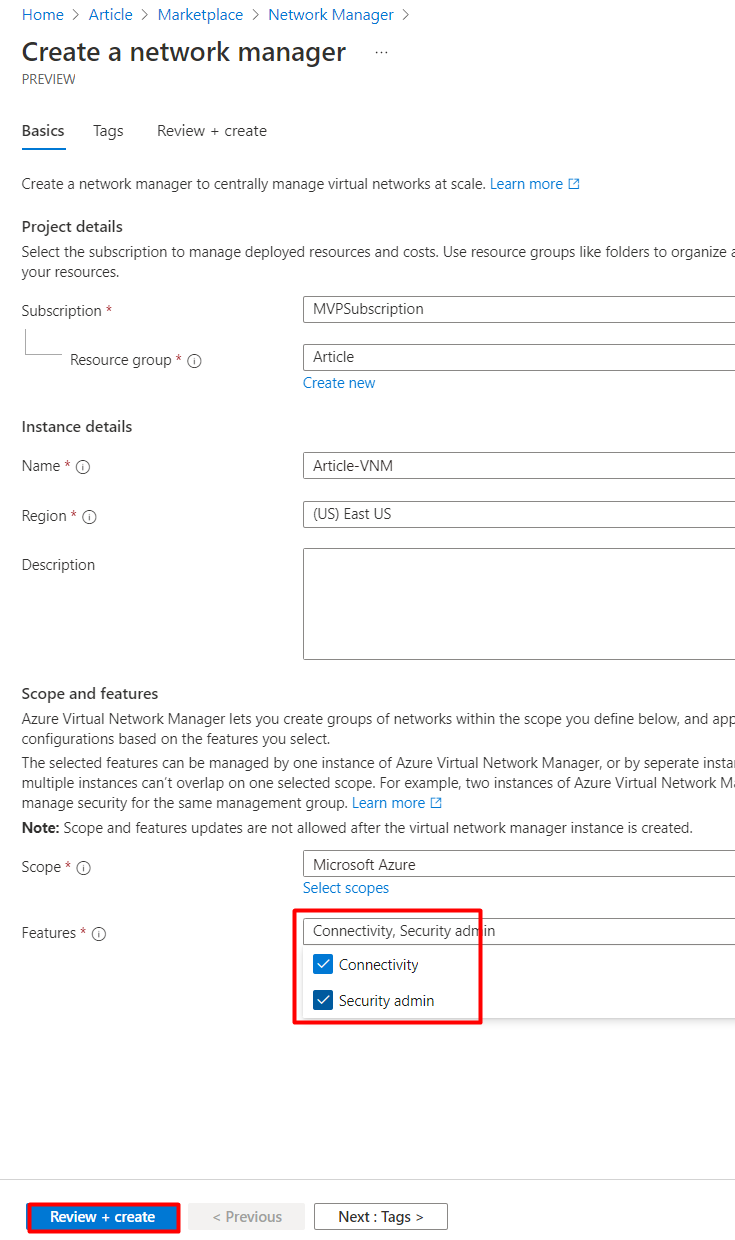
Step 3: Within the options part, there are two choices, connectivity and safety admin choice choose each choices and click on Create.
- Connectivity: for the HUB and Spoke mannequin or the Mesh mannequin
- Safety admin: we are able to outline a group of safety guidelines to be utilized to VNETs
Step 4: Lastly, we have now configured the Community Supervisor.
Abstract
On this article, we discovered how one can configure Azure Digital Community Supervisor; in our subsequent article will learn to handle the Azure Digital Community Supervisor; when you have any questions, be at liberty to remark beneath the article.


