
On this article, we’ll be taught to create a Spark Pool inside a synapse workspace in Azure Synapse Analytics. Earlier than you observe this text, it’s important the Synapse Workspace has been created. There are two methods to create a spark pool in Azure. One by means of the Azure Portal and one other from the Azure Synapse Analytics Portal. Right here we talk about in regards to the vital course of of making the Apache Spark Pool by means of the Analytics Portal itself.
Azure Synapse Analytics
Azure Synapse is a limitless enterprise analytics service that allows us to get perception from information analytics and information warehousing. Utilizing devoted sources or serverless structure, information might be queried and gives scalability as per the rise within the dimension of the info. You possibly can be taught extra about it from the collection.
- Azure Synapse Analytics
- Azure Synapse Analytics – Create a Synapse Workspace
- Azure Synapse Analytics – Create Devoted SQL Pool
- Azure Synapse Analytics – Create Apache Spark Pool
- Azure Synapse Analytics – Creating Firewall at Server-level
- Azure Synapse Analytics – Join, Question and Delete Information Warehouse SQL Pool
- Azure Synapse Analytics – Load Dataset to Warehouse from Azure Blob Storage
- Azure Synapse Analytics – Greatest Practices to Load Information into SQL Pool Information Warehouse
- Azure Synapse Analytics – Restore Level
- Azure Synapse Analytics – Exploring Question Editor
- Azure Synapse Analytics – Automation Job
- Azure Synapse Analytics – Machine Studying
Create Apache Spark Pool in Azure Synapse Analytics
Allow us to be taught to create the Apache Spark Pool in Azure Synapse Analytics.
Step 1
To start with, observe the article, Azure Synapse Analytics – Create a Synapse Workspace and create a synapse workspace. You’d want a paid subscription or sponsorship cross with a view to create a Synapse Workspace. The Sandbox from Microsoft Study is not going to help. Moreover, to proceed to this text, on creating the Apache Spark Pool in Analytics Portal, paid subscription or sponsorship cross is a requirement.
Step 2
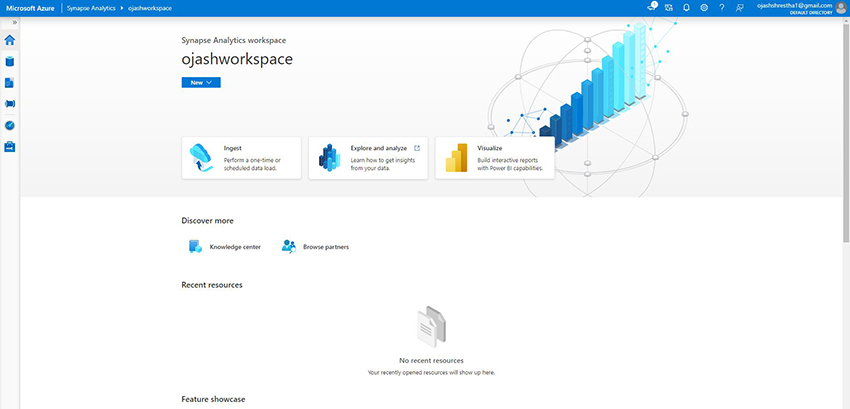
As soon as the Synapse Workspace has been created, Go to the Azure Synapse Analytics Portal.
Step 3
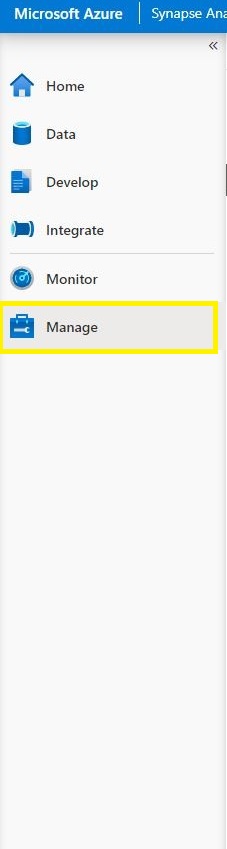
On the Left Hand aspect, Select the Handle from Menu.
Step 4
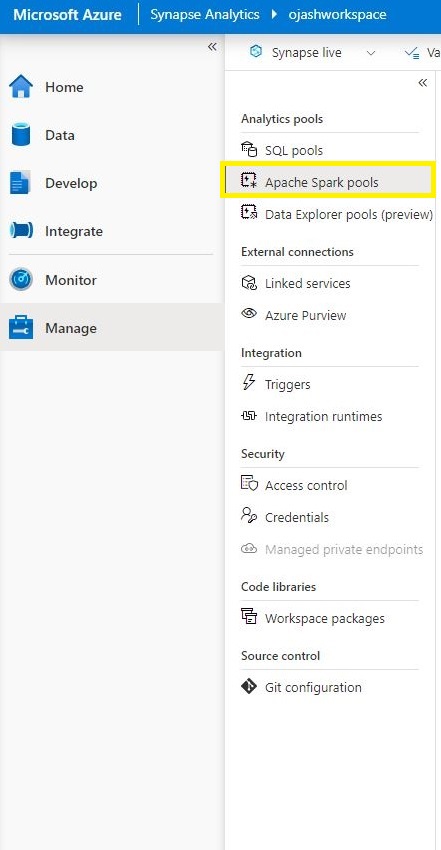
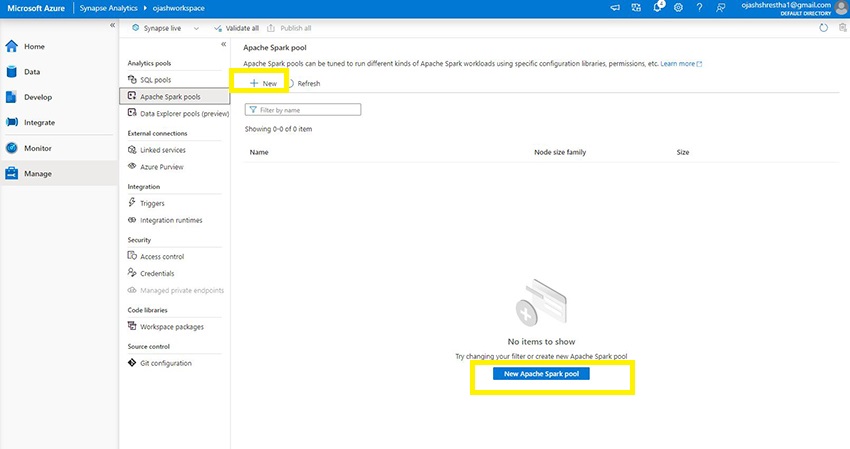
Now, Beneath Analytics Swimming pools, Choose Apache Spark Swimming pools.
Step 5
You’ll now be taken to the Apache Spark Pool web page. Click on on New or New Apache Spark Pool.
Step 6
Now, you’ll be supplied with particulars to fill.
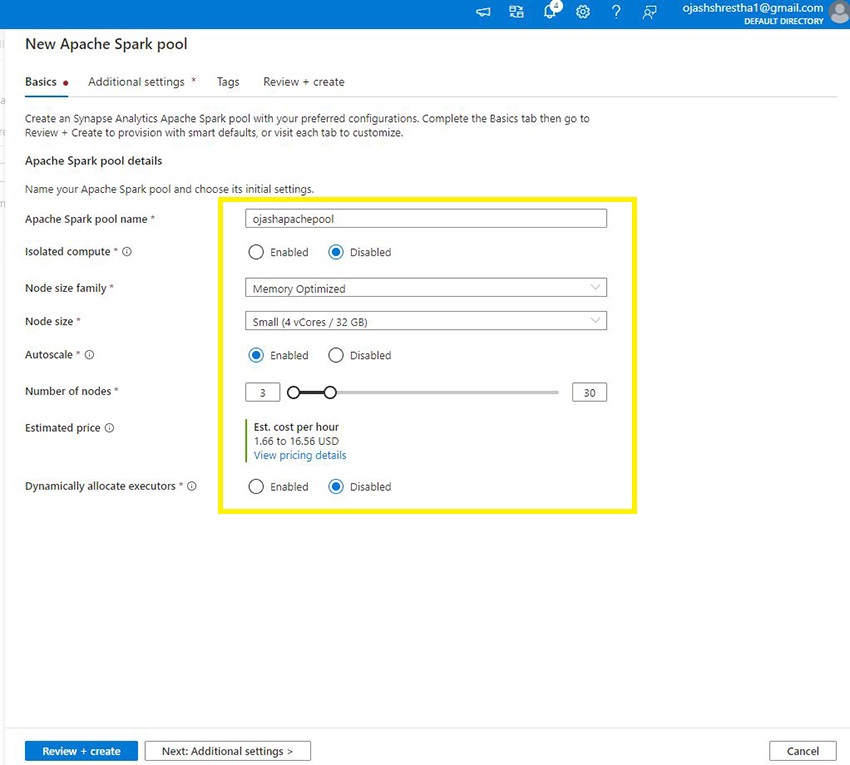
Fill in your Apache Spark pool title. It is okay to Disable the Remoted Compute as of now until you intend to take a heavy activity. Moreover, Set the Node Measurement household to Reminiscence Optimized and choose a Node Measurement. I’ve chosen right here, Small (Four vCores/ 32 GB) to reduce the associated fee. Autoscale has been enabled and Node Numbers has been set within the vary of three to 30. You possibly can set this even minimal to save lots of up the associated fee. Later, as you execute instructions, and in case the Nodes aren’t ample, you may change them once more.
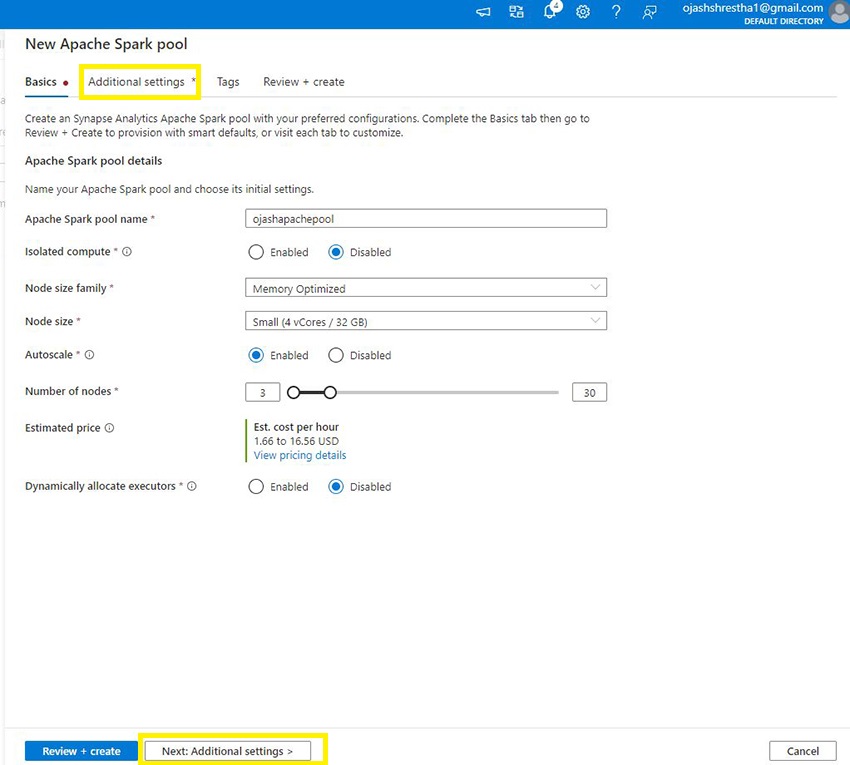
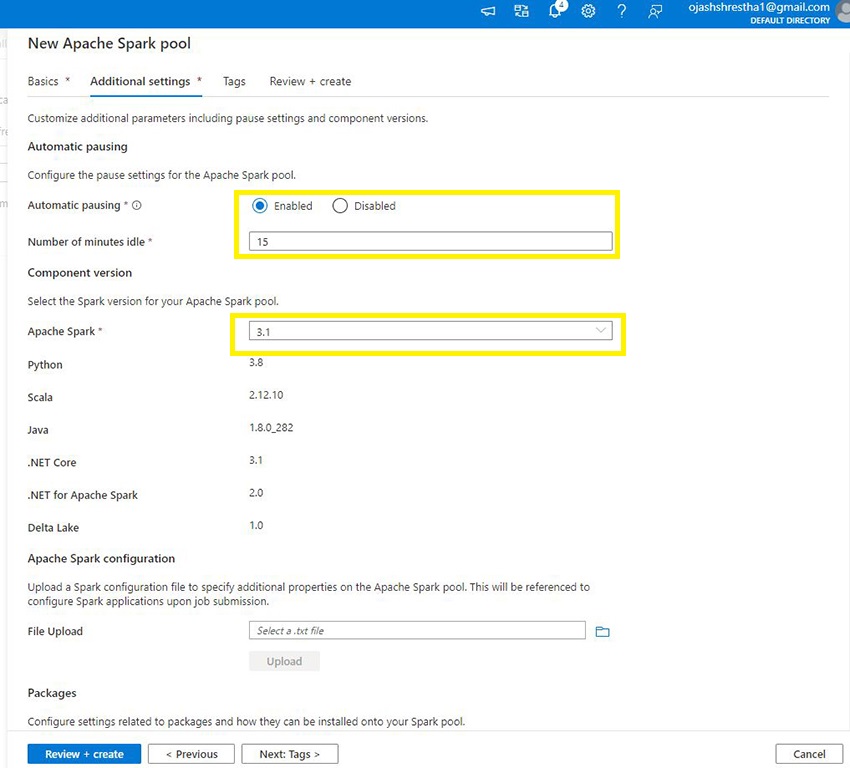
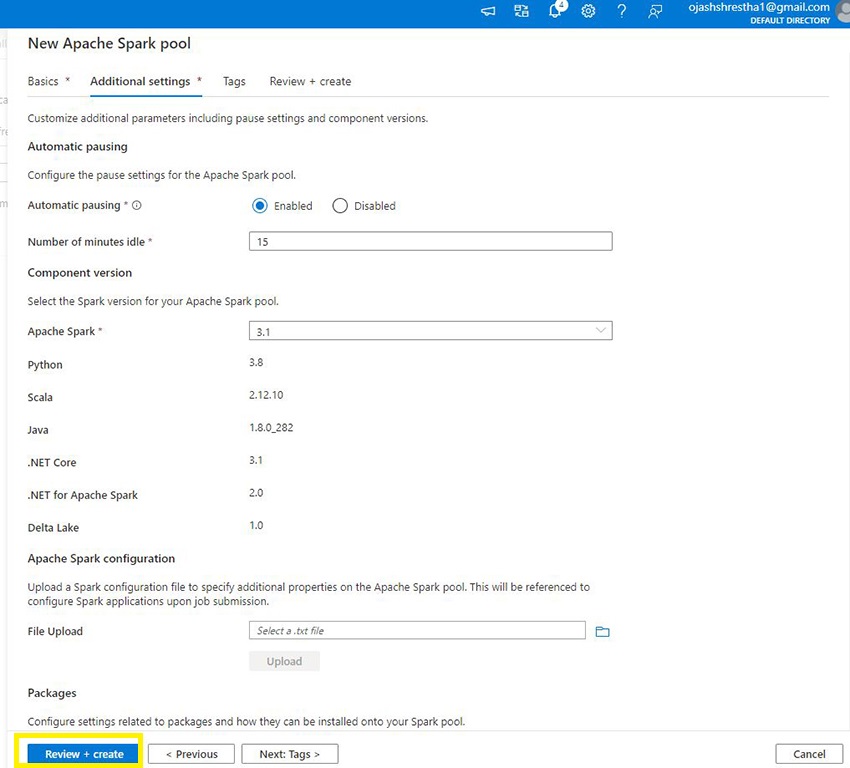
Step 7
Subsequent, Click on on Extra Settings. Right here, you may Allow Automated Pausing for particular variety of minutes the pool is idle. Moreover, you may select the model of Apache Spark.
Step 8
Now, Click on on Evaluation + Create.
Step 9
Now, the validation is completed. As soon as, it’s profitable, a Inexperienced Tick Mark with Validation Succeeded textual content will pop up.
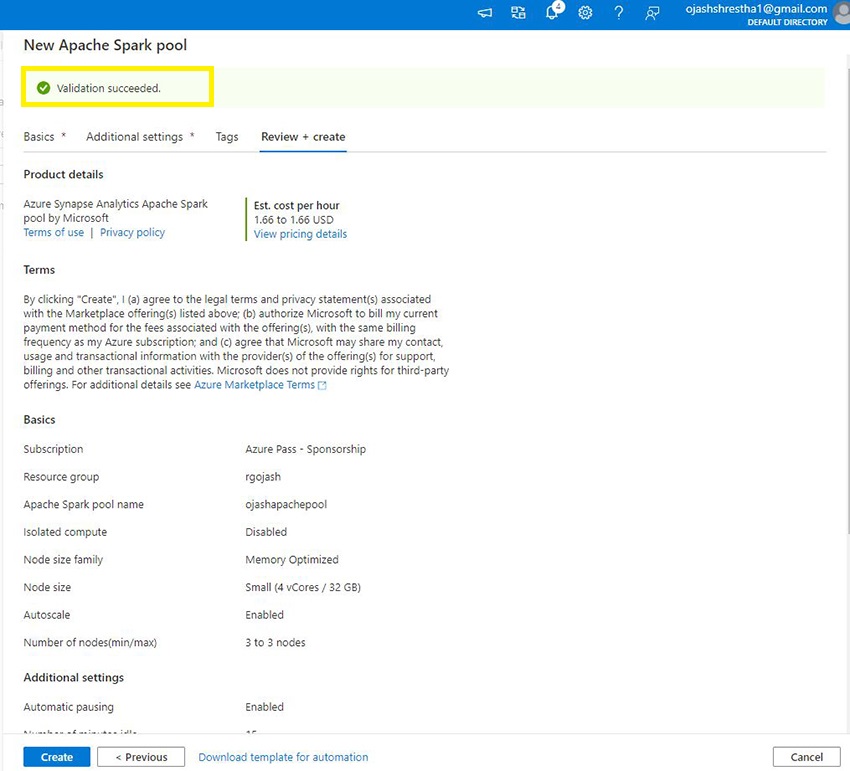
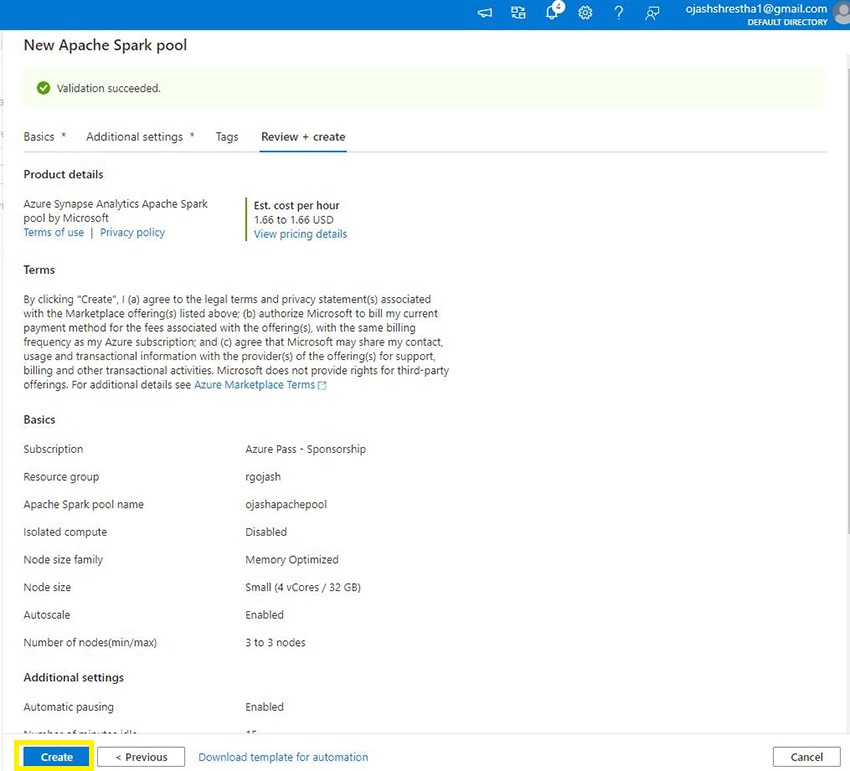
Step 10
Now, Click on on Create.
Step 11
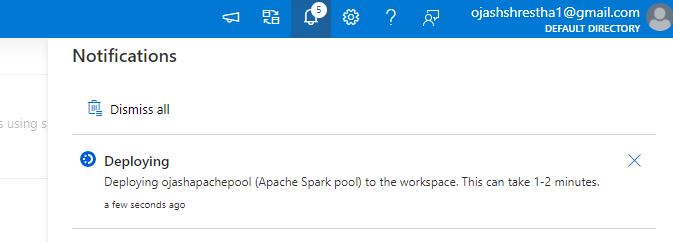
The deployment request will start. Notifications will probably be up to date as progress happens.
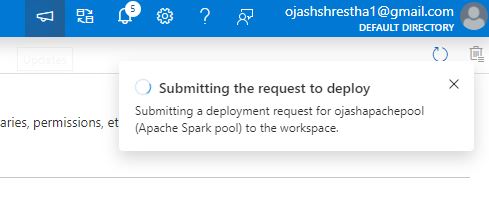
Step 12
The deployment progress is proven within the notification.
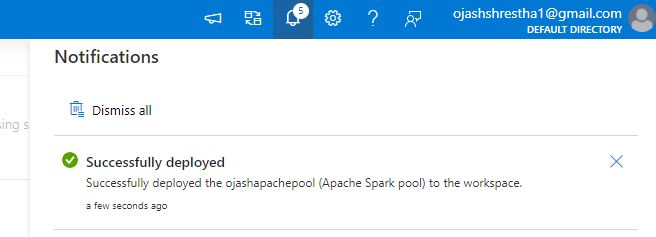
As soon as, the deployment is profitable, we are able to see the Efficiently deployed notification.
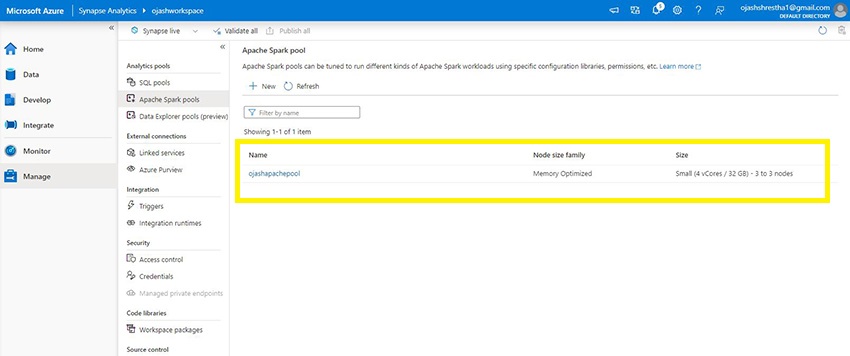
We are able to now see the brand new Apache Spark Pool, ojashapachepool title pop up within the Apache Spark Swimming pools web page.
Step 13
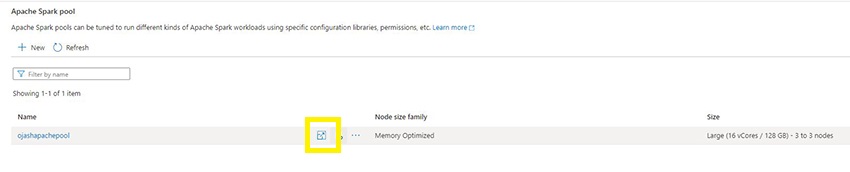
Later, as you begin to work on the Apache Spark Pool. You possibly can select to alter the Measurement of the pool. For this, on the Spark Pool Web page, Click on the broaden button.
Step 14
You possibly can then, change the notice Measurement and Variety of Nodes. You will notice the up to date Estimated Value as you choose completely different choices. Right here, I’ve chosen Giant (16 vCores/ 128GB) in comparison with the Small Node earlier.
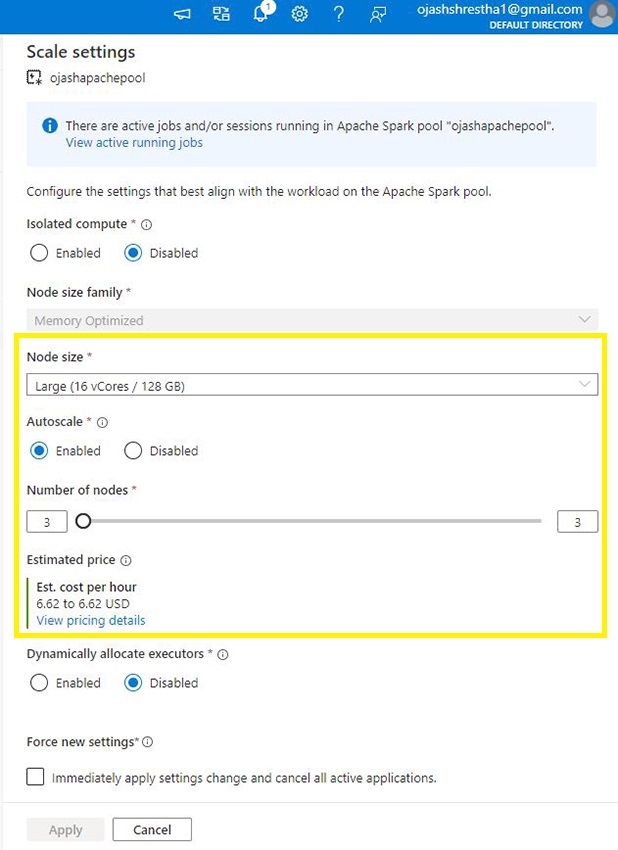
As soon as, Utilized, you’ll see the brand new up to date Apache Spark Pool prepared to be used.
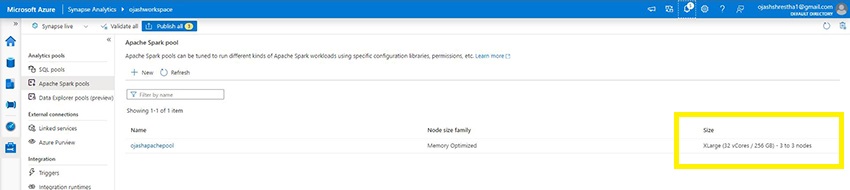
Right here, you may see, a XLarge (32 vCores/ 256GB) Node in use. See, scaling the sources is simply so easy with Azure. This could have been a nightmare in case you had been to make use of on-premises service.
Step 15
Lastly, as you’re employed on the Apache Pool and the work is completed, be sure you Delete the Pool to save lots of your self from any undesirable fees to incur.

Conclusion
Thus, on this article, we created an Apache Spark Pool in Azure Synapse Analytics. This pool can later be used for varied jobs from performing Sentiment Evaluation Duties utilizing Textual content Analytics to Laptop Imaginative and prescient jobs in Azure and Huge Information Evaluation.


