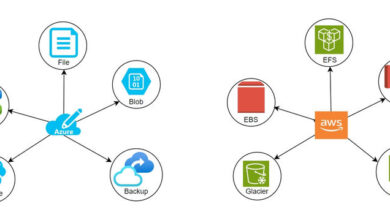
Azure Blob is an Azure storage object like filer, queues, tables, or disks.
With the intention to use the blob storage, first we should always create the Azure storage account.
To create an Azure storage account we want an Azure account. If you’re utilizing Visual Studio Skilled, you could have a free INR 3000 Azure credit score for Azure studying. It’s also possible to strive a free one-month trial for studying,
To login to the Azure portal, we will use the hyperlink https://portal.azure.com
When you log in to the Azure portal you will note the Azure portal house display as under.
Because the Microsoft staff is making adjustments regularly within the Azure portal you may even see a special take a look at every login.
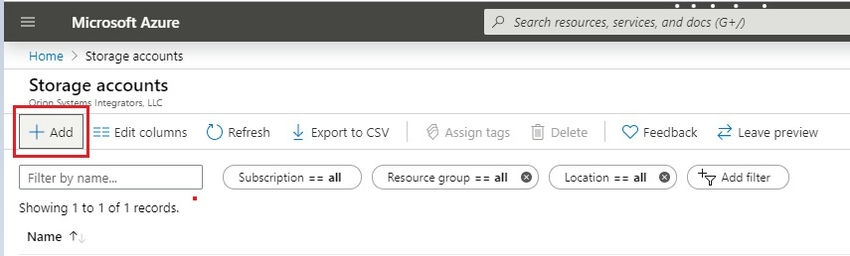
As soon as we log in to the Azure portal, we will create an Azure storage account by clicking the Storage Accounts button.
Then click on the Add button,
Fill within the necessary particulars like useful resource group title, storage account title, location, and so forth.
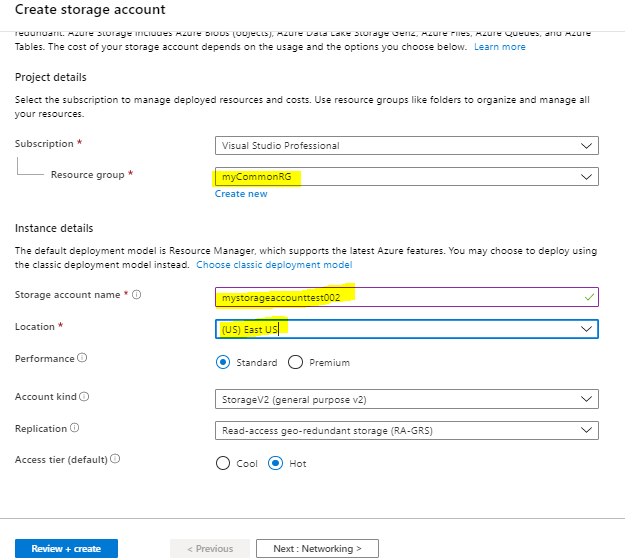
Since it is a studying exercise, we will depart the opposite non-obligatory fields as default.
Click on the Overview + Create button to create the storage account.
It will validate the stuffed values and can present the warning if any worth is fallacious.
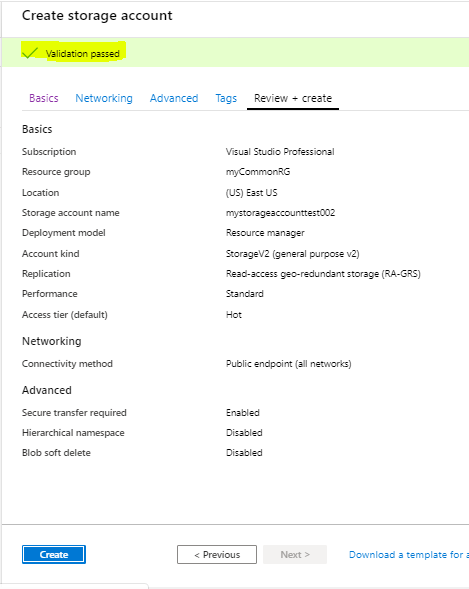
As soon as we click on the Create button, it can take a number of seconds to create the storage account.
As soon as the storage account is created, we will get into the storage account by clicking the Go to Useful resource button
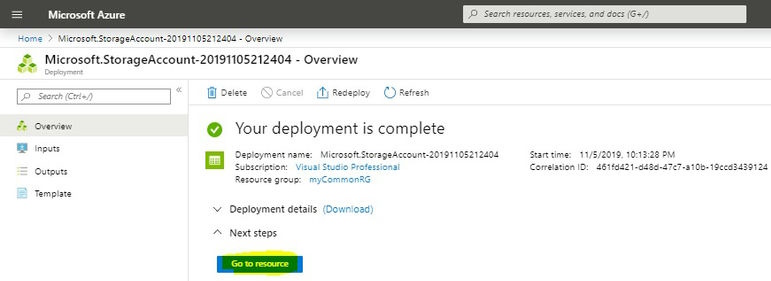
We can be navigated to the under display.
Create a Storage Container
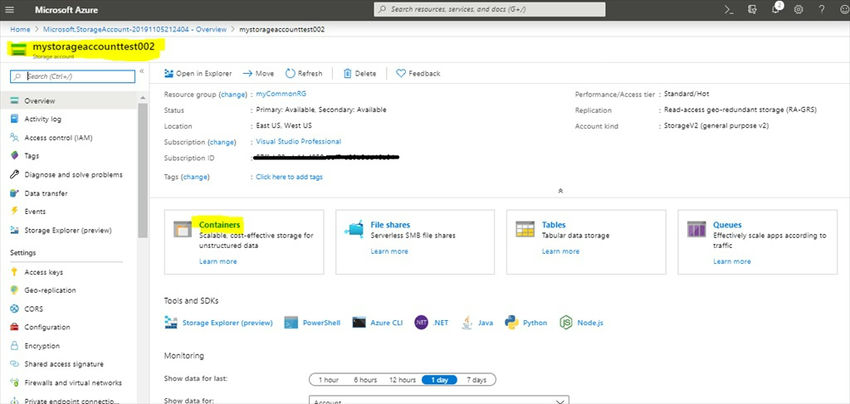
As soon as the storage account has been created, we have to create a storage container contained in the storage account
To create a storage container, click on the Container tile on the storage account house display.
Then click on the + Container button to create the container.
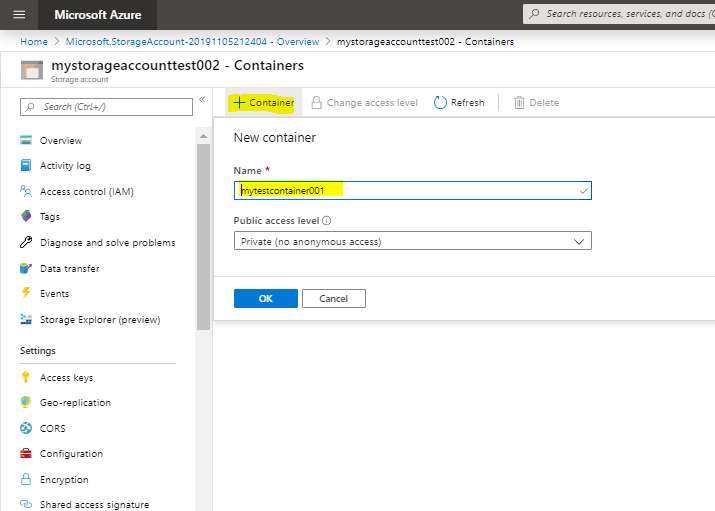
Fill within the title subject and choose the entry degree as public. It should take a number of seconds to create the storage container.
As soon as the storage container has been created we will add recordsdata to the container by clicking the add button.
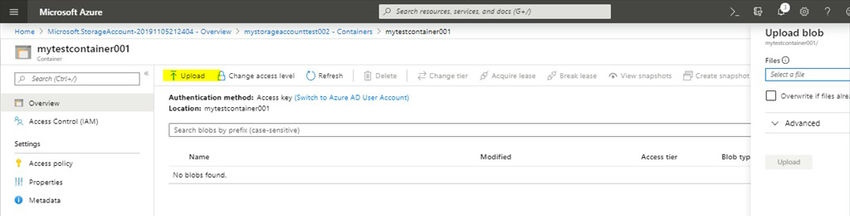
We now have efficiently created a storage account and a container.
The following step is to attach the Azure storage account programmatically utilizing C# and add and obtain recordsdata from/to the storage account.
I’ve created one other article for importing and downloading recordsdata to an Azure storage account utilizing C#.
Please discover the following article right here Add and obtain recordsdata from blob storage utilizing C#
Pleased Coding!
Know extra about our firm at Skrots. Know extra about our companies at Skrots Providers, Additionally checkout all different blogs at Weblog at Skrots