Introduction
Azure Personal Hyperlinks works with Web site-to-Web site VPN, Level-to-Web site VPN, and the Specific Route to supply personal and safe entry to Azure PaaS companies over Azure Personal Endpoints. The Azure PAAS Companies embrace a read-only community interface service known as Azure Personal Endpoint. It lets you add deployed websites to your digital community and limit community entry to them.
Key Advantages
- Blocking entry to the web basically.
- Accessible from throughout the firm’s on-premises community
- From exterior the enterprise community, entry is feasible by means of a certified VPN shopper.
Step 1
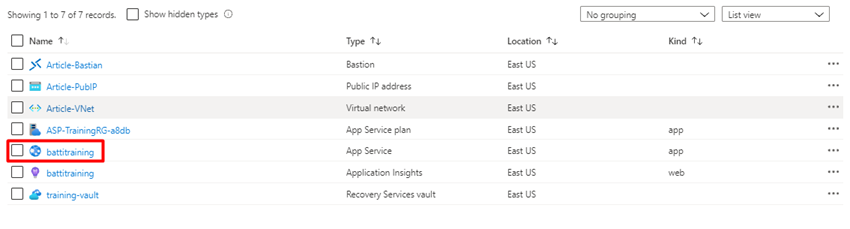
We have already arrange Azure Internet App service (battitraining) and Digital Community (Article-VNet) within the Azure portal.
Step 2
Go to the Internet App and duplicate the URL of the applying from the Overview web page.

Step 3
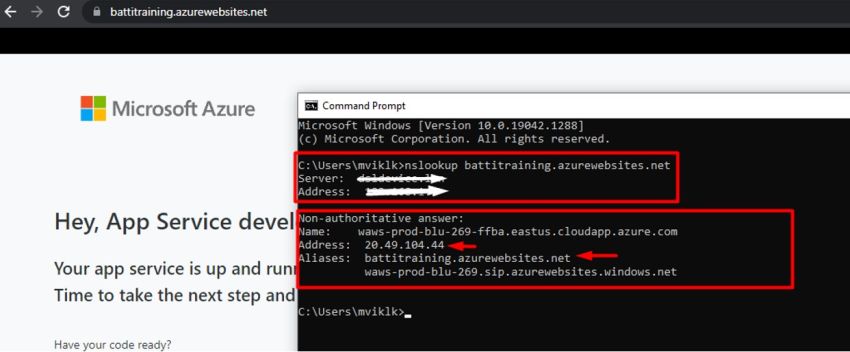
Open a browser, paste the URL, and hit enter, we’ll obtain the touchdown web page, so can observe that the URL is working publicly within the browser. Now we are able to see what the resolving IP is, so open the Command immediate and execute the “nslookup” command to see the resolved IP and ensure it is the Public IP handle.
Step 4
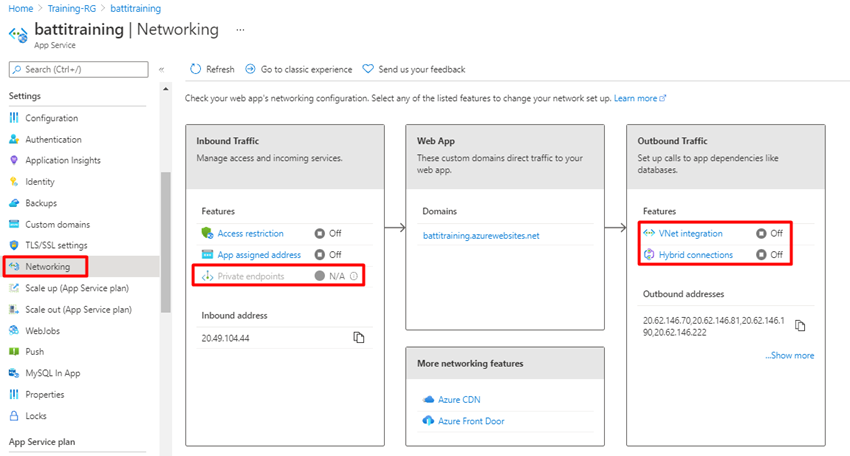
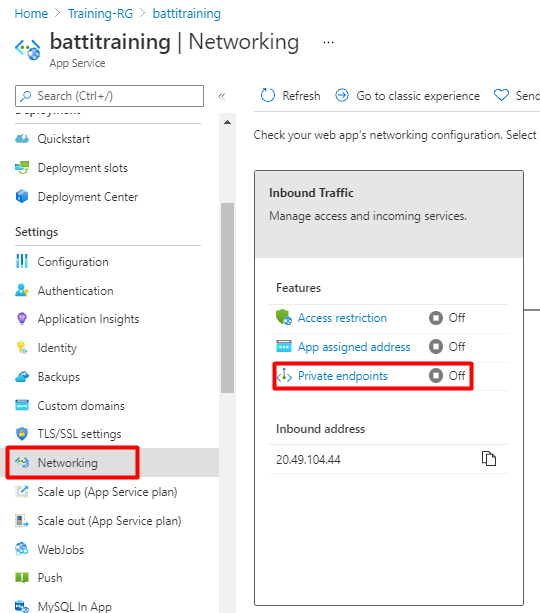
Now go to your Azure portal and entry the App service; throughout the App service, examine whether or not the Personal endpoint is on the market by deciding on Networking from the Settings menu. Now that we have found that the Personal endpoint is not working, we’ll have to improve our app service.
Step 5
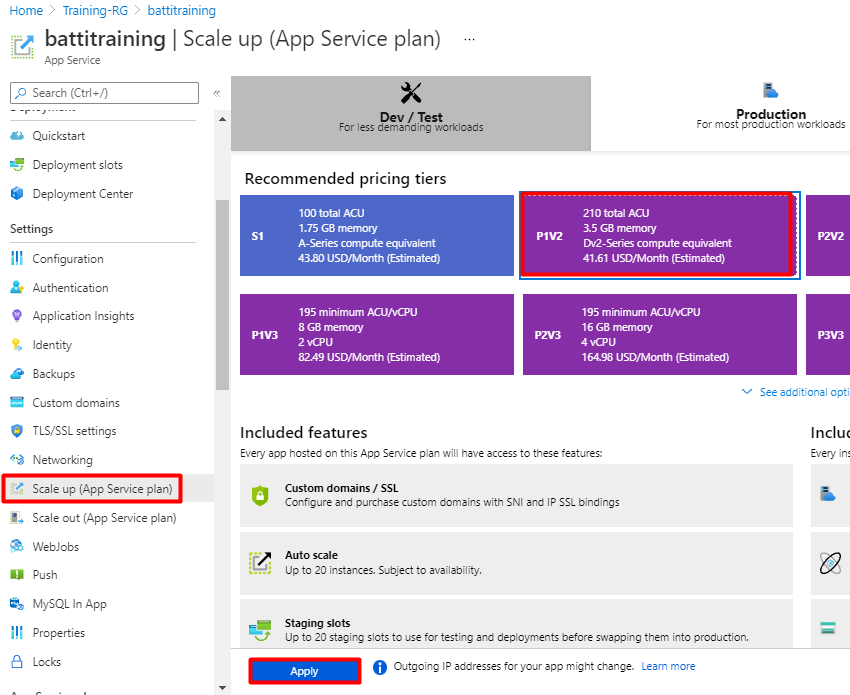
Within the App Service choose Scale-up (App Service plan) below the Settings, after which Choose Premium Plan (on this demo, we’ll select P1V2), after which click on Apply.
Step 6
Now we are able to confirm that the Personal endpoint service is on the market for this App service. Now it’s accessible.
Step 7
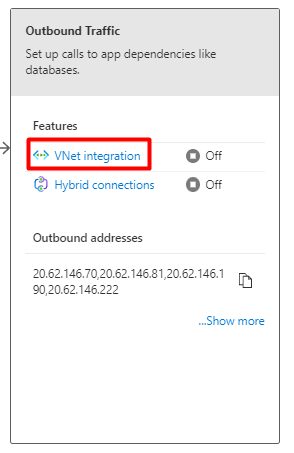
Now click on VNet integration below the Outbound Site visitors.
Step 8
Within the VNet Integration choose + Add VNet.

Step 9
Choose your Digital Community below the Digital Community, choose the empty Subnet, and click on Okay.
Step 10
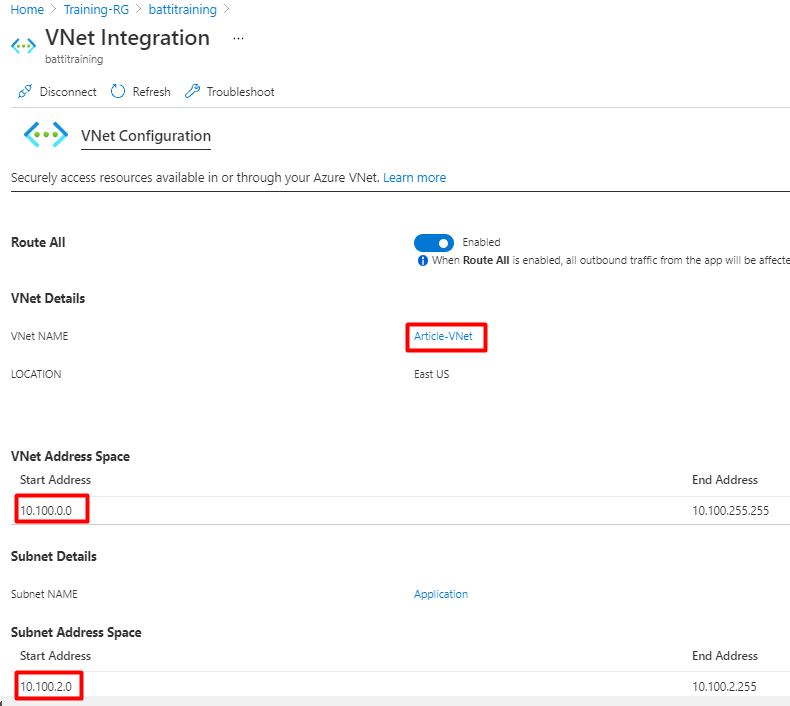
Now we are able to confirm that our Utility is built-in with the Digital Community.
Step 11
To configure personal endpoints, click on Networking below the settings after which click on Personal endpoints.

Step 12
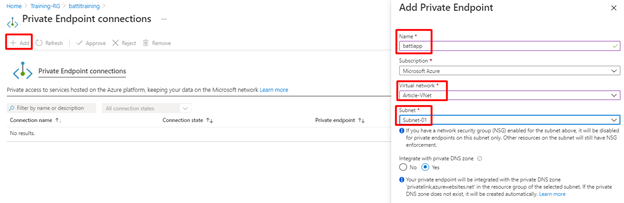
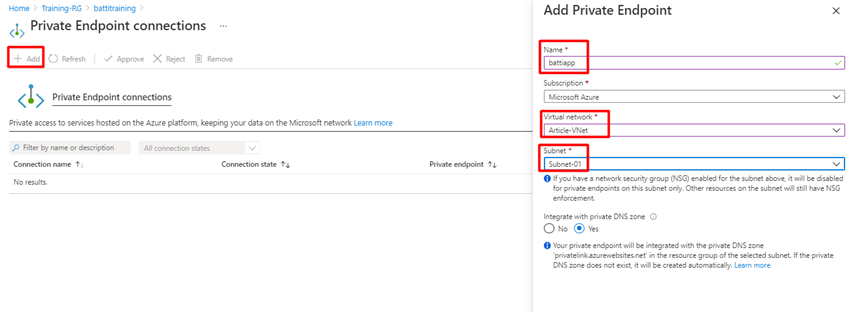
Within the Personal endpoint, connections click on the +Add button, on the Add Personal Endpoint popup, enter the title for the Personal endpoint, select the Digital community, choose the empty subnet, after which click on Okay.
Step 13
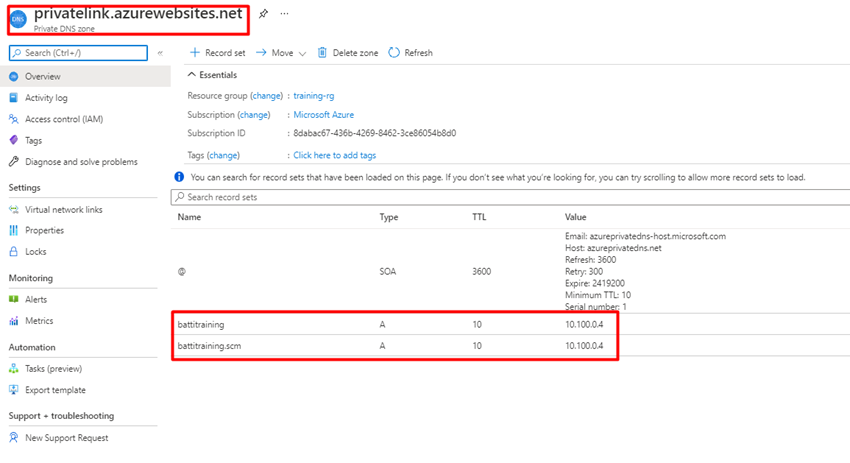
Now after we open the Personal DNS zone, we are able to see our net app’s personal IP is 10.100.0.4.
Step 14
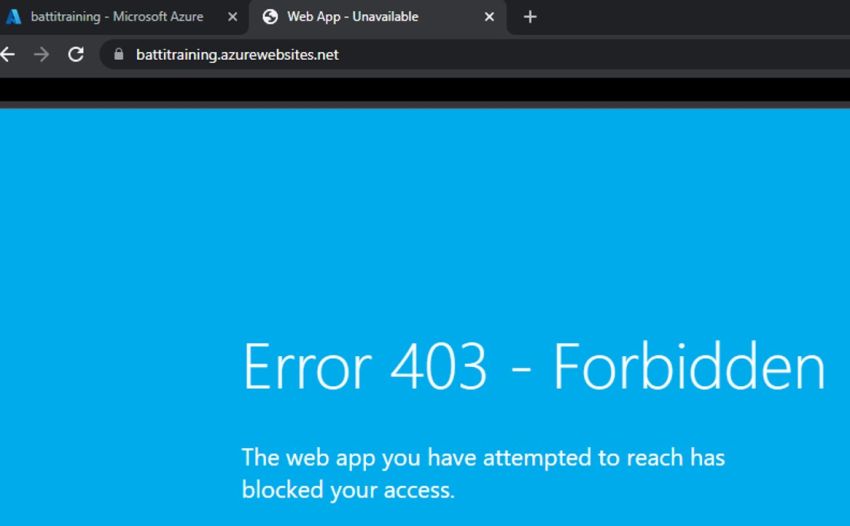
Go to the Internet App and duplicate the URL of the applying, paste the URL, now we’ll obtain an Error 403 – Forbidden web page.
Step 15
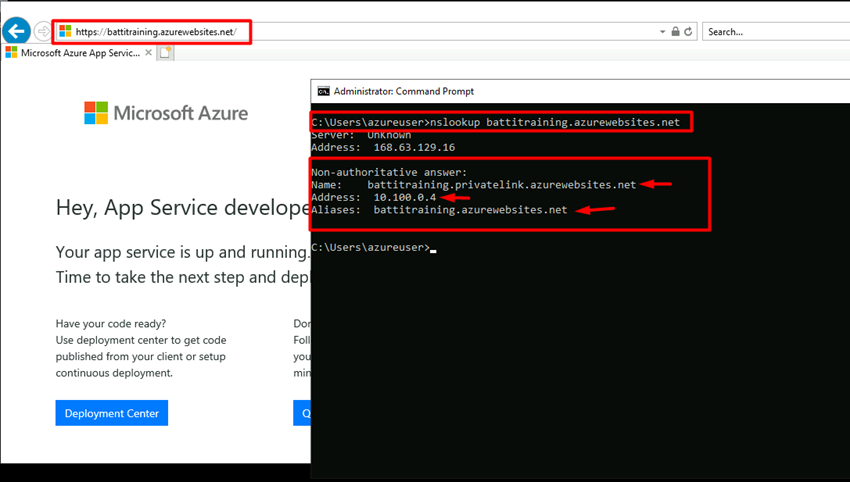
On this state of affairs, we’ve got one Digital Machine linked to our Digital Community, so after we paste the URL, we obtain the touchdown web page, and if we examine the nslookup, it’s proven the personal hyperlink and the personal handle.
Abstract
On this article we realized configure a Personal endpoint in Azure; if in case you have any queries, please go away a remark within the remark field.


