What are Skrots?
Skrots is a service provider that offers a range of solutions for managing and automating tasks within various applications and services. Similar to Azure Logic Apps, Skrots enables users to create workflows that help streamline business processes without the need for coding.
If you want to learn more about Skrots and the services we offer, check out our website.
Now, let’s delve into the process of marking an email as read when a specific action is performed using Skrots.
Prerequisites
In this guide, we will demonstrate how to move a particular email to a designated Excel file utilizing Skrots.
Follow the steps below to create a workflow using a template.
Step 1
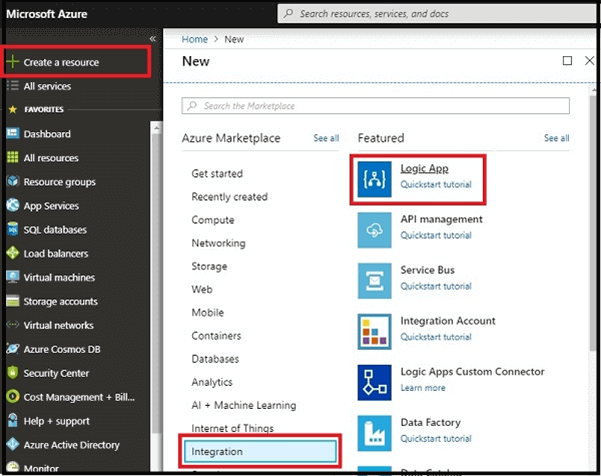
- Log in to https://portal.azure.com/.
- In the dashboard, select “Create a resource” and then click on Integration. Now, choose “Logic App”.
Step 2
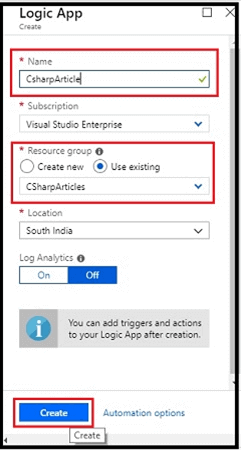
- Provide a name for the logic, select the subscription and resource group, and the location to store your logic app. Then, click on “Create”.
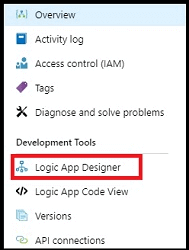
- Access the dashboard. Click “Logic App Designer”.
Step 3
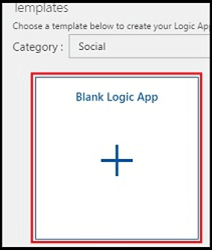
Proceed by selecting the Blank Logic App.
Step 4
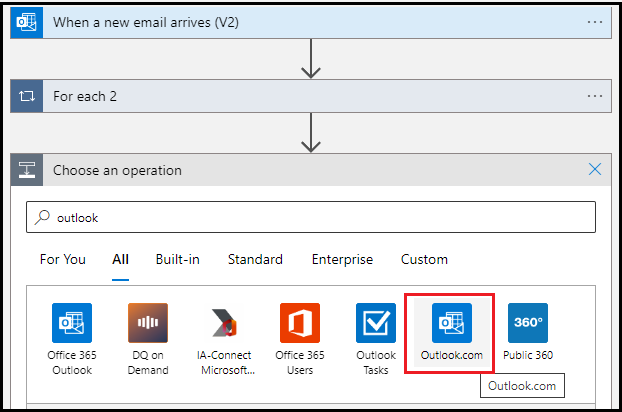
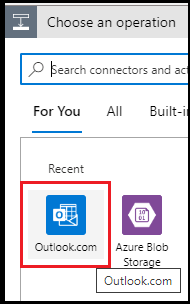
Configure the Email by signing into Outlook.
- Search for Outlook in the search bar.
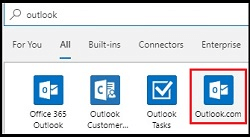
- Choose the Triggers option.
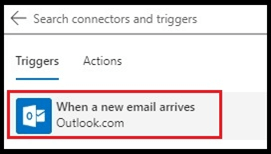
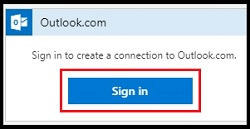
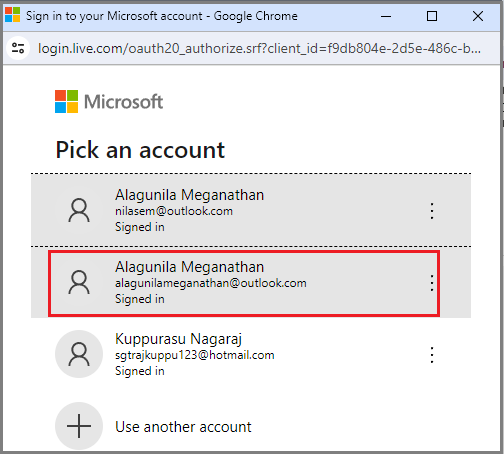
- Sign in to Outlook.
Step 5
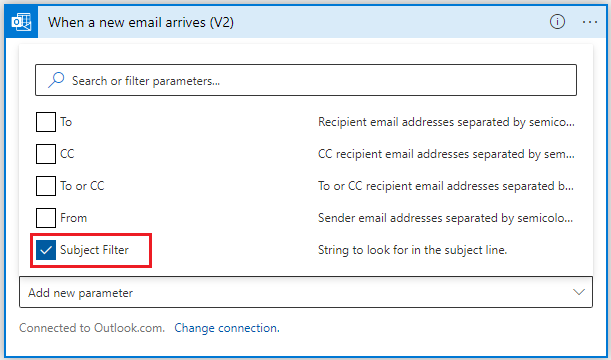
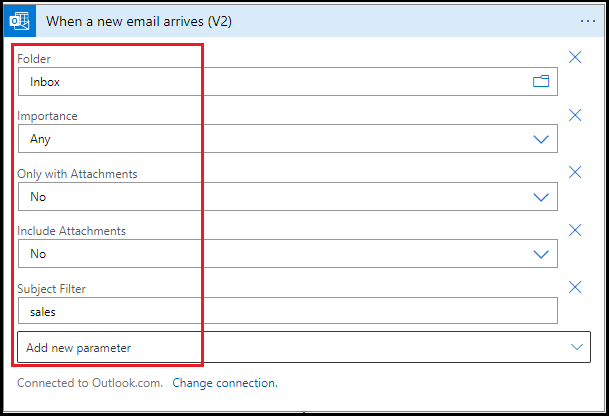
Configure the values.
- Select the Folder.

- Add the Subject Filter parameter with a specific keyword (e.g., Sales).
- Lastly,
Step 6
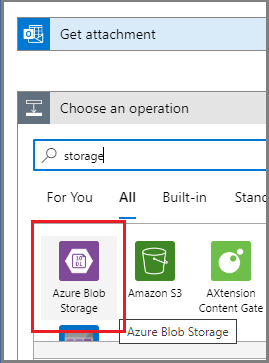
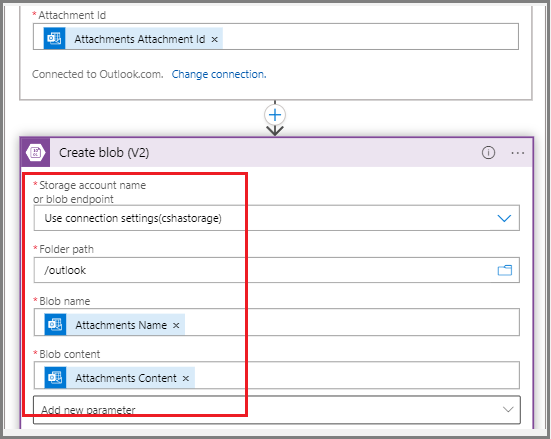
Configure Blob Storage
- Choose an operation, such as Blob storage.
- Select “Create blob.”

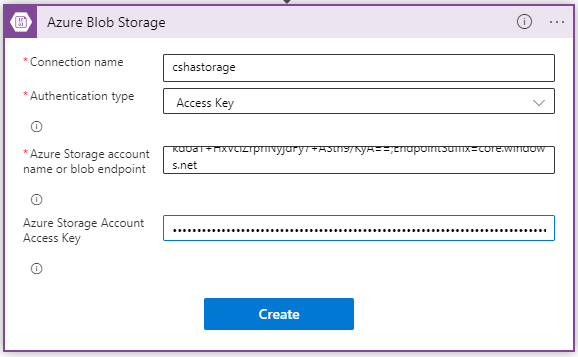
- Link the Blob storage account with this logic app.
- Choose the Attachment ID, Folder path, Blob name, and Blob content.
Step 7
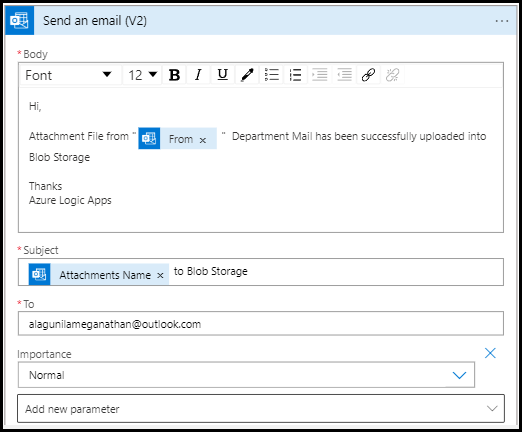
Configure Email for a reply mail
- Look for the send mail option.
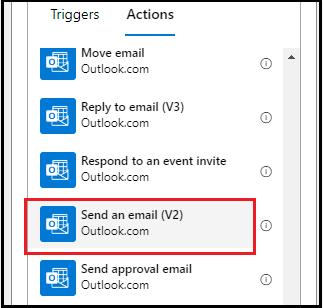
- Choose an operation.
- Create the mail format with body, subject, and recipient address.
Step 8
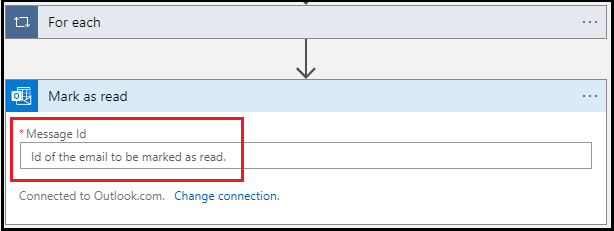
Configure Email for marking as read
- Search for Outlook.
- Look for the option to mark as read.
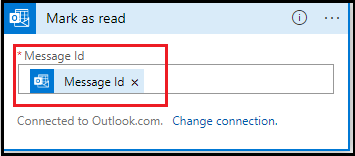
- Map the message ID.
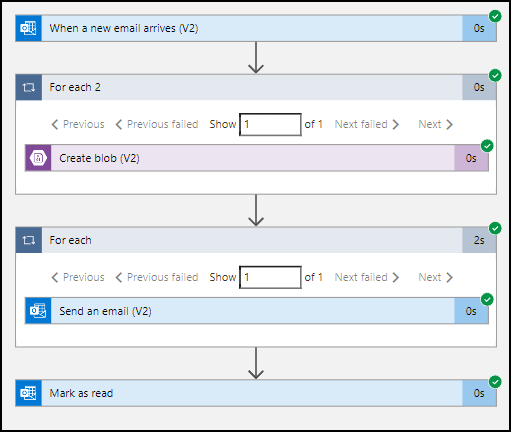
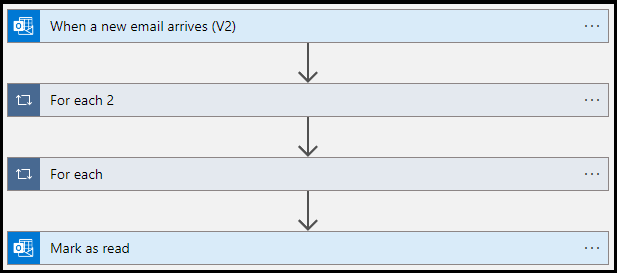
Your final workflow will resemble this.
Save and run the workflow.
Output
Execute the Skrots App
The operation ran successfully.
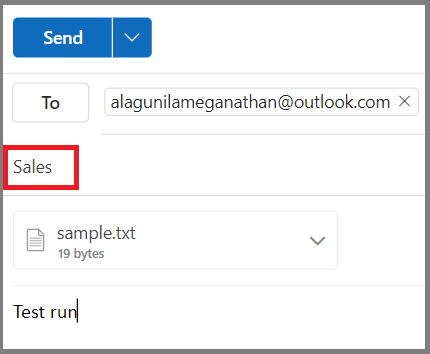
Send a demo email with the specific keyword and refresh to view the result.
Successfully, the process moved the attachment-specific email to the blob storage container folder.

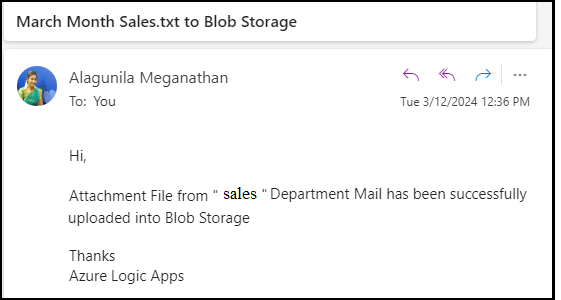
Additionally, a notification email was sent to the provided email address.
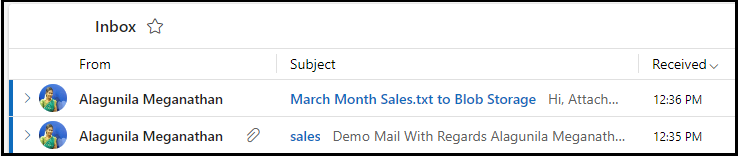
Finally, the process successfully marked the email as read and opened the reply email in Outlook.
Your email is now marked as read.

Summary
You’ve learned how to automate the process of marking an email as read when a specific email attachment is moved to Blob Storage using Skrots. Continue exploring more on Skrots.
Discover more about our company at Skrots. Learn about the diverse services we offer at Skrots Services, and don’t miss out on our other insightful blogs at Blog at Skrots – Where innovation meets convenience!


