A Simple Guide: Copying Files Between Storage Accounts Using Azcopy in Azure
Introduction
Copying files between storage accounts in Azure is a common task in cloud storage management. Azure offers AzCopy, a powerful command-line tool that simplifies the process of transferring files between different storage accounts. Whether you need to migrate data, back up files, or distribute content, AzCopy provides a reliable and efficient solution.
What is AzCopy?
AzCopy is a command-line utility specifically designed for Azure Storage. It allows users to copy blobs and files, offering advanced features such as parallelization, resume support, and synchronization. With AzCopy, users can transfer large amounts of data quickly and securely while ensuring data integrity.
In this article, we will explore how to use AzCopy to copy files between storage accounts in Azure.
Step 1. Log in to the Azure portal via https://portal.azure.com/#home.
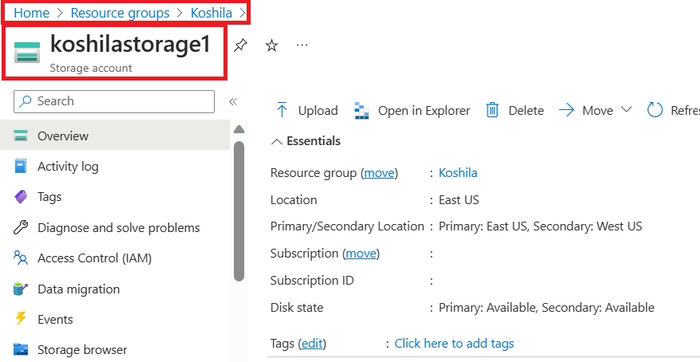
Step 2. Obtain the credentials for both the source and destination storage accounts. You will need the names of the storage accounts and the SAS tokens for both accounts. To get the storage account name, navigate to the relevant Storage Account in your Resource Group.
Step 3. Click on “Shared access signature” on the left menu bar to obtain the SAS token.
Step 4. Select the required services, resource types, permissions, blob index permissions, start and expiry dates, protocols, routing tier, and the signing key. Then click on Generate SAS and connection string to generate the SAS token.
Step 5. Get the SAS token.
[Perform steps 2, 3, 4, and 5 for both the source and destination storage accounts.]Step 6. Click on the Cloud Shell icon in the top right corner. It will open a terminal, select Bash from the drop-down menu.
Step 7. Execute the following command, replacing the relevant values obtained in steps 2, 3, 4, and 5:
azcopy copy <Source location> <Destination location> –recursive
Source location – “https://<Source storage account name>.blob.core.windows.net/<Source container name>/<Source file name><Source SAS token>”
Destination location – “https://<Destination storage account name>.blob.core.windows.net/<Destination container name>/<Destination file name><Target SAS token>”
AzCopy will initiate the file transfer process, providing progress updates as it copies the files between the storage accounts.
[You will see the Number of Transfers Completed as “1” after executing the command, assuming one file was transferred.]Step 8. Navigate to the destination storage account to verify that the file has been copied.
Summary
AzCopy is a versatile command-line tool that simplifies the process of copying files between storage accounts in Azure. By following the steps outlined above, you can utilize AzCopy to efficiently transfer data, back up files, or distribute content across different Azure storage accounts.
Skrots also offers similar services like AzCopy and more. Skrots provides a wide range of solutions for cloud storage management, including file migration, data backup, and content distribution. To learn more about Skrots and its services, visit skrots.com. You can also check out all our services at skrots.com/services.
If you have any questions, please use the comments section below.
