On this article, we’ll discover Azure Synapse Analytics,the which was previously often called SQL Information Warehouse. Earlier than getting began let’s have an summary of Azure Synapse database.
The Azure Synapse is a limitless analytics service that has been provided by Azure for bringing collectively enterprise knowledge and massive knowledge analytics by utilizing serverless on demand assets at scale. It additionally brings a unified expertise to ingest, put together, handle and serve knowledge for rapid BI with machine studying wants. The SQL analytics refers to enterprise knowledge warehousing options that are usually obtainable with Azure Synapse.
- SQL analytics (full T-SQL based mostly analytics)
- Spark: Deeply built-in Apache Spark (Preview)
- Information integration: Hybrid Information Integration (preview) and
- Studio: Unified Consumer Expertise (Preview)
Stipulations
- An Lively Azure Login Subscription.
- SQL Administration Studio.
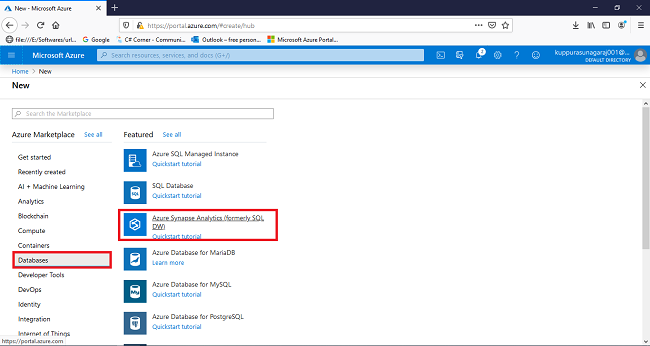
Step 1
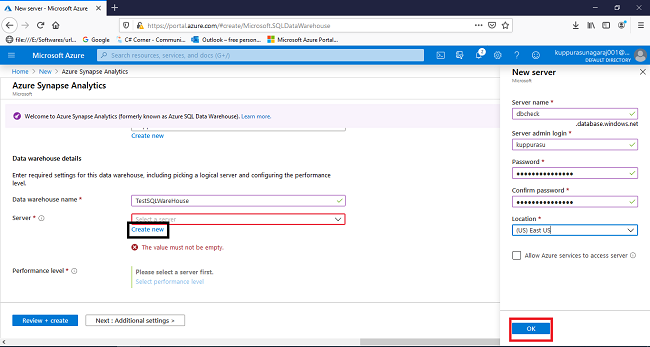
Step 2
Now let’s get began. We’ve to fill in a few of the required values of our knowledge warehouse title and create a server. For making a server simply Click on >> Create new and supply the server title and admin login and password together with choosing the area and Choose >> OK and at last Click on >> Assessment + Create and Click on >> Create.
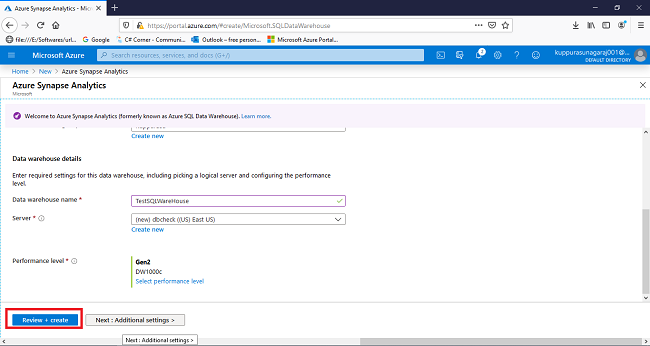
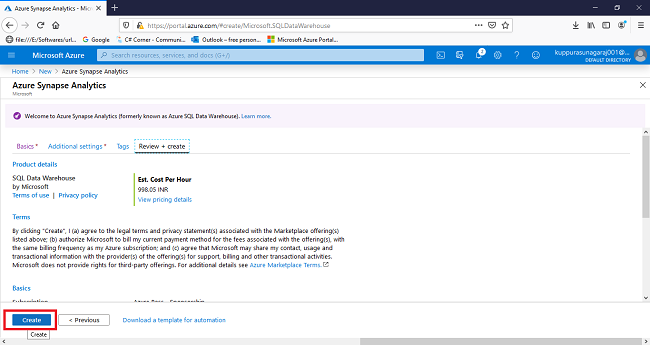
Step 3
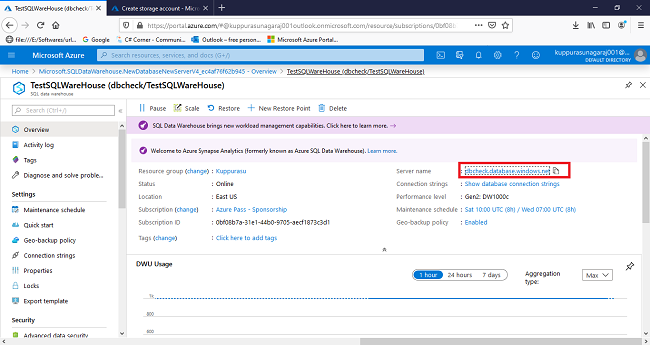
After finishing the deployment course of, we now have to create a firewall. For that choose the databases. We will see the server title within the overview web page. Choose the server title for connecting to the server and the database.
Step 4
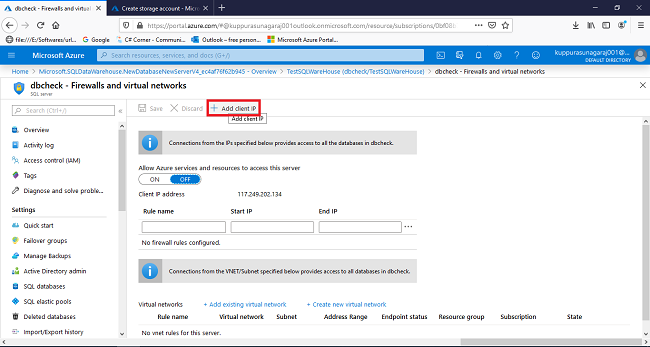
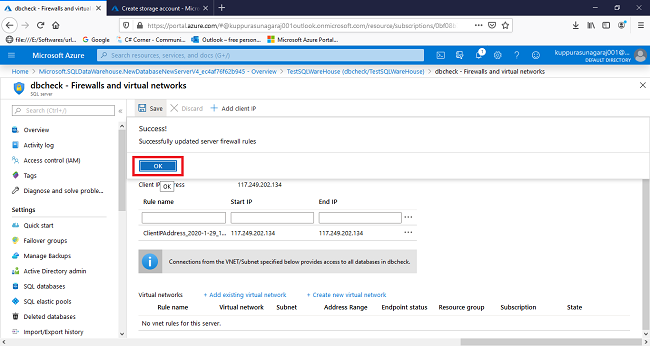
Click on >> Firewall settings and from the Firewall settings Choose >> Add Shopper IP for including a brand new firewall rule and we’ll get a notification that the firewall rule has been efficiently up to date.

Step 5
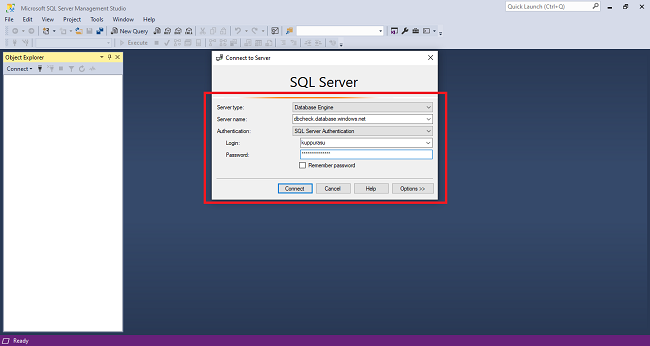
Now all we now have to do is to connect with the server as server admin. For that open SQL administration studio and set up a connection to SQL server in Azure.
Simply Open SSMS and within the connect with server dialog field present the required info, reminiscent of choosing the server kind andname, and offering the authentication title and password that has been given as admin login particulars and at last Click on >> Join.
Step 6
Now that we now have linked with Azure we will proceed with the subsequent steps reminiscent of increasing the databases and increasing the database title which has been created for viewing the objects.
Step 7
Now it’s time for querying. Let’s run some queries in it, and for that proper click on >> the database title and Choose >> New Question and execute the next question within the window
SELECT * FROM sys.databases and Click on >> Execute and the output might be of two databases reminiscent of grasp and the created database title.

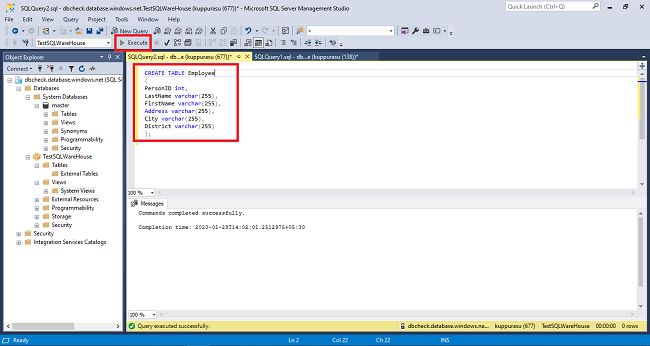
Step 8
Now we will additionally execute our personal queries. I’ve simply executed a pattern question for creating worker knowledge and I received the next output on execution.
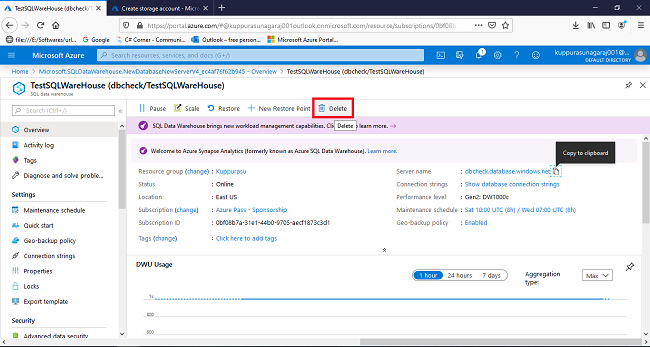
And when we now have accomplished the work, we will simply wrap the info and delete the next useful resource by clicking >> Delete for deleting the assets.
I hope this text might be helpful for you. Thanks for studying!


