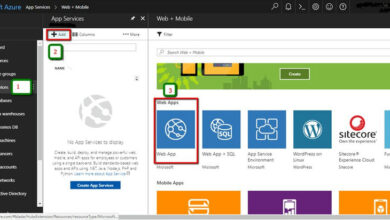
Creating Linked Services In Azure Data Factory
Introduction
Learn how to set up an Azure Data Factory and create a linked service within it.
Why Use a Data Factory?
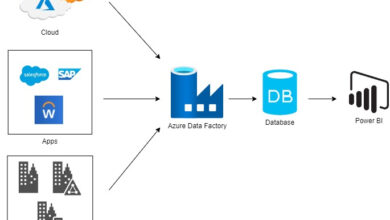
The Data Factory allows us to build pipelines for seamlessly transferring data between different data stores.
Requirements
- A Microsoft Azure account
Follow the steps below:
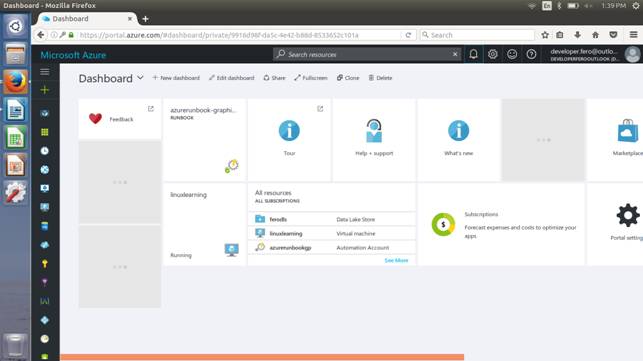
Step 1. Sign in to the Azure portal using the link provided and navigate to the home screen of the Azure portal.
Link: www.portal.azure.com
Step 2. Click on New -> Databases -> Data Factory
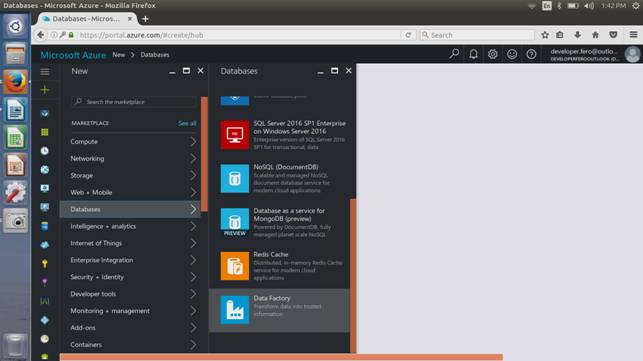
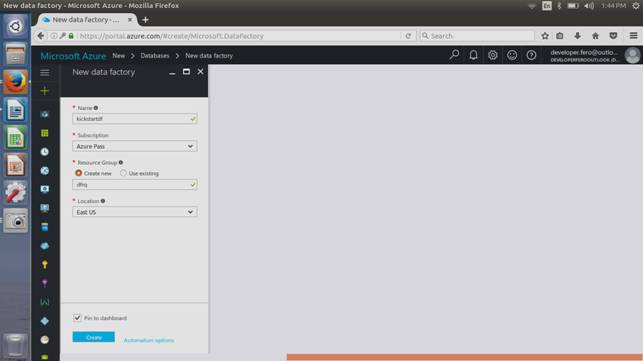
You will now see a new configuration blade for your Data Factory.
Enter the required details like the Data Factory name, Subscription, Resource Group, Location, and pin it to the dashboard. Click Create once all details are provided.
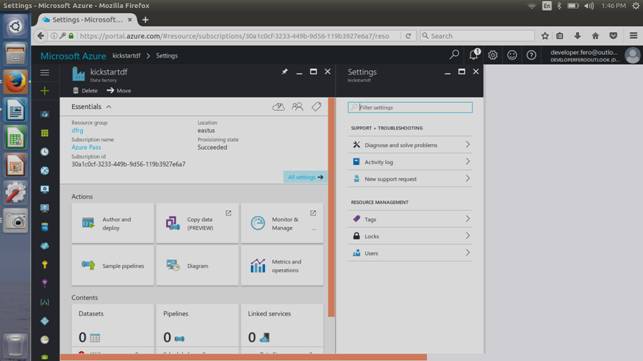
Your Azure Data Factory will be set up now.
Your Azure Data Factory has been successfully deployed.
The Importance of Linked Services
Before working on pipelines, it is essential to create a Data Factory with necessary entities. Let’s create a Linked Service to establish connections between data stores and define input/output configurations before moving on to building the pipeline.
Next, we will connect our Azure storage account to the Azure HDInsight Cluster within the Azure Data Factory. This storage account will handle the input and output data for the pipeline tasks.
Step 3. Open the newly created Azure Data Factory. Proceed to author and deploy.
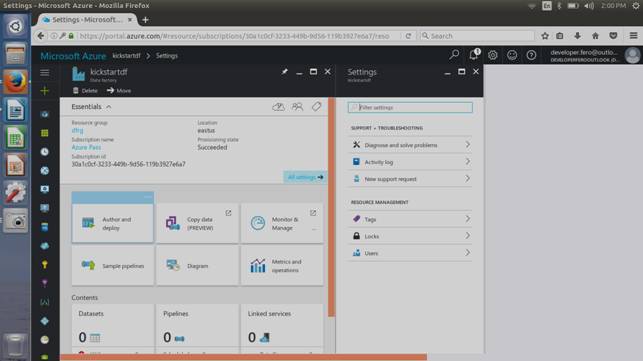
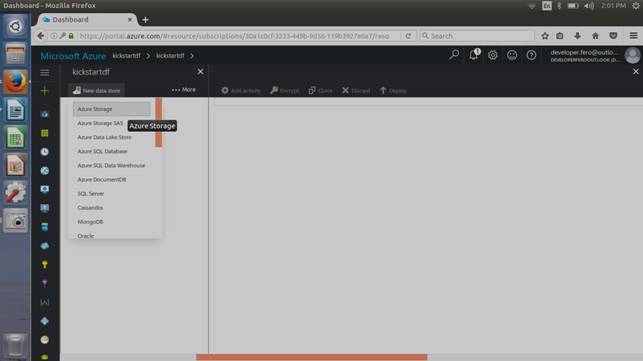
Click on “New Data Store” and select “Azure Storage”.
You will receive a JSON script for creating the Azure Storage Linked Service.
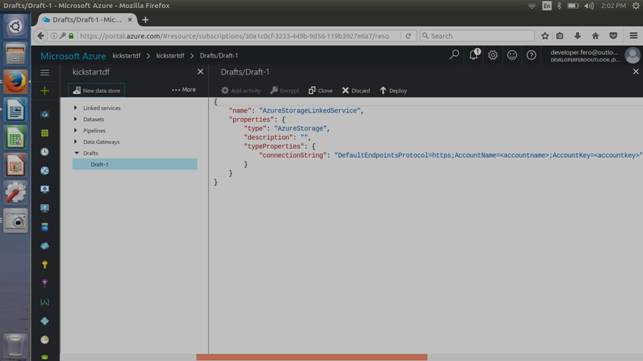
Here is the editor with the JSON script.
Note: You need a previously created storage account to configure this connection string
Step 4. Replace the connection string code provided with your storage account credentials
"connectionString" "DefaultEndpointsProtocol=https;AccountName=<accountname>;AccountKey=<accountkey>"
Click “Deploy” once the storage connection string is set up.
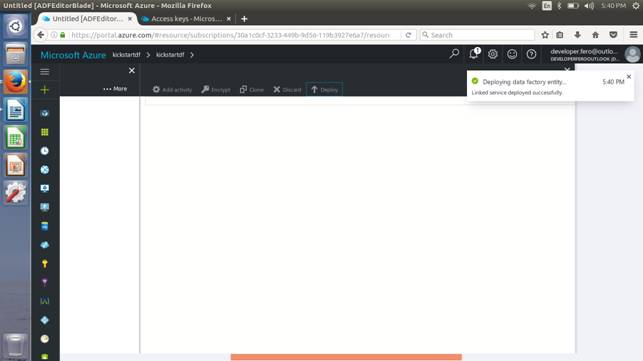
After deploying the Linked Service, you will find the Draft-1 editor displaying AzureStorageLinkedService on the Data Factory pane’s left side.
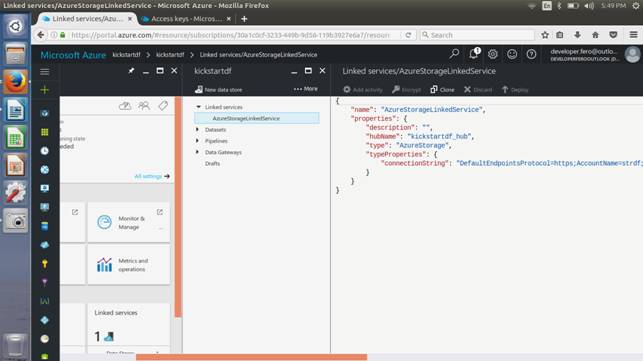
Step 5. Create an Azure HDInsight Linked Service cluster within the Data Factory.
Access the Data Factory Editor and click on “more” in the top right pane within “New Datastore”.
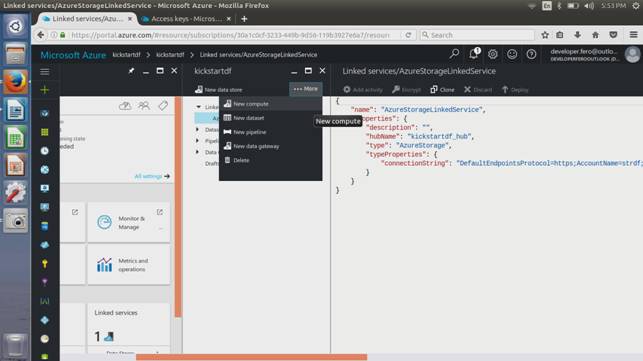
Click on “New compute” and select “OnDemand HDInsight Cluster”.
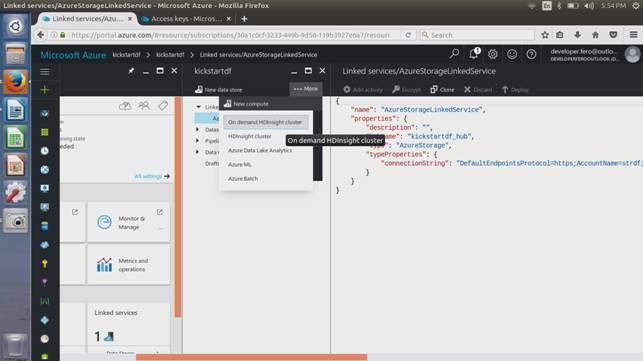
Step 6. Copy and paste the provided code snippet into the Drafts/Drafts-1 editor.
{
    "name": "HDInsightOnDemandLinkedService",
    "properties": {
        "type": "HDInsightOnDemand",
        "typeProperties": {
            "version": "3.2",
            "clusterSize": 1,
            "timeToLive": "3",
            "linkedServiceName": "AzureStorageLinkedService"
        }
    }
}
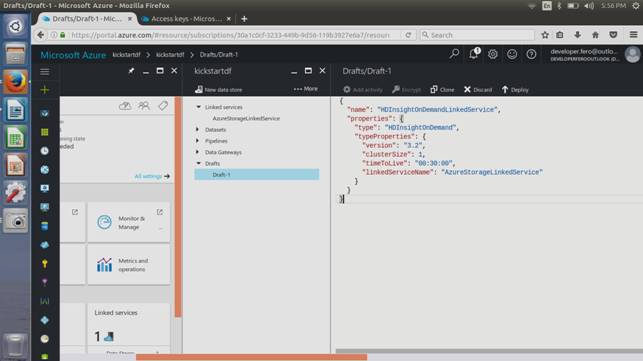
The code above sets the JSON properties such as Version, ClusterSize, TimeToLive, and LinkedServiceName. Once copied to the editor, click Deploy.
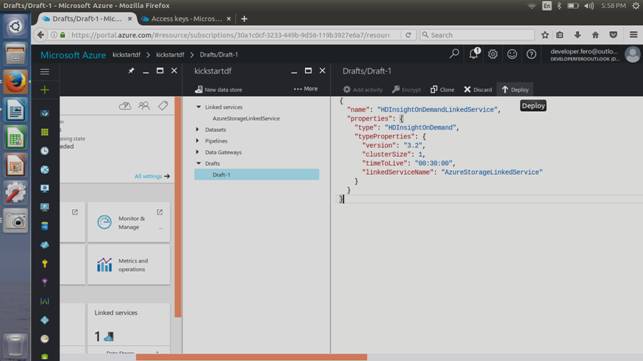
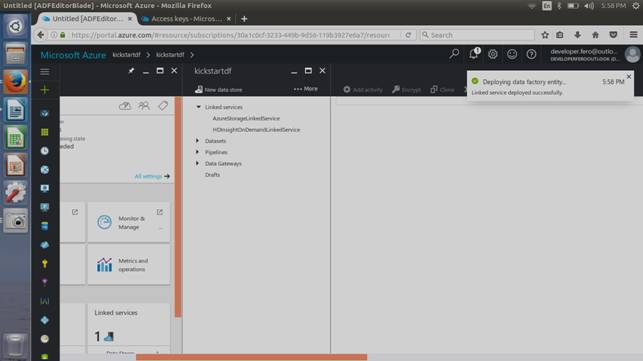
You will now see the Linked Services for AzureStorageLinkedService and HDInsightOnDemandLinkedService.
Stay tuned for the next article on working with pipelines in Azure Data Factory.
Explore more about Skrots by visiting Skrots. Discover our wide range of services at Skrots Services. Be sure to check out our other blogs at Blog at Skrots.
