-
Introduction
An Azure Digital Community (VNet) represents your community or atmosphere to run VMs and Functions within the cloud. And likewise offers an remoted atmosphere to your Azure sources.
On this article, I’ll let you know the way to create a Digital Community (VNet) in azure step-by-step.
Step 1: Sign up to your Azure portal.
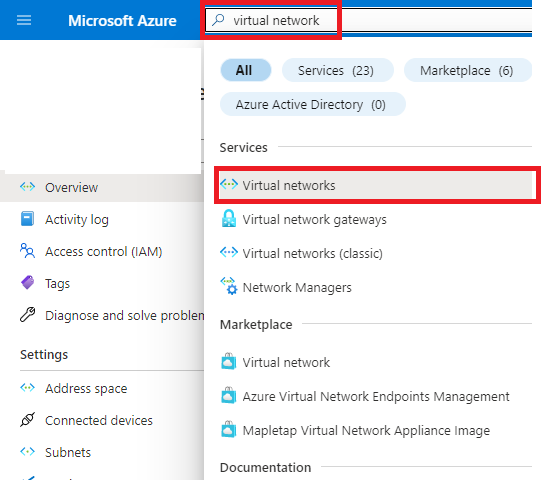
Step 2: Search Digital Community and choose
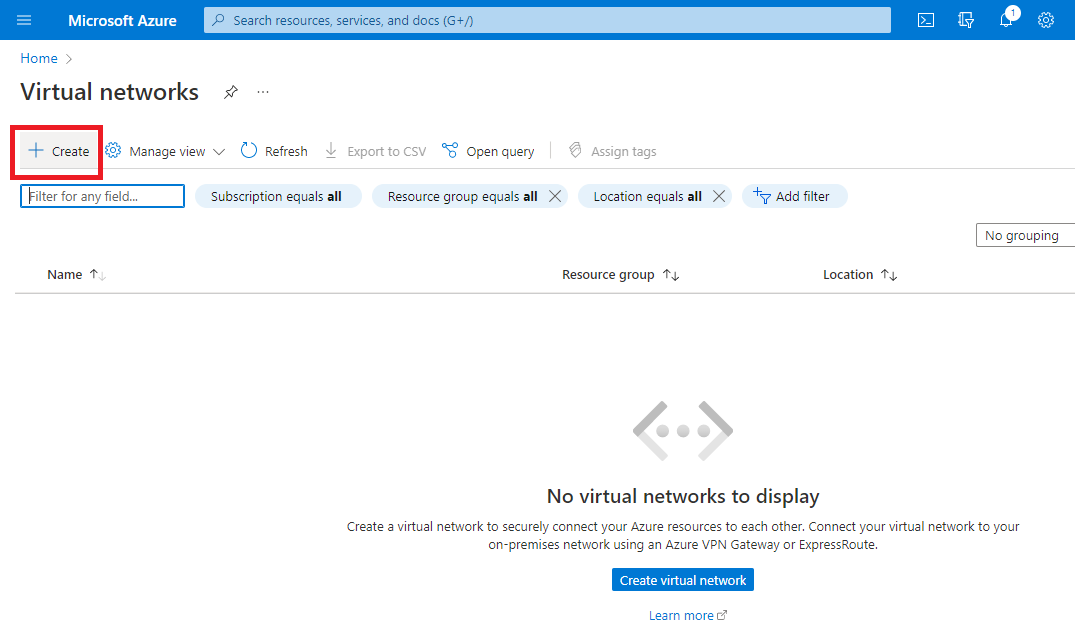
Step 3: Click on to create the Digital Community
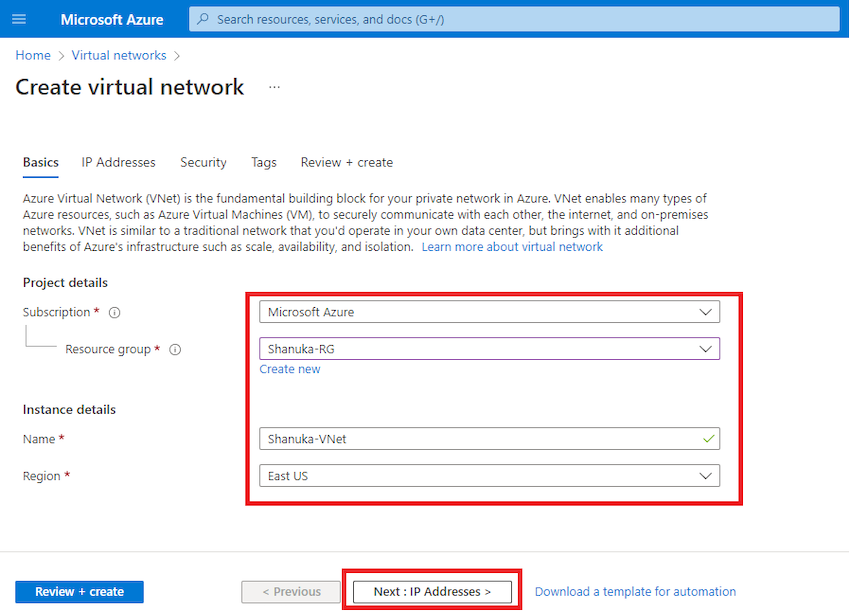
Step 4: Please be sure of the below-mentioned factors and create as per your state of affairs
Step 5: I’ve clearly talked about the IP Deal with in every step as per my state of affairs.
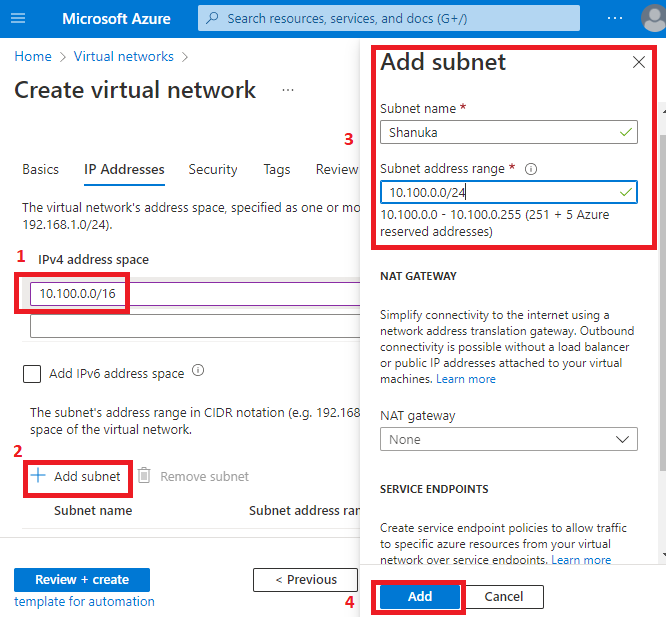
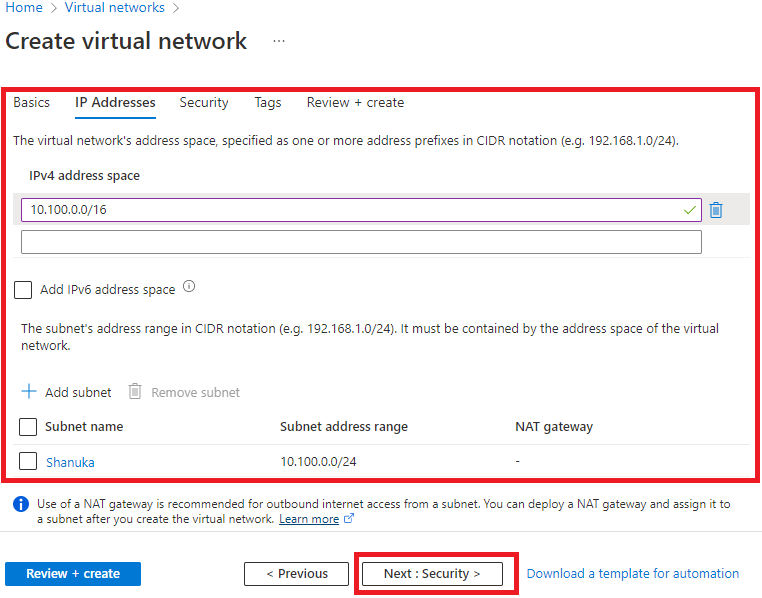
Step 6: Efficiently added my IP handle and Subnet and click on Subsequent: Safety
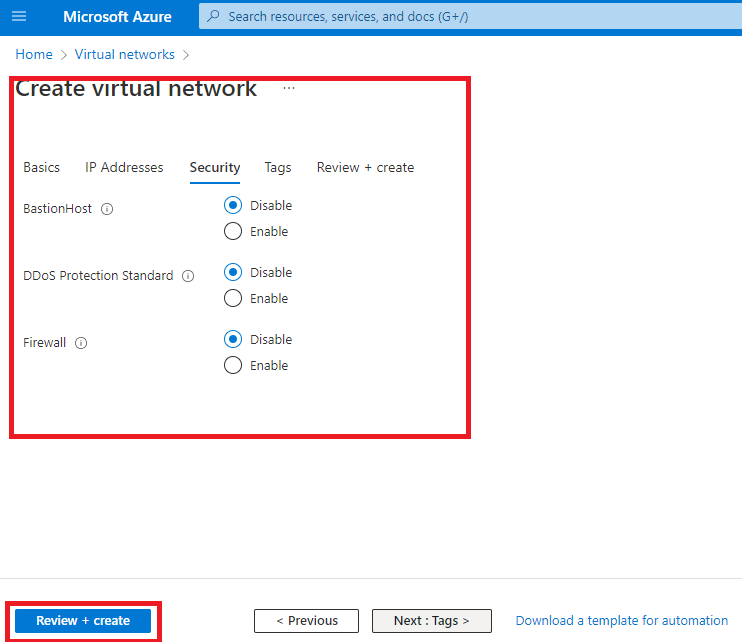
Step 7: Go away it as default and click on Evaluate + create
Step 8: As soon as validation handed simply click on and create it.
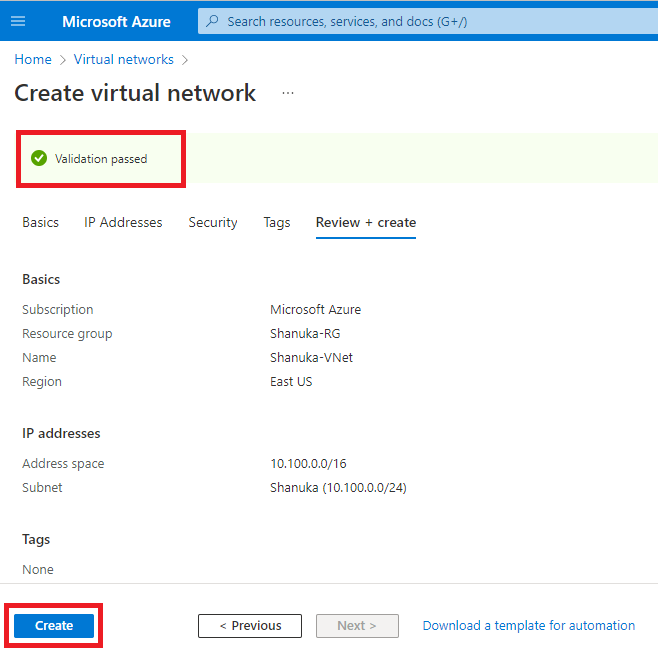
Step 9: Efficiently created my Digital Community (VNet)
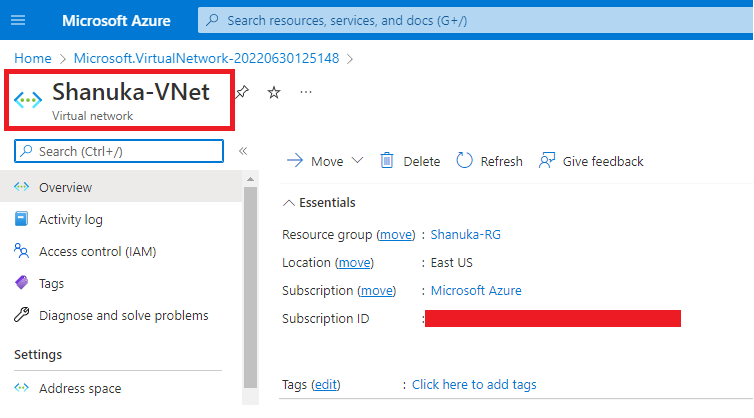
Conclusion
This text taught us easy methods to create a Digital Community (VNet) in our azure portal. And when you have any questions please contact me.
Thanks.


