Introduction
This hands-on article demonstrates how one can construct your first Cloud Utility utilizing Visual Studio.
What’s Cloud Computing?
- Can act as a Service – We are able to retailer and retrieve data, essentially the most fundamental service supplied.
- Can act as a Platform/working system – The longer term, by means of Cloud computing ” Web/Net ” is a platform.
The “cloud” represents the Web.
So Cloud computing is using the Web/Net for the duties you carry out in your laptop.
Getting Began
Conditions Step 1:
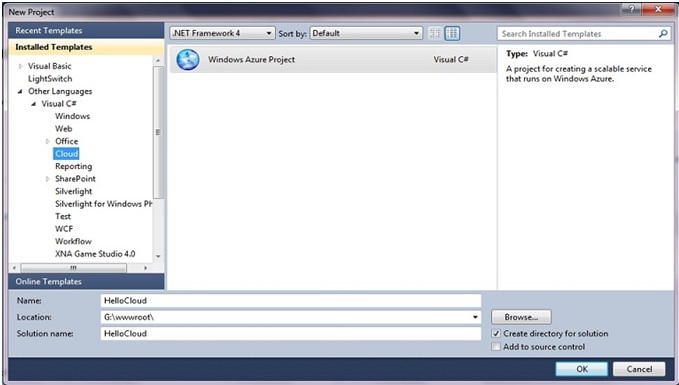
Open Visual Studio, from menu File New Challenge. Choose template Home windows Azure Challenge, give applicable answer identify, choose location path, after which hit OK.
Step 2:
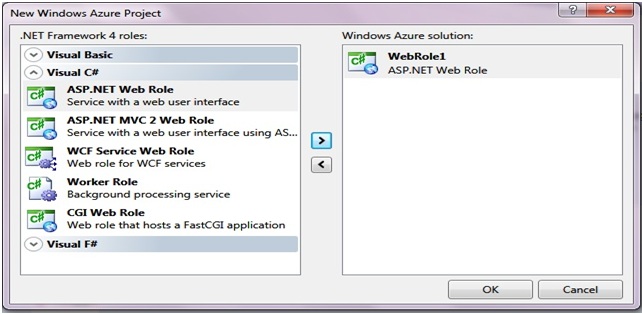
A brand new window will open asking for what sort of position/software you need to create. By default, we are going to choose and add an ASP.NET Net Position software and hit OK.
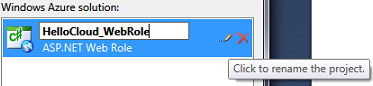
You may also change the default WebRole identify to different significant phrases. Click on on the pen-like icon offered.
The challenge is created; you’ll be able to view the listing of recordsdata created from challenge answer explorer.
Step 3:
Now drag and drop a Button and Label Management. Additionally, create an occasion handler for Button and run the challenge (F5 or hitting the inexperienced play button).

Step 4:
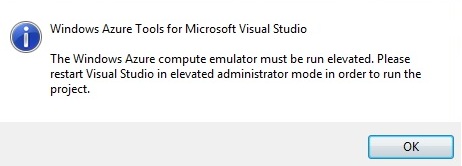
Whereas working the challenge you’ll encounter an error as proven within the picture beneath.
Step 5:
Why this error occurred?
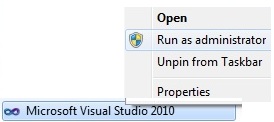
As a result of in a real-life state of affairs Cloud software will get deployed right into a dynamic extremely scalable virtualized atmosphere referred to as Home windows Azure (platform for Cloud Functions). So as to mimic this on our localhost, we have to run the Visual Studio in Administrator mode. Open the Visual Studio in Administrator (right-click “Run as administrator”) mode and choose your challenge.
Step 6:
Now run your challenge; it’ll take a while to compile. You’ll be able to see the background course of going, on the left backside nook standing bar.
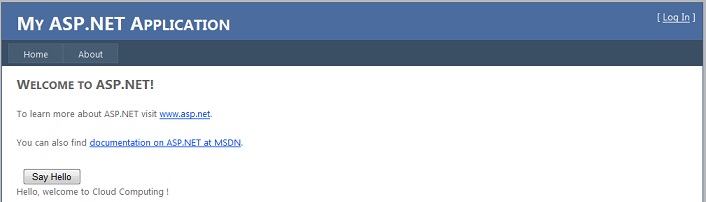
When your web page has loaded, click on on the Button; you’re going to get the textual content displayed on the Label. There we go; we’ve got created our first Cloud Utility.
In the course of the first time once you run your challenge, a sequence of background setup initializations happen.
Proper-click on the icon and click on on “Present Compute Emulator UI”. This may open the Emulator window, in which you’ll be able to see the providers created.

Step 7:
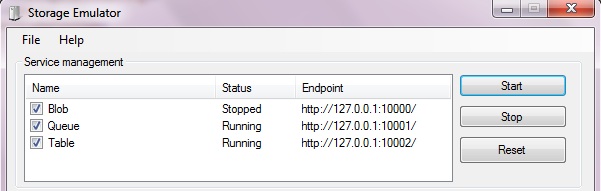
Proper-click on the icon and click on on “Present Storage Emulator UI”.
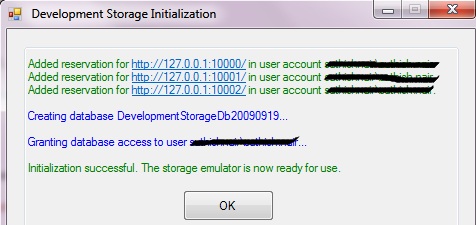
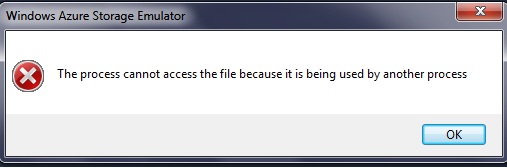
Step 8:
Assuming that the above providers will not be working, you’re going to get an error as beneath. Click on “OK”, the providers will mechanically begin.
How one can publish the appliance
Proper-click in your challenge and click on “Publish”. A brand new window with two choices will seem
Create Service Bundle Solely
This may publish two recordsdata into the challenge publish folder, which later you’ll be able to manually add to a Home windows Azure platform over the web (Web connection is a should).
Deploy on to Home windows Azure
You should Signal Up and subscribe to each the services above.
http://www.microsoft.com/windowsazure/presents/
We have already got a few articles “How one can Publish Cloud Functions”.
Watch right here a full video to be taught extra about Cloud and the Way forward for Cloud.
Abstract
Hope you all loved this text. I attempted my greatest to point out all of the step-by-step strategy to create the challenge. Please remark!


