Introduction
In right this moment’s article, we’ll check out Azure Queues and Serverless features. These are two very basic artifacts of the Microsoft Cloud platform Azure. Queues are used for sending loosely coupled messages. This can make sure the strong efficiency of our purposes. Azure serverless features is a brand new idea associated to Azure. It permits the developer to create code that can work with none platform wanted. Scaling and many others. all completed mechanically by the cloud platform itself. I can’t cowl a lot on the definitions of those two ideas as there are a lot of articles protecting the fundamental definitions and performance. We’ll see these sources in motion right this moment.
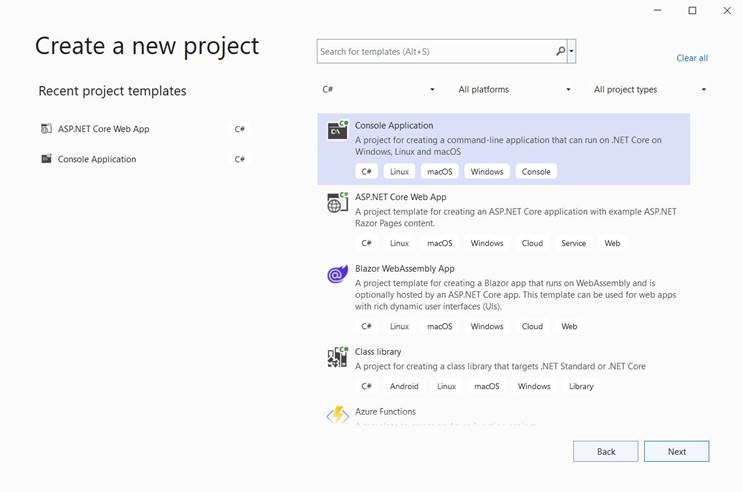
Creating the Azure Queue
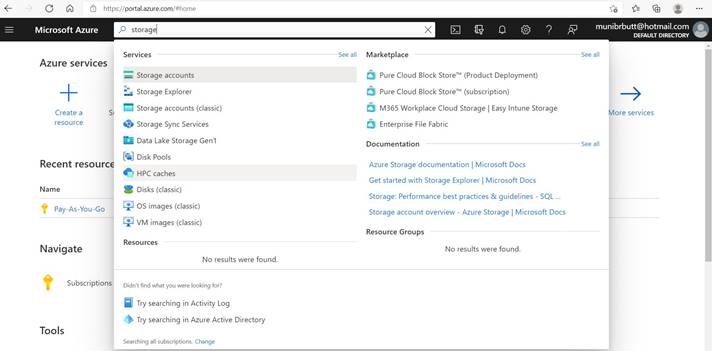
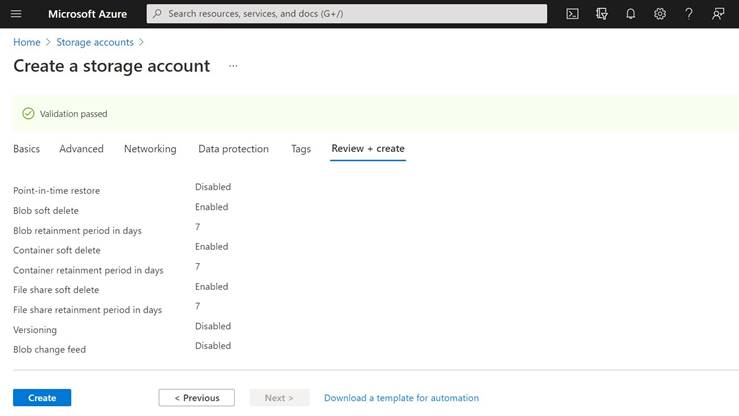
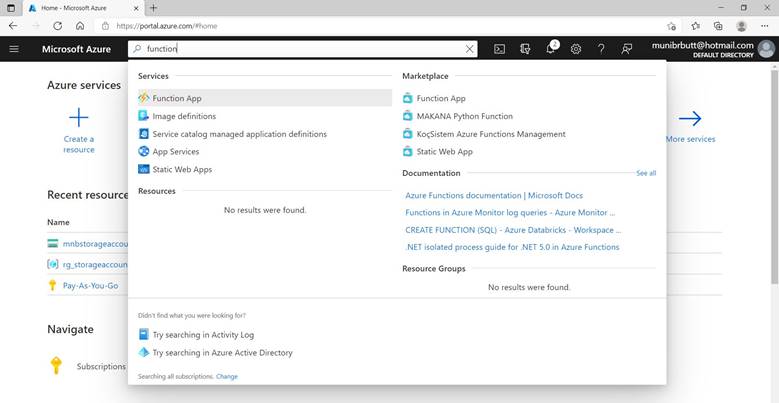
We’ll first create our queue. For this, we have to create a storage account in Azure. Log into your Azure portal subscription and observe the under steps,

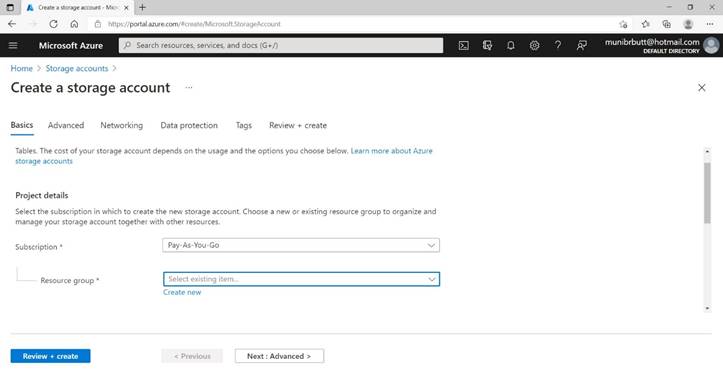
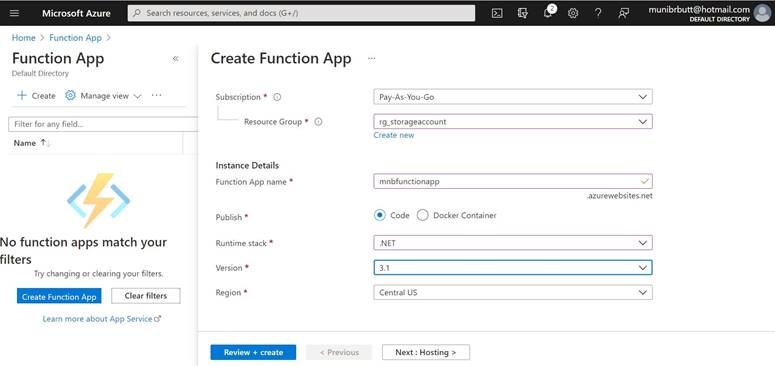
Enter your particulars as under and at all times select the most cost effective possibility for studying until there’s a particular characteristic you need to check,
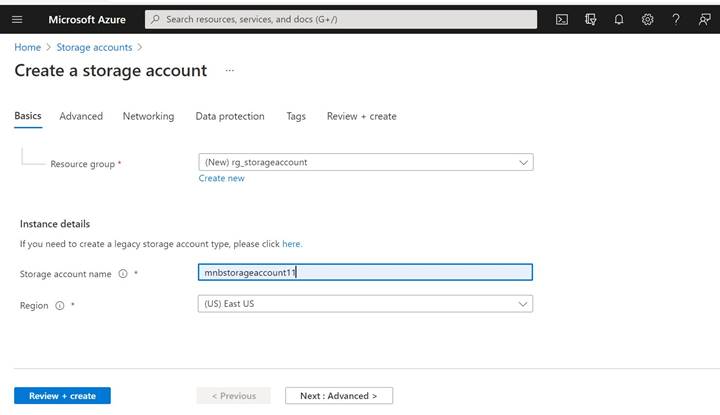
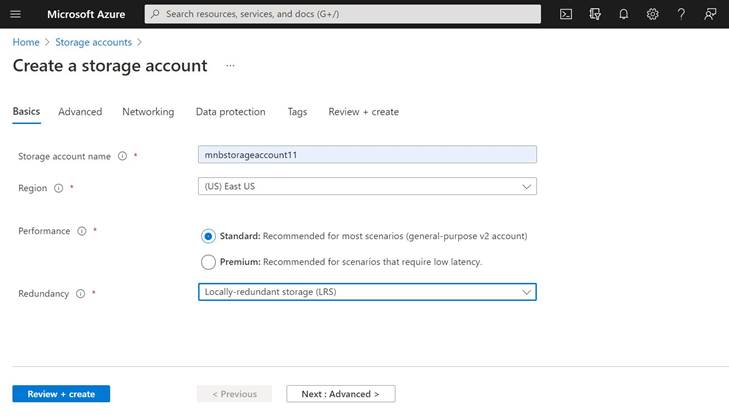
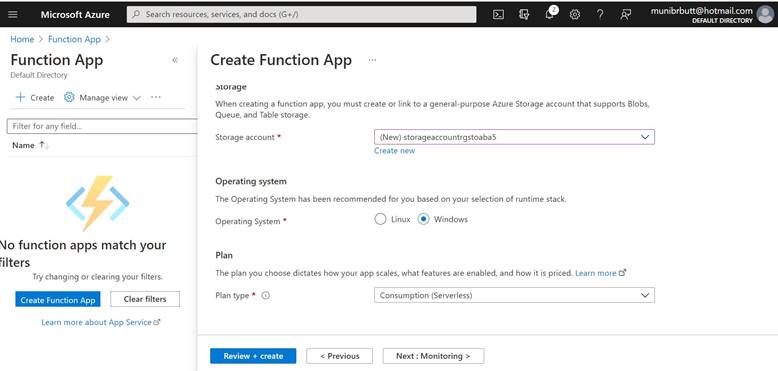
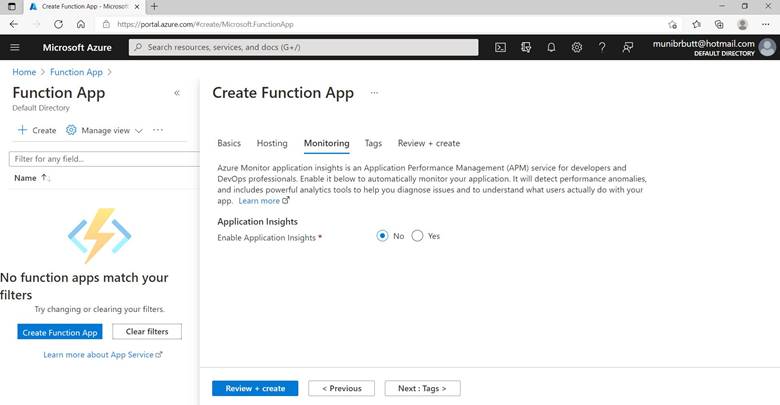
Select the defaults for different choices.
Now you can add your queue to the storage account as under,
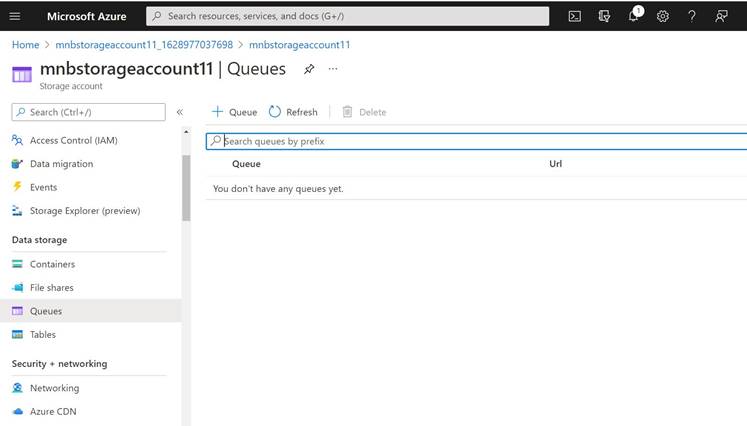
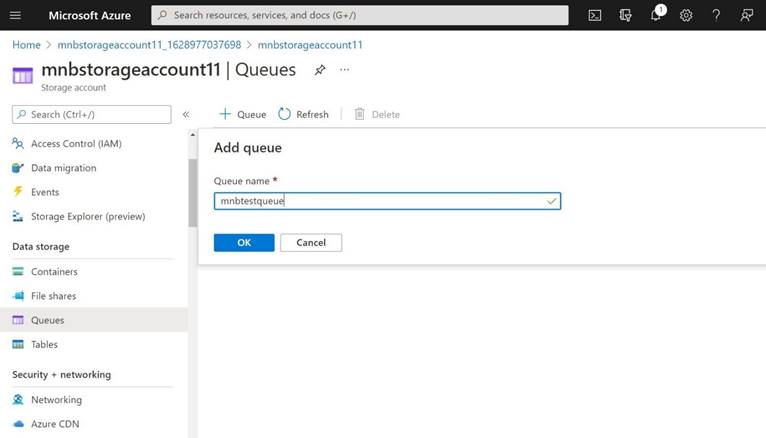
You now have a queue which we’ll populate by means of a .NET utility.
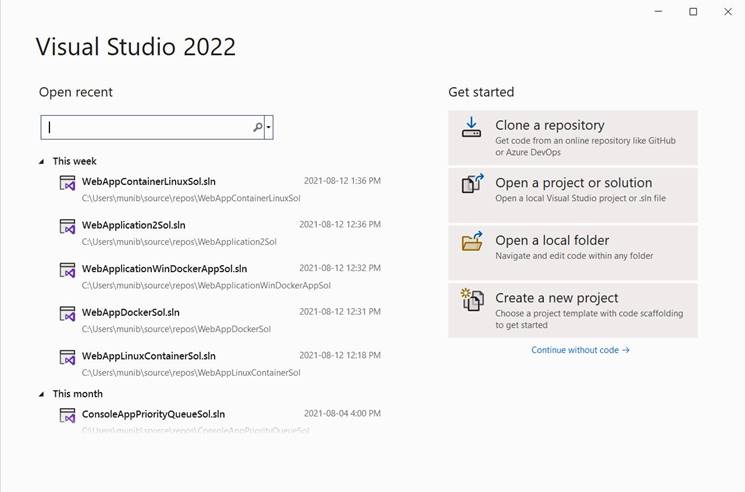
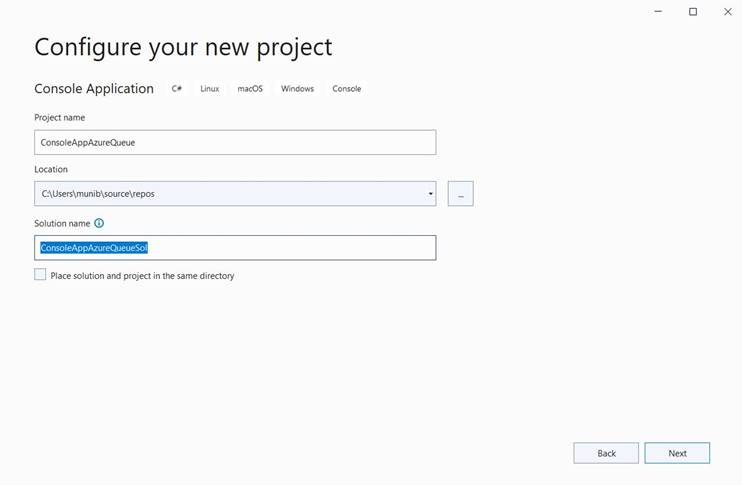
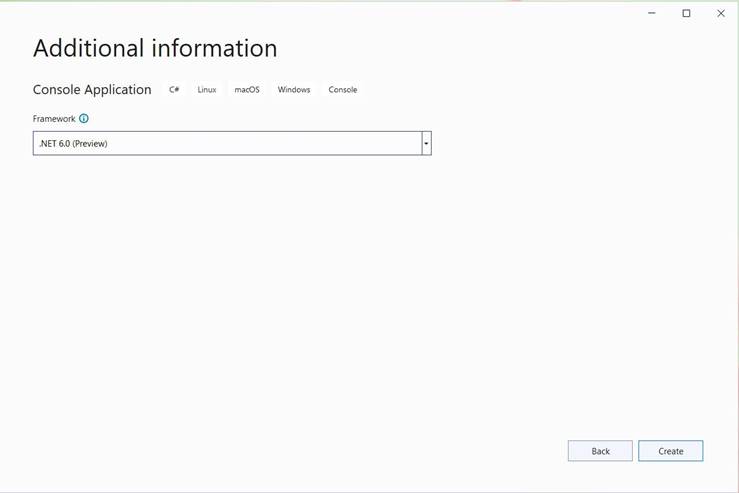
Creating the console utility in Visual Studio 2022 to populate the queue
Subsequent, we create a .NET console utility utilizing Visual Studio 2022 and the .NET 6 framework.
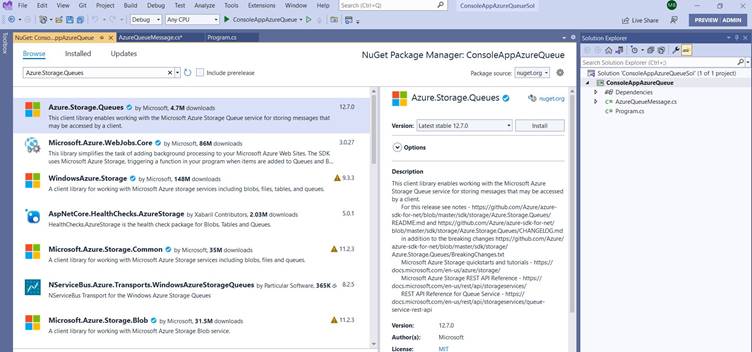
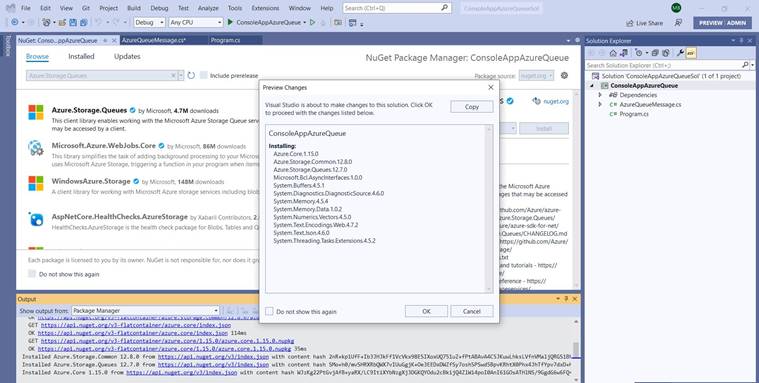
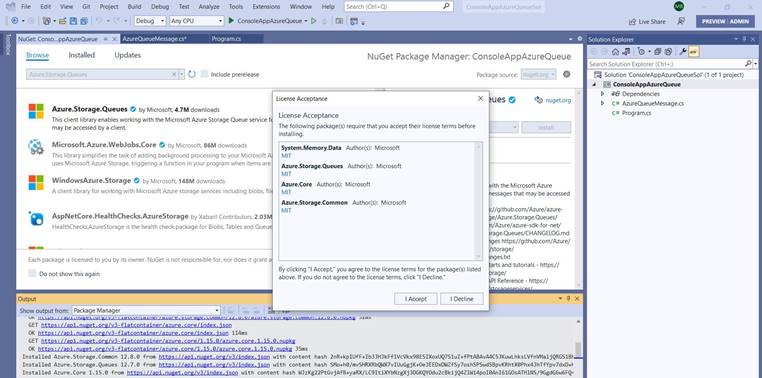
We then add the Azure.Storage.Queues Nugget package deal as under,
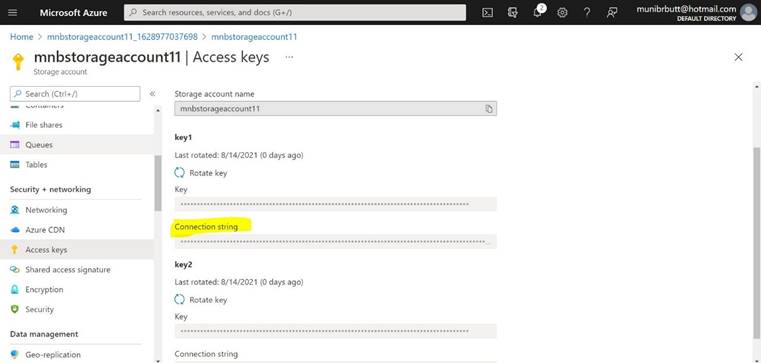
Copy the connection string for the storage account as that is wanted within the code,
Subsequent, add a brand new class known as “AzureQueueMessage” to the challenge and add the under code to it. Don’t forget so as to add your connection string,
utilizing Azure.Storage.Queues;
namespace ConsoleAppAzureQueue {
    public class AzureQueueMessage {
        public static async Job < bool > InsertMessage(string queueName, string message) {
            strive {
                QueueClientOptions queueClientOptions = new QueueClientOptions();
                queueClientOptions.MessageEncoding = QueueMessageEncoding.Base64;
                var connectionString = "<Connection string right here>";
                var queueClient = new QueueClient(connectionString, queueName, queueClientOptions);
                if (queueClient.Exists()) {
                    await queueClient.SendMessageAsync(message);
                }
            } catch {
                return false;
            }
            return true;
        }
    }
}
Add the under code to the “Program.cs” file,
utilizing ConsoleAppAzureQueue;
await AzureQueueMessage.InsertMessage("mnbtestqueue", "check");
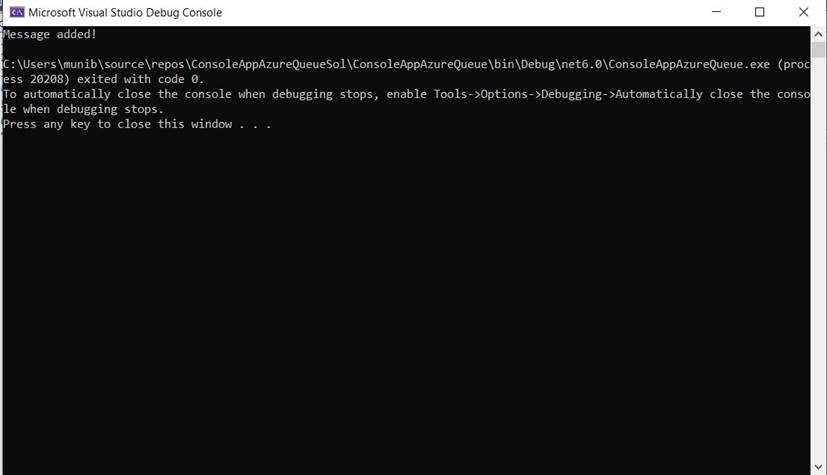
Console.WriteLine("Message added!");
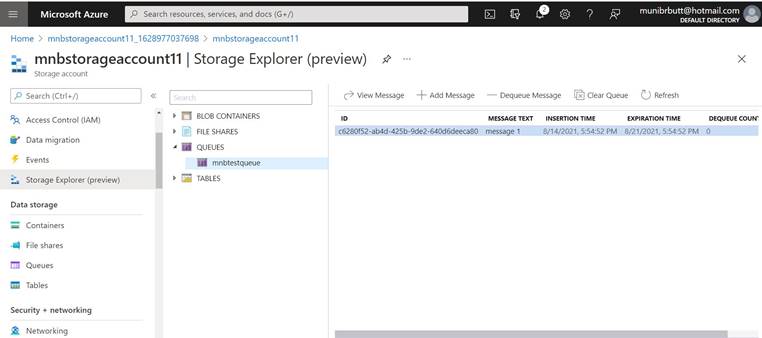
Now, if we run the applying, we see a message is added to the Azure queue we simply created.
Creating the Serverless perform to learn the queue
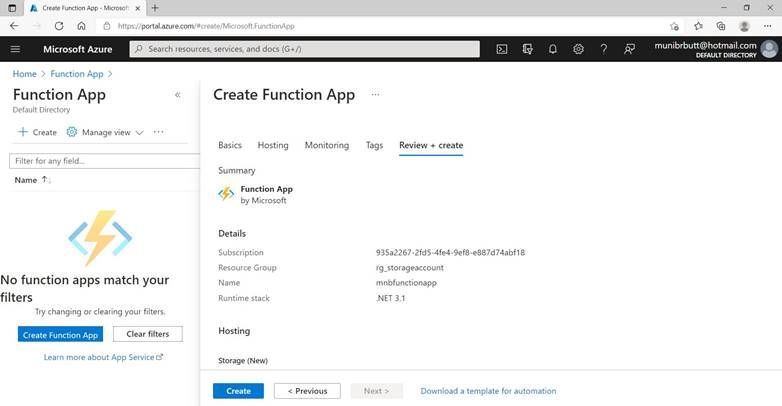
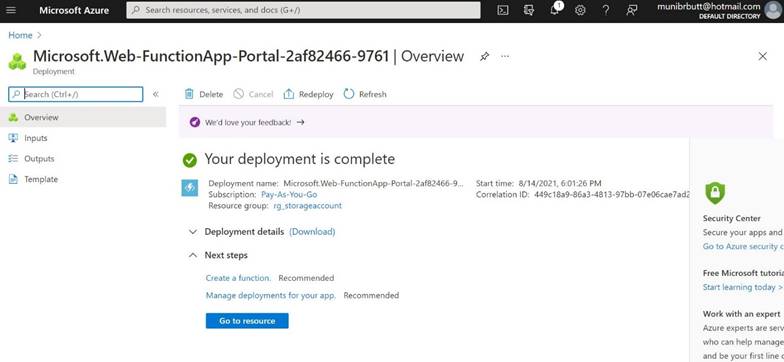
The ultimate a part of the article is to create a serverless perform that reads the message as quickly as it’s added into the queue. We observe the under steps. We begin by making a perform app,
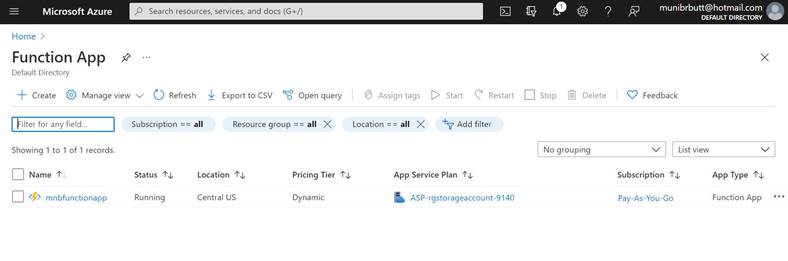
We will see the newly created perform app under,
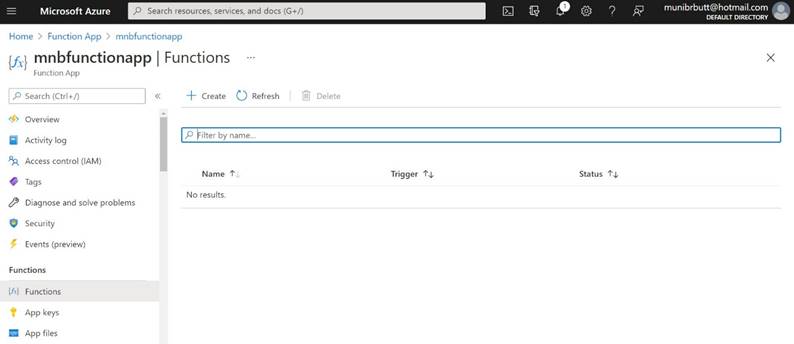
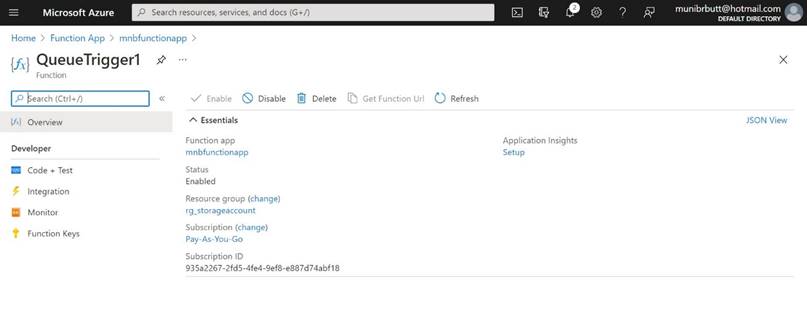
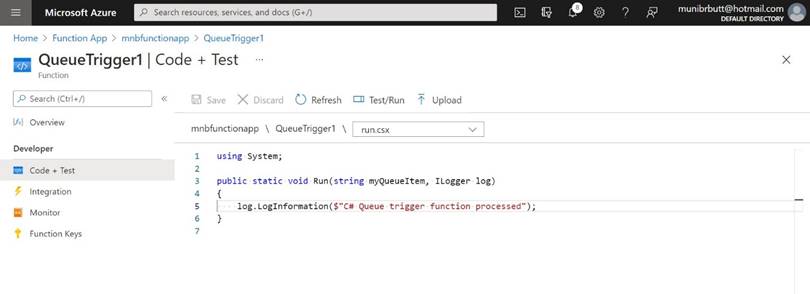
We now create the perform.
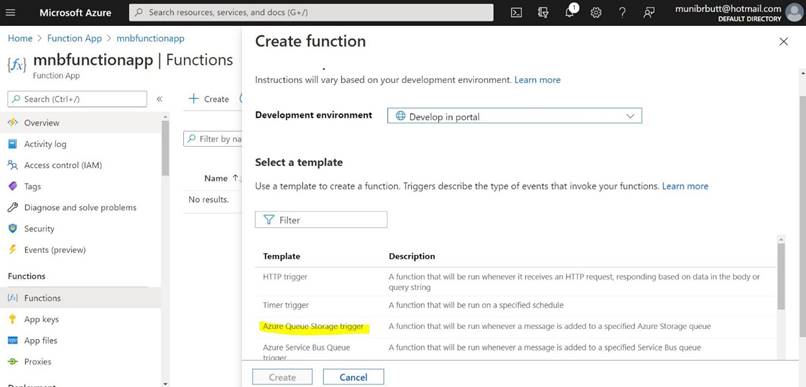
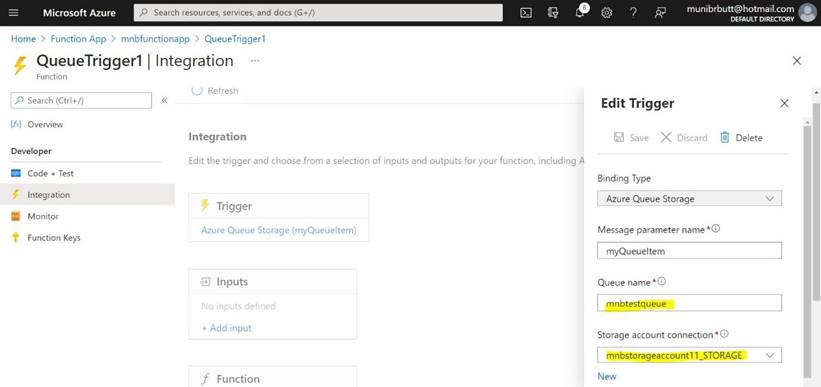
Keep in mind to pick the Azure Queue Storage set off.
Replace the combination settings as under.

Open the logs as above.
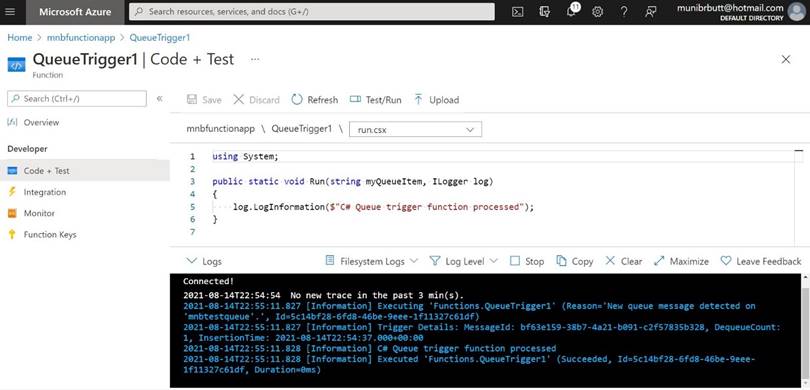
We now run the console utility once more and a message is added to our queue.
This message is picked up by the perform and processed as under,
Abstract
On this article, we took a take a look at Azure queues. How we will populate them utilizing a .NET console utility. We lastly checked out how we will create a serverless perform in Azure to choose the message from this queue and course of it. I hope this provides an concept of how these sources can be utilized in our options. Blissful coding!


