Introduction
The aim of this doc is to explain the method to take automated on-demand snapshots for Azure File Share.
Snapshot for Azure File Share is now in Common Availability. Beforehand, Azure File Share didn’t have any backup choice. In case of the File Share getting deleted, there was no mechanism to recuperate the File Share and the info was misplaced. The File Share Snapshot helps organizations take on-demand snapshot backups of the prevailing File Share for restoring it later as and when required. This doc describes automating this course of.
Pre-requisites
- Subscription contributor
- Implementation Steps
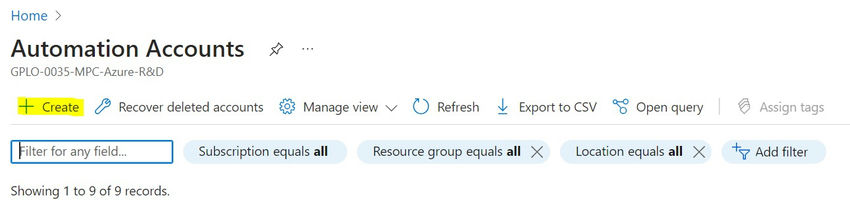
Step 1. Seek for Automation Account within the Useful resource Blade and open the Automation Account Service.
Step 2. Click on on + Create to create a brand new Automation Account.
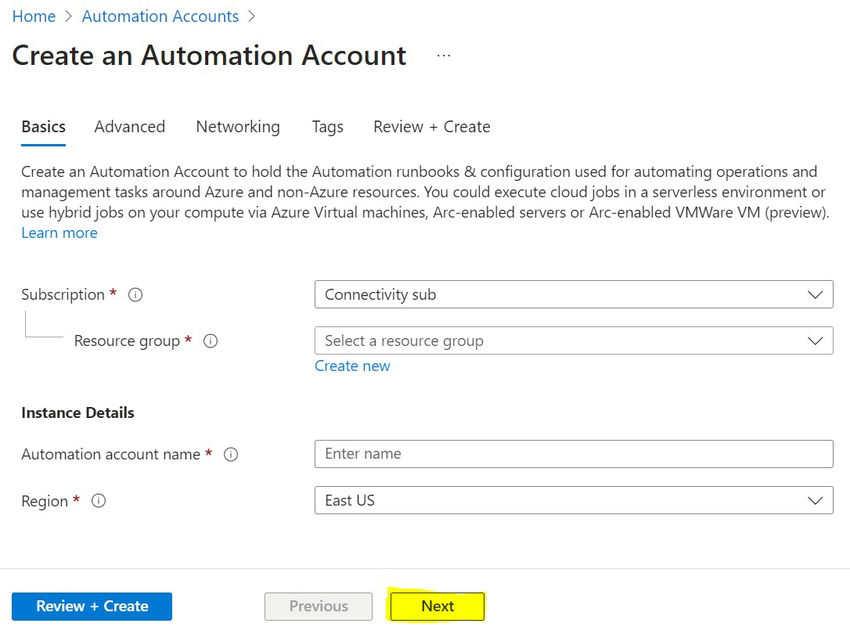
Step 3. Fill within the beneath particulars and click on on Subsequent.
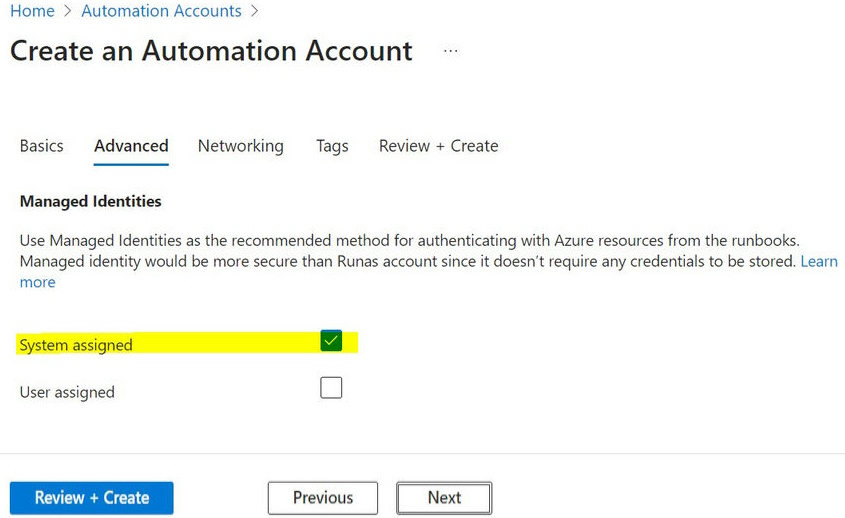
Step 4. Choose the System Assigned checkbox which is able to assign a System-assigned Managed Id to this Automation account. Click on on Subsequent.
Step 5. Choose Non-public Entry which is able to allow us to create a Non-public Endpoint to this NFS Storage.
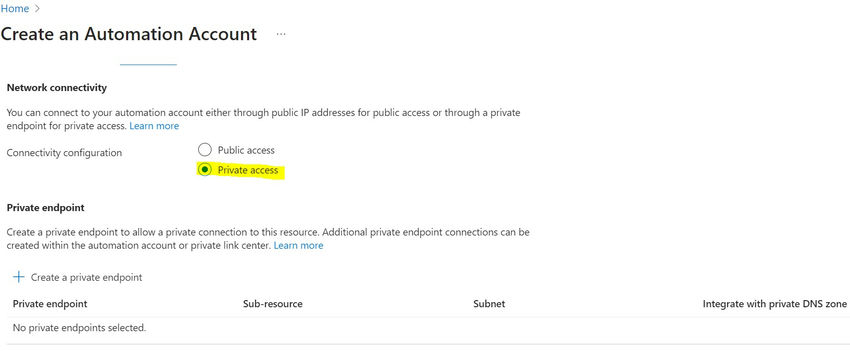
Step 6. Present the Tags and click on Assessment + Create to validate and create the Automation Account.
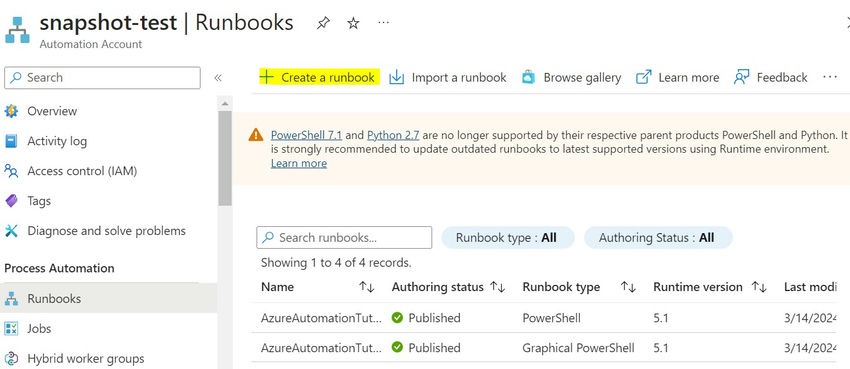
Step 7. As soon as the useful resource has been created, go to the useful resource, click on on Runbooks à + Create a Runbook. This runbook is for creating new snapshots.
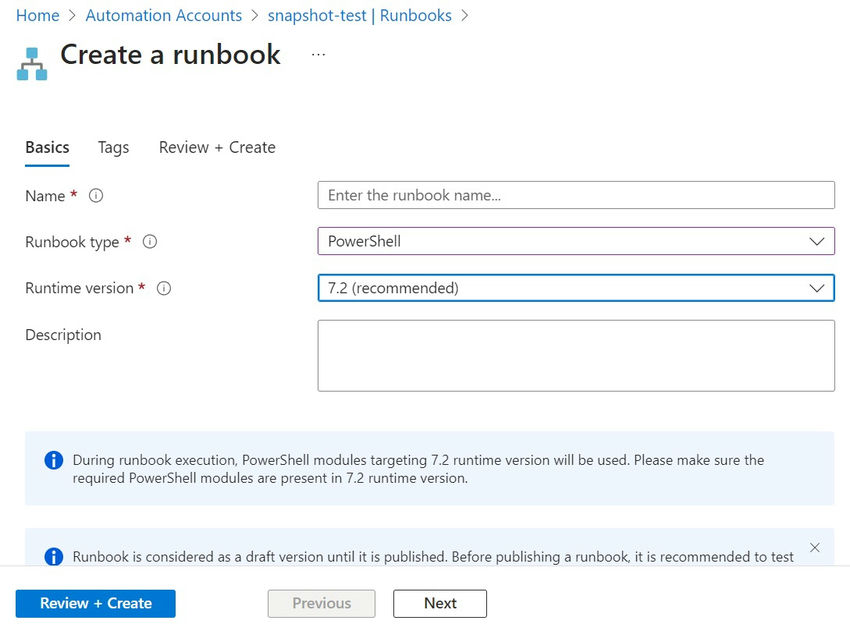
Step 8. Present the Runbook Identify, Sort, Model, and Description, and click on on Assessment + Create to create the Runbook.
Step 9. Following the above steps, create a brand new Runbook for deleting outdated snapshots and replica the beneath code. The beneath code will test for older snapshots and delete them.
Join-AzAccount -Id

$resourceGroupName = "snapshottest"
$accountName = "snapshotnfstest"
$shareName = "testfileshare"

#$snapshotLifetimeInDays = "15"
$snapshotLifetimeInMinutes = "5"
$whatIf = $false

$CurrentDateTime = (Get-Date).ToUniversalTime()
#$DateTimeThreshold = $CurrentDateTime.AddDays(-$snapshotLifetimeInDays)
$DateTimeThreshold = $CurrentDateTime.AddMinutes(-$snapshotLifetimeInMinutes)

Write-Host "Querying all snapshots for share '$shareName'"

$snapshotList = (Get-AzRmStorageShare -ResourceGroupName $resourcegroupname -StorageAccountName $accountName -IncludeSnapshot) | The place-Object { $_.Identify -eq $shareName -and $_.snapshotTime -ne $null }

Write-Output $snapshotList

Write-Output "Present date/time is $CurrentDateTime. Eradicating share snapshots older than '$DateTimeThreshold'"

foreach ($snapshot in $snapshotList) {
    if ($snapshot.SnapshotTime -lt $DateTimeThreshold) {
        Write-Output "Eradicating snapshot '$($snapshot.snapshotTime)' of share '$($snapshot.Identify)'"
        if ($whatIf -ne $true) {
            Take away-AzRmStorageShare -ResourceGroupName $resourcegroupname -StorageAccountName $accountName -Identify $snapshot.Identify -snapshotTime $snapshot.snapshotTime -Drive
        }
        else {
            Write-Output "Retaining current snapshot '$($snapshot.snapshotTime)' of share '$($snapshot.Identify)'"
        }
    }
}
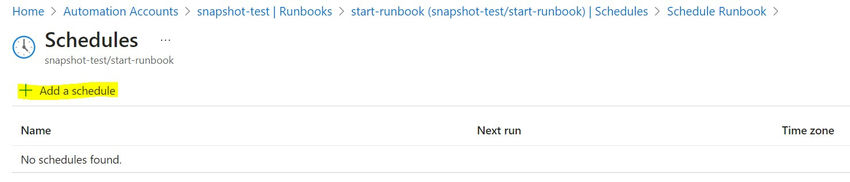
Step 10. Click on on Schedule click on on + Add a schedule.
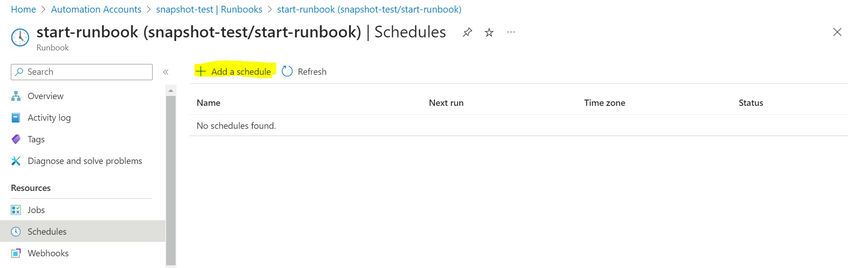
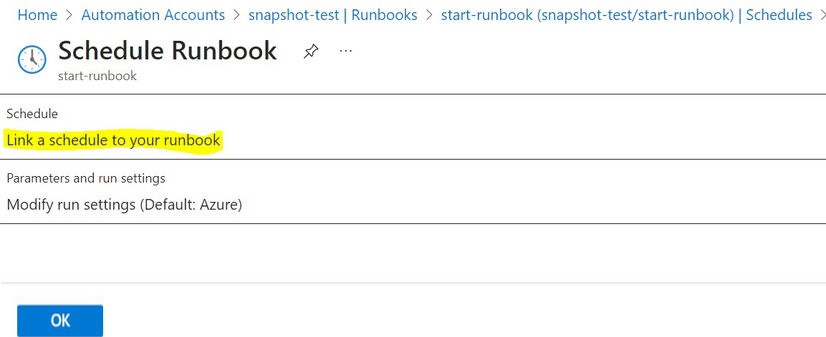
Step 11. Click on on Schedule as proven within the snapshot beneath.
Step 12. Click on on + Add a Schedule.
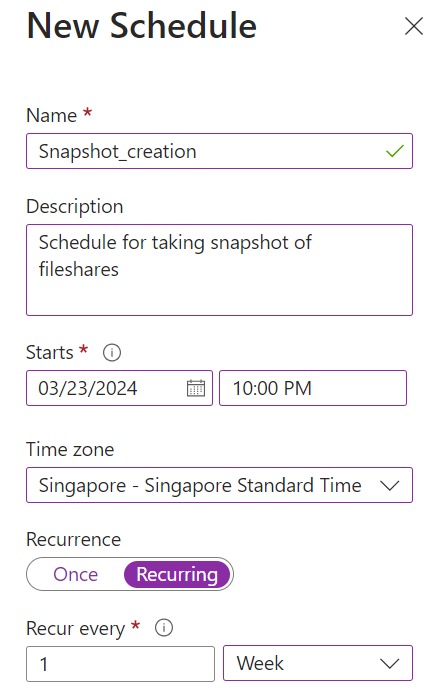
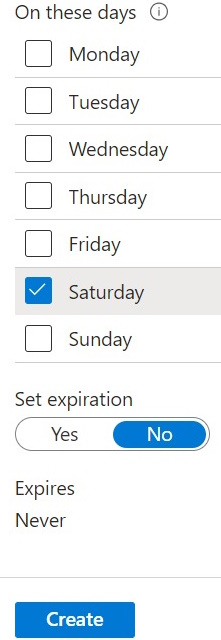
Step 13. Present the schedule for the Automation account to execute the Runbook and click on on Create to create a schedule.
Know extra about our firm at Skrots. Know extra about our companies at Skrots Providers, Additionally checkout all different blogs at Weblog at Skrots