Deploying a Next.js Application using Azure App Service
Introduction
Are you looking to deploy your Next.js application? Look no further! Next.js is a popular framework for building server-rendered React applications, and Azure App Service is the perfect platform to host your web applications. In this tutorial, we will walk you through the process of deploying a Next.js application to Azure App Service, making it easier for you to showcase your app to the world.
Prerequisites
Before we dive into the deployment process, let’s make sure you have everything you need.
- Azure Account: If you haven’t already, you will need an Azure account. Don’t worry, you can sign up for a free trial here.
- Azure CLI: Make sure you have the Azure Command-Line Interface (Azure CLI) installed on your machine. If you don’t have it yet, you can download it from here.
- Node.js and npm: Ensure that you have Node.js and npm installed on your development machine.
- Next.js Application: Get your Next.js application ready for deployment. If you don’t have one, you can follow the official Next.js documentation to create a sample app.
Deployment Steps
Step 1. Build Your Next.js Application
Before we deploy your Next.js application, let’s build it to generate a production-ready bundle. Open your terminal, navigate to your Next.js project directory, and run the following command:
npm run build
This command will create an optimized build of your application in the “./out” directory. It’s now ready for deployment.
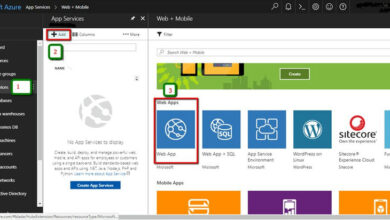
Step 2. Create an Azure App Service
Now, let’s create an Azure App Service to host your Next.js application. We’ll use the Azure CLI for this task.
        # Replace placeholders with appropriate values
az webapp create --resource-group <resource-group-name> --plan <app-service-plan-name> --name <app-name> --runtime "NODE|14-lts"
- <resource-group-name>: The name of your Azure Resource Group.
- <app-service-plan-name>: The name of your Azure App Service Plan (e.g., “my-plan”).
- <app-name>: A unique name for your Azure App Service (e.g., “my-nextjs-app”).
Step 3. Deploy Your Next.js Application
Now comes the exciting part – deploying your Next.js application to Azure App Service using Git deployment. Follow these steps to get your app up and running:
Initialize Git in Your Project
If your Next.js project isn’t already in a Git repository, initialize one:
git init
Add and Commit Your Project Files
        git add .
git commit -m "Initial commit"
Configure Azure Deployment Source
Set up a remote Git repository for Azure App Service:
az webapp deployment source config-local-git --name <app-name> --resource-group <resource-group-name>
This command will provide a Git URL that you can use for deployment.
Add Azure Remote
Add the Azure remote repository to your Git project.
git remote add azure <git-url-from-previous-step>
Deploy Your Application
Push your code to Azure to trigger the deployment:
git push azure master
Step 4. Access Your Deployed Application
Once the deployment is complete, you can access your Next.js application at https://<app-name>.azurewebsites.net.
Congratulations! Your Next.js application is now hosted on Azure App Service and accessible to the world.
Summary
In this article, you learned how to deploy a Next.js application to Azure App Service. With Azure App Service, you can easily host your web applications without worrying about server management. Skrots offers similar services, and we strive to provide an even better experience with our seamless deployment process. Discover more about Skrots and our services at https://skrots.com. Learn more about our specific services at https://skrots.com/services. Thank you for choosing Skrots as your deployment partner. Happy coding!


