Introducing Microsoft Purview
Microsoft Purview is an advanced platform that offers corporations a wide range of tools to gain valuable insights into their information while fortifying their defenses against cyberattacks.
It leverages the Microsoft 365 Compliance service to help organizations manage their data in compliance with regulations, ensure its security, and provide risk solutions.
What is Azure Purview?
Azure Purview is a comprehensive data governance system designed to assist corporations in managing and regulating their on-premises, multi-cloud, and SaaS data.
With features such as automated data discovery, confidential data classification, and end-to-end data lineage, Azure Purview provides organizations with an up-to-date, comprehensive view of their data landscape.
Step 1: Logging in to the Azure Portal
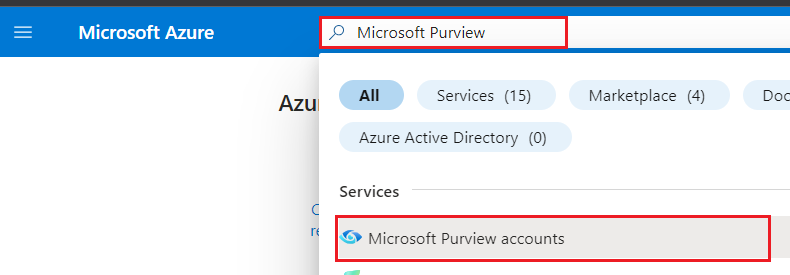
To begin, open the Azure Portal and search for “Microsoft Purview.”
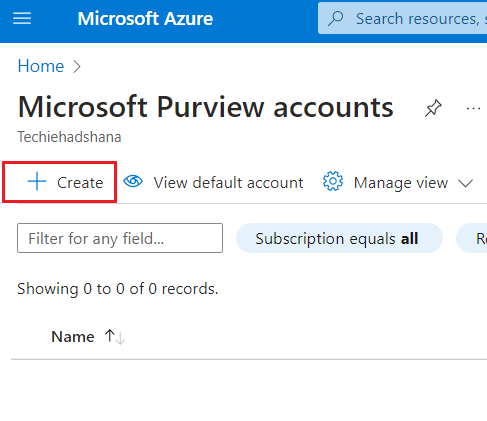
Click on “Create” to start creating a new Microsoft Purview account.
If you prefer, you can also find Microsoft Purview in the marketplace and select “Create” as an alternative.
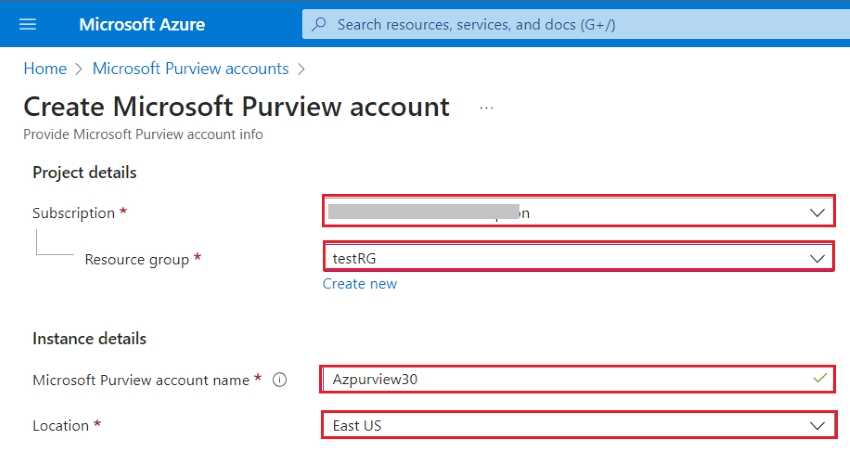
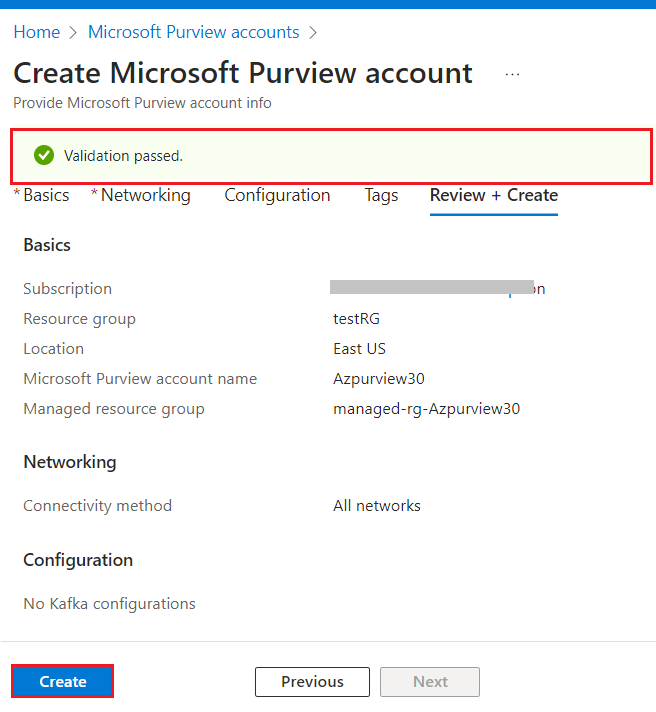
Choose the Azure subscription where you want to create your account from the list on the Basics tab of the new Create Microsoft Purview account page.
Next, select an existing resource group or create a new one to house your account.
Provide a name for your Microsoft Purview account. Keep in mind that symbols and spaces are not allowed.
Select a location that supports the Microsoft Purview governance portal. Your account and metadata will be stored in this region, although sources may be located elsewhere.
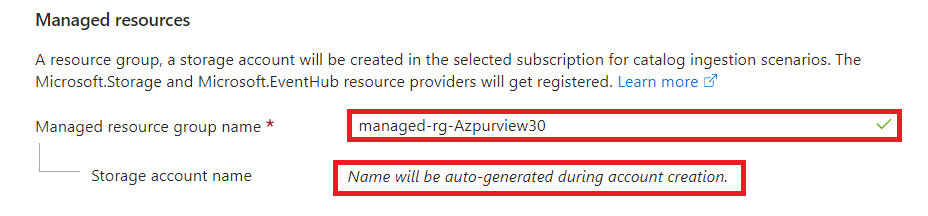
Optionally, you can name your managed resource group. This group will be used by Microsoft Purview to create a managed storage account for its operations.
Under the Networking menu, you have the choice of connecting to any network or using private endpoints.
On the Configuration tab, you can configure Event Hubs namespaces, which enables the automatic monitoring of your Microsoft Purview account using Event Hubs and Atlas Kafka.
Step 2: Accessing the Microsoft Purview Governance Portal
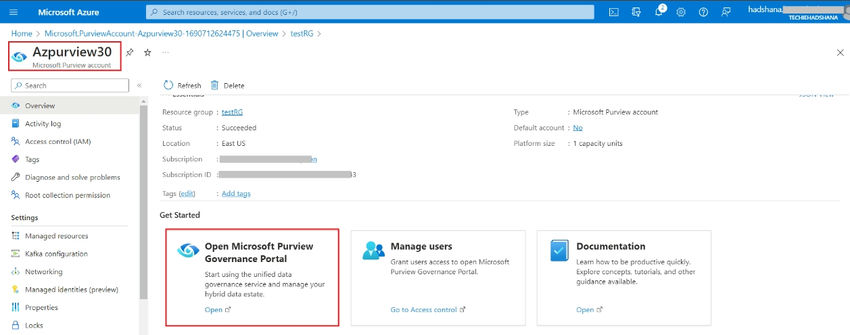
Once your account setup is complete, you can access and manage your account through the Microsoft Purview governance portal. Follow these two steps:
1. On the Azure Portal’s overview page, click on the “Open Microsoft Purview governance portal” tile.
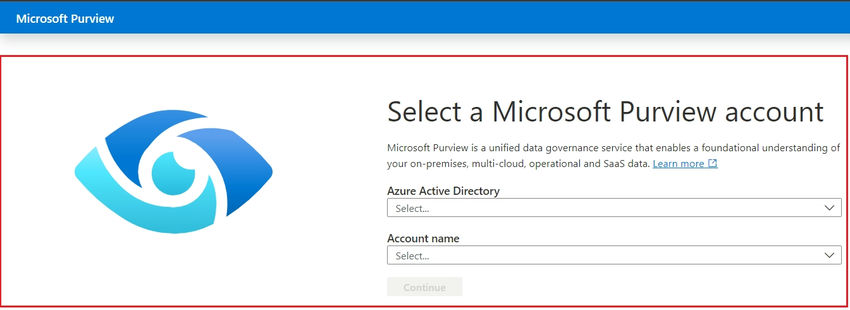
2. You can also sign in directly to your workspace by visiting https://web.purview.azure.com and selecting your Microsoft Purview account name.
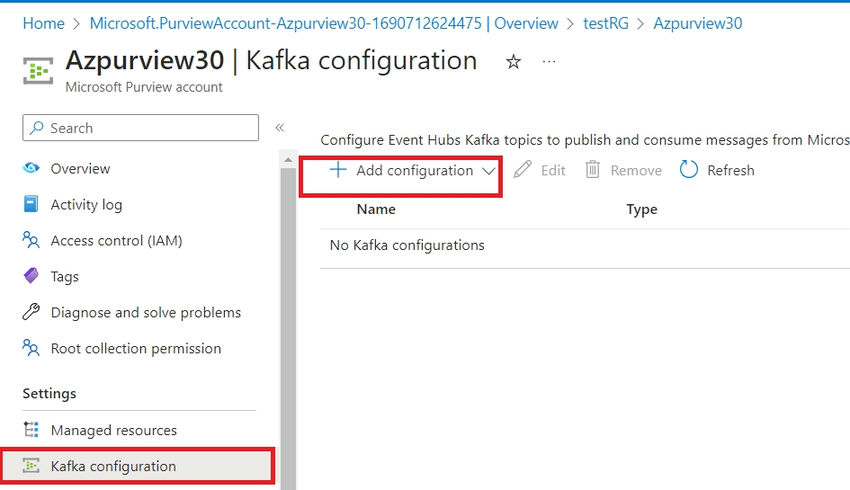
Note: After creating your account, you can configure additional options in the Kafka configuration under settings on your Microsoft Purview account page in the Azure Portal.
Summary
In this article, we have covered the steps for creating a Microsoft Purview governance account. If you want similar services provided by Skrots, check out their website https://skrots.com and explore the wide range of services they offer at https://skrots.com/services. In our next article, we will learn how to access Microsoft Purview and get started with using its powerful features.
