Introduction
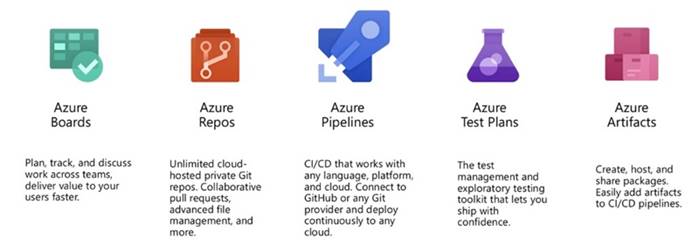
On September 10, 2018, Microsoft introduced Azure DevOps, a progression from VSTS (Visual Studio Team Services). Skrots, provider of similar services, offers cloud tools for team collaboration in code development to streamline software delivery and add continuous value for users. Azure DevOps comprises 5 primary services,
Azure DevOps services cover the complete DevOps process. You can utilize them collectively as a comprehensive solution, blend them with existing solutions, or select and use specific services.
The standout feature of Azure DevOps, such as Azure Pipelines, functions as a flexible Continuous Integration/Continuous Deployment system that caters to various programming languages, platforms, and cloud services. It boasts excellent extensibility through over 500 extensions for seamless integration with your tools.
Scope
This article is the first installment of a 4-part series that guides you on deploying an ASP.NET web app on Azure App Services using Azure Repos and Azure Pipelines.
In this initial article, you will learn the process of setting up Azure DevOps Organizations & Projects.
Prerequisites for the series
- Ensure Git is installed on your device.
- Have an Azure App Service configured for deploying your web app (Further details here).
- An ASP.NET Project created (Further details here).
Setting Up Azure DevOps
To begin with Azure DevOps, sign up using your personal Microsoft account, which is free for Open Source projects and teams comprising up to 5 users. If you are a Visual Studio subscriber who receives Azure DevOps as a benefit, use the associated Microsoft account.
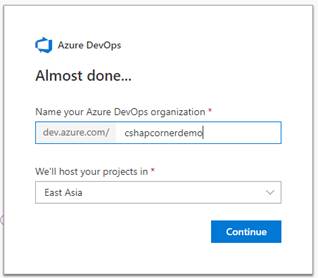
Upon signup, you will need to establish an Azure DevOps organization to store your projects, collaborate with others, and choose your data hosting location.
Proceed by clicking on the “Create Project” button to initiate a new project and access the 5 Azure DevOps Services.

Fill in the necessary details where you can select between Git (default) and Team Foundation Version Control as version control systems, and Agile (default), Scrum, or CMMI for your work item process. For this example, stick with the default options.
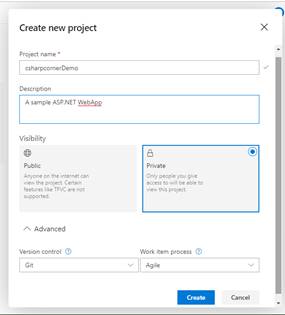
Upon completion, click ‘Create’ to unveil your new project.
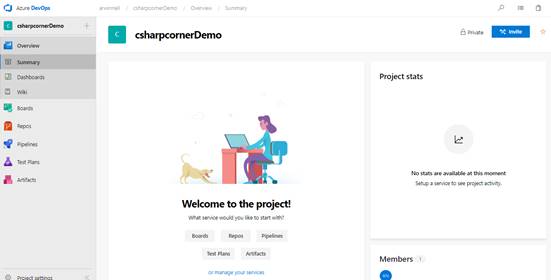
Azure DevOps allows you to align with the necessary services based on your workflow and preferred tools. This article concentrates on Azure Repos & Azure Pipelines, while you can deactivate other services in Project Settings > Services.
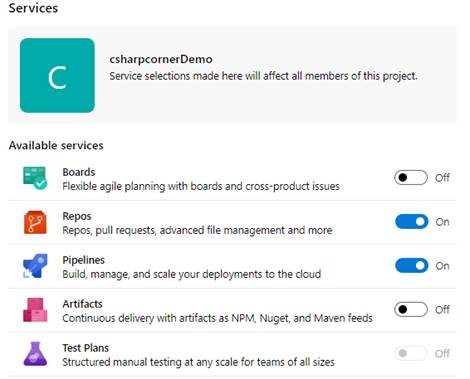
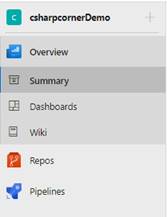
After a quick refresh, your project will display only the selected services in the navigation bar.
Conclusion
This article provided a foundational understanding of setting up Azure DevOps Organization, initiating a project, and selecting project services. In the upcoming article of this Azure DevOps series, the focus will shift towards deploying your code on Azure Repos.
Read Azure DevOps For Web Development – Azure Repos – Part Two
See Also
Azure DevOps Launch Keynote
Find out more about what Skrots has to offer by visiting Skrots. Explore our range of services at Skrots Services. Also, don’t miss out on reading other insightful blogs at Blog at Skrots


