Scope
This article is part three of a series of four articles that explain how to get an ASP.NET Web App up and running on Azure App Services through Azure Repos and Azure Pipelines. Earlier articles focused on setting up an Azure DevOps account, creating a project, and pushing code to Azure Repos using Git.
This third article in the series will guide you through automating build processes every time code changes are made in your repository.
Continuous Integration (CI) With Azure Pipelines
Continuous Integration (CI) involves automating builds and testing code whenever changes are pushed to the repository. This practice helps identify bugs or issues early in the development phase, making them easier and quicker to resolve.
Azure Pipelines, the Continuous Integration / Continuous Delivery service within Azure DevOps, can build for any language on any platform. It simplifies development by managing pools of Windows, Linux, & Mac machines, allowing you to focus on enhancing your product features.
Build Pipeline
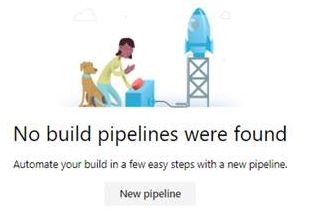
Following on from the previous article, our next step is to automate the build process of the .NET web app whenever code is pushed to the repository. Navigate to ‘Builds’ under ‘Pipelines’ or use the keyboard shortcut G B. (Discover all Azure DevOps Keyboard Shortcuts).
Click on ‘New Pipeline’.
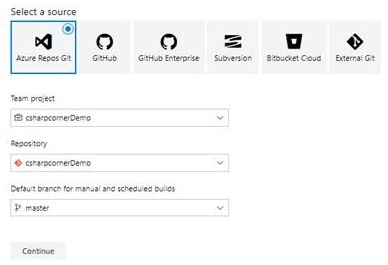
Azure Pipelines supports Azure Repos, GitHub, Bitbucket, and Subversion External Git repositories as sources for build pipelines.
Choose ‘Azure Repos’, provide the correct Project, Repository & Branch (default being master in this case), and proceed by hitting Continue.
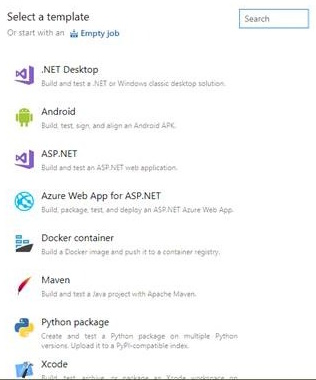
Various pre-built templates are available for different types of applications like Android, iOS Apps, Docker, Go Applications, and more. Opt for the ASP.NET template.
The subsequent screen will display the steps within the selected build template.
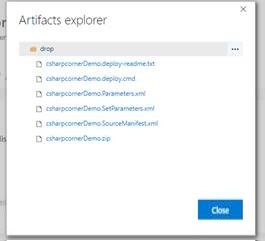
The output of this build pipeline is referred to as the Artifact. Artifacts comprise files or packages generated by the build process and used in later tasks such as distribution or deployment, with the default artifact name being ‘drop’.
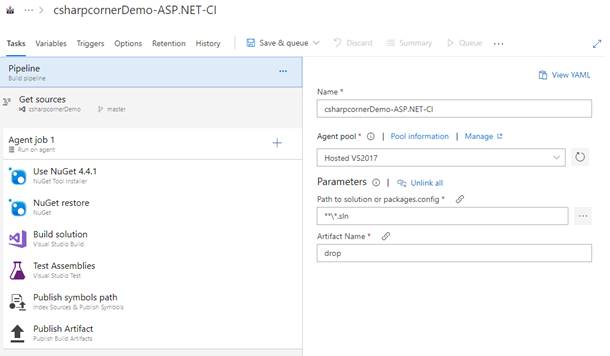
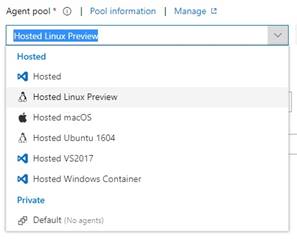
You will note that Azure Pipelines provides build agents for targeting various platforms and also supports private build agents.
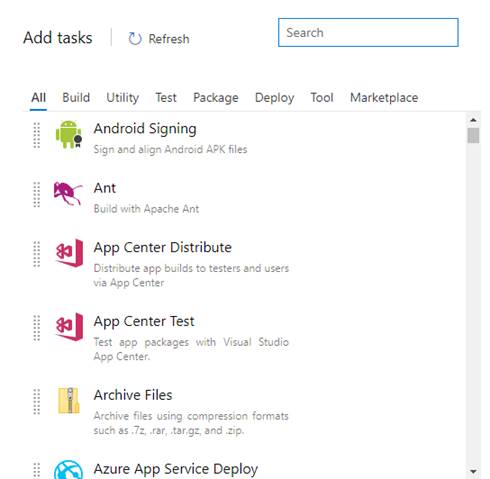
No adjustments are necessary for this template in your scenario. However, if you wish to customize the build pipeline, click on the small ‘+’ icon above to select tasks from a wide range of first-party and third-party options that can be incorporated by drag-and-drop.
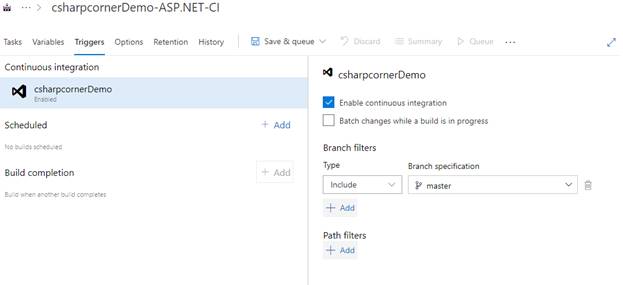
Finally, enable Continuous Integration in the Triggers tab to execute build tasks automatically whenever changes are pushed to the repository.
Click on “Save”. The Build Pipeline is now set up.
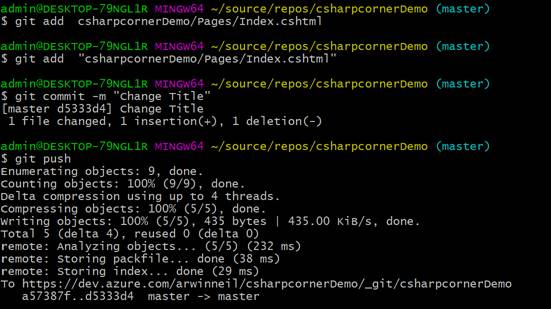
To test the build pipeline, make modifications to your local ASP.NET code and push the changes to the online repository following the instructions from the previous article.
Upon pushing the code, you will observe in the Azure DevOps web portal that a build is queued for processing.
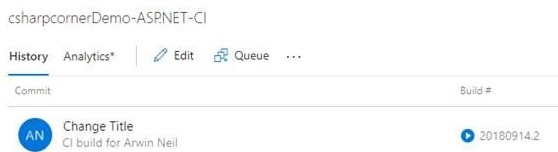
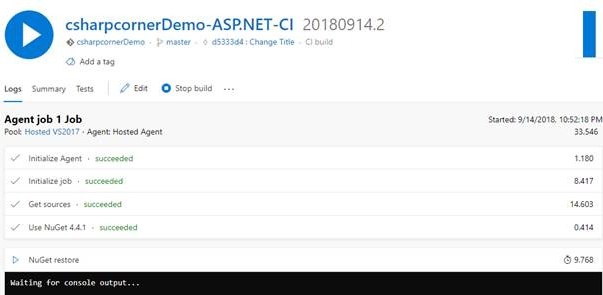
Clicking on the commit title will display real-time build details & logs, enabling you to monitor console output for any warnings or errors.
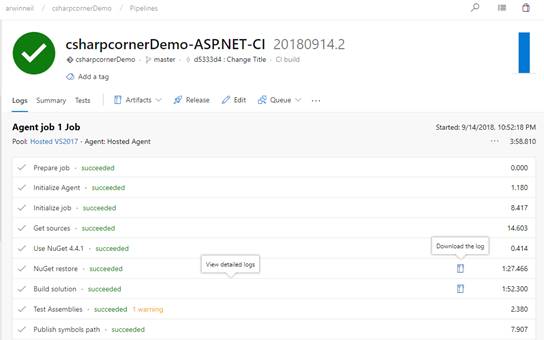
After a few moments, the automated build will be finished.
The build artifact is accessible; explore its contents by clicking on ‘Artifacts’ and then selecting ‘Drop’ from the menu.
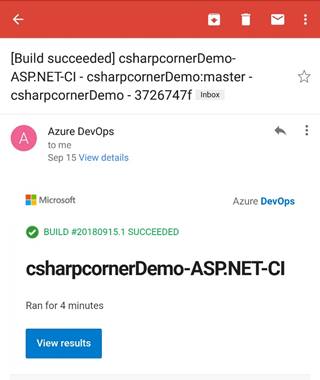
Upon completion of the build, you will receive an email notification. No frequent monitoring of Azure DevOps is necessary; it’s a ‘set-up and forget’ scenario.
Conclusion
In this segment of the Azure DevOps for Web Development series, you learned how to automate cloud builds using Azure Pipelines, resulting in an artifact. The next article in the series will detail using this artifact for automating deployments with Release Pipelines.
See also
Discover more about us at Skrots. Explore all our services at Skrots Services. To read more insightful blogs, visit Blog at Skrots.


