Angular 10 Mission In Azure DevOps CI/CD With Azure Repos Or GitHub And Internet hosting In Azure App Service – Half Two
Introduction
On this article, we are going to perceive the way to use Azure Repos, CI/CD utilizing Pipeline in Azure DevOps, internet hosting the identical in Azure App Service. We’ll create an Angular 10 mission from scratch and carry out all of the steps. That is an Finish to Finish demo explaining the steps intimately from creating an angular mission in VS Code to handle the supply code in Azure DevOps and carry out CI/CD to deploy the identical in Azure App Service. We’ll use the present Azure portal settings which have modified over time.
Conditions for this Demo
- Full Half 1 of the article earlier than beginning this.
- 1 Hr. of your centered time is required to finish all Three elements.
Your complete demo is split into Three articles, please discover the small print under,
Let’s proceed with Part Three and Part 4,
Part 3:Create Azure Portal Account to utilize Azure App Service to deploy our mission
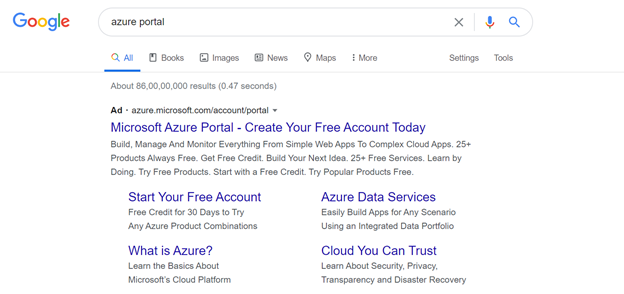
- Open a brand new tab within the browser and sort azure portal as proven under and click on the primary hyperlink,
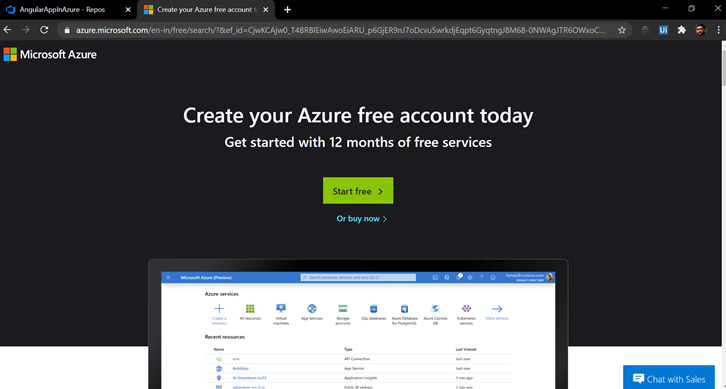
- We shall be navigated to Azure Portal as proven under, select Begin free choice and get 12 months of free companies:
- It can robotically login to the Azure portal when you have logged into Azure DevOps, in any other case login with the Azure DevOps account particulars which we created earlier. On login, we are going to discover the display screen as proven under:

- Please full the profile replace, which is able to ask for Credit score Card particulars as nicely. Don’t fear, there shall be no prices as of now until 12 months, publish that, prices shall be relevant based mostly on what service your utilizing. Be aware: Really helpful you to delete the account after you’ve accomplished the examine on Azure Service. Perhaps you possibly can preserve for just a few months after which take away this account. Please learn the What’s included a piece for a greater understanding of the companies supplied.
- After you full the method, it’ll deduct Rs. 2 out of your account and once more credit score it again, that is to confirm your card.
- Lastly, Click on the Settlement and Join Azure Portal Companies as proven under,

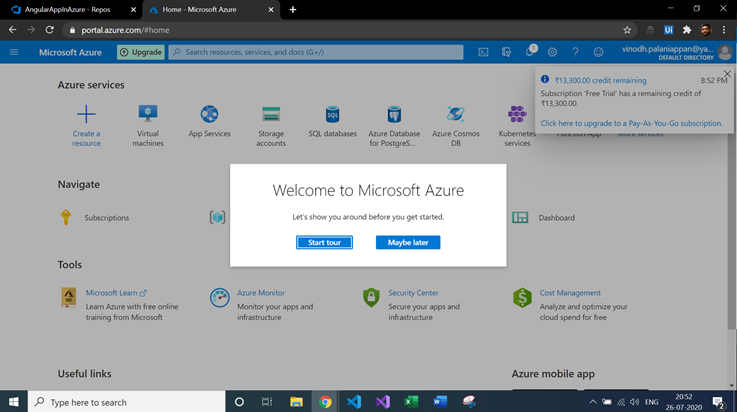
- After you have signed up, the under Azure Portal will open as proven under. You’re going to get to know the essential particulars whenever you click on Begin tour.
Part 4 – Create Useful resource teams, App Service plan and App Service in Azure Companies
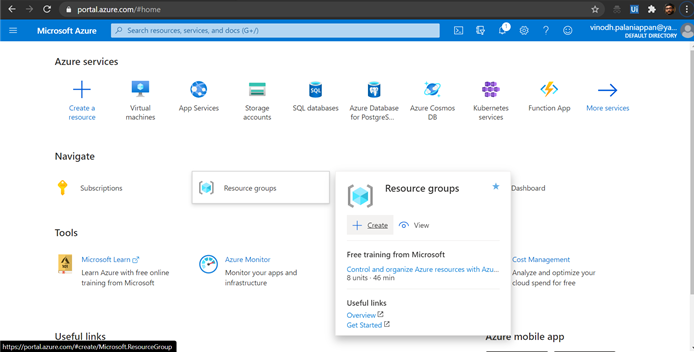
- As a primary step, we’ve got to create a Useful resource group to handle all of the assets we’re going to create for this mission deployment. It supplies administration entry that allows us to create, replace, and delete assets in your Azure account as a gaggle.
- Click on the create choice from Useful resource teams as proven under,
- Be aware
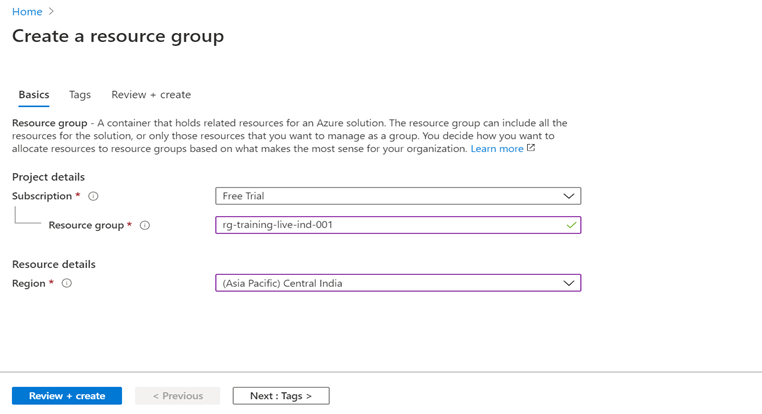
In the event you don’t discover the Useful resource teams choice on the touchdown web page, you possibly can all the time search within the search choice given above. - Create a useful resource group as proven under
- Please word: the subscription shall be Free Trial
- The useful resource group identify is outlined based mostly on the grouping technique. On this case, we are going to observe the requirements to provide a reputation as rg-training-live-ind-001 (rg stands for useful resource group) and since I’m creating this group for reside deployment for coaching mission, I’m including reside key phrase together with the identify, and ind-001 signifies, the chosen area is India with 001 indicating first useful resource group.
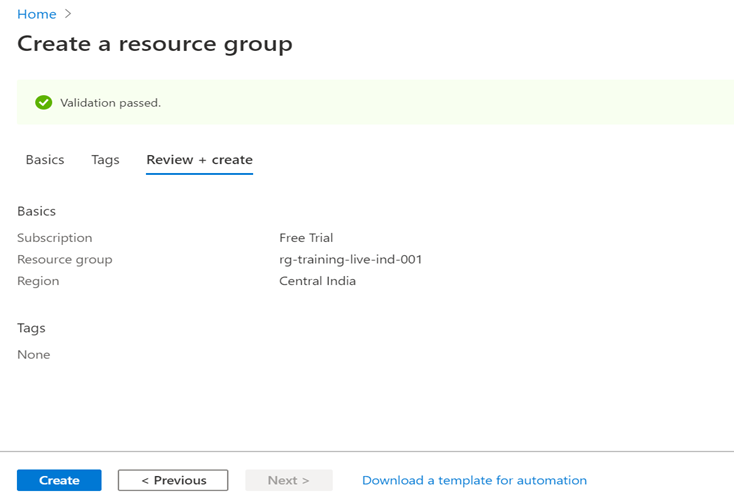
- Click on Evaluate + create choice as proven under.
- Publish that, click on create as proven under, this may create a useful resource group in which you’ll be able to add all of your assets that you will create.
- Subsequent, let’s create an App Service Plan.
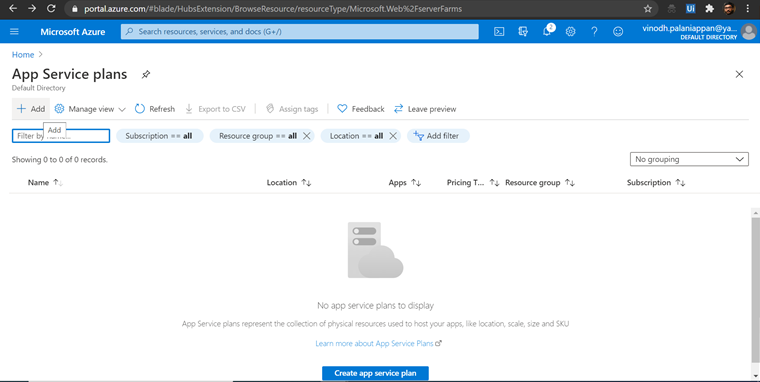
- Kind plan within the search choice, which is able to present the App Service plan choice, choose that as proven under:

- Click on Add within the App Service plans as proven under:
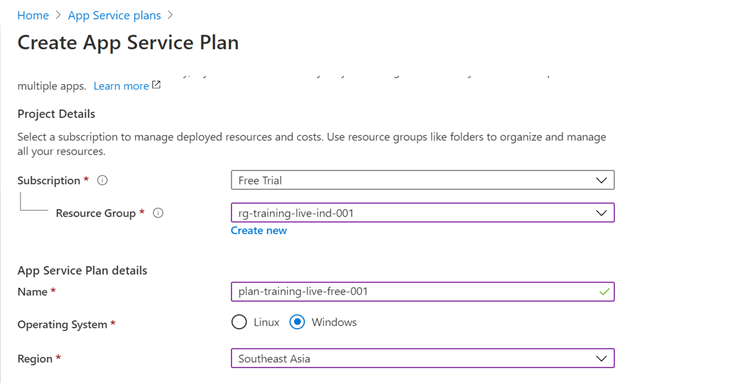
- Create App Service Plan and supply the small print as proven under. select the area which is out there for creating the App Service Plan.
- Be aware: Typically, the chosen area will throw an error indicating the area is unavailable. In that case, select the closest area to your deployment.
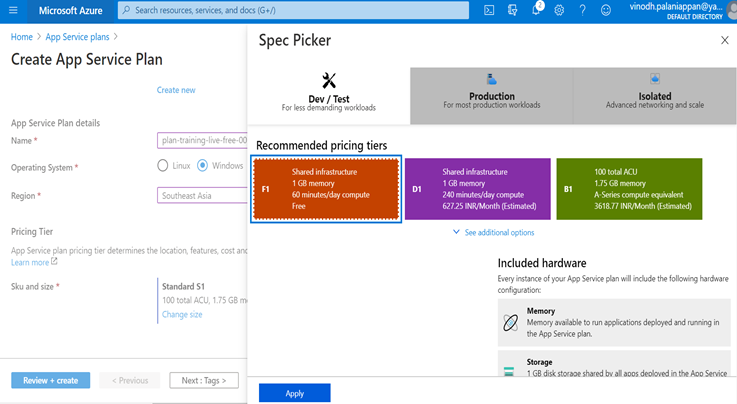
- Vital Be aware: Select the pricing tier correctly, make sure the free choice is chosen as proven under, as by default it’ll present paid choice.
- Click on Change dimension choice and select Dev/ Check and choose Free choice as proven under and click on apply.
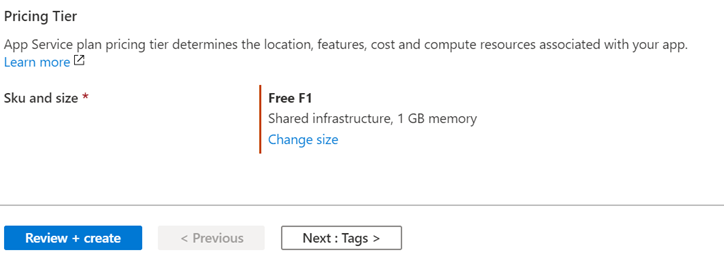
- Please make sure the Sku and dimension is displaying as under and click on Evaluate + create
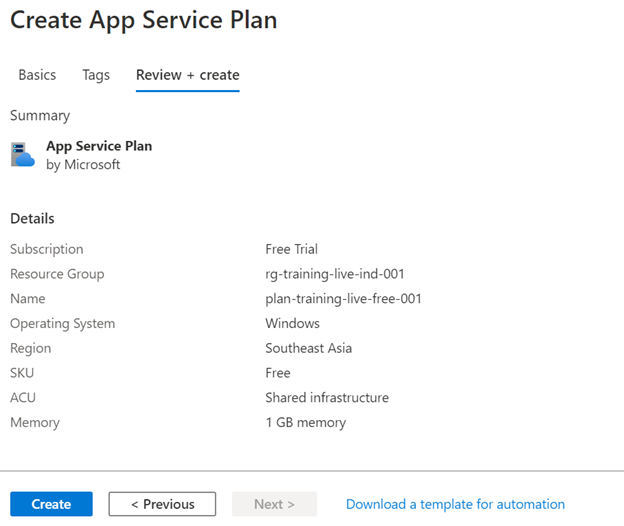
- Evaluate the small print and click on Create as proven under:
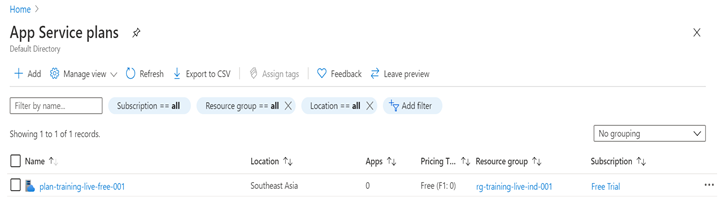
- After profitable creation, open the App Service plan choice to test the standing as proven under.
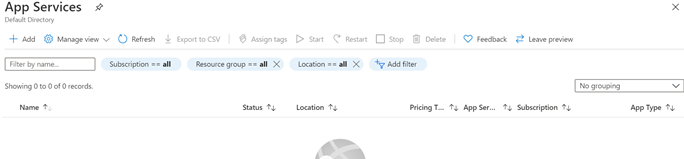
- Subsequent, let’s create an App Service. It’s a place the place our utility shall be deployed. Kind App Service in search and open the identical.
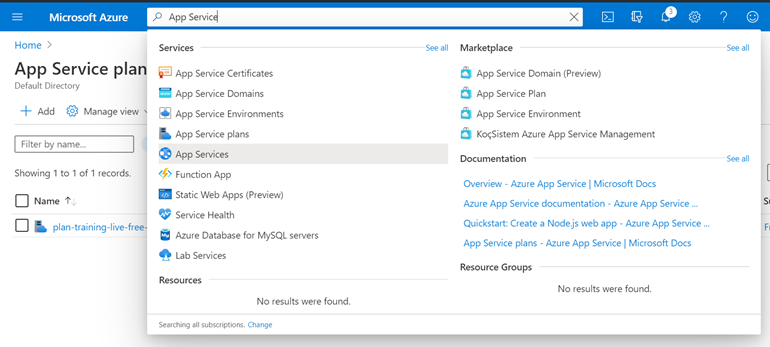
- Click on Add Possibility within the App Service as proven under:
- Create Net App, Select the Useful resource Group we created earlier, Kind the identify of the app (Consumer Outlined) as proven under.
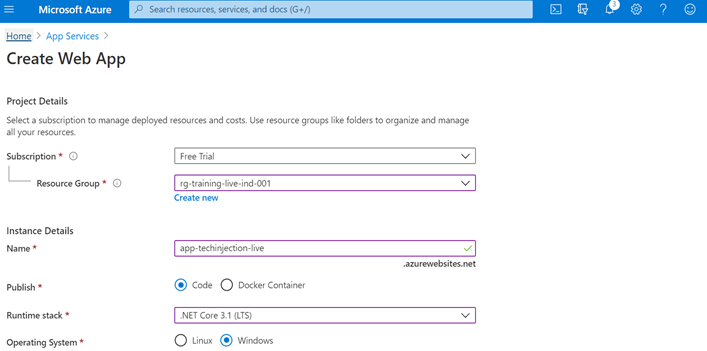
- Present the Area which is offered within the App Service Plan. In our case, it’s Southeast Asia, as soon as chosen the area, robotically the App Service Plan part shall be crammed.
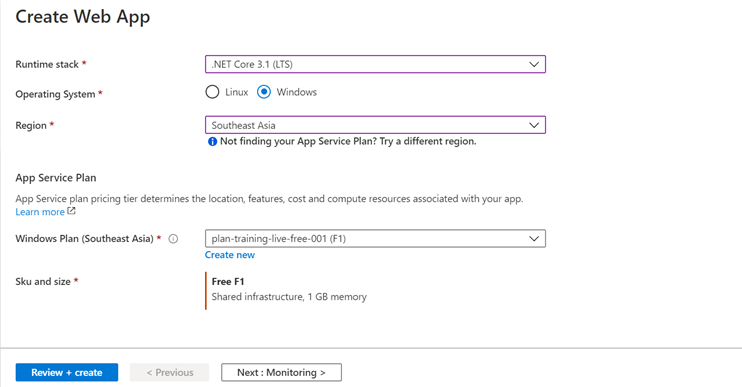
- Click on Subsequent Possibility, and make sure the default choices are chosen as proven under,
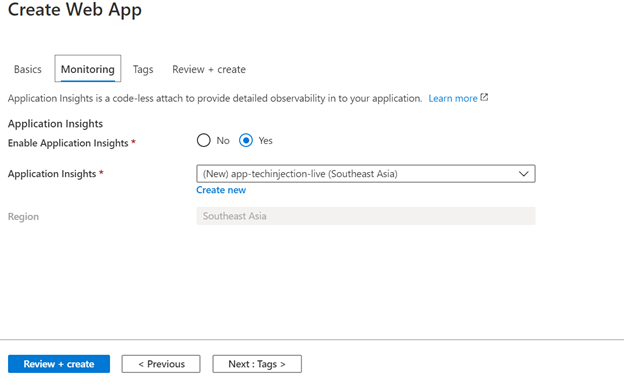
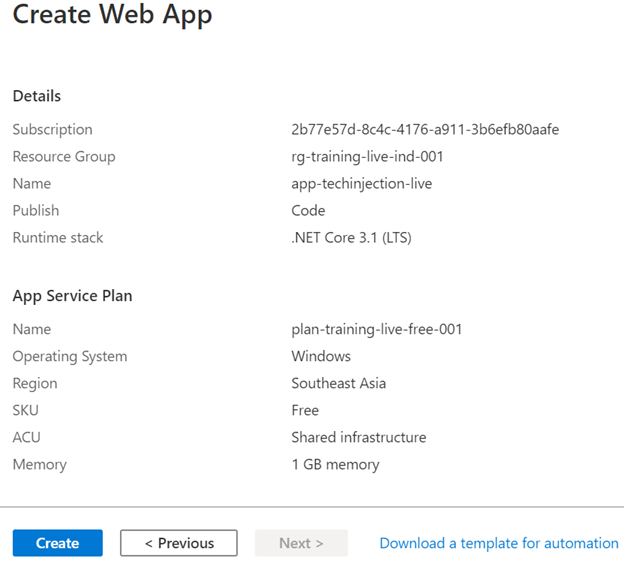
- Click on Evaluate + create which is able to take just a few seconds to finish the method. Publish the small print and click on Create Possibility as proven under.
- Be aware: It can a minute to finish the App Service Creation Course of.
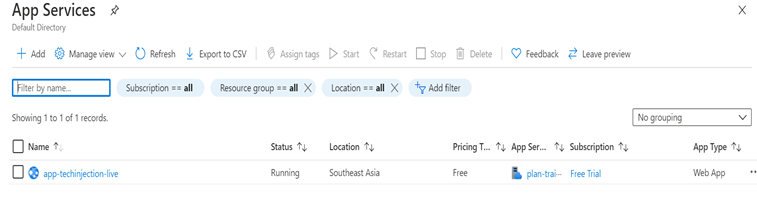
- Now our App Service is created and go to App Service to know the standing as proven under,
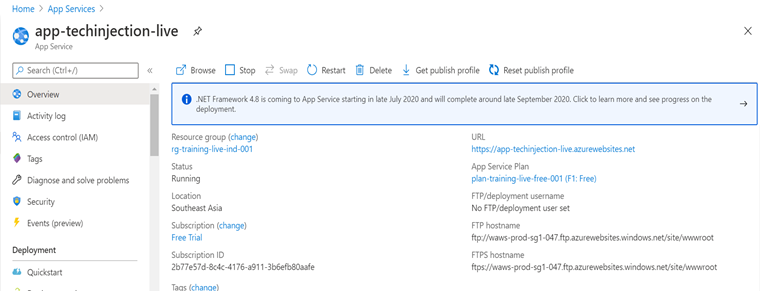
- Click on the App Service to open the identical. Take a look at the standing it’s at present operating and we are able to deploy our utility in the identical.
- please word the URL as proven under, which is the place we’re going to deploy our utility.
Please Refer Half – 1 and Half – Three of this weblog to finish your entire demo:
Thanks! I actually recognize everybody for studying by this text.


