Introduction
If you are new to this topic, you might want to check out my previous article for a better grasp of the concepts.
Adding an existing repository from a local repository to Git in Visual Studio is straightforward for .NET projects. But what if you have a file with a .java extension or any other extension in your local repository? How can you add that to Git with Azure DevOps? This article answers that question (refer to my previous article). This article focuses on adding an existing repository to Git using the command prompt, allowing you to add any type of existing file from a local repository to a Git repository.
Getting Started
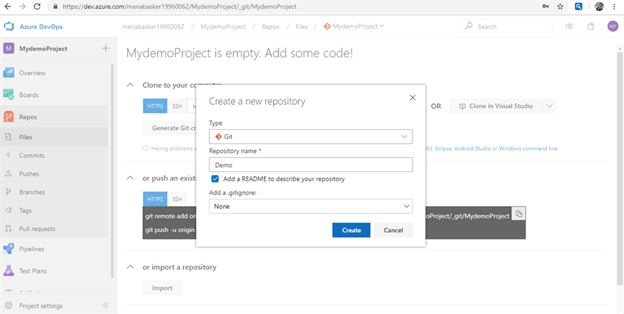
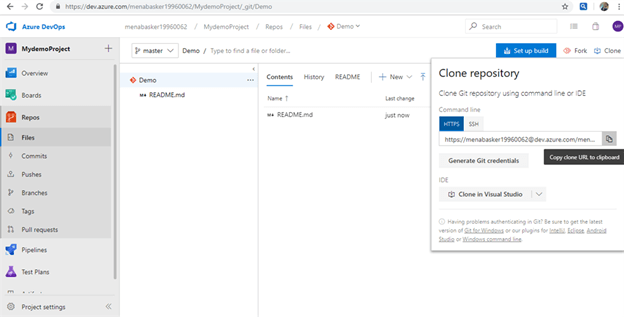
Start by creating a new repository and adding a README file. Once created, navigate to your repository and locate the README file. In the top right corner, you will find the “Clone” option. Click on it to reveal the options for using HTTPS or Git credentials. Here, I will be using a remote repository URL. Simply copy this URL to your Notepad for reference.
Opening Command Prompt
Follow the steps provided with the images for reference. The commands are clearly explained, and images are there to help you understand the flow.
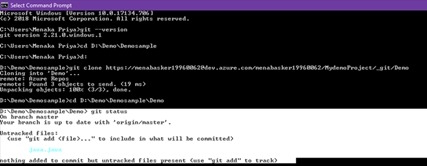
- Start by checking if Git is installed on your local machine using the command:
git --version - This command will display the installed Git version on your local machine.

- Navigate to the folder where you want to clone the Git repository.
- Now, clone the Git repository to the local machine using the command:
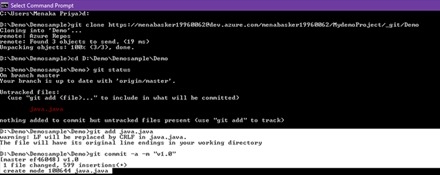
git clone - Paste the URL from Notepad after the command. After some time, you will see that the cloning process has been completed.

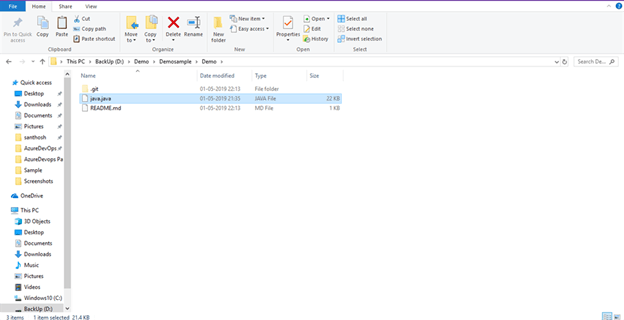
- You will notice that the README file has been successfully cloned from the Git server to the local machine. Now, add the file you want to clone from the local machine to the Git server to this folder. In this case, I am adding a java.java file to the folder.
- In the command prompt, use the command – git status. This will show a list of untracked files. To be able to commit the file, untracked files need to be tracked. Use the command git add filename. Here, I will use java.java as the filename.
- After completing the previous step, commit all files using the command git commit -a -m “message”. Here, -a is used to commit all files, and -m is for providing a message.
- The final step is to upload the file to the Git server. Use the command git push. This command will upload all files from the local repository to the Git server.
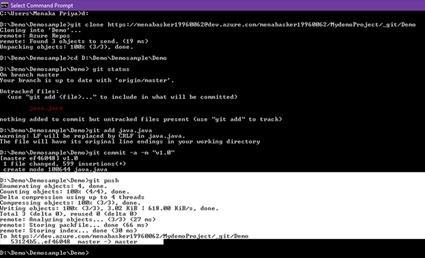
- Check the status again by using the command git status. It should indicate that there is nothing to commit, and the working tree is clean.

Opening Azure DevOps
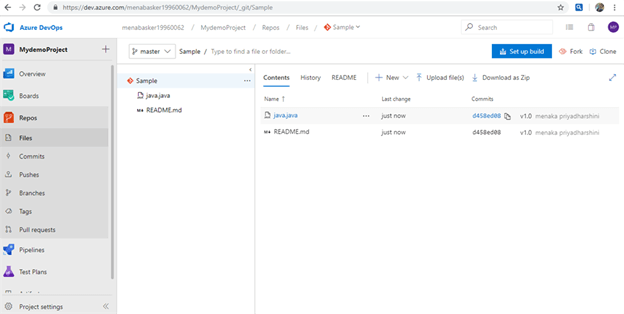
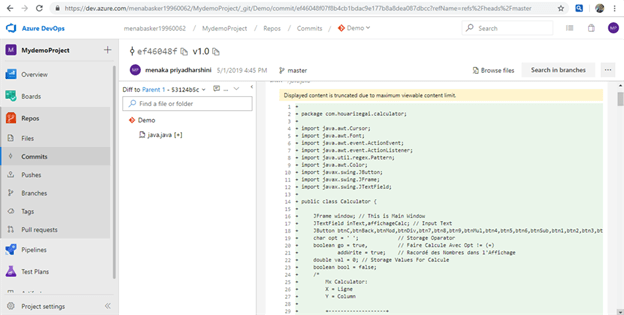
Verify if the file you added to the local machine has been successfully pushed to the Git server by opening the project in Azure DevOps and refreshing/reloading the page. You should see the file pushed from the local machine to the Git server.
As a result, the file you added to your local repository is now cloned to the Git repository using Azure DevOps. You can now view the java.java file in your Azure DevOps.
Summary
I hope you found this walkthrough helpful. Stay tuned for more articles in the Azure DevOps series. If you have any questions, feel free to leave a comment below.
Learn more about what we do at Skrots. Explore our range of services at Skrots Services. Also, check out our other blog posts at Skrots Blog.


