Introduction
In today’s digital world, businesses of all sizes require robust and scalable hosting solutions. Azure, Microsoft’s cloud computing platform, offers a reliable and flexible option for hosting applications and websites. One of the popular services provided by Azure is Virtual Private Servers (VPS). In this article, we will guide you through the process of setting up a VPS on Azure, providing an example and relevant images.
Sign in to the Azure Portal
To begin, visit the Azure Portal and sign in using your Microsoft Azure account. Once signed in, navigate to the dashboard.
Create a new resource
Next, click on the “+ Create a resource” button or find the “Create a resource” option in the sidebar.
Search for Virtual Machines
In the Azure Marketplace, search for “Virtual Machines” in the search bar and select the appropriate option from the results.
Choose a VM image
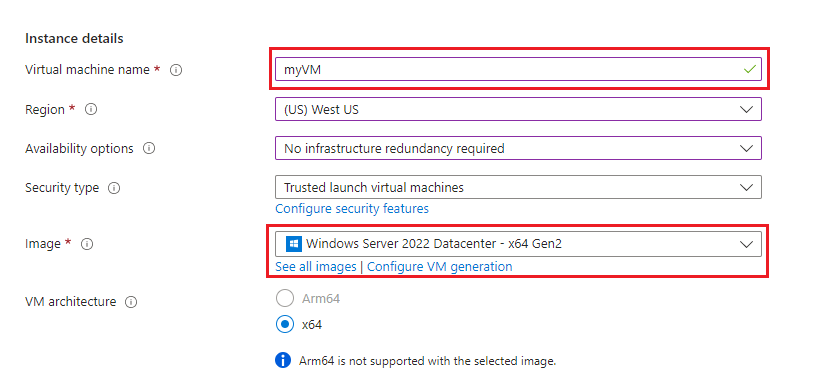
Now, select the desired Operating System (OS) for your VPS from the available options, such as Windows Server or Linux distributions. Azure provides a wide range of pre-configured images to choose from.
Configure VM settings
Enter a unique name for your VPS instance, choose the appropriate region, and select the VM size that meets your requirements. You can also specify the number of CPUs, RAM, and storage capacity.
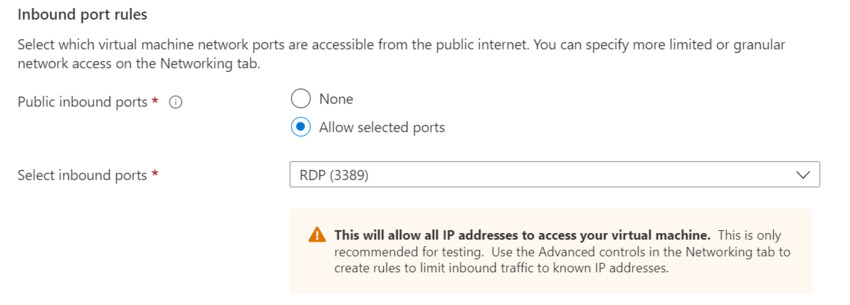
Set up networking
Now, configure the networking options for your VPS. This includes creating a new Virtual Network or using an existing one, and selecting the appropriate subnet.
Configure management settings
Next, set the desired administrative username and password for your VPS. These credentials will be used to access and manage the VPS remotely.

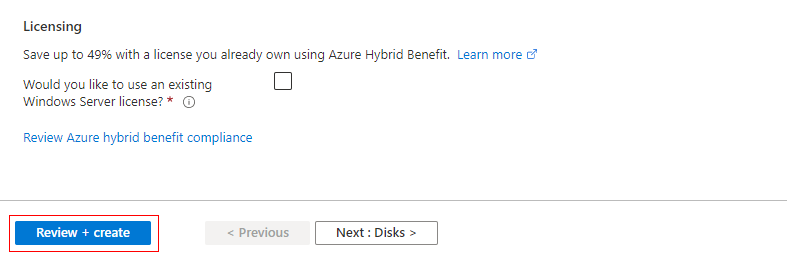
Review and create
Double-check all the configurations you have made so far, and click on the “Review + create” button.
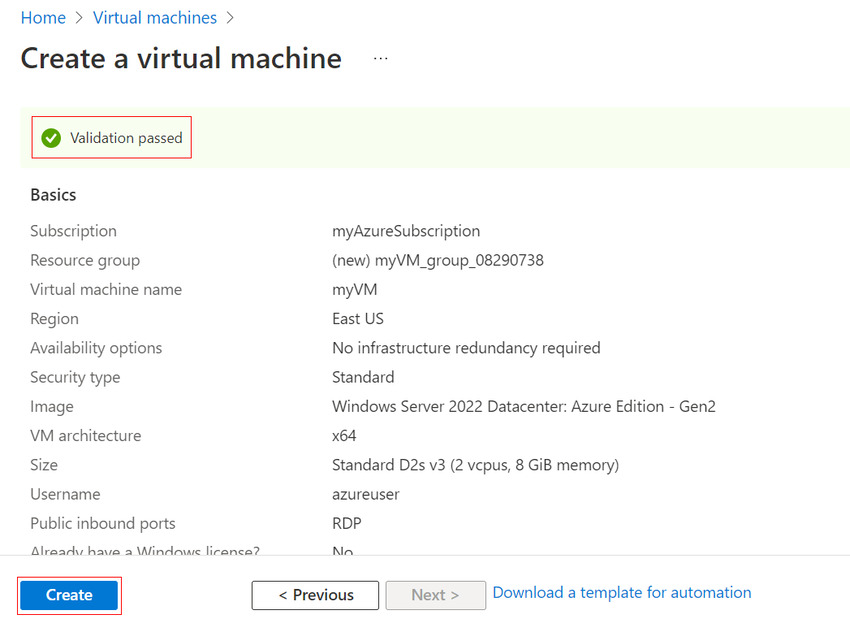
Create your VPS
Click on the “Create” button, and Azure will begin provisioning the VPS based on your settings. This process may take a few minutes.
Connect to your VPS
Once the VM is successfully created, you will be able to see its status on the Azure Portal. To access your VPS, simply click on the “Connect” button.

Example
Let’s consider an example where we set up a VPS on Azure using a Linux distribution (Ubuntu 20.04 LTS) and connect to it using SSH.
Once you select the desired Linux distribution image, configure the VM settings (name, region, size) as discussed earlier.
For networking, select or create a virtual network and create a new subnet within it.
Set up an administrative username and password, and review your selections.
After the VM is provisioned, go to the Azure Portal and click on “Connect.” You will be given the option to download an SSH private key.
Now, use an SSH client (e.g., PuTTY for Windows or Terminal for macOS/Linux) to connect to the VPS. Provide the public IP address of your VPS and use the downloaded private key to authenticate.
Conclusion
Setting up a VPS on Azure is a straightforward process that offers immense flexibility and scalability for hosting your applications or websites. By following the outlined steps and utilizing the Azure platform, you can quickly launch and manage your virtual private server.
Find out more about our company, Skrots, by visiting Skrots. And if you want to explore our range of services, check out Skrots Services. Don’t forget to also read our interesting blogs on various topics at Blog at Skrots . Thank you for reading!


