The packet seize characteristic is accessible on the Community Watcher; the Azure packet seize permits us to seize packets as they move by means of a digital machine’s NIC. This characteristic may be abused to learn delicate information from unencrypted inner visitors.
To carry out the Packet seize, we should create an Azure storage account.
On this article, we are going to take a look at find out how to seize the community packets utilizing Azure packet seize.
Packet Seize options in Azure
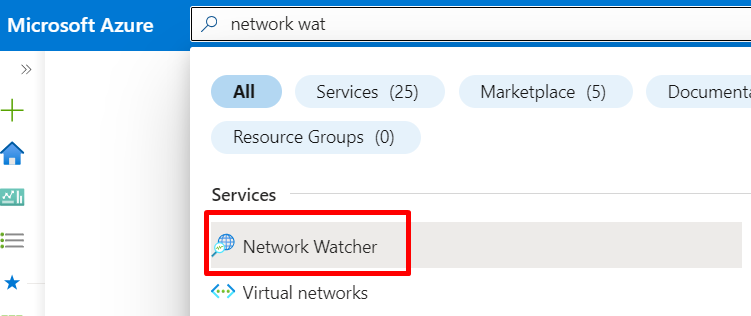
Step 1. On the International search bar, sort Community Watcher and click on the Community Watcher.
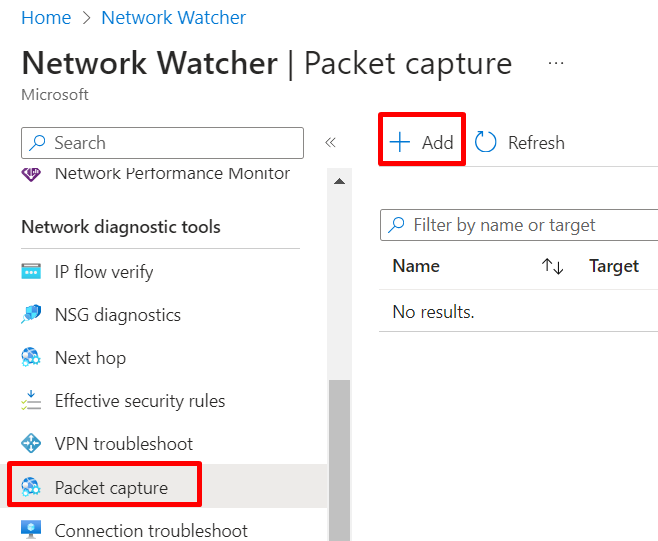
Step 2. Choose the Packet seize beneath the Community diagnostic instruments and click on + Add.
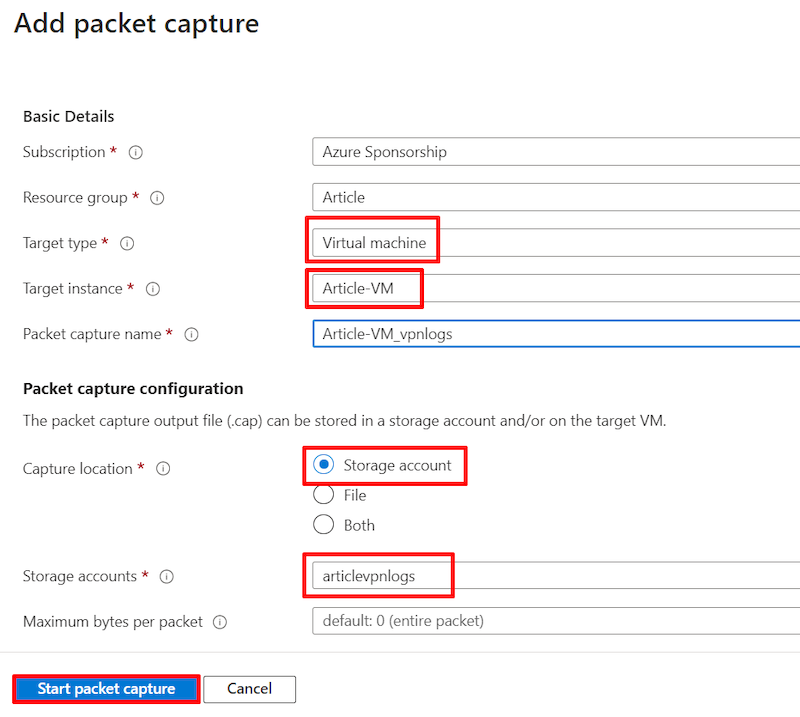
Step 3. Choose the Goal sort as Digital Machine and choose the Digital Machine that you’ll seize the incoming visitors, enter the packet seize title, choose the Seize location as Storage account, and click on Begin packet seize.
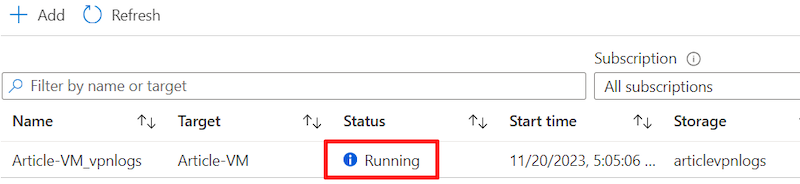
Step 4. When you click on the Packet seize button, It’s going to take a couple of minutes to deploy the Packet seize.
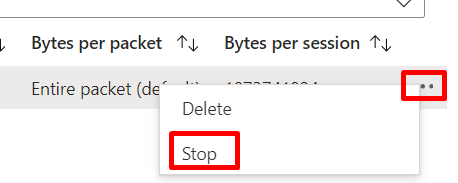
Step 5. To cease the Packet seize, click on the three dots (…) and Cease.
Notice: When you cease the packet seize, you’ll be able to’t begin the Packet seize, so you need to create a brand new packet seize.
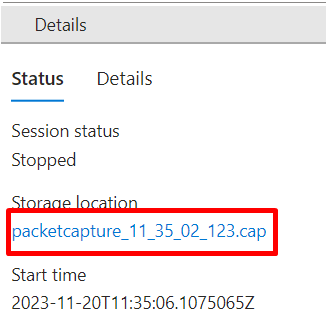
Step 6. Choose the .cap file.
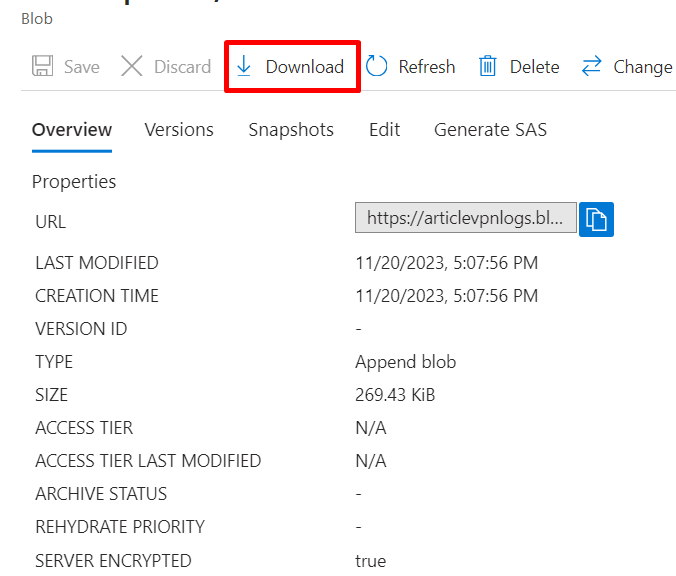
Step 7. Click on the Obtain the .cap file and click on Obtain.
Abstract
On this article, we discovered find out how to run the Packet seize in Azure. Please ask the questions within the remark if you happen to want additional clarification.
Know extra about our firm at Skrots. Know extra about our providers at Skrots Providers, Additionally checkout all different blogs at Weblog at Skrots
