Introduction
An Azure Energetic Listing Area Providers (Azure AD DS) managed area is deployed into an Azure digital system subnet. It offers availability to purchasers and functions. This digital community subnet must be used for the managed area sources offered by the Azure platform.
As you make your personal VMs and functions, they should not be deployed into the identical digital system subnet. Reasonably, you may create and deploy your functions into a distinct digital community subnet, or in a distinct digital community peered to the Azure AD DS digital community.
Digital Community Peering
You’ll have a present Azure digital community for VMs or preserve your Azure AD DS managed area digital community remoted. To make use of the managed area, VMs in different digital networks want an method to speak with the Azure AD DS area controllers. This availability might be given utilizing the Azure digital community peering.
With Azure digital community peering, two digital networks are related, with out the requirement for a digital personal community (VPN) system. Community peering enables you to quickly interface digital networks and confine visitors streams over your Azure setting.
Making a Digital Community Subnet
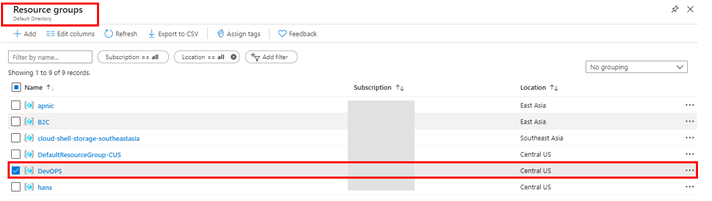
Register to the Azure portal. Then click on on the Azure portal menu. Choose Create a useful resource. Then, choose the useful resource group of your created Azure AD DS managed the area from the checklist of sources.
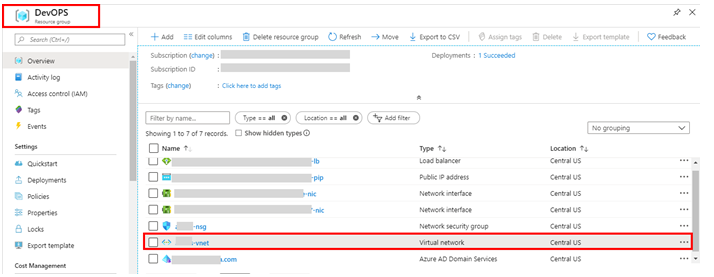
Then, choose the default digital community from the checklist right here and open it.
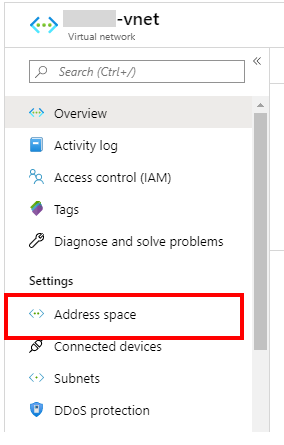
After that, open the Tackle area for configuring.
The digital community is created with a single handle after which utilized by the default subnet. After this, every thing is prepared. Choose Save.
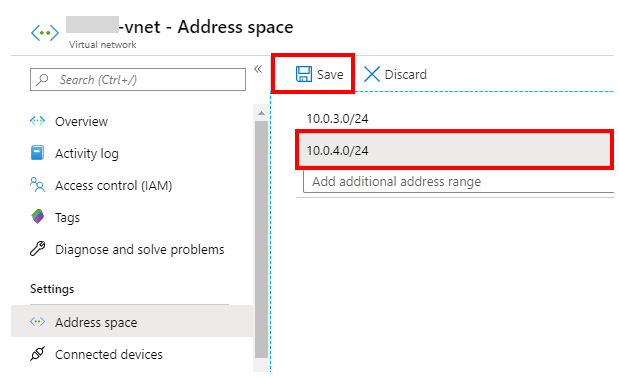
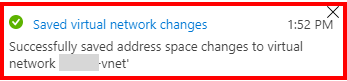
After saving, it’s best to obtain a efficiently saved handle area.
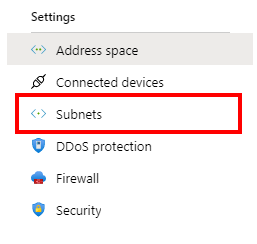
Then, choose the Subnets and open for configuring.
Click on ‘+ Subnet’ so as to add a subnet.

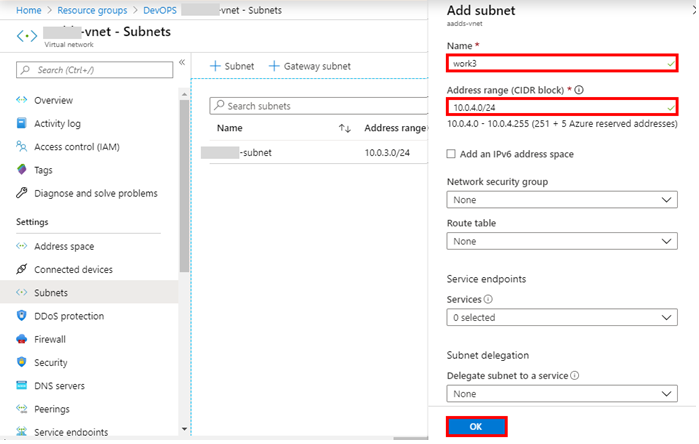
Enter a reputation for the subnet. If wanted, replace the Tackle vary. After that, choose the OK button.
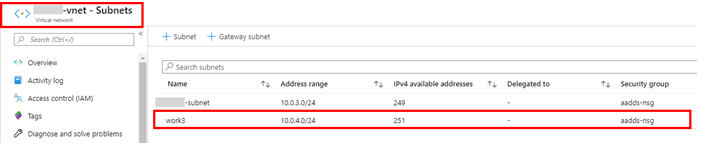
You must have a efficiently added subnet notification.

Examine the newly added subnet from the checklist.
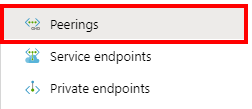
Then, choose and open the Peerings possibility.
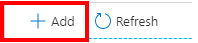
Then, choose the + Add button to create a peering.
After that, enter your personal values for the next settings Configure, then choose OK.
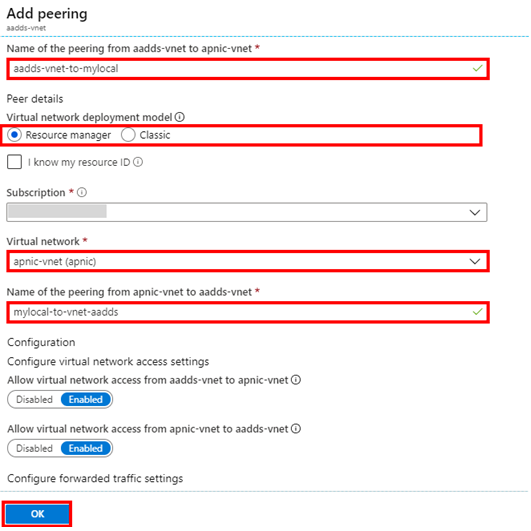
After, efficiently Linked, See the Peering standing report.

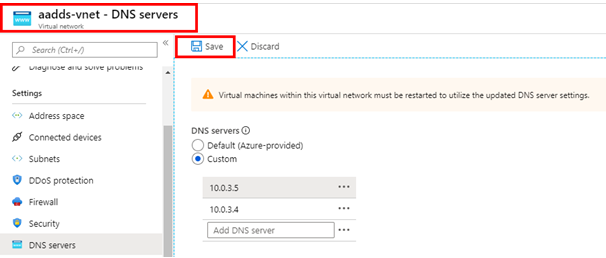
Choose and open the DNS servers’ possibility.
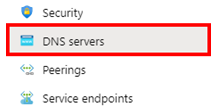
Choose By default or Customized possibility. The default is a digital community that makes use of the built-in Azure-provided DNS servers. When utilizing Customized DNS servers, enter the IP addresses for the Azure AD DS area controllers.
When accomplished, choose the Save button. It takes just a few moments to replace. After making use of the up to date DNS settings, the VM will restart.
Abstract
On this article, I defined learn how to configure digital networking for Azure Energetic Listing Area Providers. In my subsequent article, I’ll cowl the subsequent step of this sequence, ‘Join a Home windows Server VM to the managed area’.
Know extra about our firm at Skrots. Know extra about our companies at Skrots Providers, Additionally checkout all different blogs at Weblog at Skrots


