Introduction
Workspaces are locations to collaborate with colleagues to create collections of things equivalent to lakehouses, warehouses, and studies. This text describes workspaces, the way to handle entry to them, and what settings can be found.
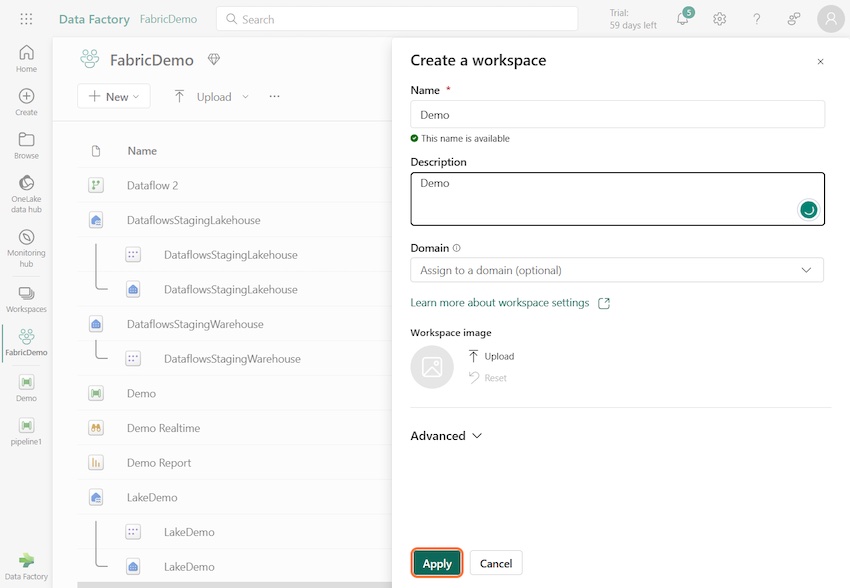
Create Workspace
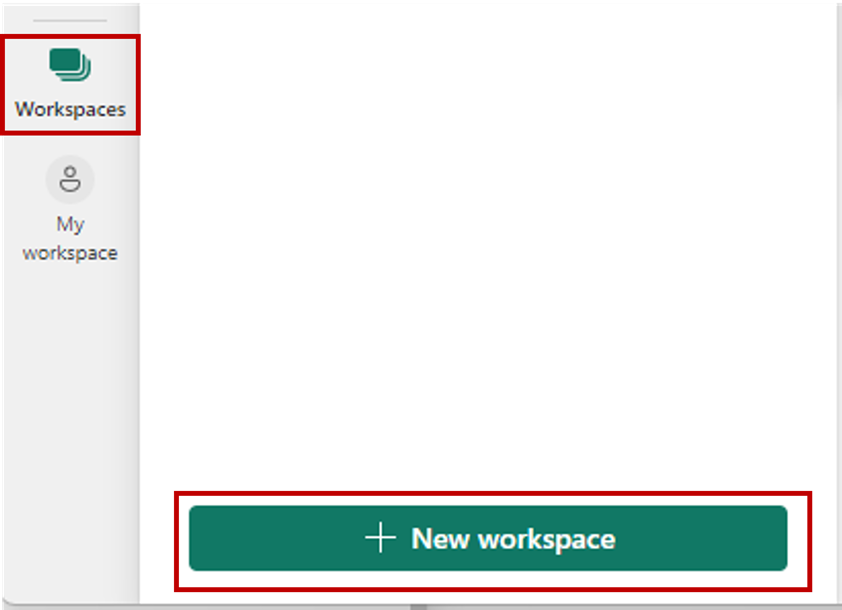
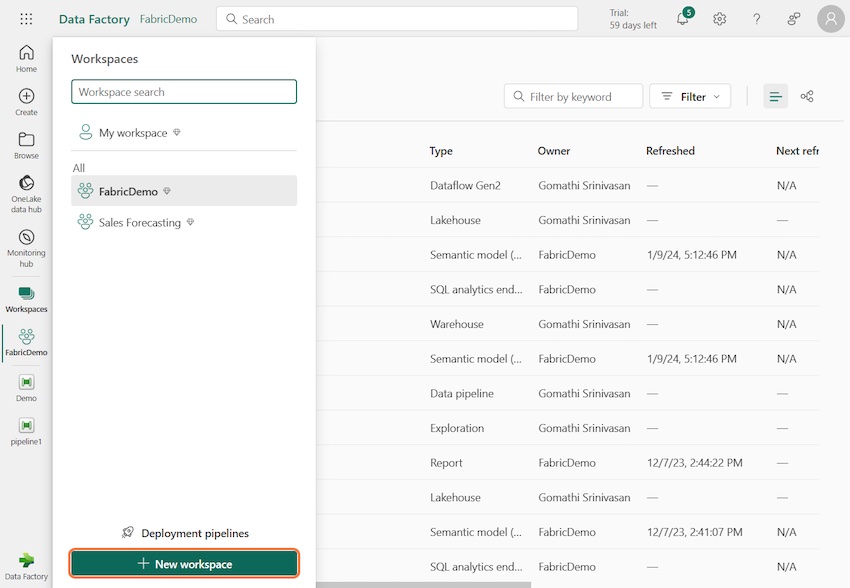
Step 1. To create a workspace: Choose Workspaces > New workspace. The Create a workspace pane opens.
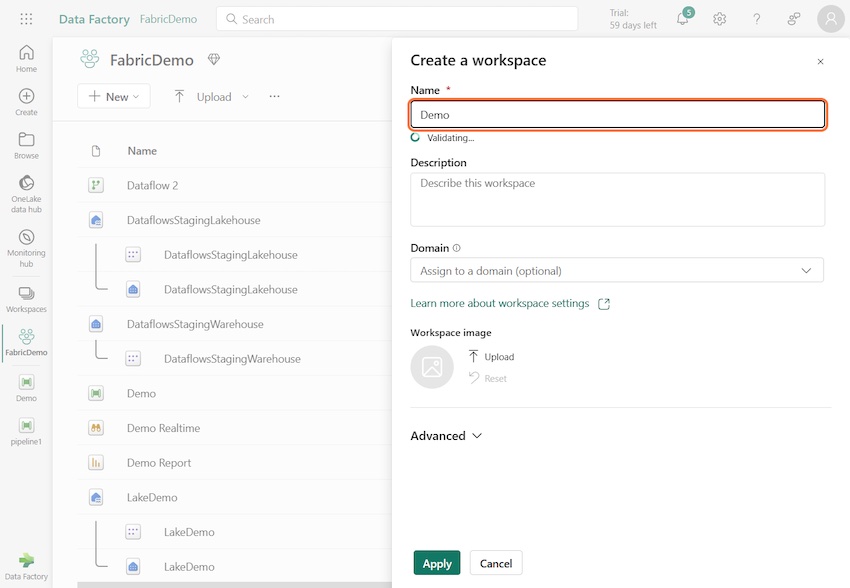
Step 2. Give a legitimate title on your workspace. In my instance, I title the workspace as “Demo”
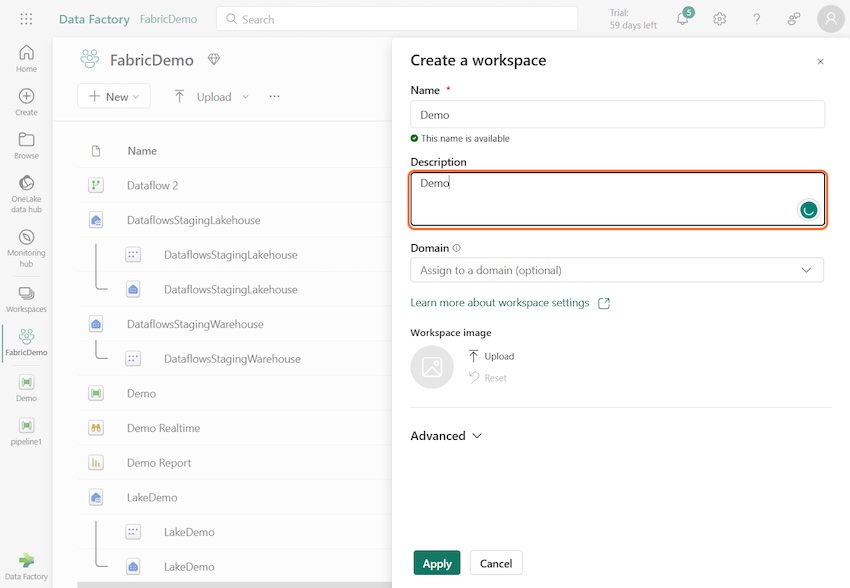
Step 3. Give a legitimate Description Title
Step 4. Click on Apply
Superior settings
Broaden Superior and also you see superior setting choices:
Contact record
Contact record is a spot the place you may put the names of individuals as contacts for details about the workspace. Accordingly, folks on this contact record obtain system e-mail notifications for workspace degree modifications.
By default, the primary workspace admin who created the workspace is the contact. You possibly can add different customers or teams in response to your wants. Enter the title within the enter field straight, it lets you robotically search and match customers or teams in your org.
Conclusion
Workspaces can comprise a most of 1,000 semantic fashions, or 1,000 studies per semantic mannequin. Sure particular characters aren’t supported in workspace names when utilizing an XMLA endpoint. As a workaround, use URL encoding of particular characters, for instance, for a ahead slash /, use %2F.
Know extra about our firm at Skrots. Know extra about our providers at Skrots Providers, Additionally checkout all different blogs at Weblog at Skrots


