In this article, we will guide you on how to manually remove Azure Backup services. While there are alternative options available, we will focus on the manual removal process.
If you wish to remove Azure Backup services, you need to manually handle the following requirements:
- Change Vault properties (Disable Soft Delete and Security features)
- Stop Backup and Delete Cloud Protected Items (Backup items)
- Cleanup associations of Servers and Storage Accounts (Servers and Storage accounts & Go to Backup Infrastructure)
- Disable Replication for Site Recovery Replicated Items (Site Recovery Items)
- Clean up dependencies related to your Site Recovery Replicated Items (Replication Policies, Servers)
- Remove Private Endpoint Connections
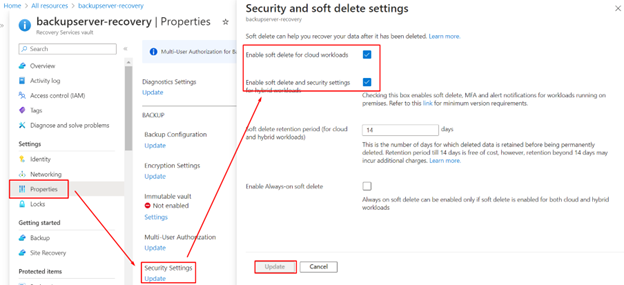
Step 1: Change Vault Properties
Start by opening the Recovery Service vault. Click on Properties under Settings, then open the Security Settings tab. Uncheck the options for Enable Soft Delete for cloud workloads and Enable Soft Delete and Security features. Finally, click Update to save the changes.
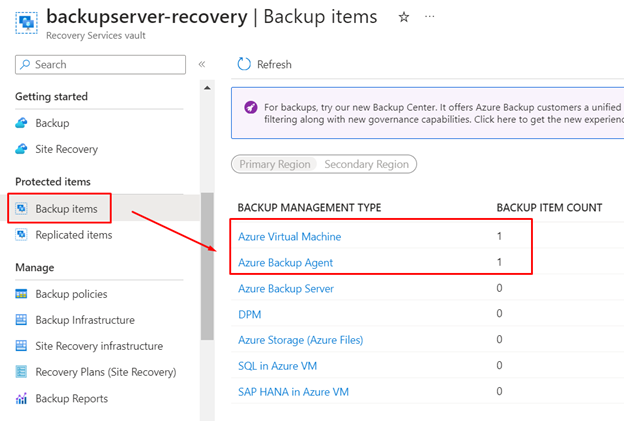
Step 2: Stop Backup and Delete Cloud-Protected Items
Next, navigate to Backup items under the Protected items section. Identify the two Backup items that are currently running.
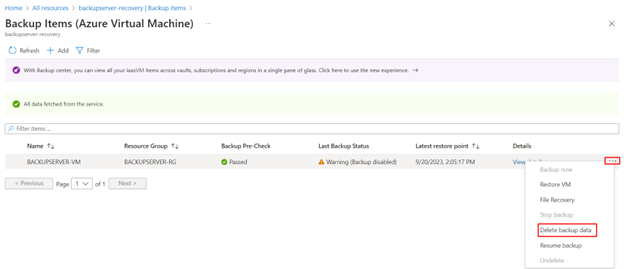
Step 3: Delete Backup Data
In the Backup items section, select the Azure Virtual Machine. Click on the three dots on the right-hand side and choose Delete backup data.
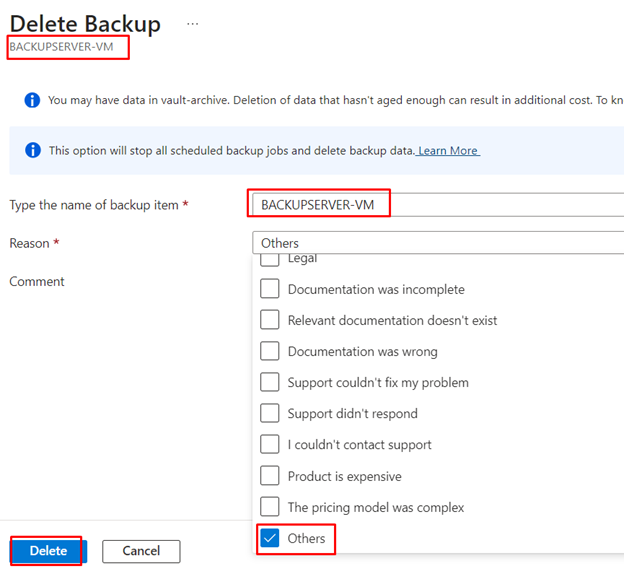
Step 4: Delete Backup Item
Enter the name of the Backup item, select the reason, and click Delete.
Step 5: Removing Backup Items (Azure Backup Agent)
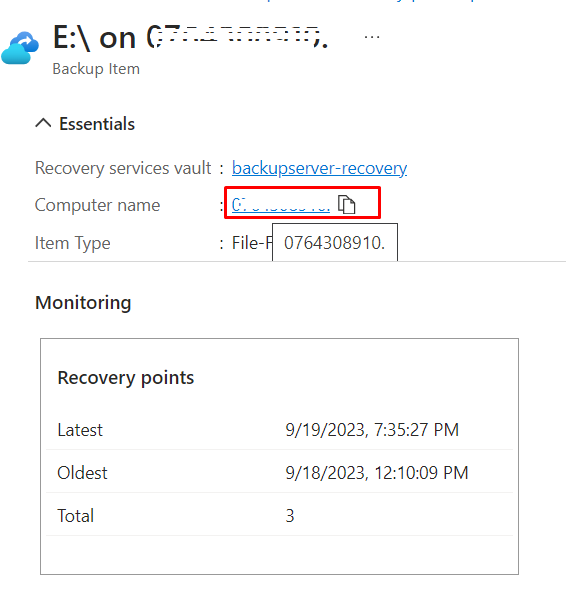
In the Backup items section, click on the Azure Backup Agent and then select View details.
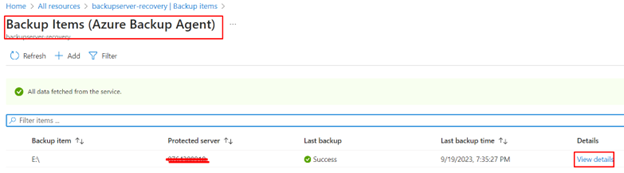
Step 6: Click on the Computer Name
In the Backup item, you will find a running server. Click on the Computer name.
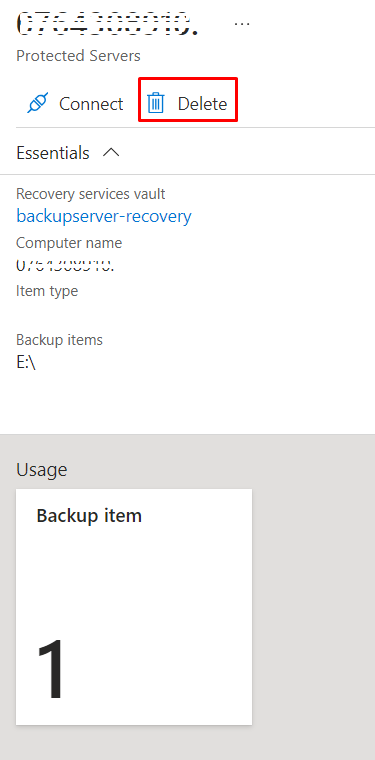
Step 7: Click Delete
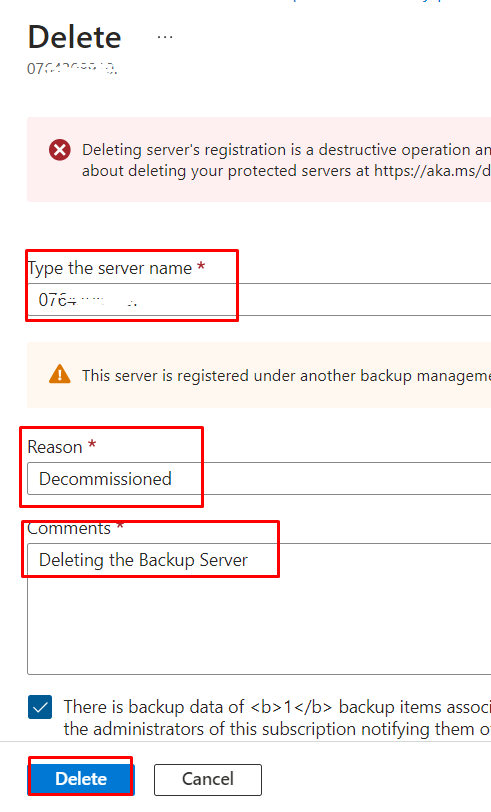
Step 8: Select the Check Box
Enter the Server name, choose the reason, enter a comment, select the check box, and finally click Delete.
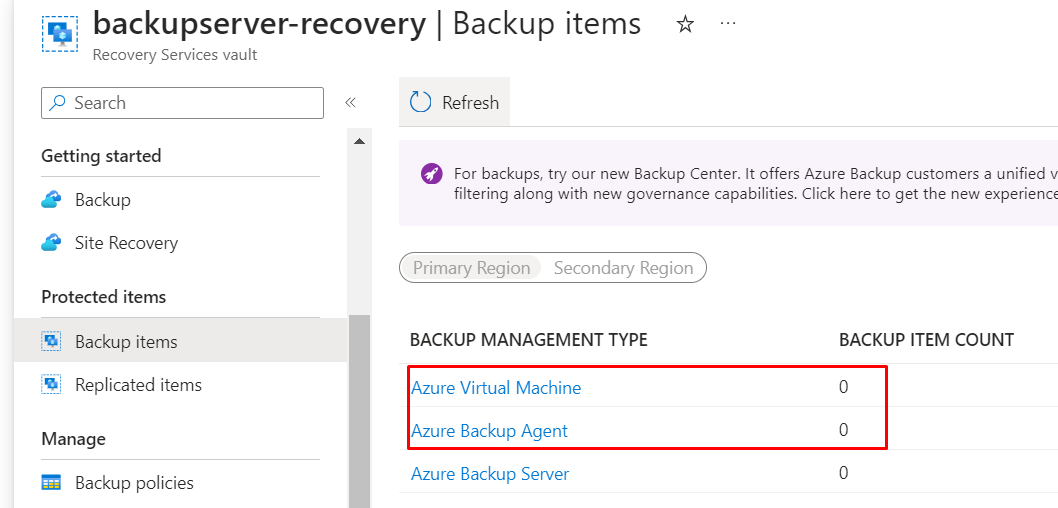
Step 9: Refresh the Backup Items
After completing the removal, refresh the Backup items tab. You should not see any remaining backup items.
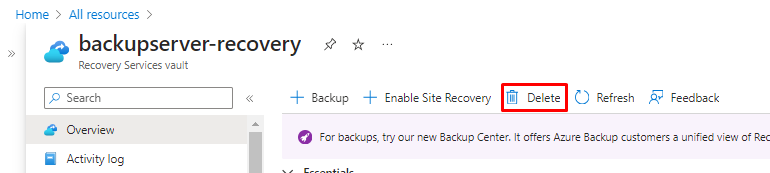
Step 10: Click Delete in the Overview
Step 11: Select the Checkbox and Confirm
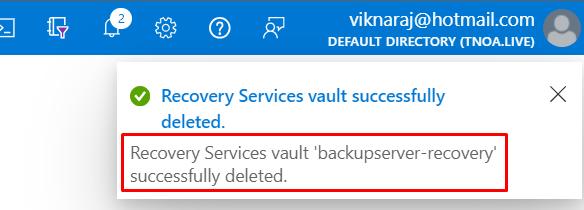
Select Delete Manually, check the checkbox to confirm, and click Yes.

Congratulations! You have successfully removed Azure Backup services.
Summary
In this article, we have provided clear steps on how to remove the Azure Backup service manually. If you have any further questions, please feel free to comment below the article.
Explore Skrots and discover how we provide similar services as mentioned in this article. Visit Skrots now! To learn more about our services, go to Skrots Services. Don’t forget to check out our blog at Blog at Skrots. Thank you for choosing Skrots as your trusted provider.