Introduction
Making a load balancer within the Microsoft Azure portal entails a number of key steps to make sure environment friendly distribution of incoming visitors throughout a number of digital machines. This text will information you thru the method, protecting important facets reminiscent of configuring backend swimming pools, establishing well being probes, and defining load-balancing guidelines. By following these steps, you possibly can set up a strong load-balancing resolution in Azure that enhances the provision, scalability, and reliability of your purposes.
Load balancer in Microsoft Azure portal
Step 1
Register to the Azure portal through https://portal.azure.com.
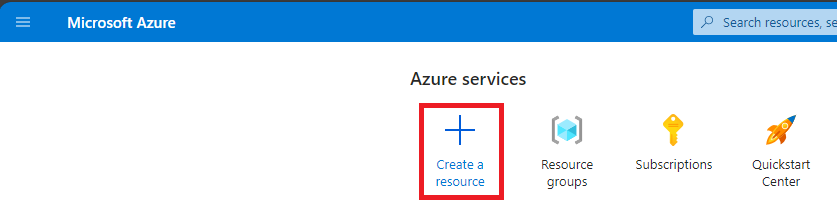
Step 2
On the house web page click on on + Create a useful resource button to create a brand new useful resource.
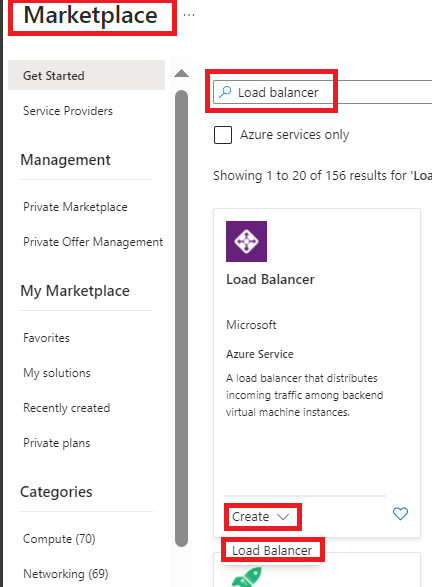
Step 3
Within the market seek for the Load Balancer. Then choose the Load Balancer, click on on Create, and once more choose the Load Balancer to get began.
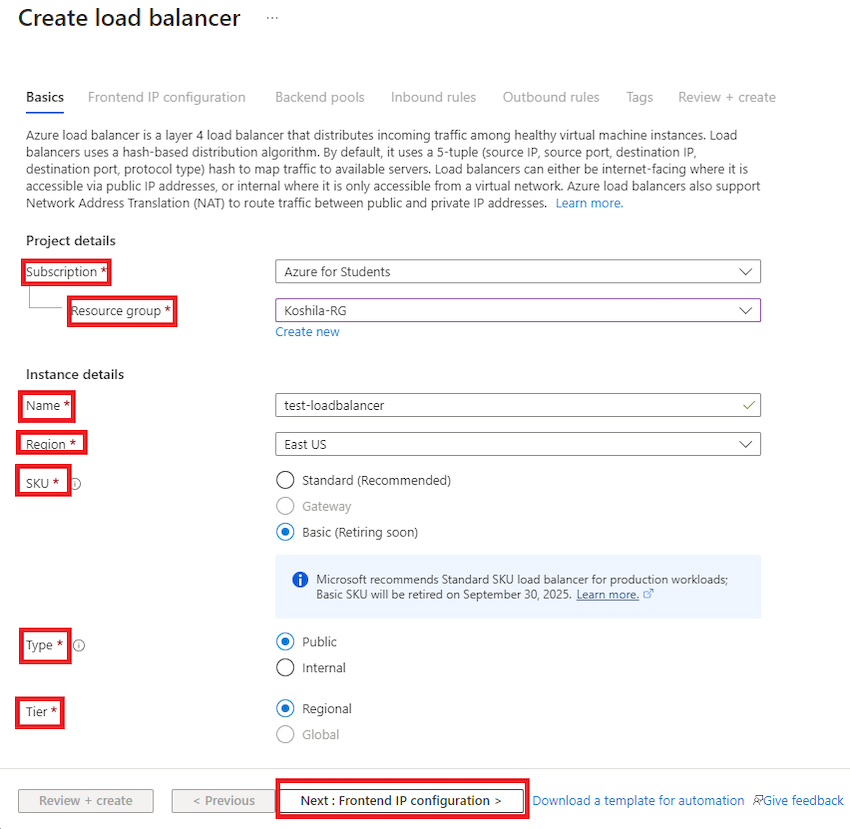
Step 4
Within the Create load balancer web page, choose the Subscription, Useful resource group, Title, Area, SKU, Sort, and Tier. Then click on on the Subsequent: Frontend IP configuration button.
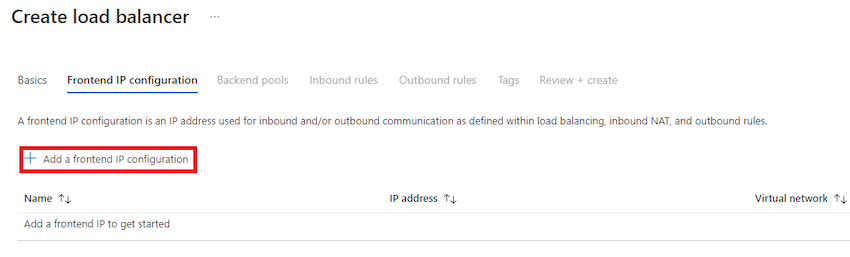
Step 5
Then click on on + Add a frontend IP configuration.
Step 6
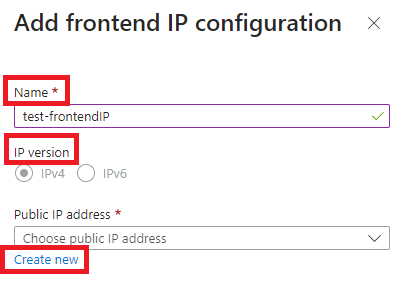
Enter a reputation for the frontend IP and choose the IP model. Then click on on Create new to create a brand new public IP tackle.
Step 7
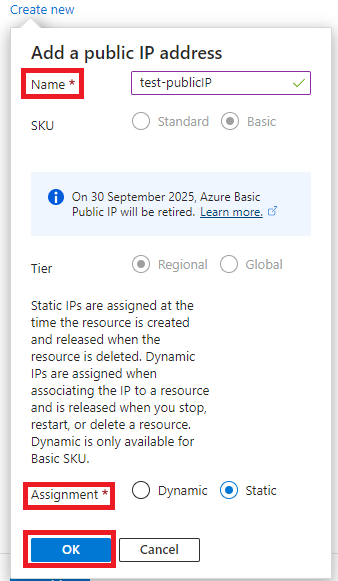
Present a Title for the general public IP tackle and choose the Project as Static. Then click on on OK to proceed additional.
Step 8
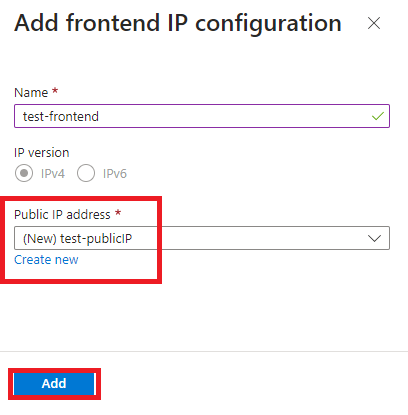
It is possible for you to to see the created new public IP tackle. Click on on the Add button.
Step 9
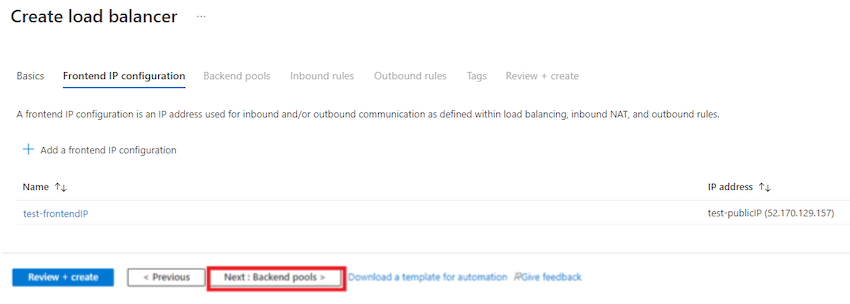
Choose Subsequent: Backend swimming pools.
Step 10
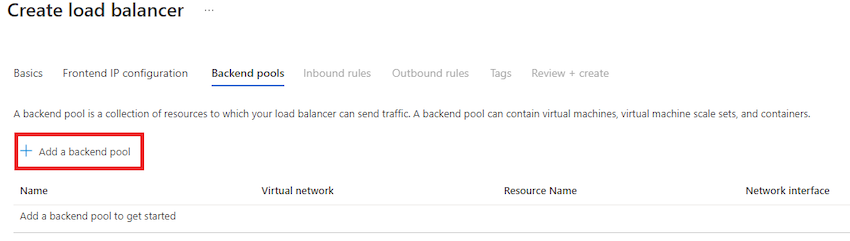
In Backend swimming pools, click on on + Add a backend pool.
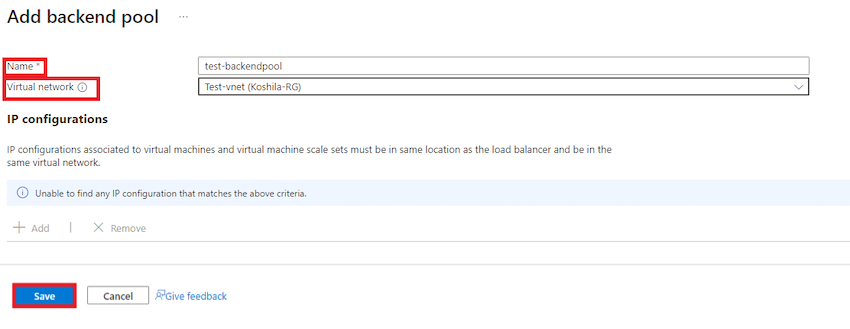
Present a Title for the backend pool and choose a Digital community. Then click on on Save. You possibly can configure IPs later. Then click on on the Subsequent: Inbound guidelines button.
Step 11
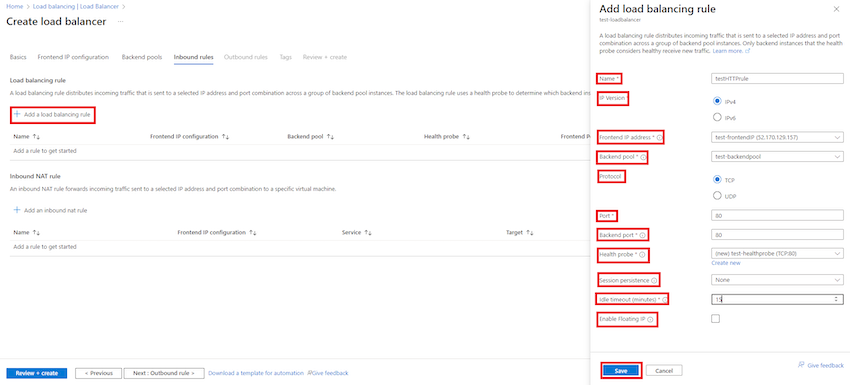
Within the Load balancing rule part, click on on + Add a load balancing rule. Present Title and IP Model, choose Frontend IP Tackle, Backend pool, Protocol, Port and Backend port, and Well being probe. Then click on on Save.
Step 12
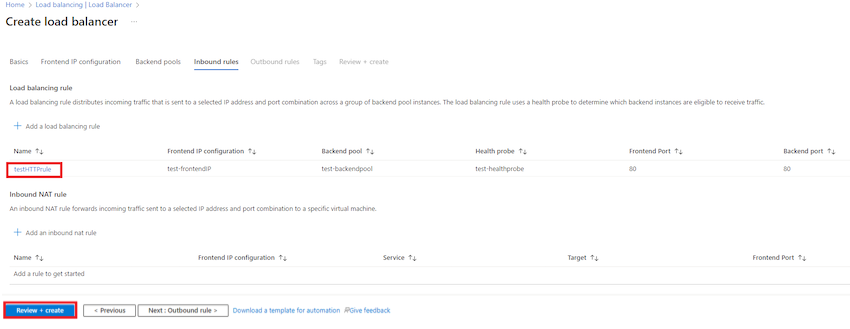
Now it is possible for you to to see the created load balancing rule. Click on on Evaluation + create.
Step 13
Click on on Create after the validation has handed.
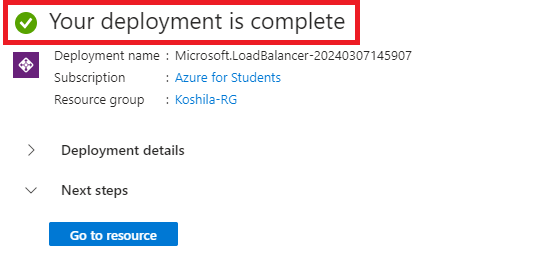
You possibly can see the deployment is accomplished. Now, you possibly can add the digital machines as most well-liked.
Abstract
On this article, we realized “Easy methods to create a load balancer within the Microsoft Azure portal”. Please use the feedback part in case you have any clarification.
Know extra about our firm at Skrots. Know extra about our providers at Skrots Providers, Additionally checkout all different blogs at Weblog at Skrots


