On this article will clarify the right way to create and handle an Azure Useful resource group and implement tags in a useful resource group. We’ll see it step-by-step.
Earlier than we begin, let’s perceive the target of this demonstration which tells what precisely will likely be lined on this article.
- Create a useful resource group within the Azure Portal.
- Handle the useful resource teams
- Perceive using Tags in useful resource teams.
So, let’s get began.
Useful resource Group
The useful resource is nothing however an Azure service corresponding to an app service, Azure storage, azure lively listing, and so forth. It means everytime you create a brand new useful resource, you’re creating the azure service. Because the title implies, a Useful resource Group is a bunch of Azure assets like digital machines, app companies, storage accounts, SQL databases, and so forth. It is a logical container for grouping associated azure assets. You need to use them to group associated assets for an software and divide them into teams for manufacturing and non-production, or another organizational construction you favor.
Create a useful resource group within the Azure Portal
Step 1
Open the Azure administration portal and log in to https://portal.azure.com
Step 2
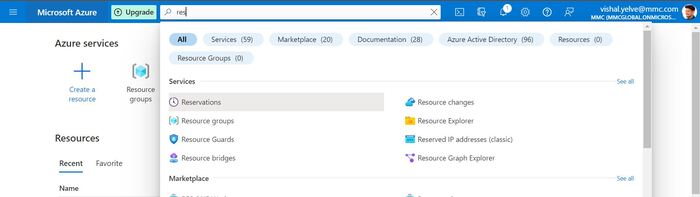
Choose “Useful resource Group” from the Residence web page or Search “Useful resource Group” from the search bar and Open it.
Residence Web page
Search
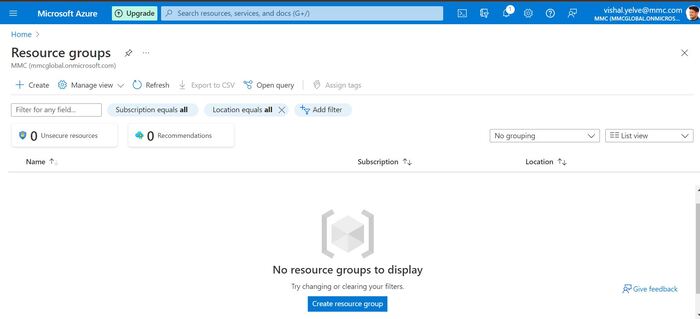
Step 3
Click on on the “+ Create” button to create a useful resource group.
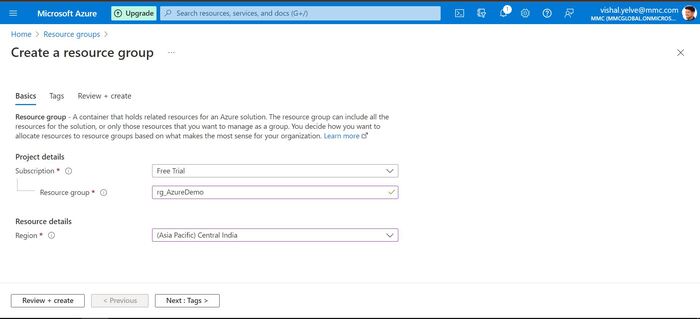
Step 4
After clicking create choice, fill within the required particulars within the Fundamentals tab
- Subscription: Select an appropriate subscription.
- Useful resource group: Useful resource group is a container that holds associated assets for an Azure answer. You may maintain the useful resource group as it’s or it’s also possible to create one by clicking “Create New”.
- Area: Right here, you’ll create all of the assets related together with your digital machine. Choose your area
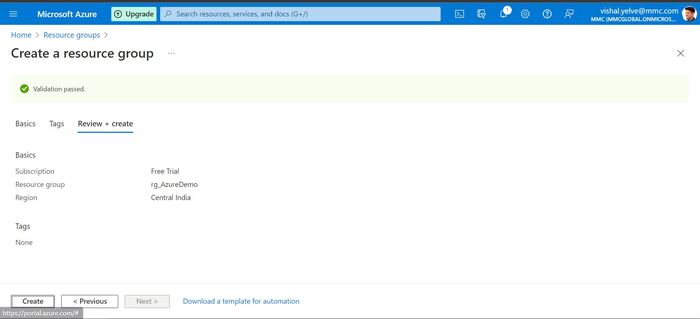
Step 5
Click on on “Evaluate + Create” to validate the settings. After clicking on it, A message seems – Validation Handed. Click on on the “Create” button for the deployment course of.
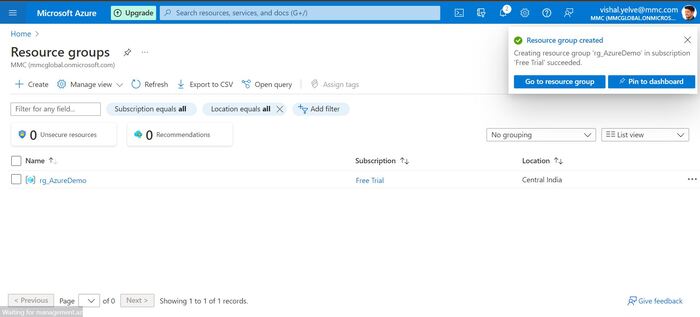
Step 6
A message will notify you on high of the notification bell icon that your Useful resource group is created.
Utilizing Tags
Tagging is used to prepare your Azure assets, useful resource teams, subscriptions, and administration teams hierarchy. Every tag consists of a reputation and a price pair.
In the event you had been working on the undertaking stage there needs to be some tagging compliance to prepare your Azure assets, useful resource teams, subscriptions, and administration teams hierarchy or for higher filtering, monitoring, or for querying just a few situations.
Notice: Tag names are case-insensitive, however tag values are case-sensitive.
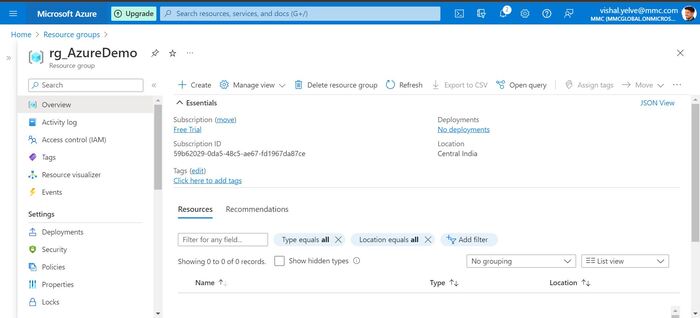
Step 7
On the useful resource group web page, go to the Overview tab. Click on on the “Click on right here so as to add tags” hyperlink so as to add the tags to your useful resource group.
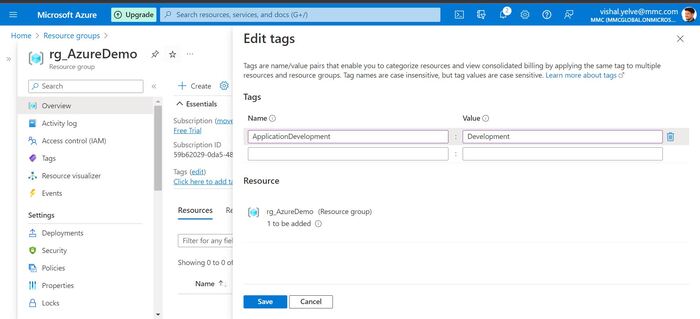
Step 8
Present the title and worth for the tag as proven within the under picture. Proceed including the tags as wanted. When carried out, click on “Save” to save lots of the adjustments.
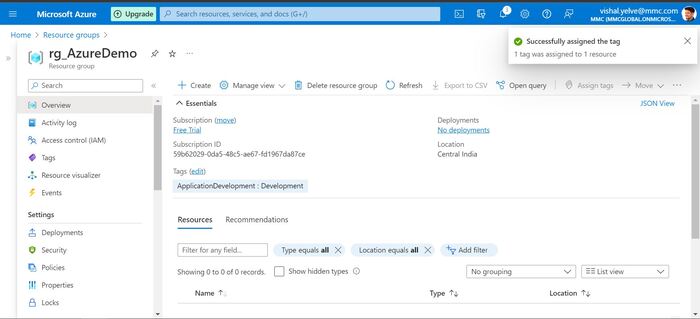
Step 9
The tags that you just’ve added at the moment are displayed within the overview.
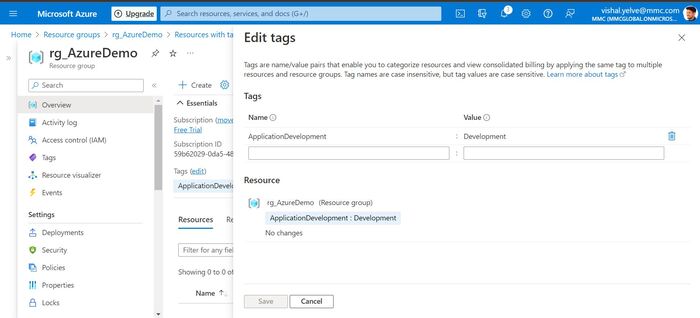
Step 10
So as to add or delete a tag, choose “edit“.

Step 11
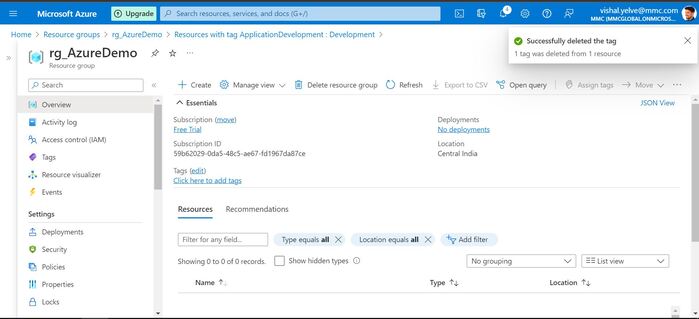
To delete a tag, click on on the trash icon and choose “Save” to save lots of the adjustments.
Step 12
The tags that you just’ve deleted, will likely be faraway from the overview