Azure Service Bus implementation utilizing .NET Core 6 and Queue Set off to fetch messages
This text will focus on the Azure Service Bus introduction and its implementation utilizing .NET Core 6 Net API. Additionally, the queue set off is listening to the service bus and receiving the messages.
Agenda
- Introduction
- Azure Service Bus
- Step-by-step Implementation
- Service Bus Queue Set off
Conditions
- Visual Studio 2022
- .NET Core 6
- Azure Account
Introduction
- Azure Service Bus is a completely managed messaging cloud service and several types of purposes can talk with one another by way of a message queue.
- Message can switch between the completely different purposes and it consists of metadata concerning the message and the encoded data in numerous codecs like JSON or XML.
- Generally, there are completely different senders sending the message and that can get saved contained in the service bus queue we will retailer any variety of messages relying upon the storage measurement which now we have.
- On the opposite aspect, Receivers take heed to the message queue repeatedly and get the corresponding messages as per their matter, queue, and subscription.
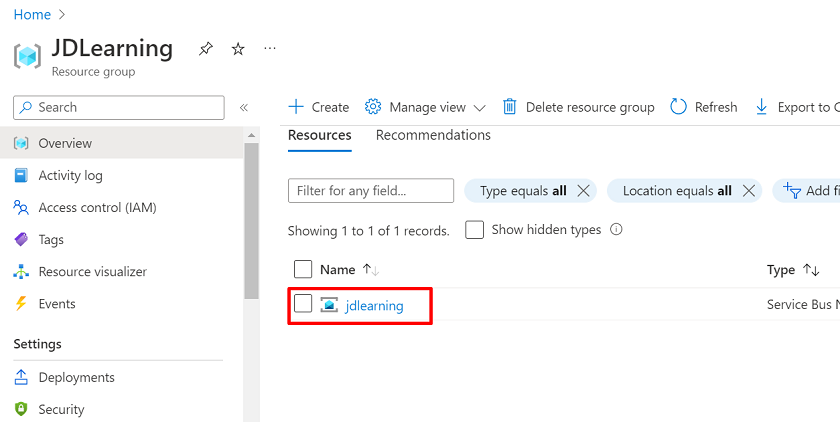
Azure Service Bus
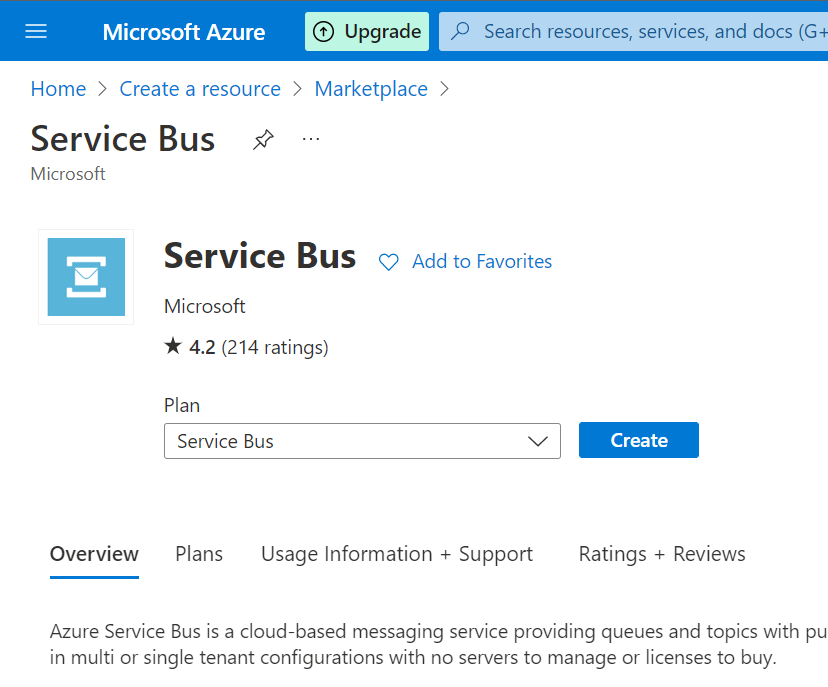
Step 1
Open the Azure portal and seek for the service bus.
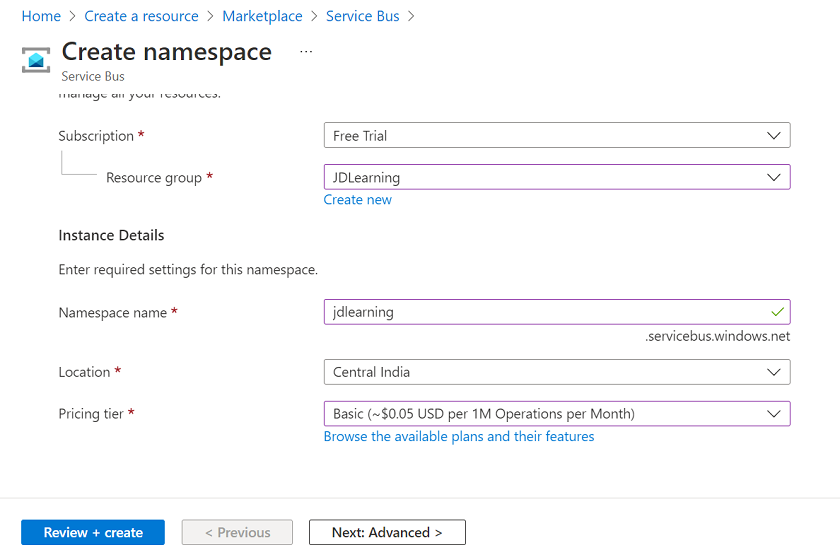
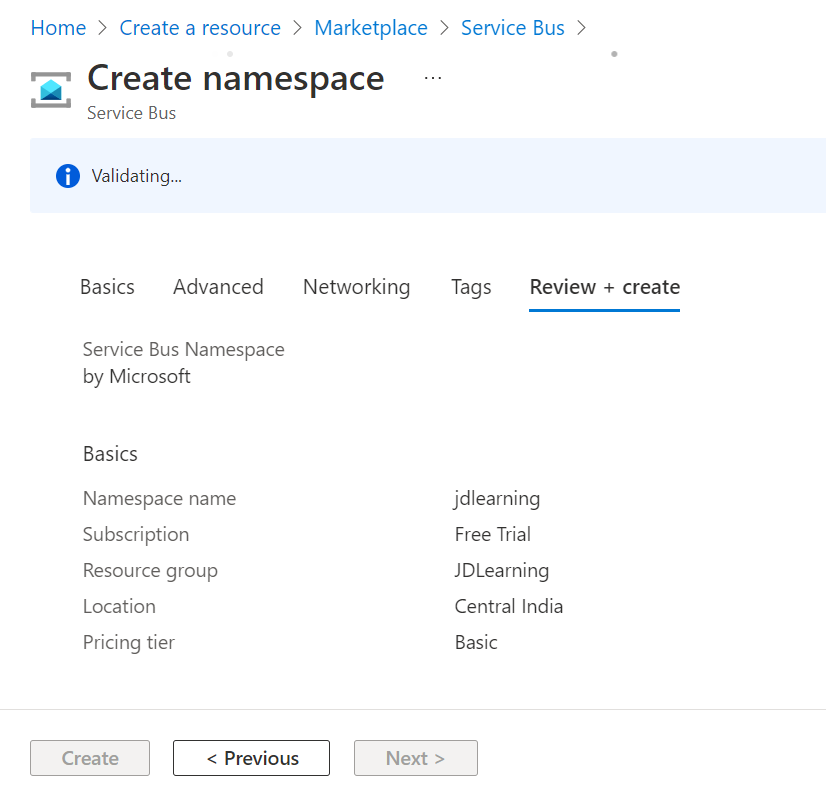
Step 2
Click on on create and fill within the required data.
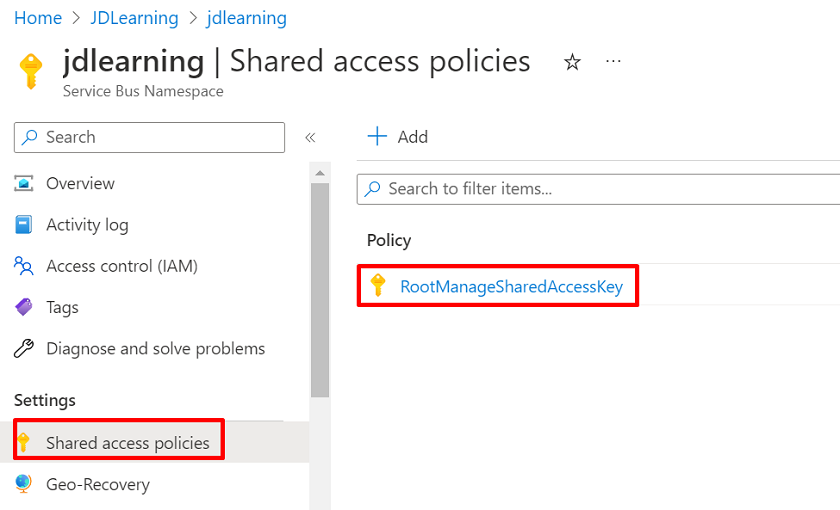
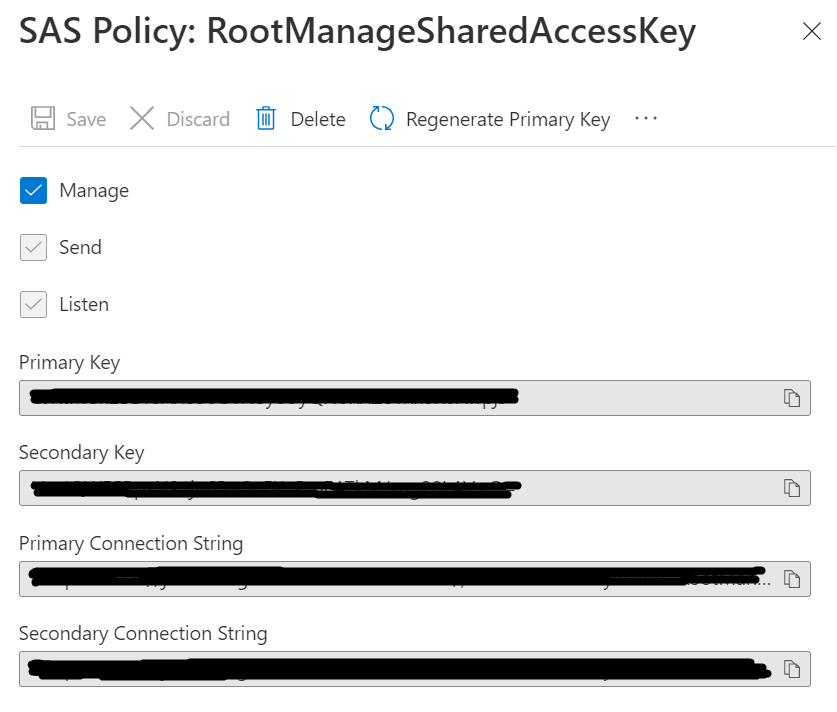
Step 3
Open the service bus which we created and go to the shared entry coverage part inside that we will discover our major connection string which we use inside the online utility.
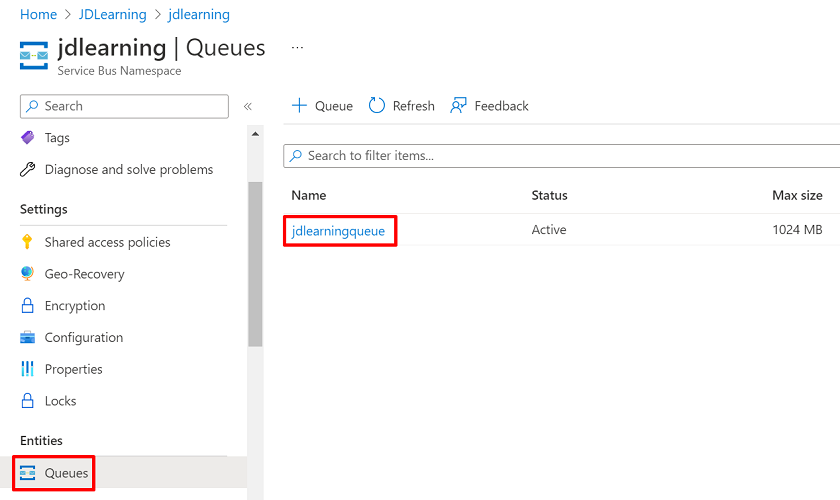
Step 4
Subsequent, go to the Queue part and create a brand new queue.


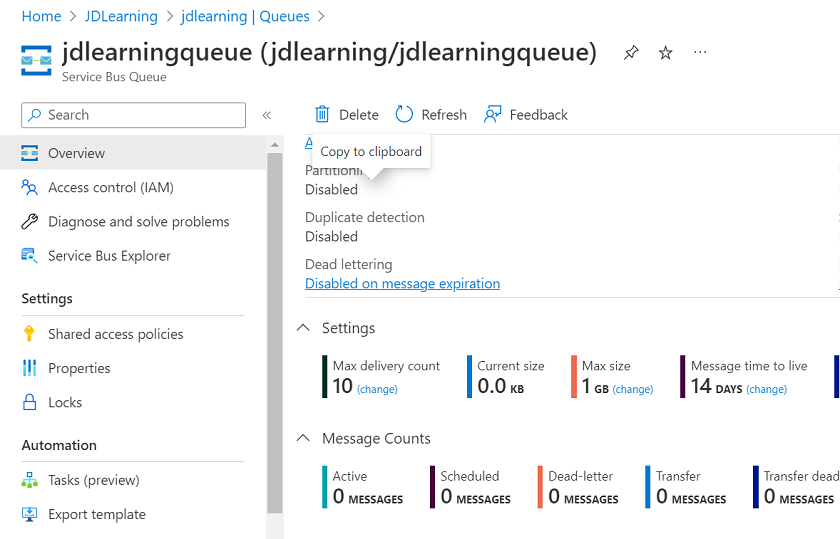
Step 5
Open the queue and right here we will see at this second energetic message depend is zero.
Step-by-step Implementation
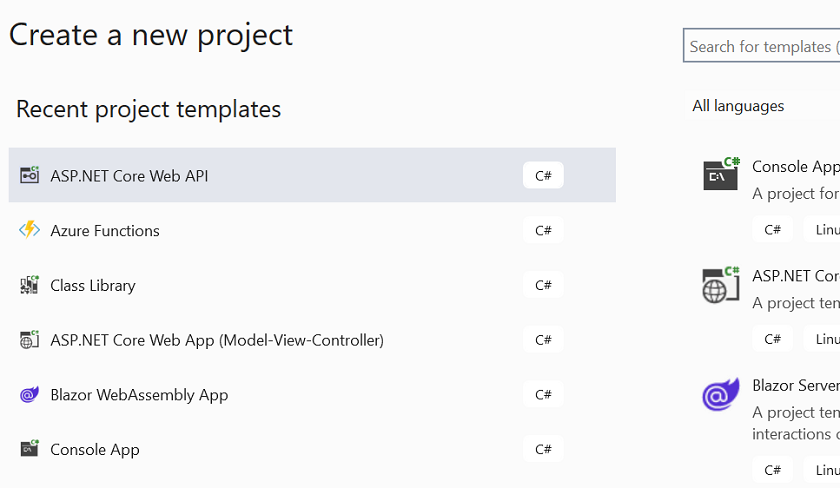
Step 1
Create a brand new .NET Core Net API challenge.
Step 2
Configure the brand new challenge

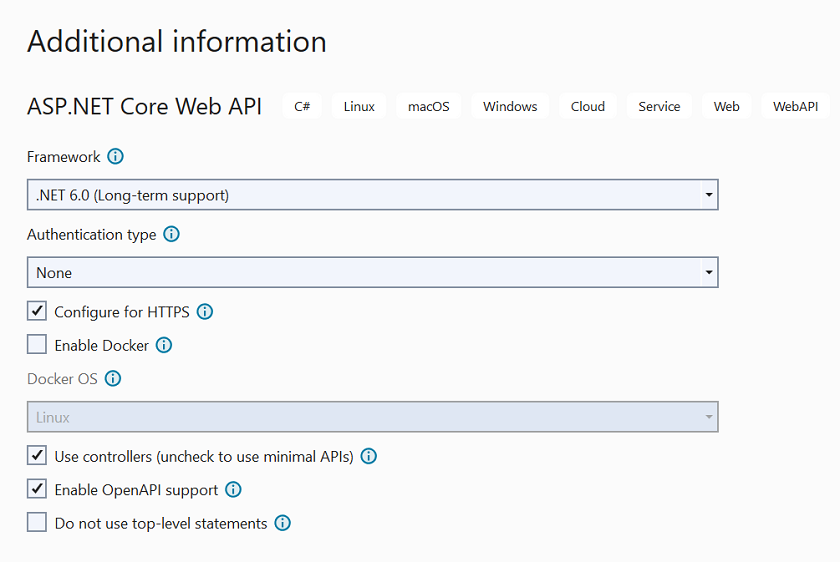
Step 3
Present extra data
Step 4
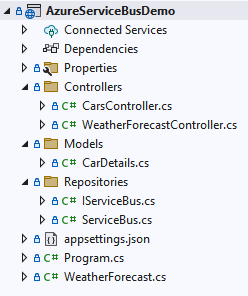
Challenge Construction
Step 5
Set up the next NuGet packages

Step 6
Create a brand new Automotive Particulars class
namespace AzureServiceBusDemo.Fashions
{
    public class CarDetails
    {
        public int CarId { get; set; }
        public string CarModel { get; set; }
        public string Worth { get; set; }
        public string Standing { get; set; }
    }
}
Step 7
Subsequent, add IServiceBus Repository and ServiceBus implementation class.
IServiceBus
utilizing AzureServiceBusDemo.Fashions;
utilizing System;
namespace AzureServiceBusDemo.Repositories {
    public interface IServiceBus {
        Process SendMessageAsync(CarDetails carDetails);
    }
}
ServiceBus
utilizing System.Textual content.Json;
utilizing System.Textual content;
utilizing AzureServiceBusDemo.Fashions;
utilizing Microsoft.Azure.ServiceBus;
namespace AzureServiceBusDemo.Repositories {
    public class ServiceBus: IServiceBus {
        personal readonly IConfiguration _configuration;
        public ServiceBus(IConfiguration configuration) {
            _configuration = configuration;
        }
        public async Process SendMessageAsync(CarDetails carDetails) {
            IQueueClient shopper = new QueueClient(_configuration["AzureServiceBusConnectionString"], _configuration["QueueName"]);
            //Serialize automobile particulars object
            var messageBody = JsonSerializer.Serialize(carDetails);
            //Set content material kind and Guid
            var message = new Message(Encoding.UTF8.GetBytes(messageBody)) {
                MessageId = Guid.NewGuid().ToString(),
                    ContentType = "utility/json"
            };
            await shopper.SendAsync(message);
        }
    }
}
Step 8
Open the appsettings.json file and add the azure service bus connection string and queue title.
{
    "Logging": {
        "LogLevel": {
            "Default": "Data",
            "Microsoft.AspNetCore": "Warning"
        }
    },
    "AllowedHosts": "*",
    "AzureServiceBusConnectionString": "",
    "QueueName": "jdlearningqueue "
}
Step 9
Register a number of companies contained in the Program class as I confirmed under.
utilizing AzureServiceBusDemo.Repositories;
var builder = WebApplication.CreateBuilder(args);
// Add companies to the container.
builder.Providers.AddScoped < IServiceBus, ServiceBus > ();
builder.Providers.AddControllers();
// Be taught extra about configuring Swagger/OpenAPI at https://aka.ms/aspnetcore/swashbuckle
builder.Providers.AddEndpointsApiExplorer();
builder.Providers.AddSwaggerGen();
var app = builder.Construct();
// Configure the HTTP request pipeline.
if (app.Surroundings.IsDevelopment()) {
    app.UseSwagger();
    app.UseSwaggerUI();
}
app.UseHttpsRedirection();
app.UseAuthorization();
app.MapControllers();
app.Run();
Step 10
Create a brand new Automotive Particulars controller.
utilizing AzureServiceBusDemo.Fashions;
utilizing AzureServiceBusDemo.Repositories;
utilizing Microsoft.AspNetCore.Http;
utilizing Microsoft.AspNetCore.Mvc;
namespace AzureServiceBusDemo.Controllers {
    [Route("api/[controller]")]
    [ApiController]
    public class CarsController: ControllerBase {
        personal readonly IServiceBus _serviceBus;
        public CarsController(IServiceBus serviceBus) {
            _serviceBus = serviceBus;
        }
        /// <abstract>
        /// Ship Order Particulars
        /// </abstract>
        /// <param title="carDetails"></param>
        /// <returns></returns>
        [HttpPost("OrderDetails")]
        public async Process < IActionResult > OrderDetails(CarDetails carDetails) {
            if (carDetails != null) {
                await _serviceBus.SendMessageAsync(carDetails);
            }
            return Okay();
        }
    }
}
Step 11
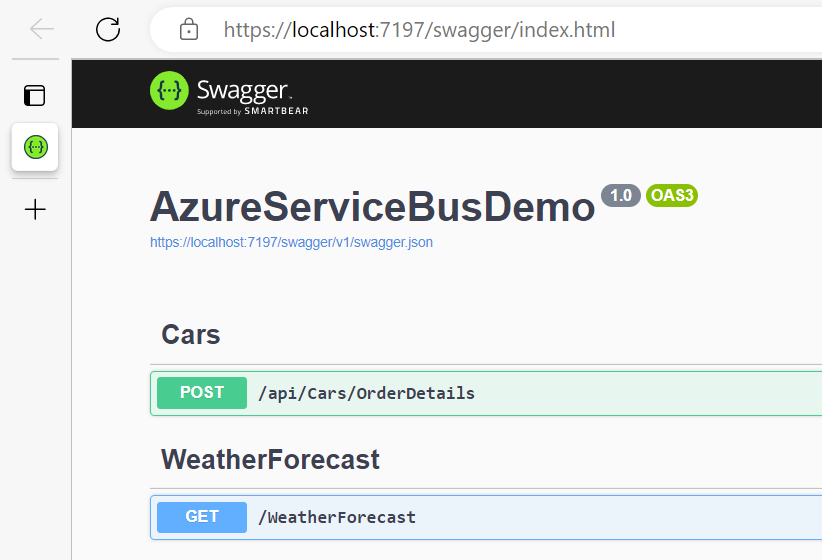
Construct and run the appliance
Service Bus Queue Set off
- Azure service bus set off is used to answer messages that are current contained in the service bus queue and matter.
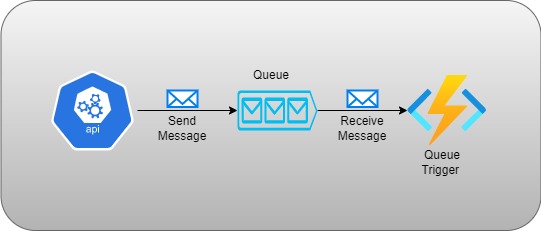
- We ship the message utilizing Net API to the queue and after that service bus queue set off perform obtained the corresponding message which is current contained in the queue and despatched by the sender.
- There are several types of triggers accessible in azure if we need to ship messages contained in the azure perform that can also be attainable. Right here, we use Net API because the sender utility.
Let’s create the Azure Service Bus Queue Set off
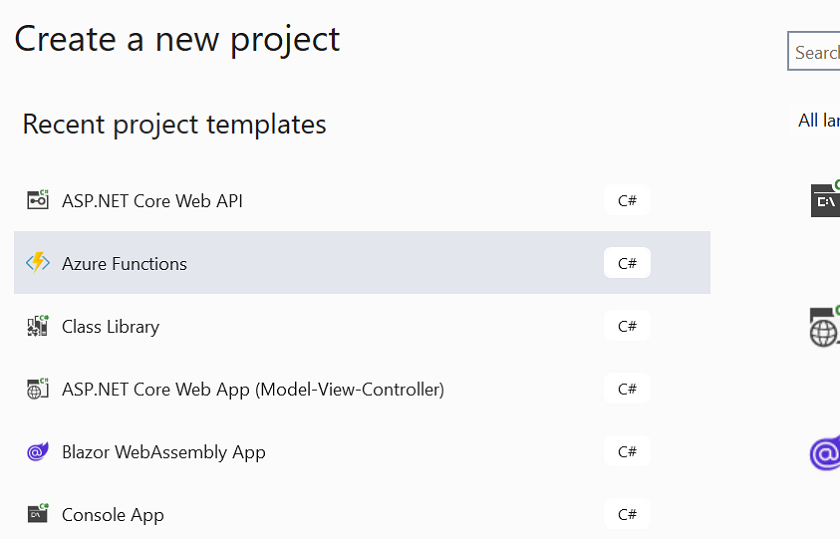
Step 1
Create a brand new Azure perform challenge.
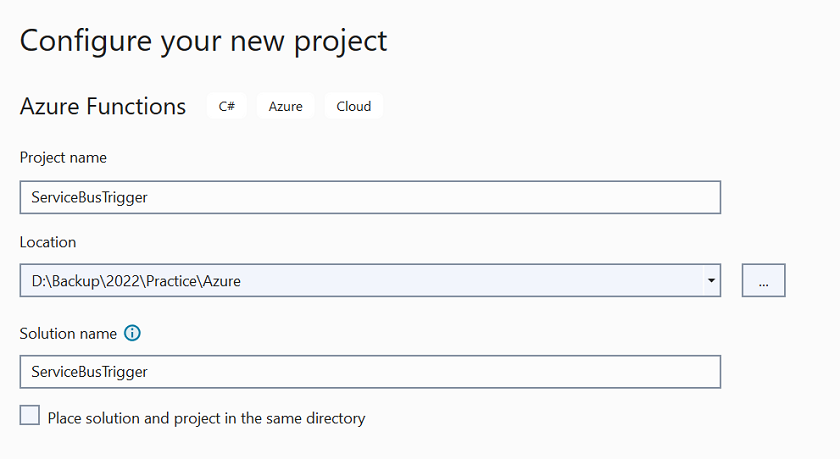
Step 2
Configure a brand new challenge.
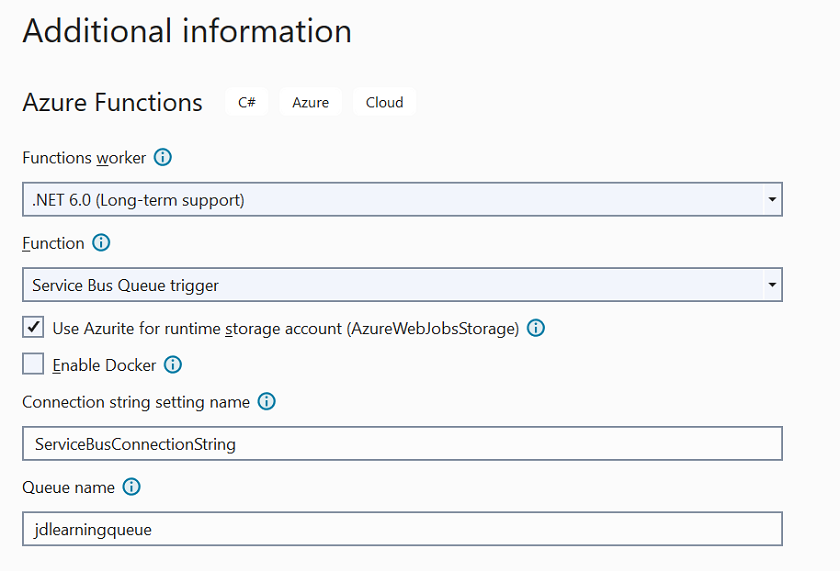
Step 3
Present the extra data like connection string title, queue title, and kind of perform set off.
Step 4
Open and add the azure service bus connection string contained in the native.settings.json file.
{
    "IsEncrypted": false,
    "Values": {
        "AzureWebJobsStorage": "UseDevelopmentStorage=true",
        "FUNCTIONS_WORKER_RUNTIME": "dotnet",
        "ServiceBusConnectionString": ""
    }
}
Step 5
Add the next code contained in the perform class. We are able to modify it as per the requirement if we need to course of some messages and carry out some motion utilizing that. right here, we simply fetch and add show messages for demo functions.
utilizing System;
utilizing Microsoft.Azure.WebJobs;
utilizing Microsoft.Azure.WebJobs.Host;
utilizing Microsoft.Extensions.Logging;
namespace ServiceBusTrigger {
    public class Function1 {
        [FunctionName("Function1")]
        public void Run([ServiceBusTrigger("jdlearningqueue", Connection = "ServiceBusConnectionString")] string myQueueItem, ILogger log) {
            log.LogInformation($ "C# ServiceBus queue set off perform processed message: {myQueueItem}");
        }
    }
}
Step 6
Run the perform set off challenge.
Step 7
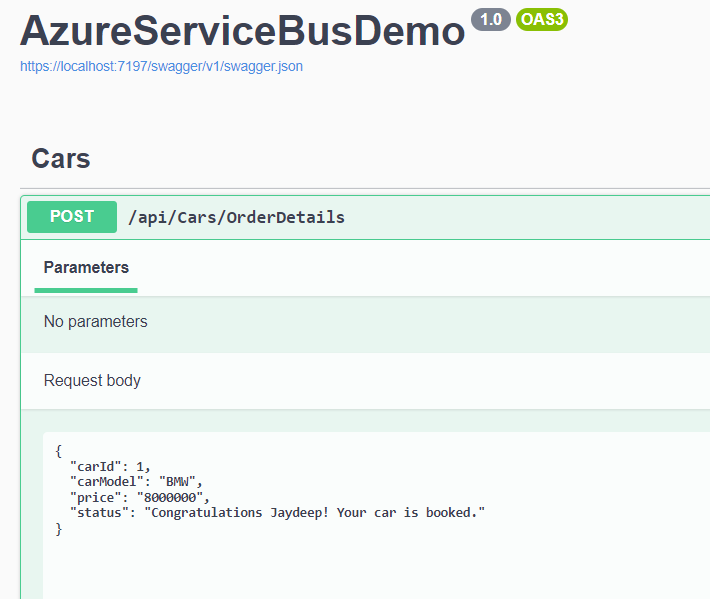
Ship some messages by utilizing swagger UI which we implement in Net API.
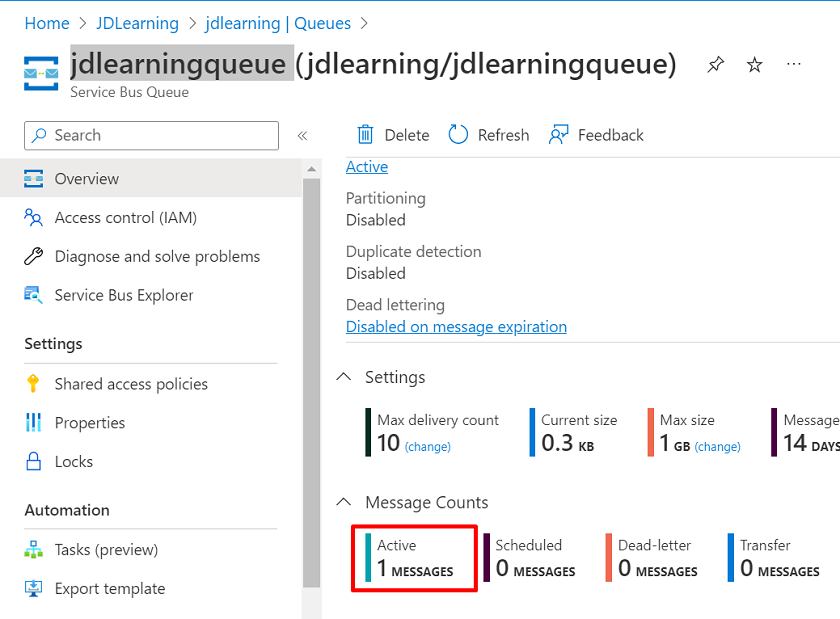
Step 8
Open the azure portal and right here we will see 1 energetic message is on the market.
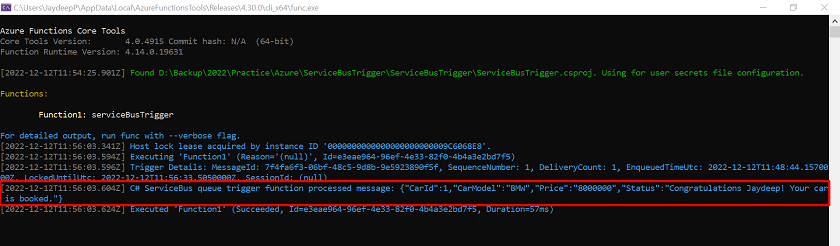
Step 9
On the opposite aspect within the perform utility console. We are able to see the messages which we despatched earlier by utilizing Net API.
So, that is all about Azure Service Bus and Its perform set off.
GitHub Hyperlink
https://github.com/Jaydeep-007/AzureServiceBusDemo
Conclusion
Right here we focus on the introduction of the service bus and its set off perform. Additionally, the step-by-step implementation and configuration utilizing .NET Core 6 Net API and Azure.