What’s Azure Service Bus?
Azure Service Bus is a message dealer service which is hosted on the Azure platform and it supplies performance to publish messages to numerous functions and likewise decouple the functions.
Microsoft Azure Service Bus is a totally managed enterprise integration message dealer. Service Bus can decouple functions and providers. Service Bus affords a dependable and safe platform for asynchronous switch of information and state.
Information is transferred between completely different functions and providers utilizing messages. A message is in binary format and may comprise JSON, XML, or simply textual content.
Microsoft service bus is available in completely different flavors,
- Queues
- Subject (we are going to cowl this in subsequent articles)
Azure Service Bus: Queues
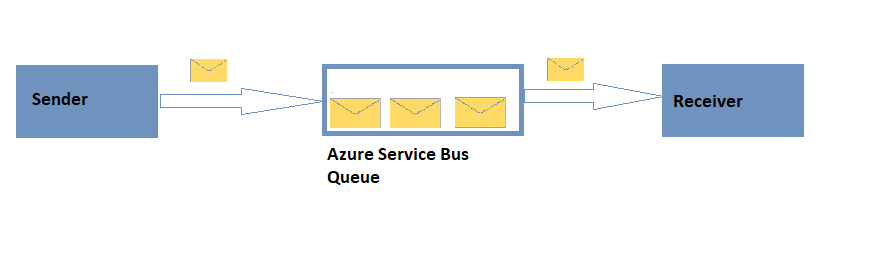
Queues observe a First-In-First-Out (FIFO) sample. Queues present the one-way transport just like the sender goes to ship message within the queue and the receiver would gather messages from queue. In queues, there’s a 1:1 relationship between the sender and receiver. Messages are current within the queue till the receiver processes and completes the messages.
The queue comprises a secondary sub-queue, known as a dead-letter queue (DLQ). Each time we create a queue DLQ is routinely added in our important queue. When the messages are usually not delivered to the receiver or can’t be processed by the receiver then such messages are pushed to DLQ.
Now we’ve mentioned sufficient concerning Queues so let’s create queues in Azure and construct a easy software to ship and obtain messages from the queue.
Making a easy software to ship and obtain messages from the queue.
Conditions
Overview of the appliance
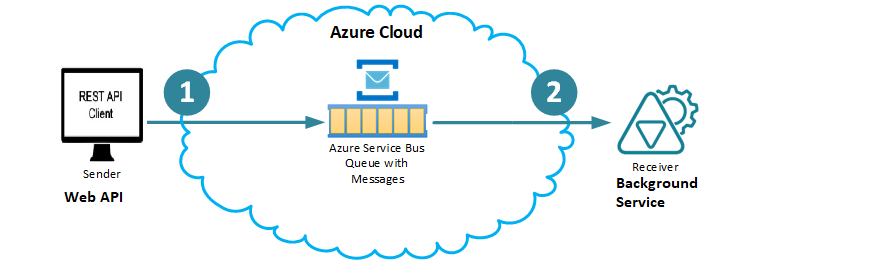
We might be making a easy software which consists of three elements,
- Create Azure Service Bus Queue utilizing Azure Portal (Coated on this article)
- Create Internet API to push the message into Queue (Coated on this article)
- Create a Background Service to obtain a message from Queue (Protecting in Half 2)
Creating Azure Service Bus Queue utilizing Azure Portal
- Login to Azure and click on on Create a useful resource button.
- Within the search field sort service bus and choose it.
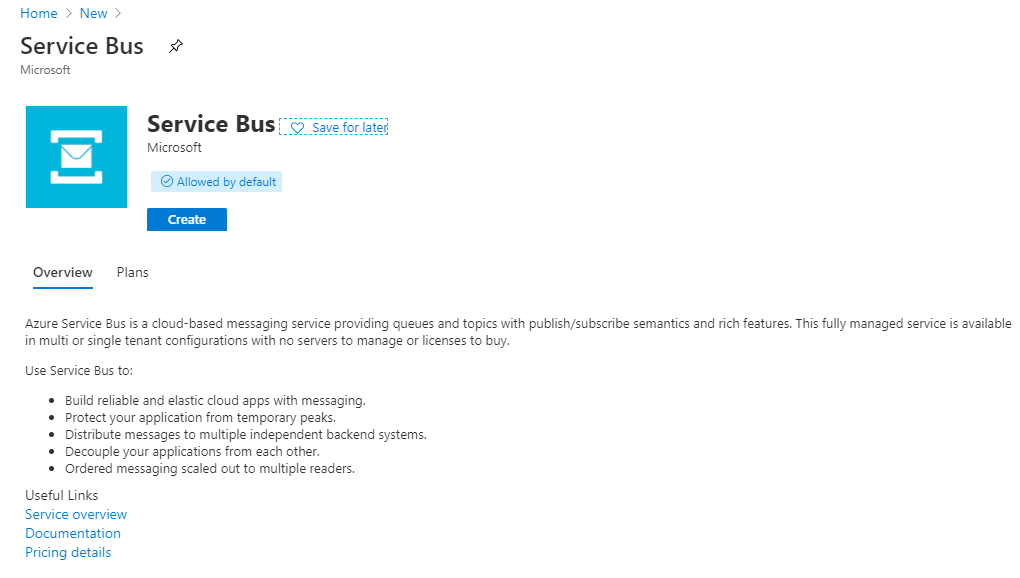
- Click on on Create button. You will notice the Create Namespace web page.

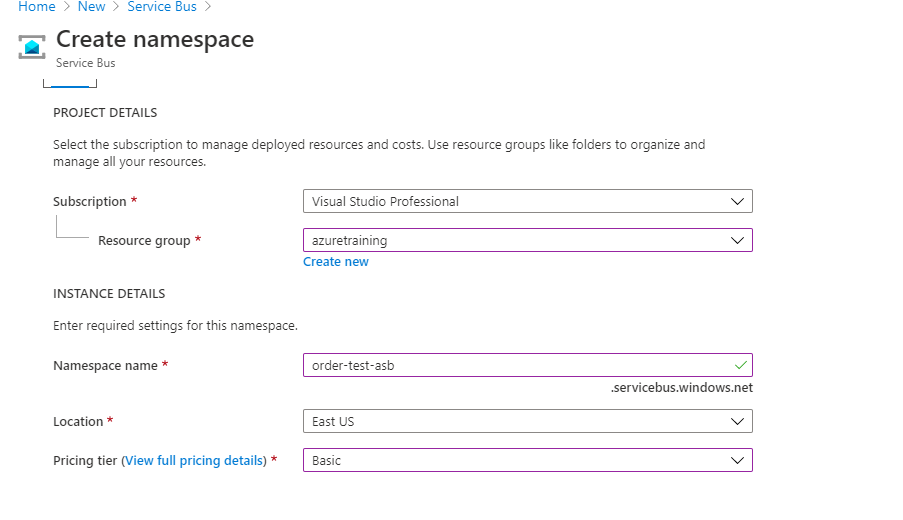
- Azure has Useful resource Teams (RG) which acts as a container on your sources. So now we’re going to create a Service bus useful resource. First we have to create Useful resource Group. When you’ve got already created RG then you should use the identical right here. Below Useful resource group click on on Create New button and provides a singular RG identify.

- Now we’ve to specify the Namespace identify. A namespace is a container for all messaging parts. A number of queues and subjects might be in a single namespace, and namespaces usually function software containers.
- Choose the placement.
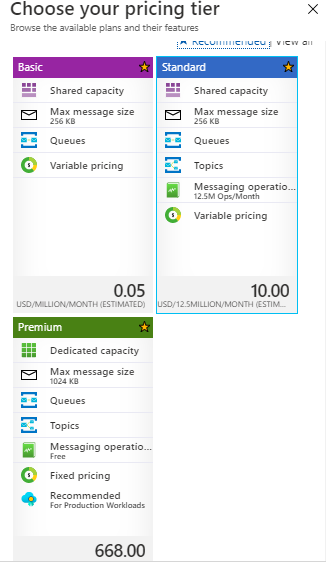
- Choose pricing tier. Azure supplies Three pricing tiers,
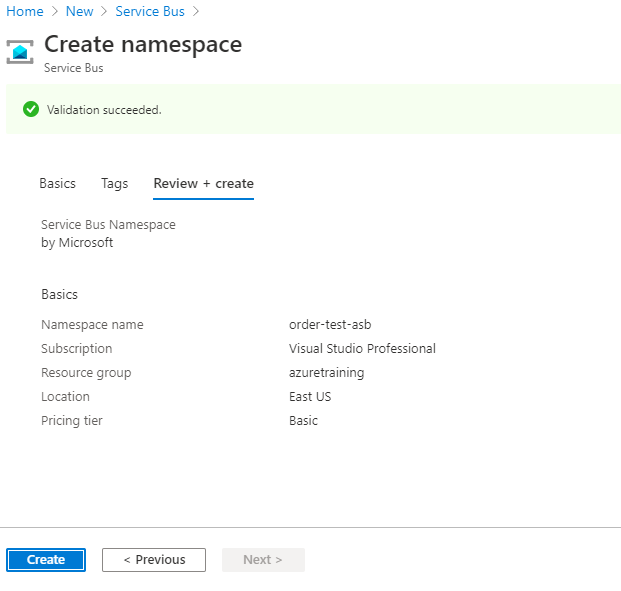
- We have now stuffed in all particulars so click on on Assessment + create button.
- Assessment every little thing is added property and at last click on on Create button.
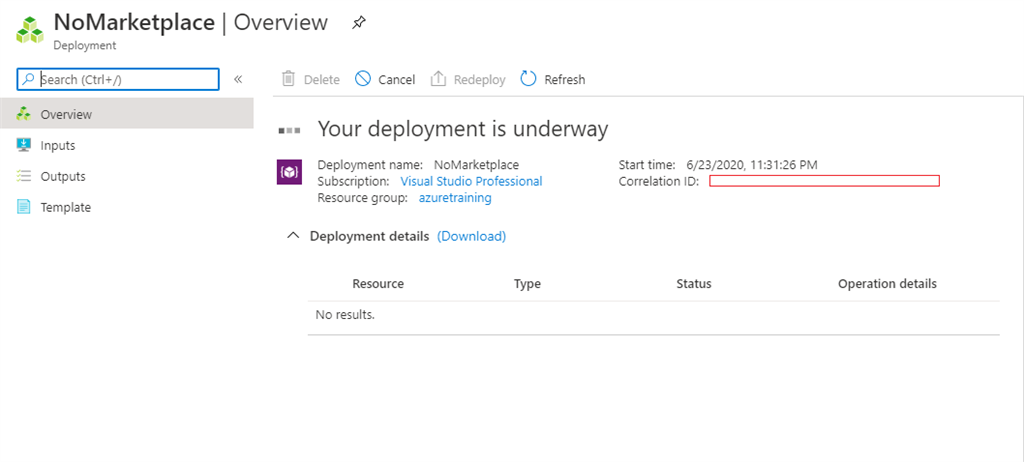
- Creating sources will take time.
- Now our order queue is created efficiently.
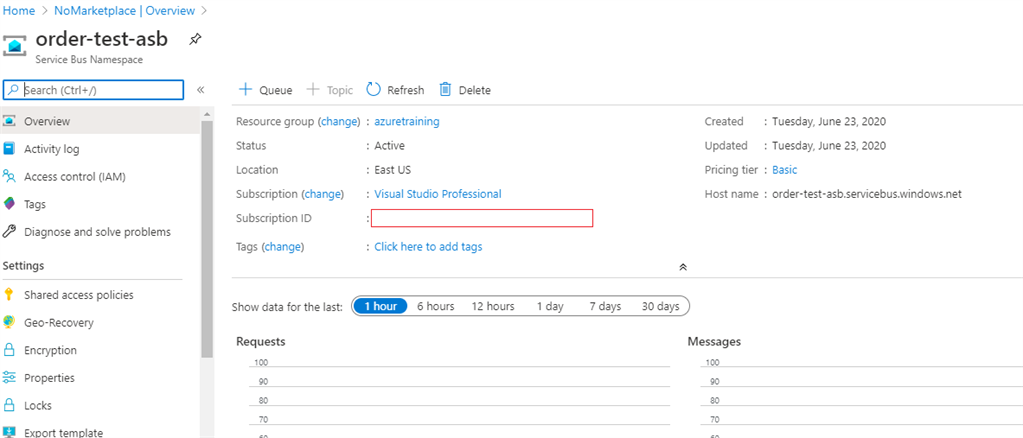
- Go to the Queues part within the left panel and click on on Queue and provides a singular identify for queue and click on on the Create button.
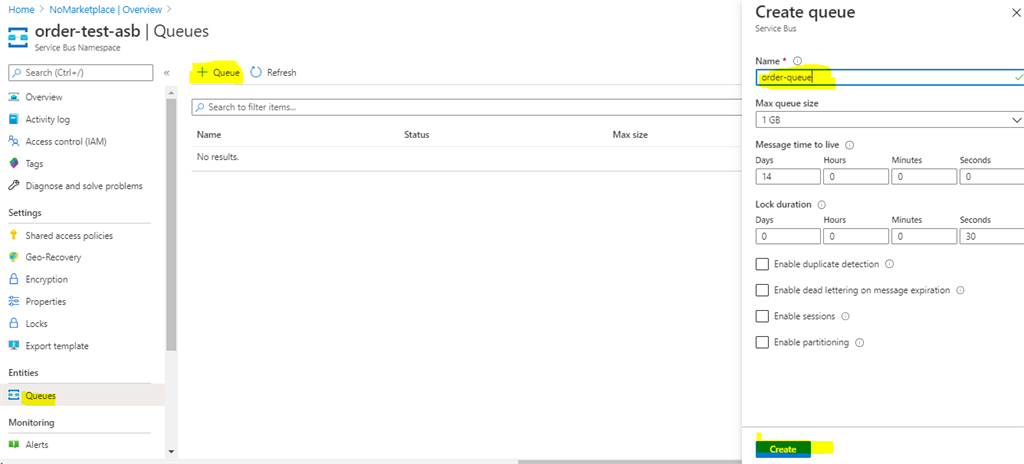
That is it. We have now created our first queue.
Create Internet API to push the message into Queue
Conditions
- Visual Studio 19(in case you are utilizing .NET Core 3.1)
- .NET Core 3.1 SDK put in
Very first thing is to create a brand new ASP.NET Core Internet API challenge. For many who are new to ASP.NET Core, I’ve listed down the steps to create a brand new Internet API challenge.
- Open Visual Studio and click on on File -> New -> Venture. Then choose ASP.NET Core Internet Utility and click on on the Subsequent button.
- Give the challenge identify and click on on Create button.
- After that choose API and click on on Create button.
- So now your ASP.NET Core Internet API challenge is setup.
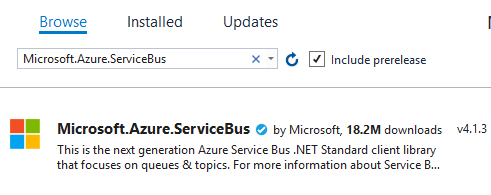
- First we have to set up Azure Service Bus NuGet bundle:
Create a brand new class known as Order.cs and add beneath properties,
- namespace Order.Internet.API
- {
- public class Order
- {
- public int Id { get; set; }
- public int Amount { get; set; }
- public decimal Worth { get; set; }
- }
- }
appsettings.json
- {
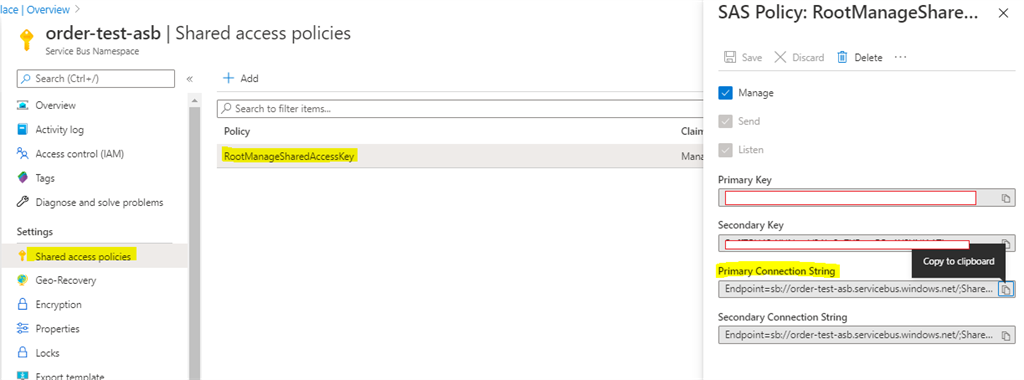
- “QueueConnectionString”: “<substitute your RootManageSharedAccessKey right here>”,
- “QueueName”: “order-queue”,
- “Logging”: {
- “LogLevel”: {
- “Default”: “Data”,
- “Microsoft”: “Warning”,
- “Microsoft.Internet hosting.Lifetime”: “Data”
- }
- },
- “AllowedHosts”: “*”
- }
- utilizing System;
- utilizing System.Textual content;
- utilizing System.Threading.Duties;
- utilizing Microsoft.AspNetCore.Mvc;
- utilizing Microsoft.Azure.ServiceBus;
- utilizing Microsoft.Extensions.Configuration;
- utilizing Newtonsoft.Json;
- namespace Order.Internet.Api.Controllers
- {
- [Route(“api/[controller]”)]
- [ApiController]
- public class OrdersController : ControllerBase
- {
- personal readonly IConfiguration _configuration;
- public OrdersController(IConfiguration configuration)
- {
- _configuration = configuration;
- }
- [HttpPost]
- public async Job<IActionResult> CreateOrderAsync([FromBody] Order order)
- {
- IQueueClient queueClient = new QueueClient(_configuration[“QueueConnectionString”], _configuration[“QueueName”]);
- var orderJSON = JsonConvert.SerializeObject(order);
- var orderMessage = new Message(Encoding.UTF8.GetBytes(orderJSON))
- {
- MessageId = Guid.NewGuid().ToString(),
- ContentType = “software/json”
- };
- await queueClient.SendAsync(orderMessage).ConfigureAwait(false);
- return Okay(“Create order message has been efficiently pushed to queue”);
- }
- }
- }
- So we’ve created QueueClient object after which we created Message. We used SendAsync() methodology to push message to the queue.
- We’re testing this utilizing postman. Run the app and hit submit API to push order into Queue.
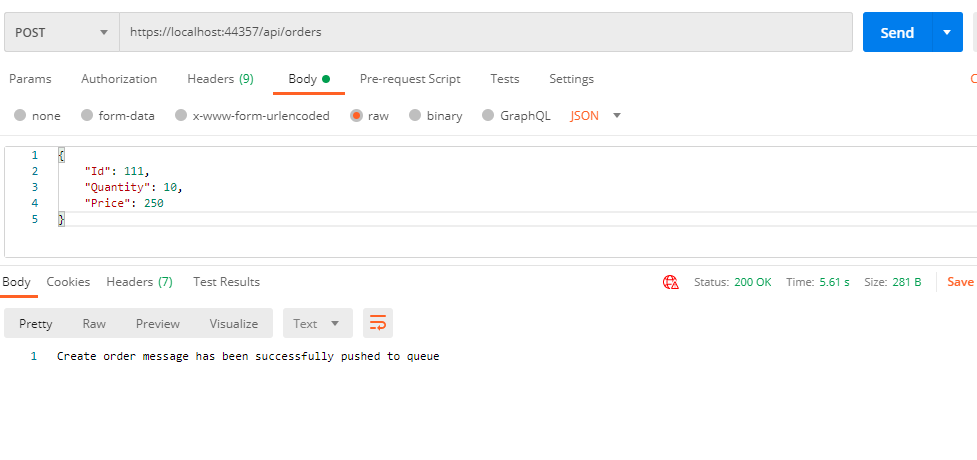
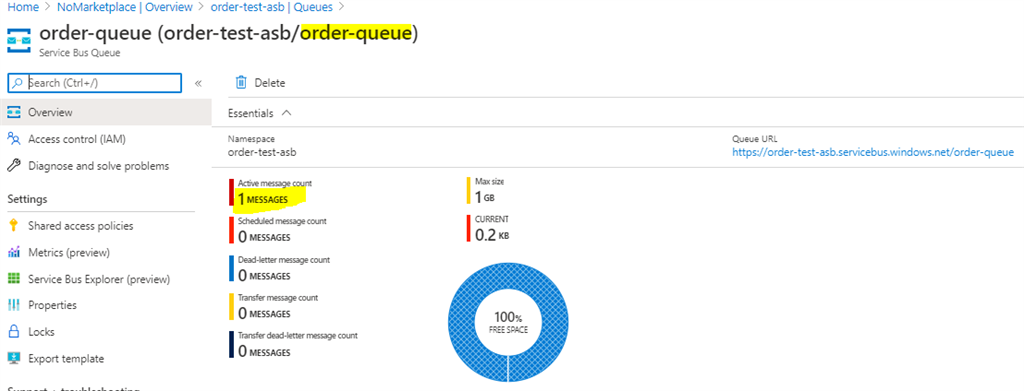
- After a profitable POST name let’s go to Azure Portal and see if the message is pushed to the queue. So we’ve 1 energetic message within the queue.
Conclusion
On this Half 1 of the Azure Service Bus Queue collection, we’ve discovered the best way to create a queue via Azure Portal and likewise we’ve created a Internet API that pushes a message to the Queue. In Half 2 we are going to create a Background Service which is able to learn messages from the Queue.
I actually hope that you just loved this text, share it with mates and please don’t hesitate to ship me your ideas or feedback.