On this article, we’ll be working with blob in Azure. Within the earlier article, Azure Blob Storage, we learnt concerning the Azure Blob Storage and learnt to create a storage account in Azure. Right here, we’ll do some exploration with the likelihood with Blob. We’ll be creating container learn to add knowledge to the blob, obtain the information after which block delete the blob.
Azure Blob Storage
Azure Blob Storage is used designed by Microsoft for the method of object storage in cloud. The blob storage has the capability to retailer enormous quantity of information, majorly the unstructured knowledge Once we discuss concerning the unstructured knowledge it mainly implies that the information doesn’t comply with or are setup in any specific mannequin and definition like binary knowledge and textual content.
Pre-requisite
At the beginning, you would want to setup an Azure Storage Account. You are able to do that following the earlier article, Azure Blob Storage.
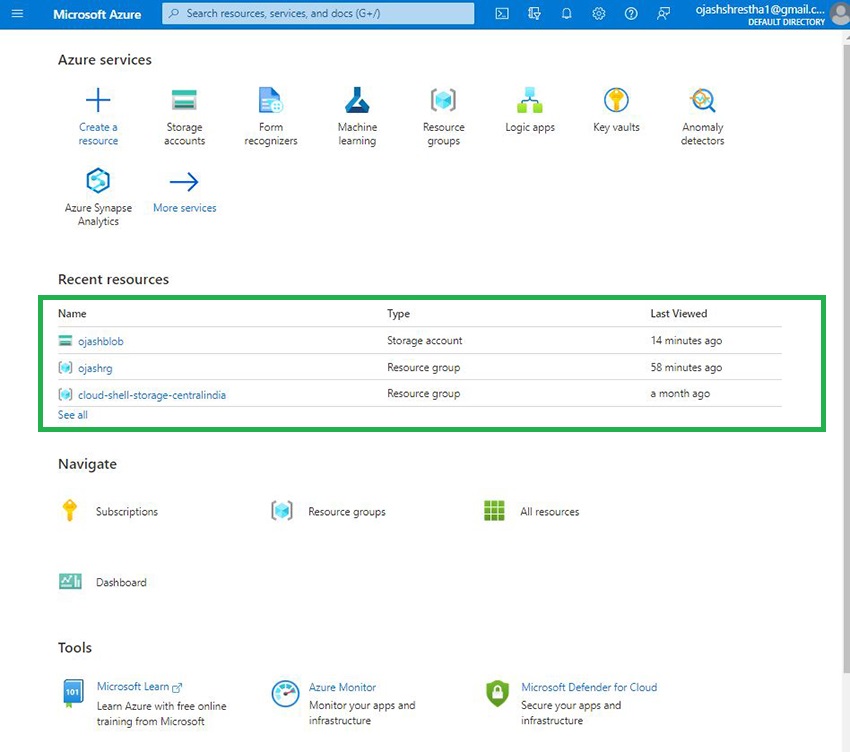
Now, allow us to discover working with Blob in Azure.
Step 1
Comply with the pre-requisite and then you definately’ll have a storage account setup. Mine is known as as ojashblob.
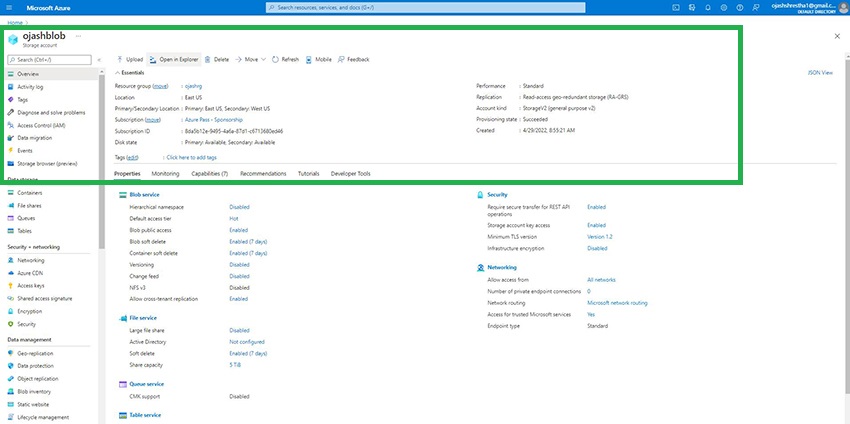
Click on in your storage account and also you’ll be taken to the web page.
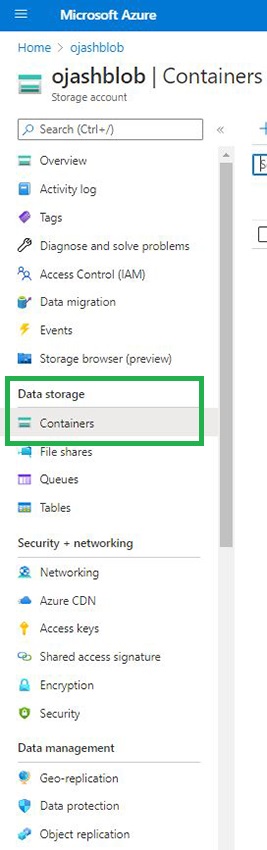
Creating Container
Step 2
On the left-hand facet, Below Information Storage Click on on Containers.
Now, as you’re taken to the Containers web page, Click on on + Container.

Right here, you’d must fill some element in and choose the Public Entry Degree.

I’ve named mine ojash-container and set the general public entry degree to Container (nameless learn entry for containers and blobs)
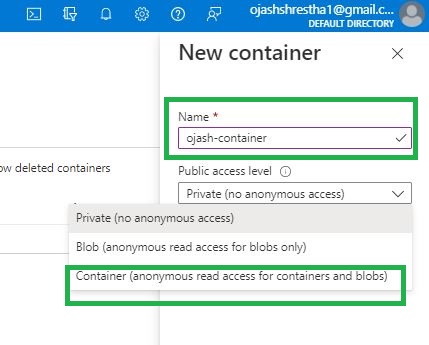
As soon as, set, click on on Create.

Add Blob
Step 3
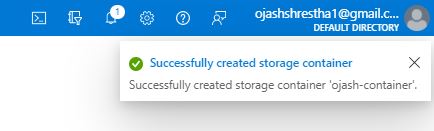
We’re notified concerning the container creation.
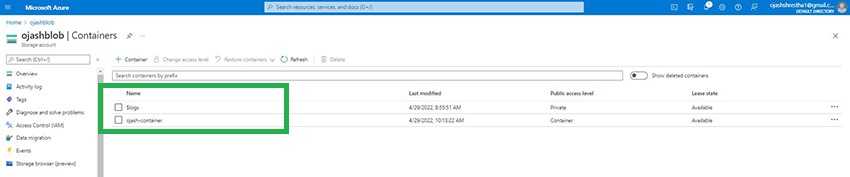
With this on the container web page, we will see the brand new container that we created listed.
Click on on it.
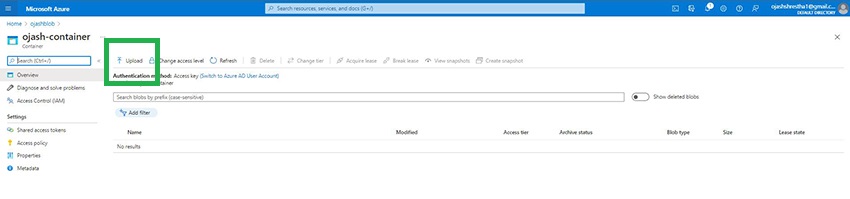
Now, Choose Add.
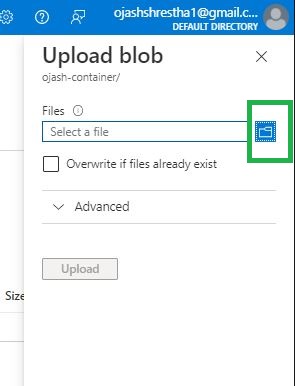
We’re taken to collection of file. Click on on the file folder icon.
We are able to now choose any picture or textual content file from our system.
Right here, I’ve chosen a picture named “1692333.jpg”.
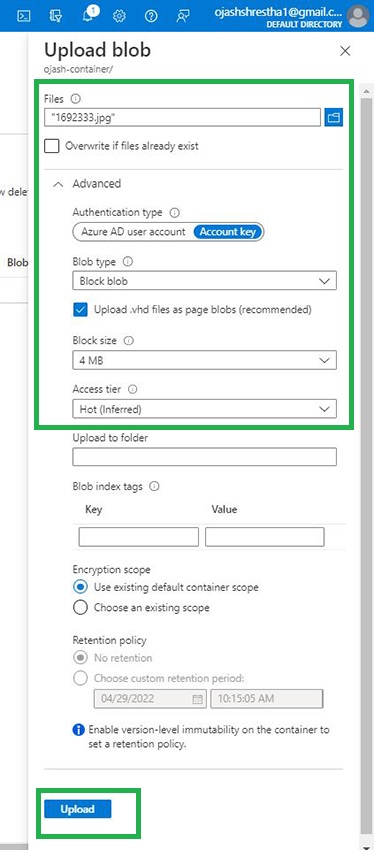
The authentication is about to Account Key, Blob kind as Block blob and Sizzling Entry Tier.
Now, Click on on Add.
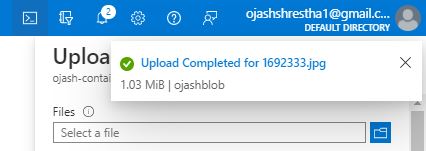
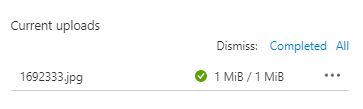
Because the add is profitable, we’re notified of it.
Step 4
On the container web page, we will see the picture file hear and its particulars.
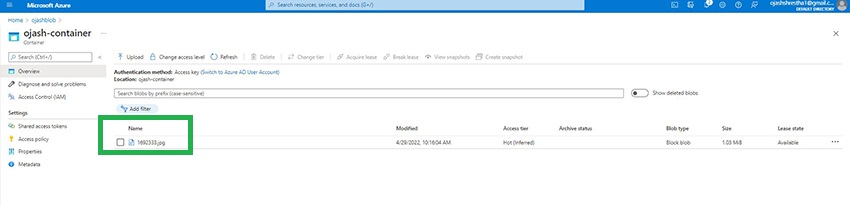
Click on on it to seek out extra particulars about it.
Obtain Blob
Step 5
Blob will be obtain by clicking on the blob and choosing the Obtain button.
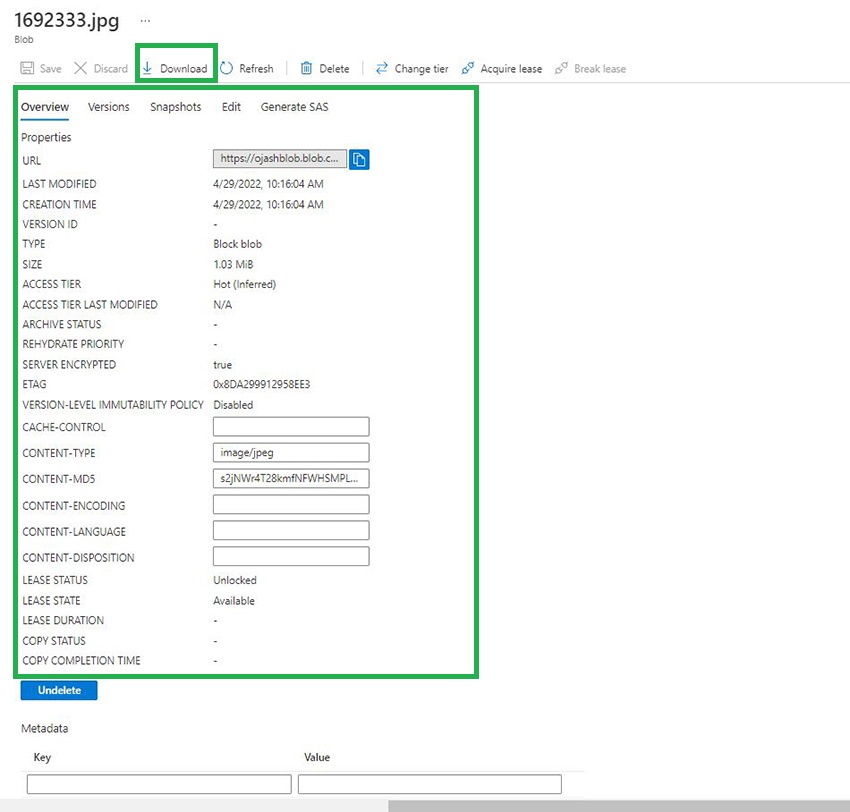
One other approach is to tick mark the blobs and right-click to pick out the Obtain choice.

Block Blob Add
Step 6
To add blob in bulk, click on on the Add Button.
Now, once we choose the folder button, we choose a number of recordsdata.
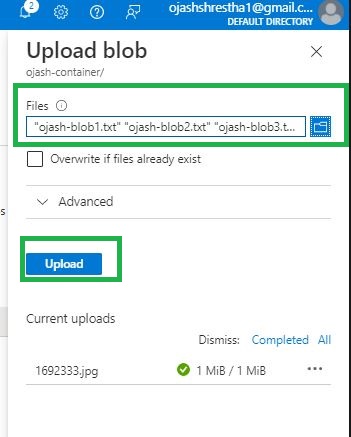
Right here I’ve three textual content recordsdata of various sizes.
Now, click on on Add.
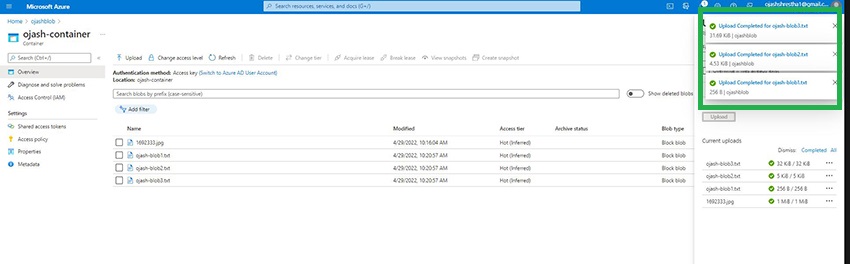
We are able to now see; the blob texts are all uploaded to the container – abruptly.

Equally, we will obtain these blobs too.
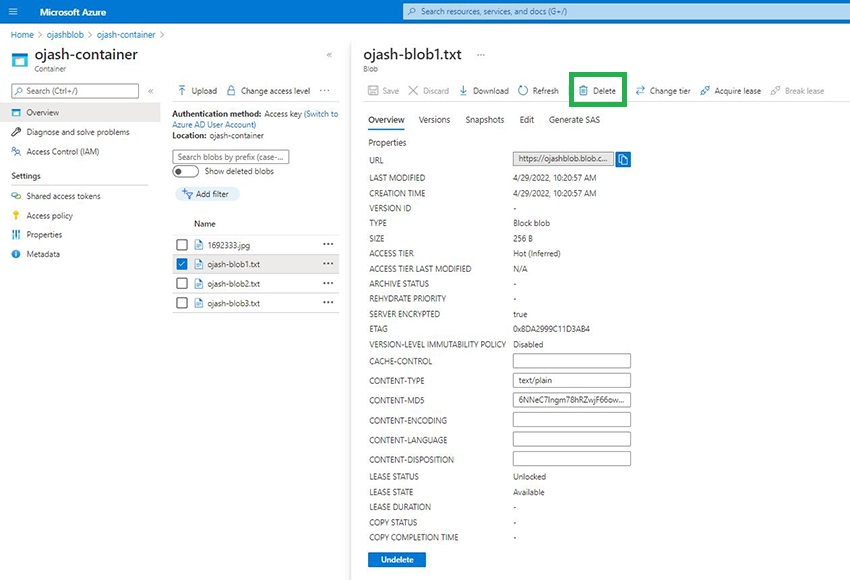
Deleting Blob
Step 7
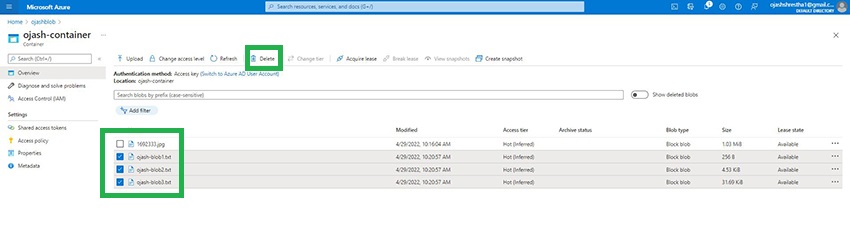
Now, on the container web page, choose all of the blob you need to delete.
Subsequent, click on on Delete button.
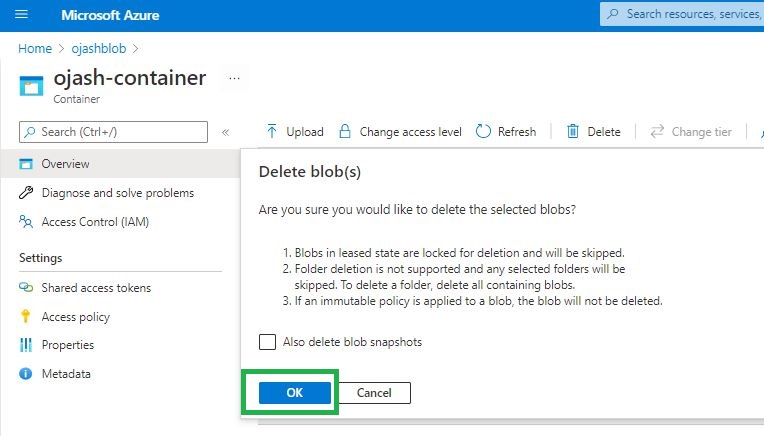
We at the moment are requested for affirmation. Click on on Okay.
Step 8
We are able to now see the success notification.
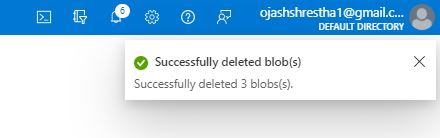
Now we have now efficiently deleted all of the textual content blobs.
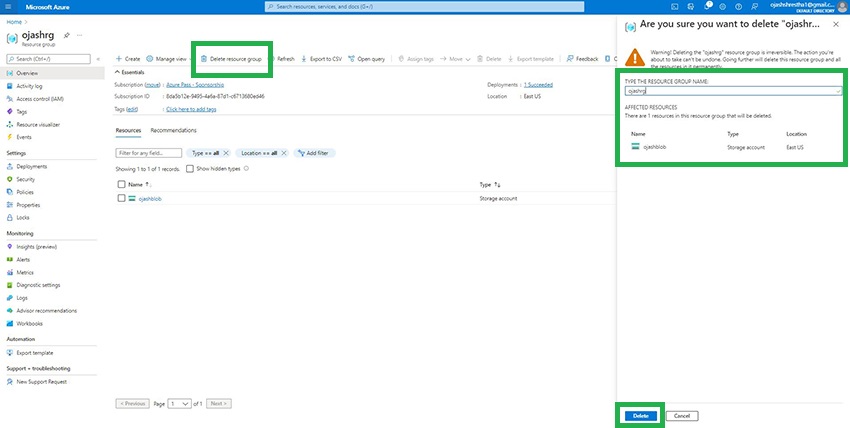
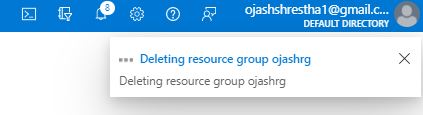
Deleting Blob Storage and Assets
Step 9
Lastly, as we’re finished with our job, we will now delete the storage account from the storage account web page or your complete useful resource group itself.
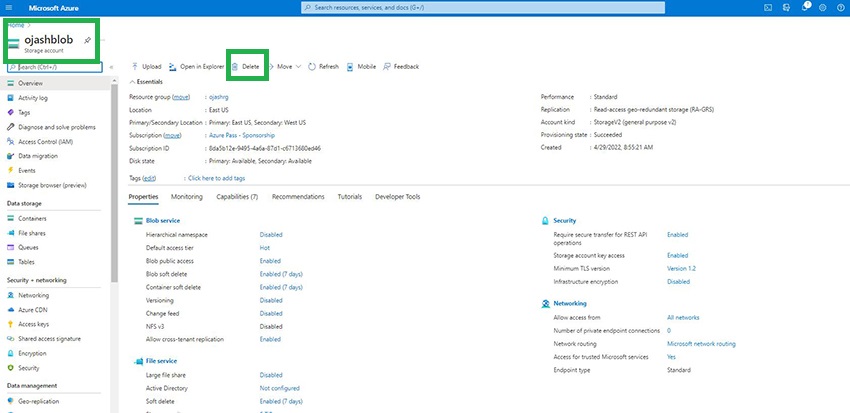
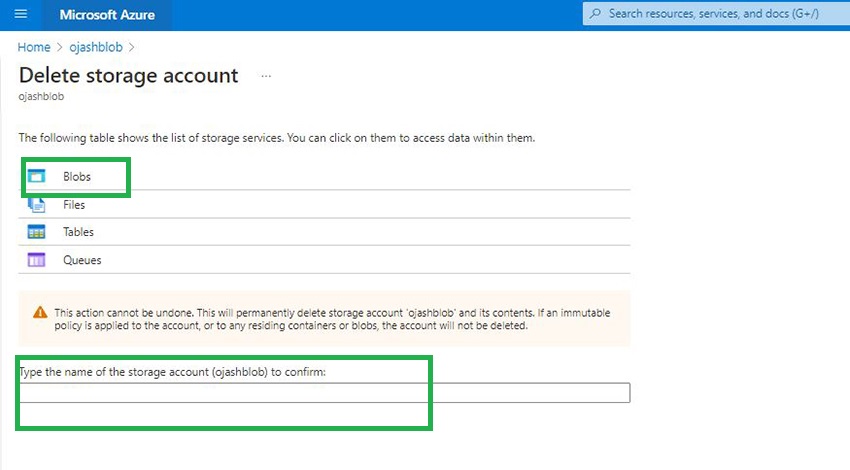
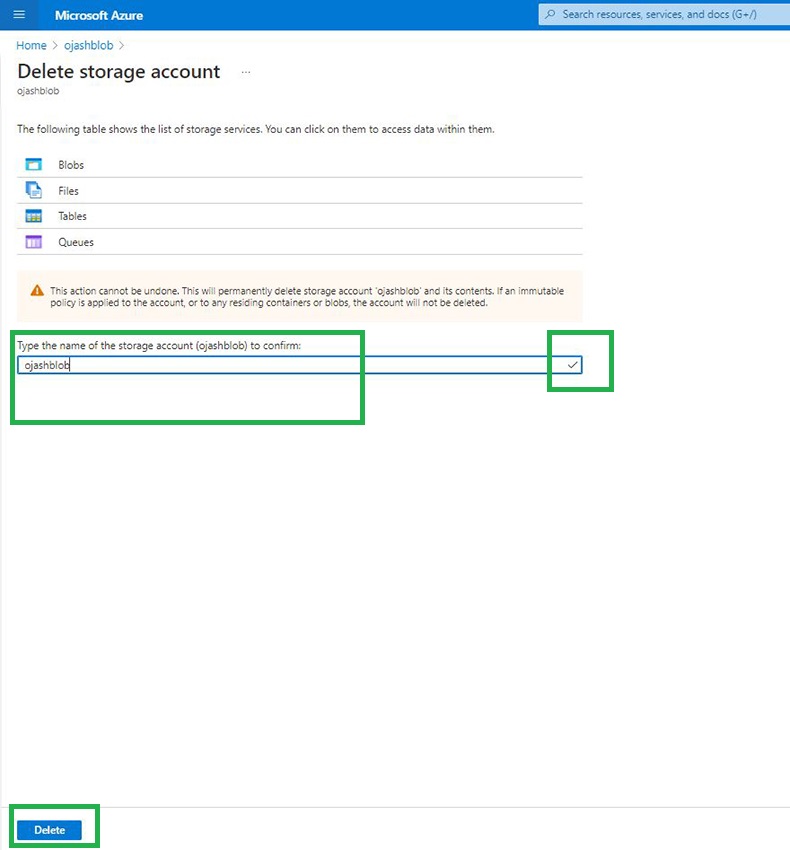
Merely go to the web page and click on on Delete. For the useful resource group, we’d must retype the useful resource group title.
Conclusion
Thus, on this article, we learnt to work with Blobs. We create storage account, setup container after which add blob to the container. Then we additionally learnt to obtain the information and delete the blob each individually and in block.


