Introduction
In at the moment’s ever-evolving panorama of distant work, safe entry to on-premises functions is extra essential than ever. That’s the place Microsoft Entra ID Utility Proxy is available in, providing a dependable answer to make sure seamless entry to inner functions from wherever outdoors the company community.
On this detailed information, we’ll delve into the intricacies of Microsoft Entra ID Utility Proxy, offering a complete understanding of the way it works and find out how to implement it successfully. We are going to take you thru every step with clear directions and useful screenshots, making the method as straightforward as attainable so that you can observe. Keep tuned for invaluable insights and sensible tricks to improve your distant work expertise.
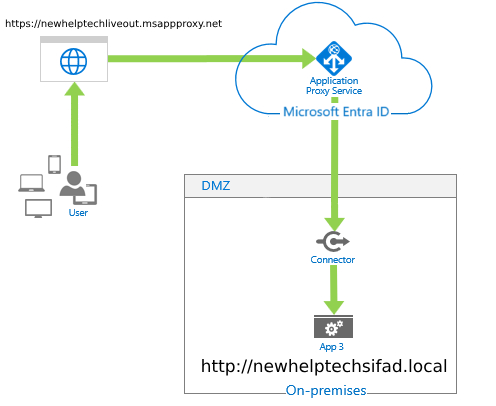
I shall be deployed within the following surroundings primarily based on the diagram under.
One of many key advantages of implementing Microsoft Entra ID Utility Proxy. Listed here are some particular benefits.
- Microsoft Entra ID Utility Proxy facilitates safe inner utility entry by imposing authentication and authorization insurance policies.
- Customers profit from a seamless and acquainted sign-on expertise when accessing on-premises functions outdoors the company community.
- Utility publishing with Microsoft Entra ID Utility Proxy is versatile and scalable. Directors can publish many on-premises functions, together with internet functions, APIs, and inner web sites, with out advanced community configurations or VPNs.
- Microsoft Entra ID Utility Proxy is a cheap answer for enabling distant entry to on-premises functions. They eradicate the necessity for advanced infrastructure and VPNs, decreasing operational prices related to sustaining conventional distant entry options.
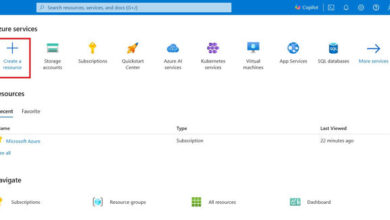
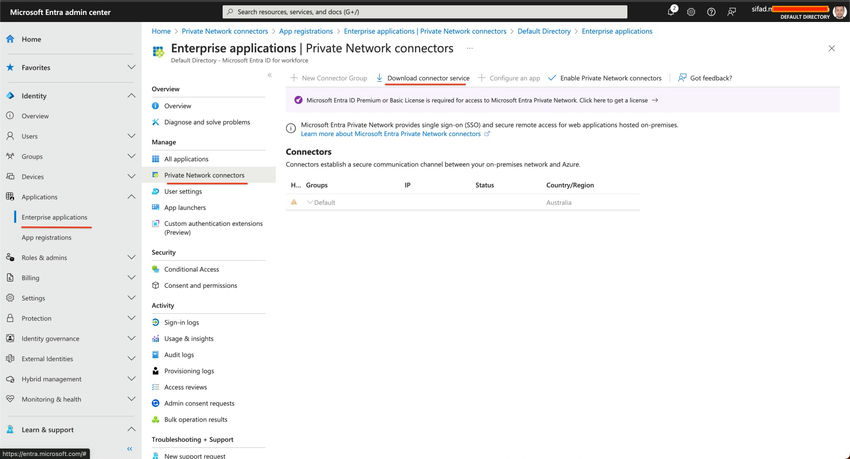
Step 1. Go to the Microsoft Entra ID portal (https://entra.microsoft.com/).
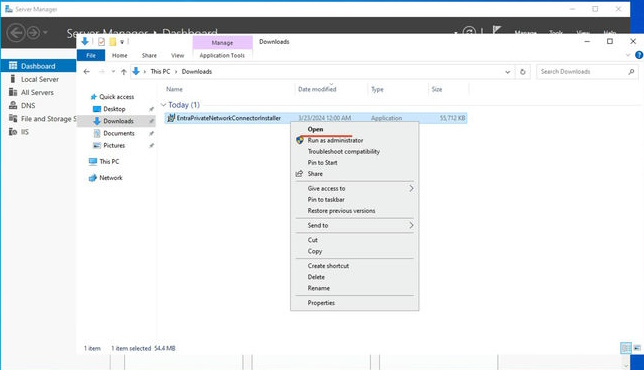
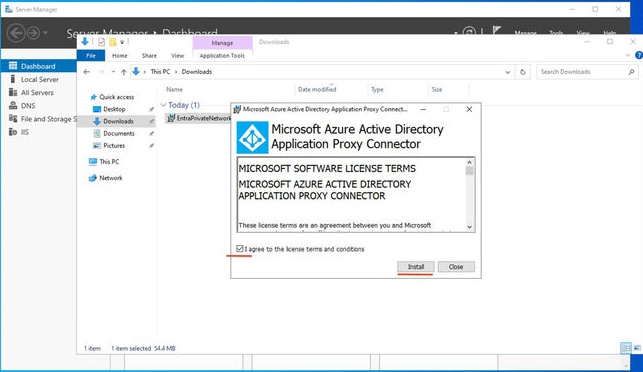
Step 2. Obtain and set up the Non-public Community connectors on a Home windows Server inside my on-premises surroundings. Right here’s a screenshot of the obtain and set up wizard.
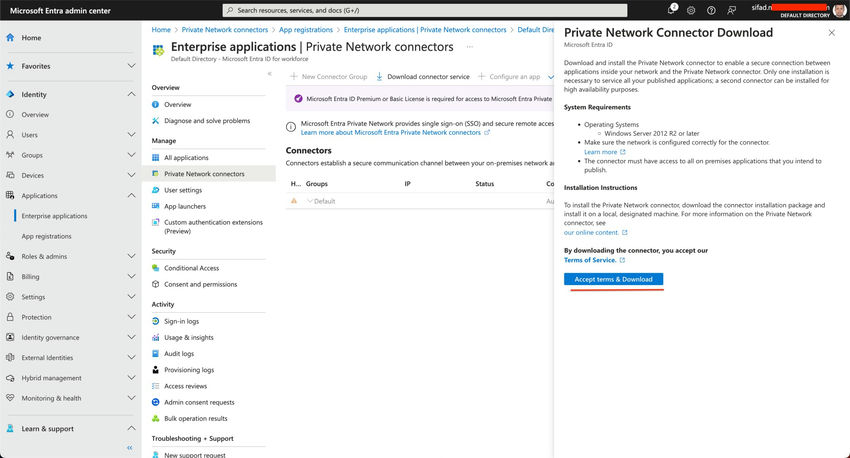

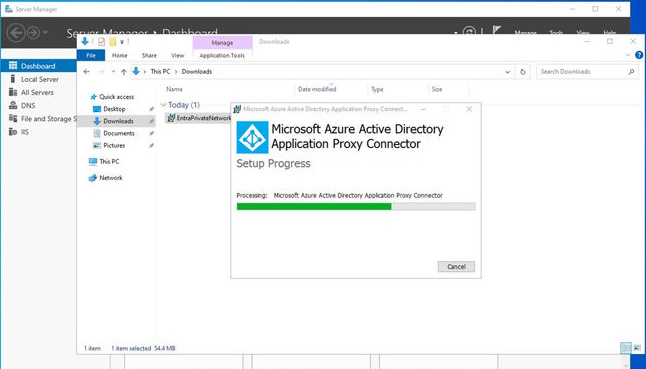
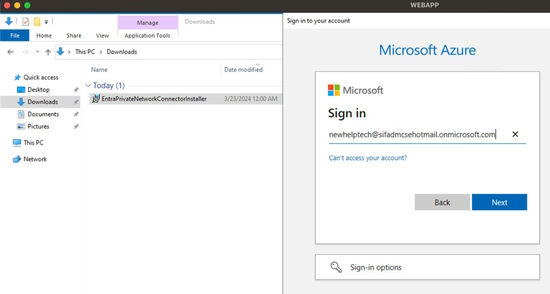
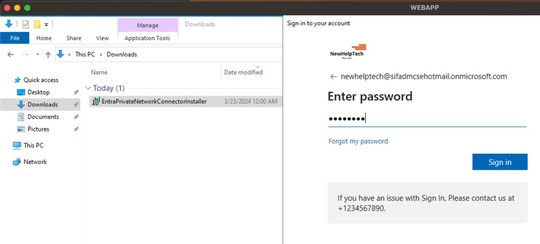
Relaxation assured, to register the Utility Proxy with Microsoft Entra ID, you need to have both the worldwide administrator or the appliance administrator function. These credentials are utilized completely for the registration course of and aren’t utilized as service account credentials, guaranteeing the integrity of your safety measures.
The Microsoft Entra ID Non-public Community connector set up course of has been executed seamlessly.

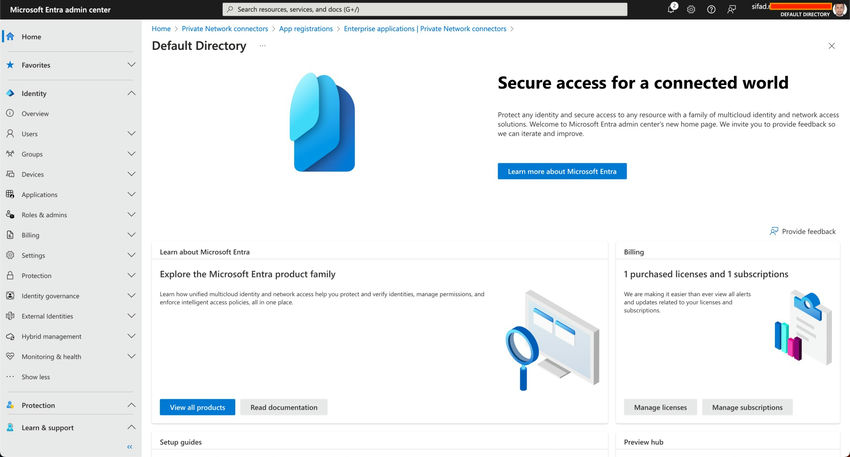
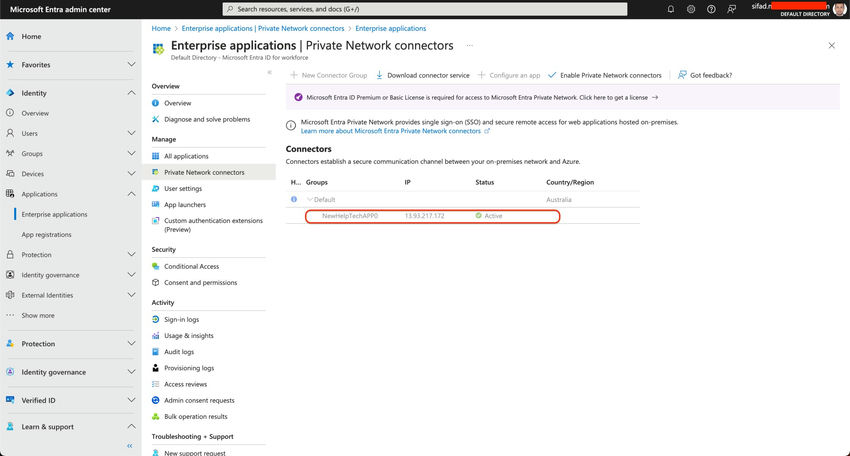
Step 3. The Non-public Community connectors web page ought to present an inventory of the standing of the connectors. Search for the connector related to the server we configured.
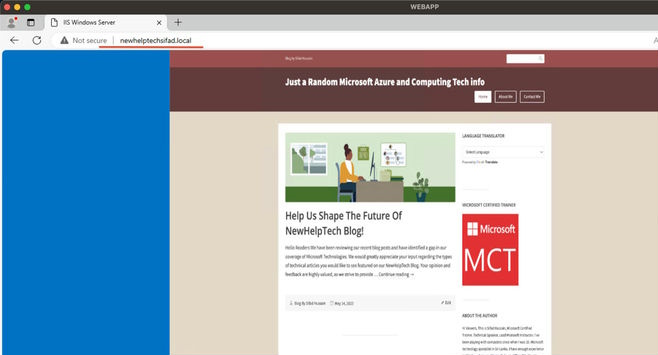
Step 4. Confirm the on-premises internet app entry to the inner community through (http://newhelptechsifad.native/).
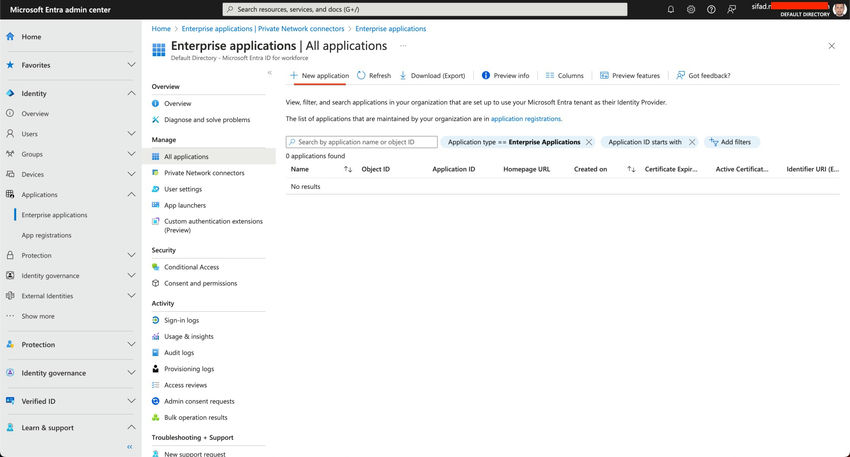
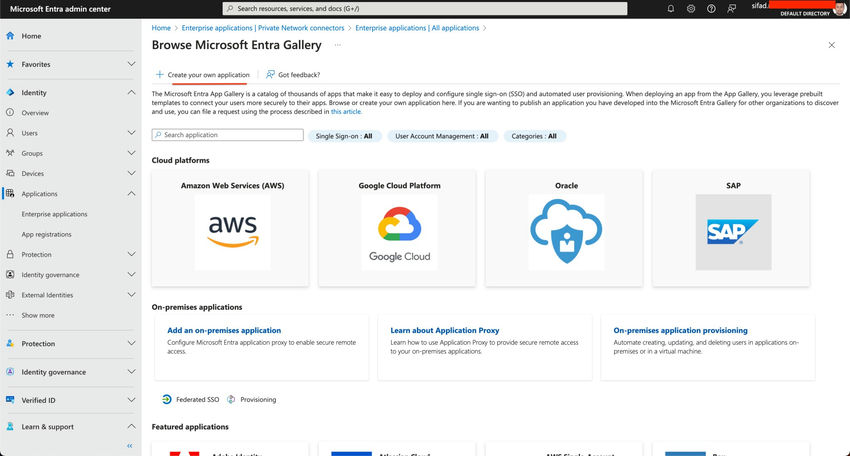
Step 5. Within the Microsoft Entra ID portal, navigate to Identification –> Enterprise Functions –> New Utility –> On-premises utility. Add our on-premises utility and configure settings, then click on on Save Configuration. Right here’s a screenshot of the appliance publishing interface.
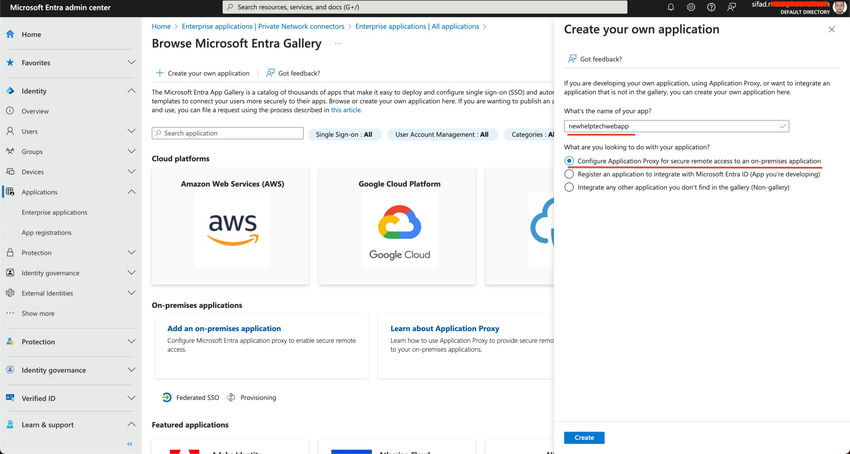
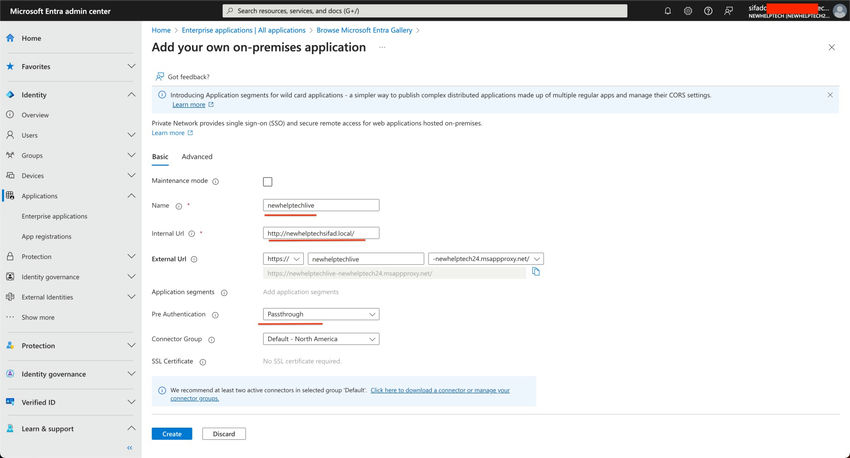
Fill within the Utility Particulars
- Title: Enter the title of your utility, which shall be seen to customers (Newhelptechlive).
- Inner URL: Present the inner URL used to entry your utility inside the community (http://newhelptechsifad.native/).
- Exterior URL: That is the URL customers will use to entry the appliance externally (https://newhelptechlive-newhelptech24.msappproxy.internet/). Make certain to notice down this URL.
- Choose Pre-Authentication: Select the authentication methodology. For instance, you may choose “Microsoft Entra ID” for authentication with Passthrough.
- Select Connector Group: Choose the connector group you beforehand created or to which your Connector is assigned.
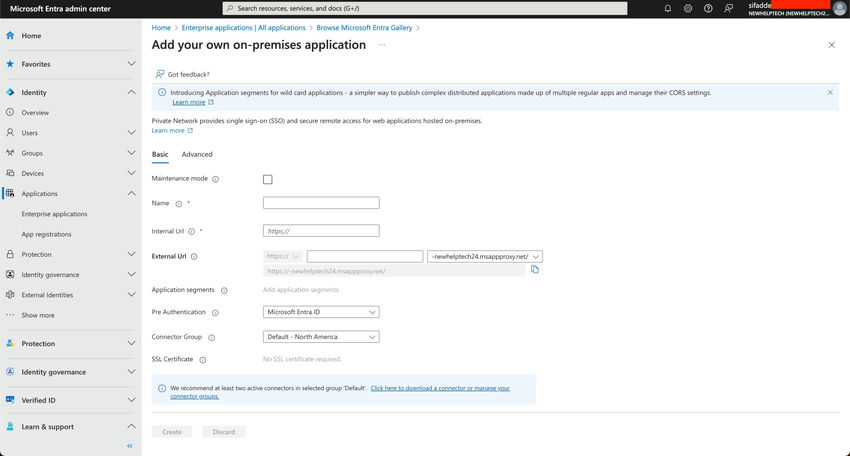
Click on on Create.
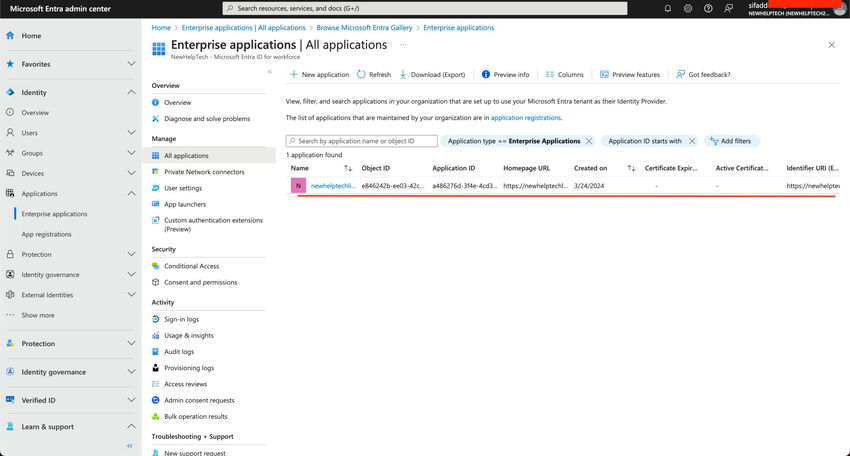
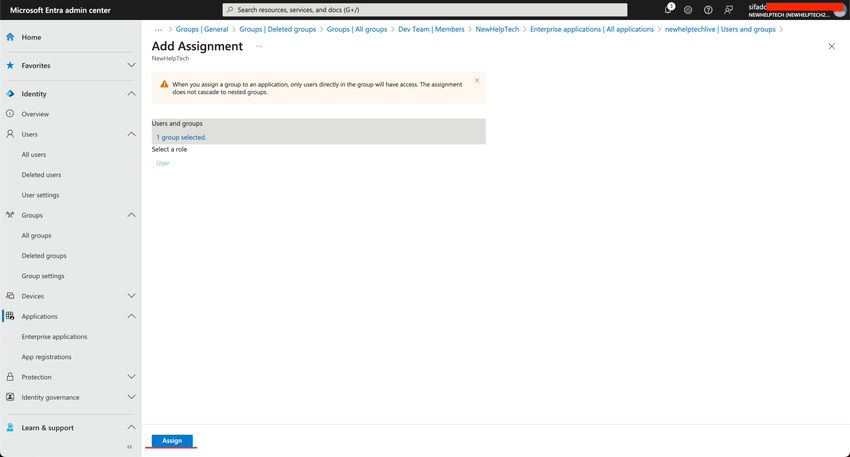
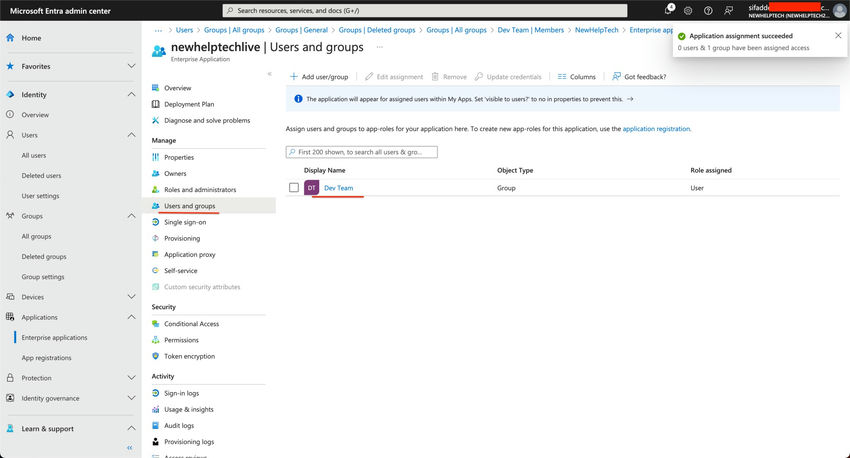
Step 6. Head to the Entra admin heart and entry “Enterprise functions” –> Choose the beforehand added utility, then click on on it to provoke the configuration web page –> On the Overview web page, go for “Assign customers and teams” to specify the people or teams who may have entry to the appliance, then click on on Save Configuration.
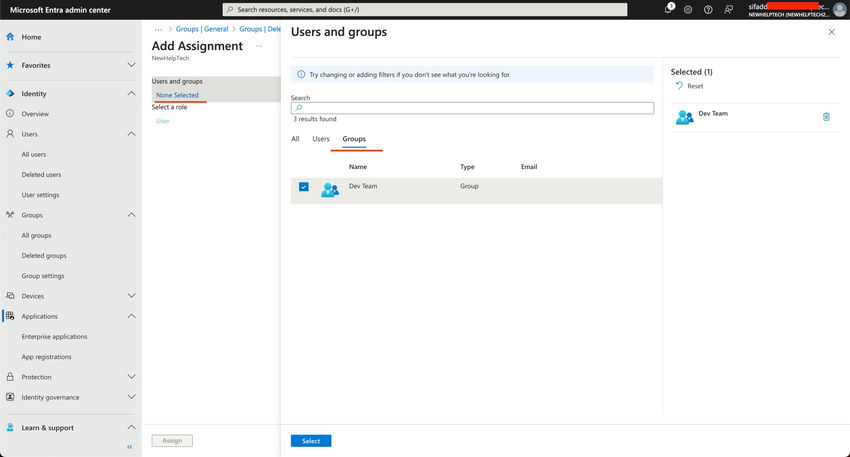
Click on on Assign.
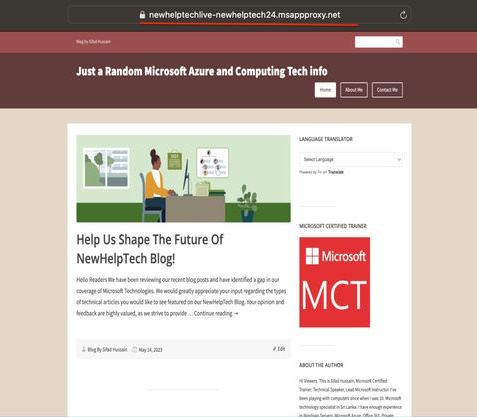
Step 7. Confirm exterior entry to the appliance. Right here’s a screenshot of profitable entry from an exterior system.
- Open Browser: Launch Microsoft Edge or every other most well-liked browser.
- Enter Exterior URL: Paste the Exterior URL (https://newhelptechlive-newhelptech24.msappproxy.internet/) into the deal with bar.
- Entry Utility: We should always now be capable of entry our on-premises internet utility from wherever on the earth.
Conclusion
Mastering the Microsoft Entra ID Utility Proxy setup ensures extra strong entry management and heightened safety to your on-premises functions. With this information’s simple steps and clear visuals, you’ll confidently navigate the method, empowering your group with seamless distant entry capabilities.
Know extra about our firm at Skrots. Know extra about our providers at Skrots Providers, Additionally checkout all different blogs at Weblog at Skrots