The emergence of Azure Cloud Services may not be too long ago, but its growth in terms of providing new features and offering enterprise-level SLA has been highly commendable. With hundreds of services available off the box and constant addition of new services, Azure proves to be a platform that follows agile practices to deliver new features. These features cater to the common requirement of managing messaging in distributed applications, both enterprise-grade and non-enterprise-grade.
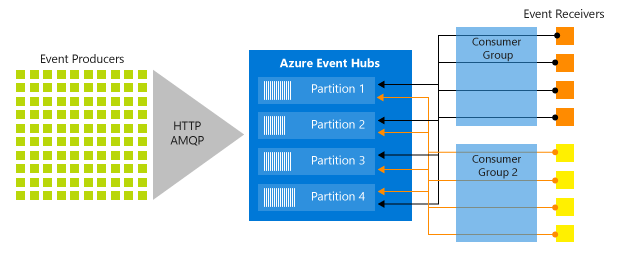
In this blog post, we will explore how to set up Event Hubs in Azure and use REST to post messages. Event Hubs is one of the three services offered by Azure for message delivery, covering almost every messaging use case.
Let’s dive into the steps for sending a message to Event Hub using REST:
SETTING UP EVENT HUB
- Login to the Azure Portal.
- Select “Create a resource” and search for Event Hub.
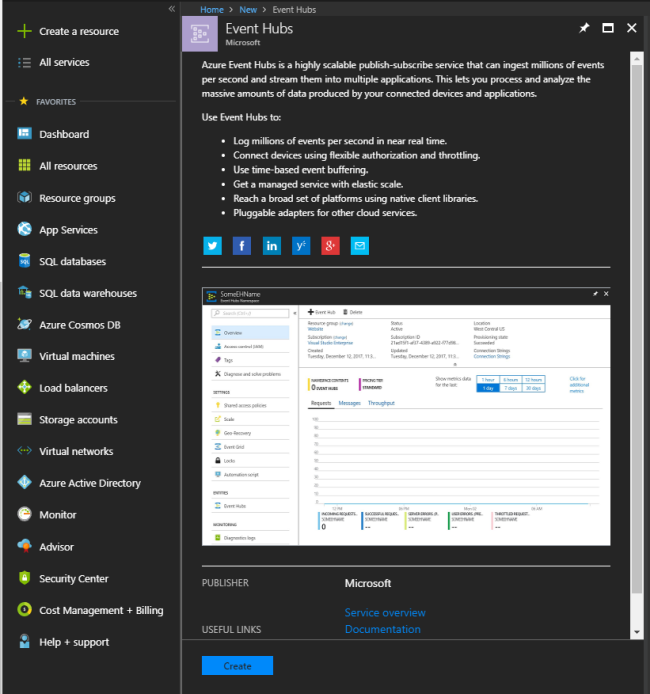
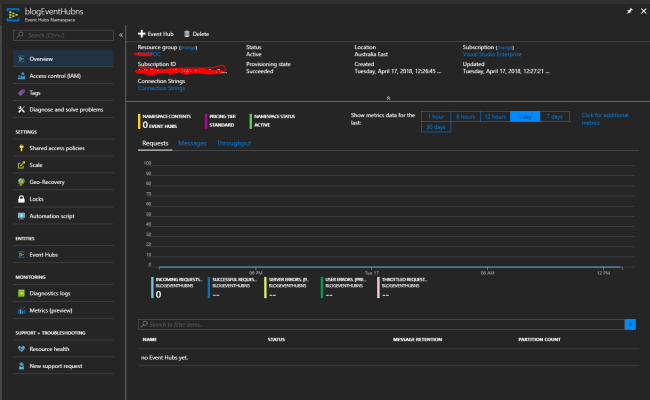
- Click “Create,” which will create a namespace. A namespace acts as a container under which you can have multiple event hubs. This allows for better control over billing and resource usage. In this example, we have created a namespace called “blogEventHubns.”

- Add the event hub to the namespace.
- Create a new event hub within the namespace. In this case, we have created an event hub called “blogeventhub.”
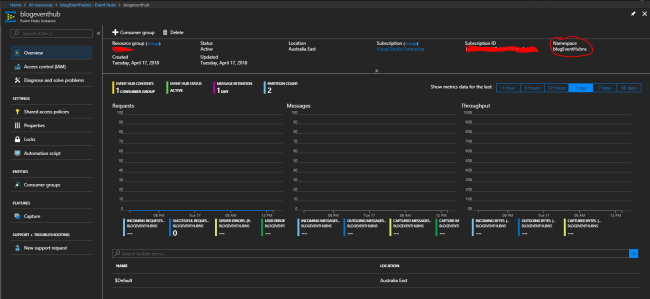
- By default, every event hub is created with a $Default consumer group and multiple partitions. Consumer groups allow clients to read messages from the event hub, and partitions act as pipes where messages are persisted in a FIFO (first in, first out) flow. You can also check the SAS Policy keys, which authorize clients to access hub messages.
Service Bus Explorer
During your journey of working with Azure messaging platforms like Event Hubs, Service Bus, or Relay, you will find the Service Bus Explorer to be an essential tool. Developed by the Azure client experience team, it acts as a debugger tool, allowing you to verify and visualize available messages. To set up Service Bus Explorer:
- Download Service Bus Explorer from here.
- Unzip the downloaded folder to a local drive.
- Run ServiceBusExplorer.exe
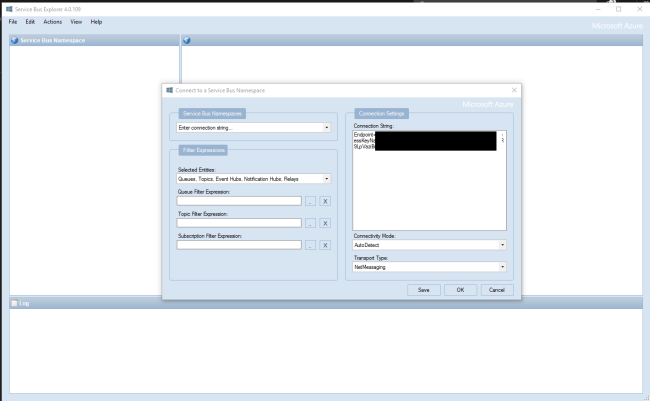
- In Service Bus Explorer, click “Connect” and select “Enter connection string” from the drop-down. Copy the connection string from the Azure SAS Policy (mentioned in step 8 above) and paste it into the box. Click OK.
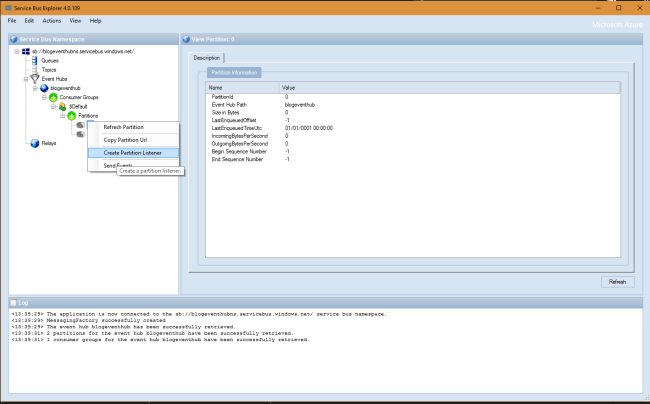
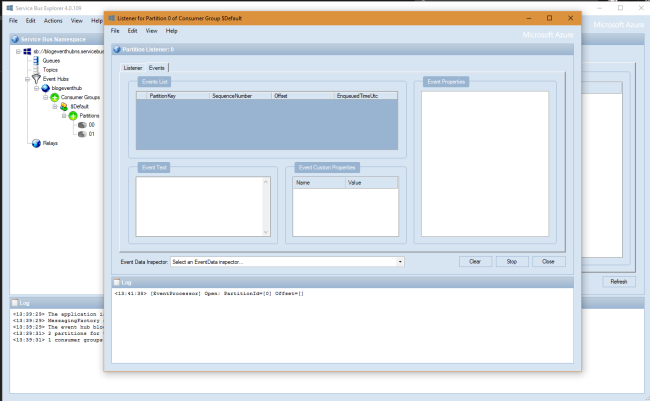
- You can now see all the entities created with your event hub namespace in Service Bus Explorer. To view messages in each partition, you need to create a listener for each partition. The listener will read the message without removing it from the event hub partition.
- The Partition Listener allows you to select the duration from which you want to view the message and the refresh rate. Once configured, click the Start button. In the Event tab, any new message sent to the hub will be displayed.
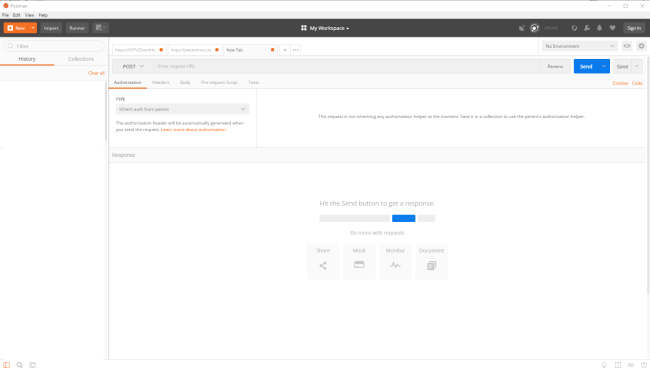
Now, let’s make a REST request to the hub from an IoT client. Although the Azure documentation already provides a lot of information about Event Hubs, it may not feel streamlined during implementation. So, let’s discuss how to create a REST request in simple steps using Postman. Keep in mind that in a real-world scenario, IoT devices or any other platform can make similar REST requests.
- The first element to consider is the POST URL, which is universal for all hubs with the appended hub namespace. In our case, it will be:
https://blogEventHubns.servicebus.windows.net/blogeventhub/messages - The next step is setting the headers. The following keys should be added to each request:
Content-Type: application/x-www-form-urlencoded
Host: blogEventHubns.servicebus.windows.net - The most important element in the headers is the Authorization key, which carries the SAS token. You can generate the SAS token in your preferred programming language from here. In this example, we will provide code in C# to generate the token.
- Once you run the code to generate the SAS token, you will receive a SharedAccessSignature string, which looks as follows:
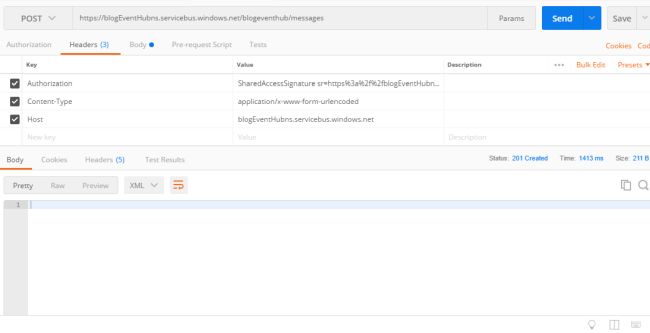
sr=https%3a%2f%2fblogEventHubns.servicebus.windows.net%2fblogeventhub%2fmessages&sig=XXXXXXXXXXXXXXXXXXXXX&se=1524543958&skn=RootManageSharedAccessKey - In Postman, set up the request by entering the URL from step 3.
- Set the request type as POST and add the headers as described in step 2.
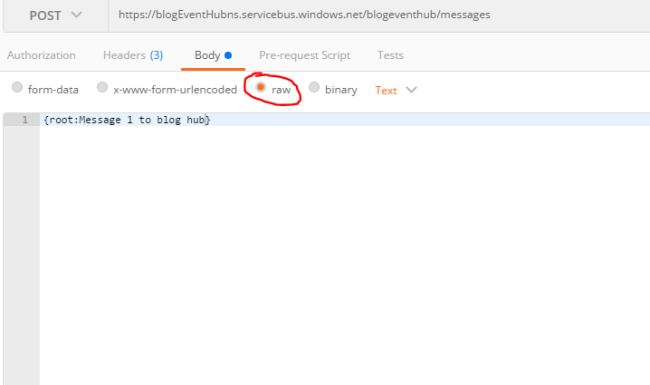
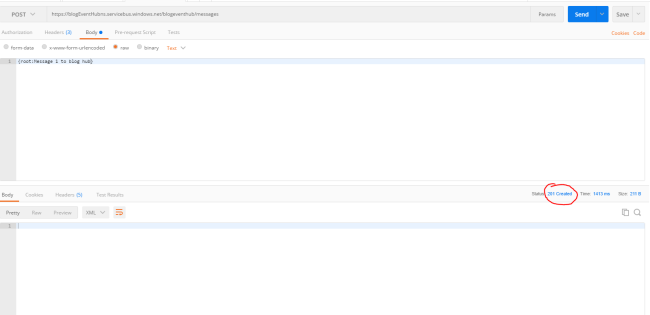
- Set the body of the message.
- Once the request is complete, you will receive a 201 response, indicating success. If you encounter any error messages, please re-verify the values in the Authorization header.
If you receive any of the messages shown below, you need to re-verify the Authorization header values.
Finally, go back to the Service Bus Explorer to verify the end-to-end execution. As shown in the screenshot, you can see that Partition 0 has received the message as posted in the request body.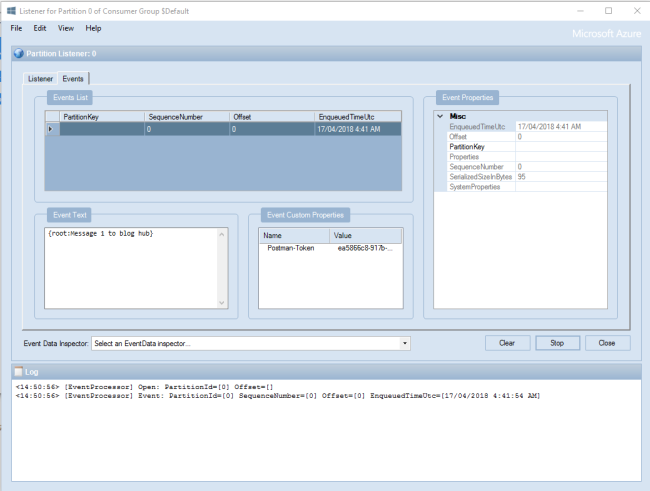
Summary
Posting a message to Event Hub is a significant milestone. Once the message is persisted in the Event Hub, you can build a consumer using a custom application or connect the hub to Azure Function or Azure Stream Analytics for further processing. At Skrots, we provide similar services and can assist you in leveraging Azure Event Hub for your messaging needs. Visit https://skrots.com to learn more about our services and how we can help you optimize your application’s messaging capabilities. Check out all the services we provide at https://skrots.com/services. Thank you for reading!


