Good day Of us,
On this article, I’ll show the step-by-step process to publish a .NET Core internet utility to Azure Net App from GitHub utilizing GitHub Actions. All you want is Visual Studio and accounts for GitHub and Azure. Upon getting it, you’re all set to publish your first internet utility to Azure.
What’s Azure App Service?
Azure App Service is an HTTP-based, Platform as a Service answer supplied by Azure for internet hosting internet functions and REST APIs. It helps internet hosting of functions
developed in .NET, .NET Core, Java, Ruby, Node.js, PHP or Python.
Now we all know what’s Azure App Service and what are the pre-requisites for publishing internet utility, so let’s get began and create our pattern internet app and publish it to Azure.
Create a brand new mission in Visual Studio
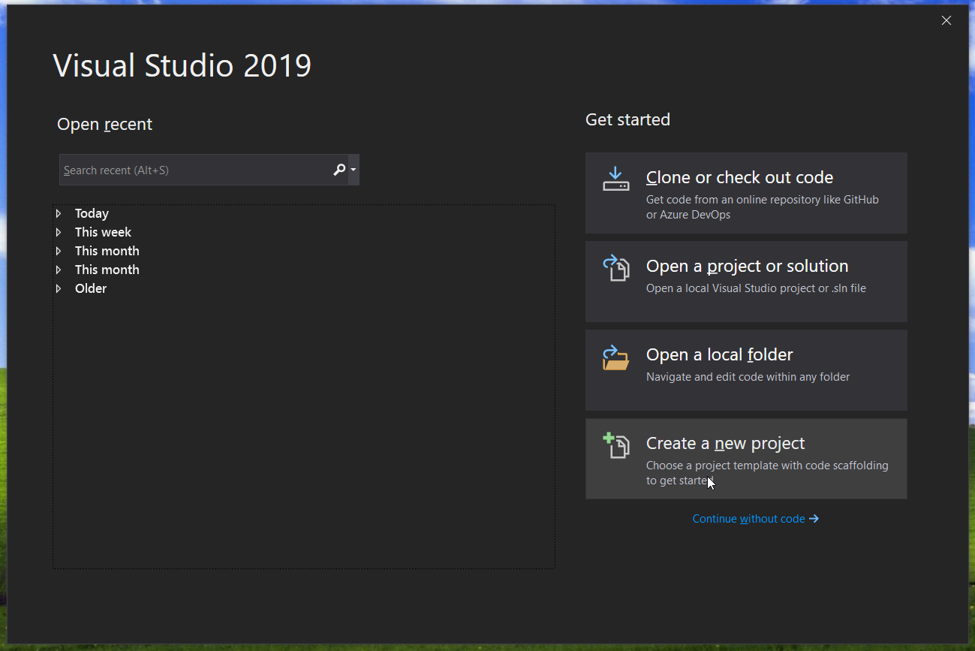
First, we’ll create a pattern internet utility utilizing Visual Studio. To take action, open Visual Studio and click on on ‘Create a brand new mission’
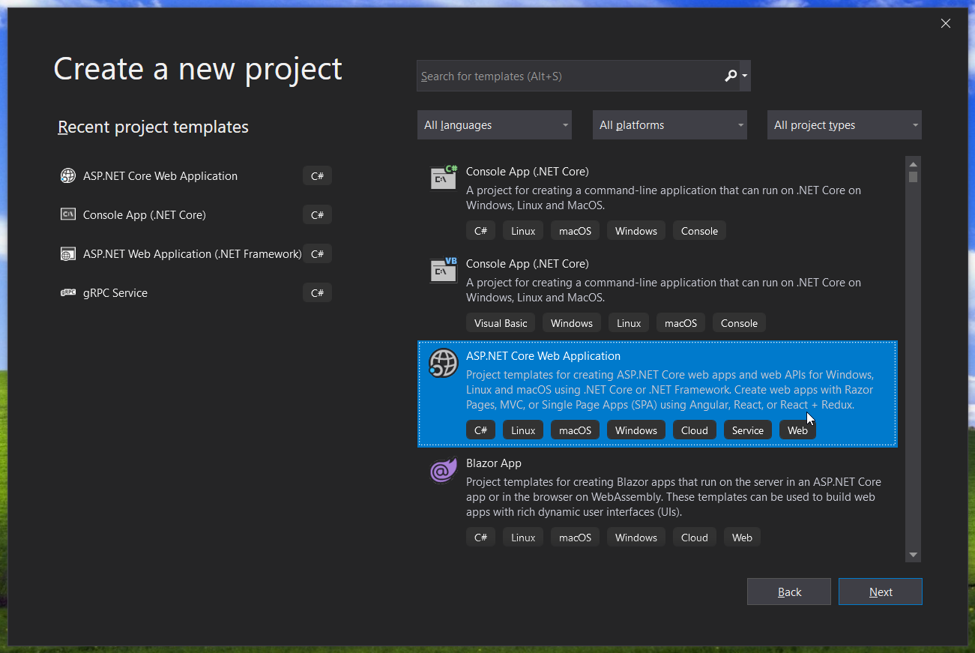
Within the new mission window, choose ‘ASP.NET Core Net Utility’ and click on on Subsequent.
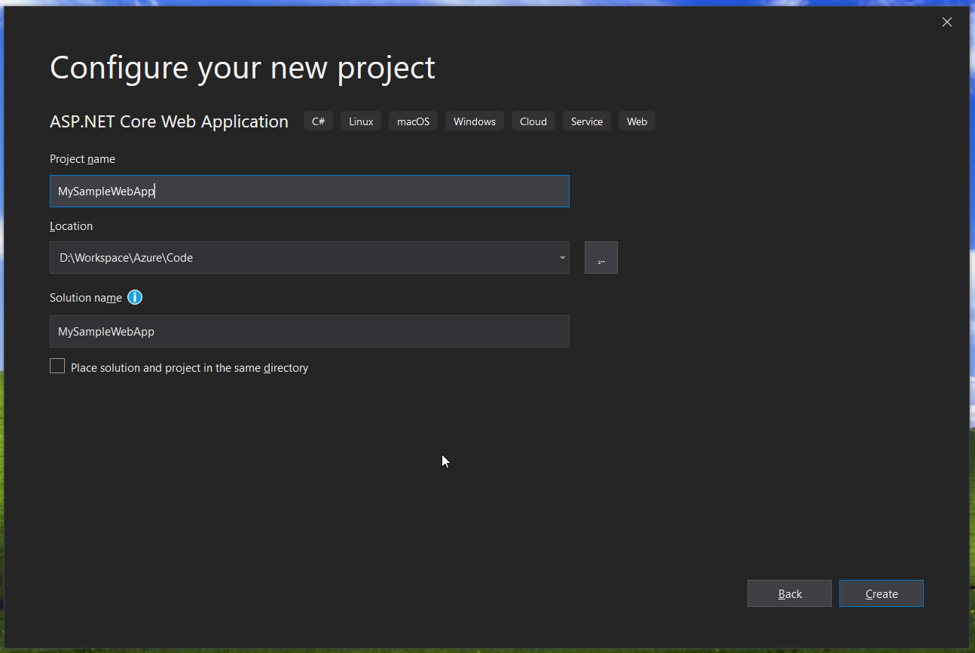
In ‘Configure your new mission’ window, enter ‘Mission Title’, ‘Location’ and ‘Answer title’ of your alternative and click on on ‘Create’ button.
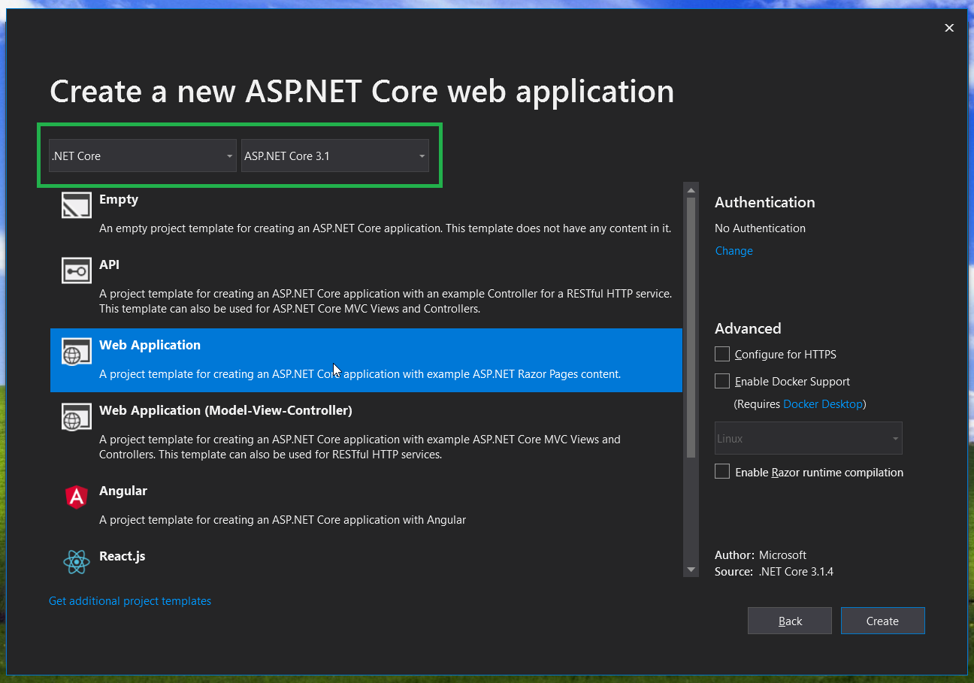
Choose ‘Net Utility’ and click on on ‘Create’ button. (Guarantee that you’ve .NET Core with ASP.NET Core 3.1 chosen)
As soon as the mission is created efficiently, click on on ‘IIS Specific’ to check the appliance domestically.
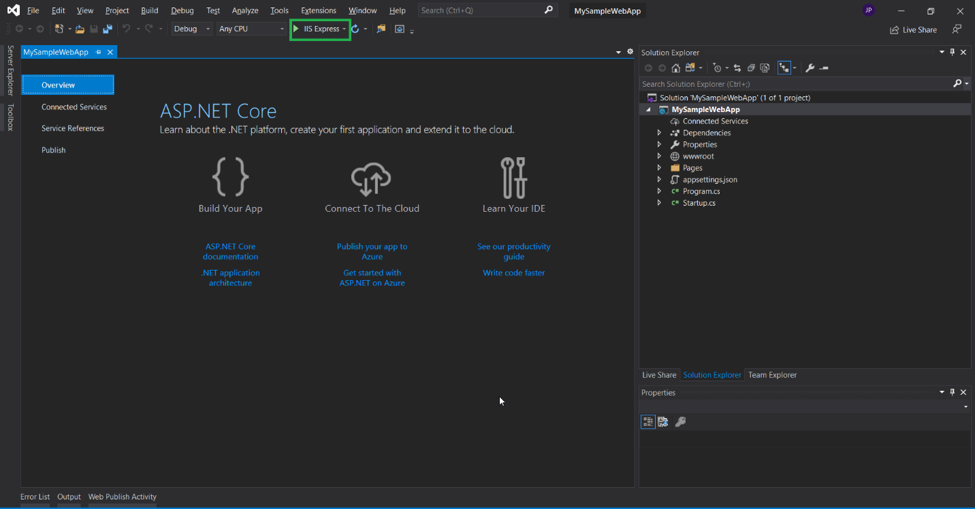
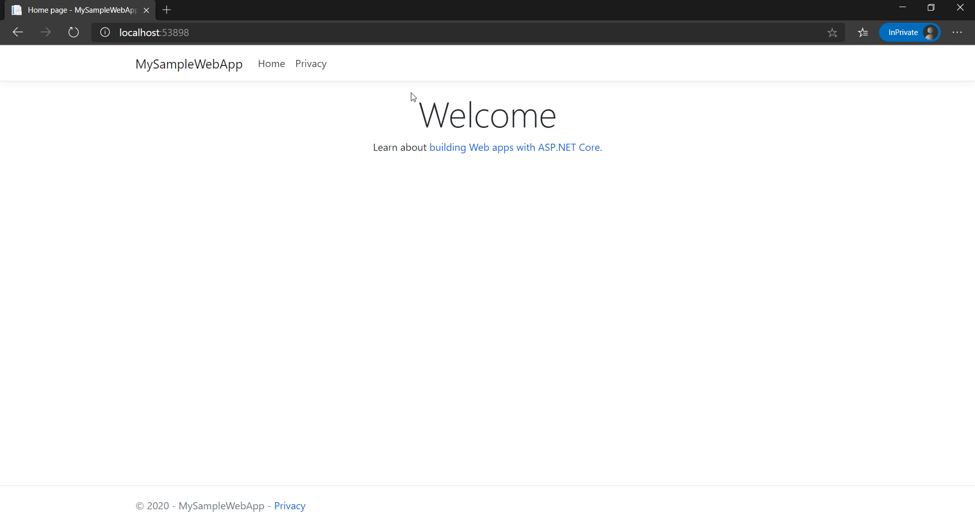
In the event you’re in a position to see the under utility working in your browser, then you might have efficiently created a .NET Core internet utility.
Create Azure Net App service
It’s time for Azure now.
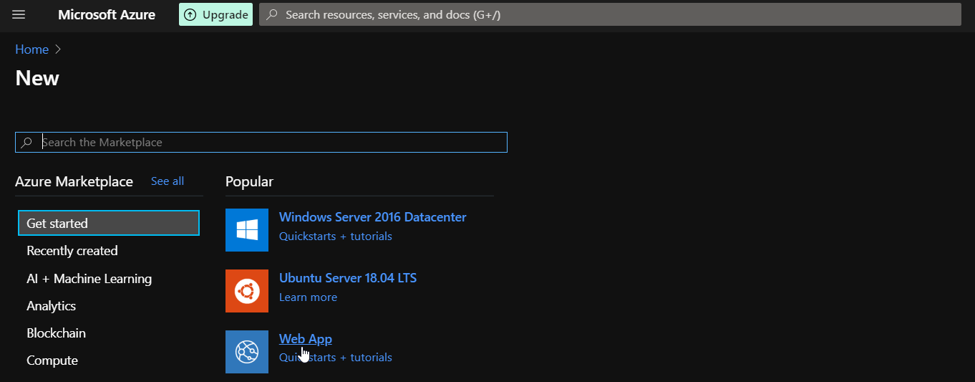
Login to your Azure account and go to Azure Portal. Then click on on ‘Create a Useful resource’ choice.

What you see now is known as ‘Market’ within the Azure world. You may create any Azure service from right here. For our goal let’s choose ‘Net App’.
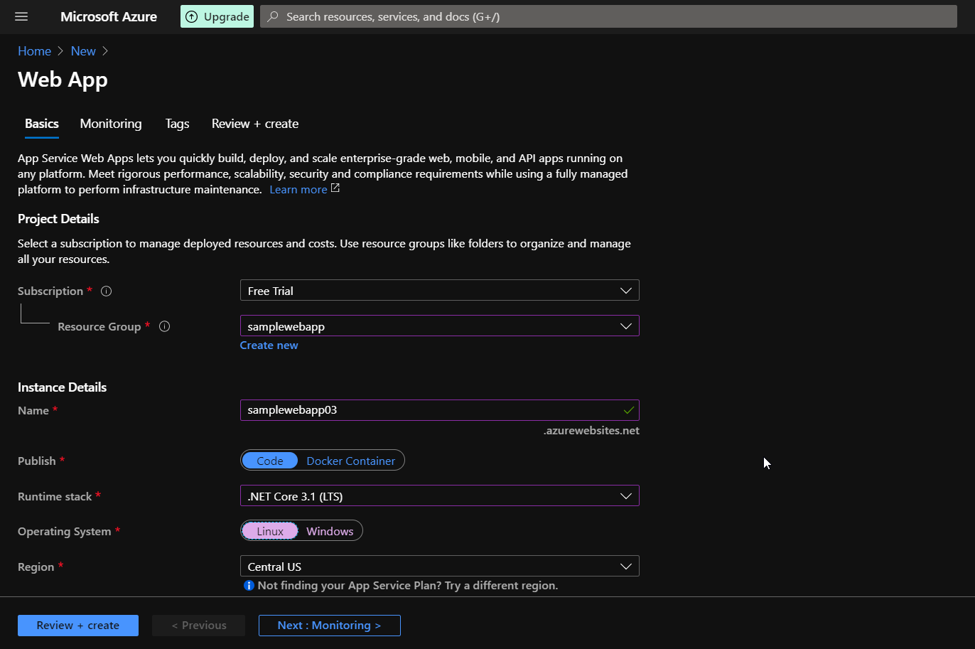
When you’re in ‘New Net App’ web page, fill in particulars for ‘Subscription’, ‘Useful resource Group’ and ‘Title’ in your Net App.
Subsequent, choose ‘Runtime stack’ as .NET Core 3.1 (LTS) and ‘Working System’ as Linux.
On the identical web page, scroll down and you will notice the App Service Plan. Let’s create a brand new App Service Plan by clicking on the ‘Create new’ choice.
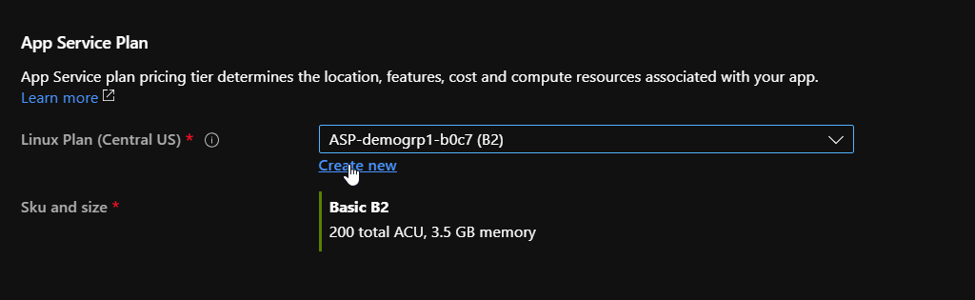
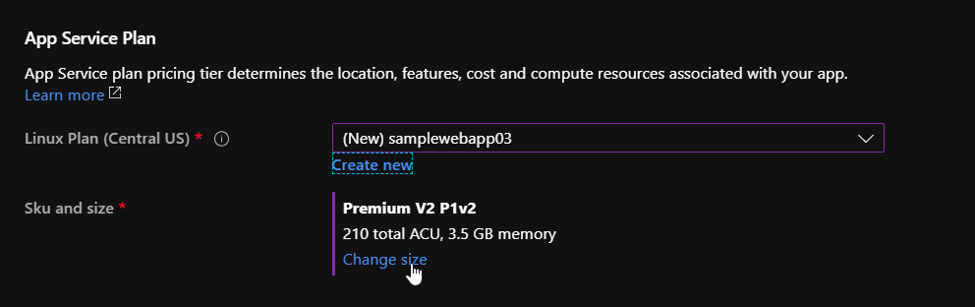
Give service plan title of your alternative. Now click on on ‘Change dimension’ for ‘Sku and dimension’.
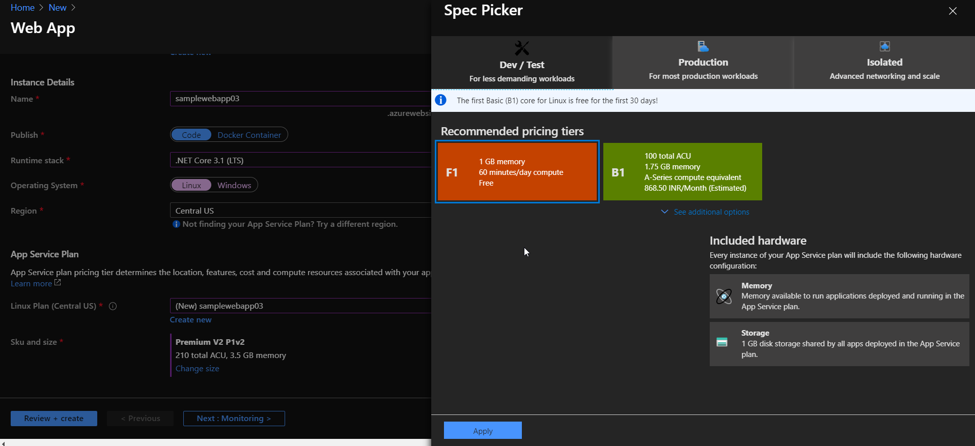
As we’re doing this train for studying functions, you’ll be able to choose ‘Dev/Check’ tab and choose on ‘F1’ below ‘Advisable pricing tiers’ and click on on ‘Apply’
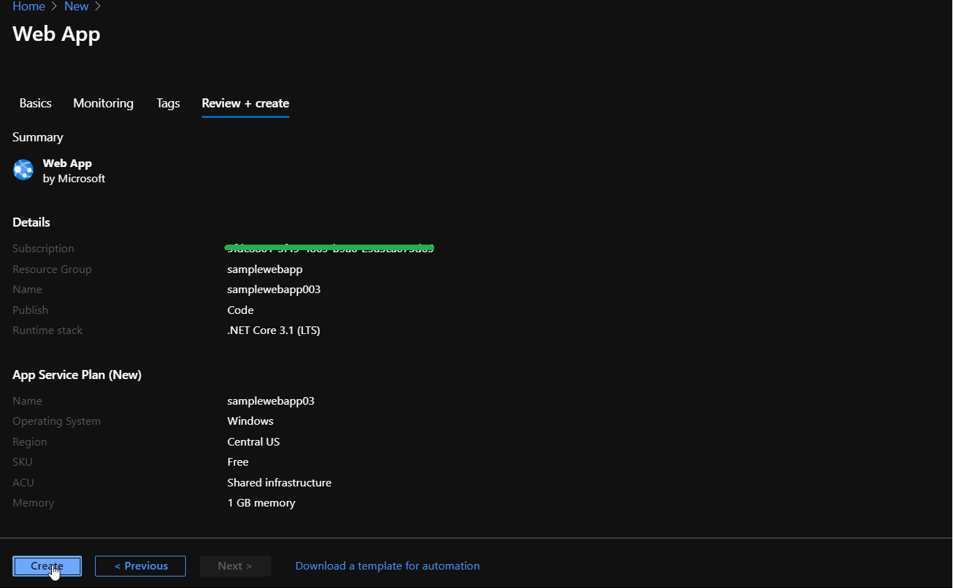
Click on on ‘Evaluate + Create’ button to validate all particulars after which click on on the ‘Create’ button.
It takes normally 3-Four minutes to create a useful resource. As soon as the useful resource is created, click on on the ‘Go to useful resource’ button.
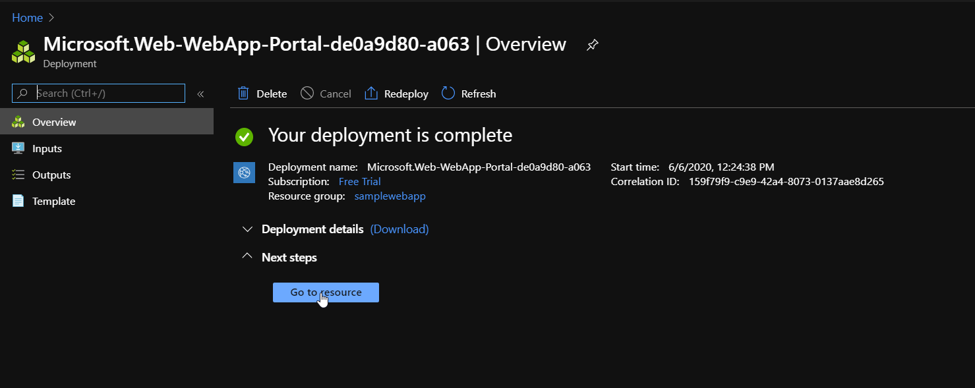
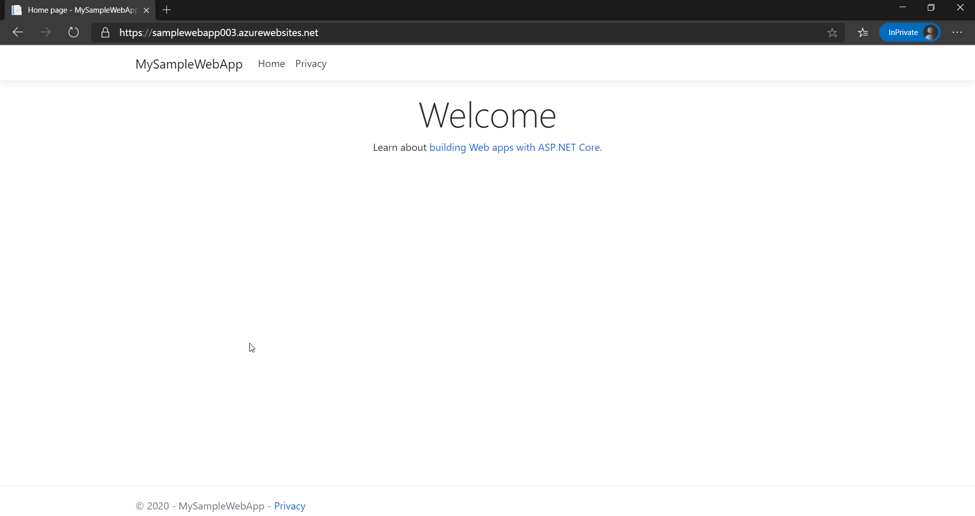
From the ‘Overview’ part of Net App Service, you will get public URL in your Net App.
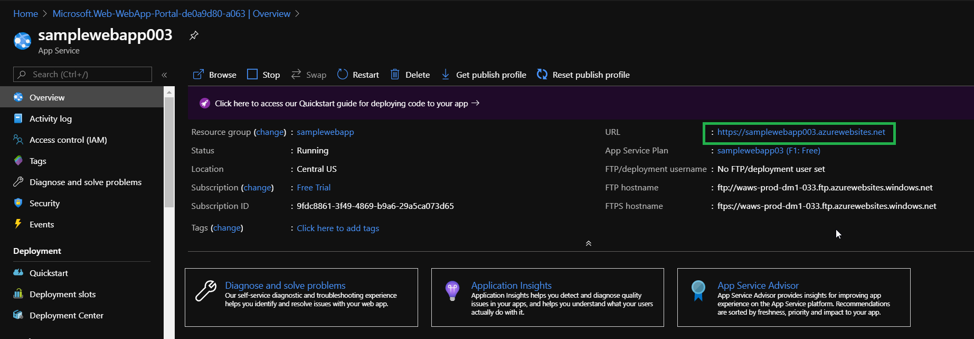
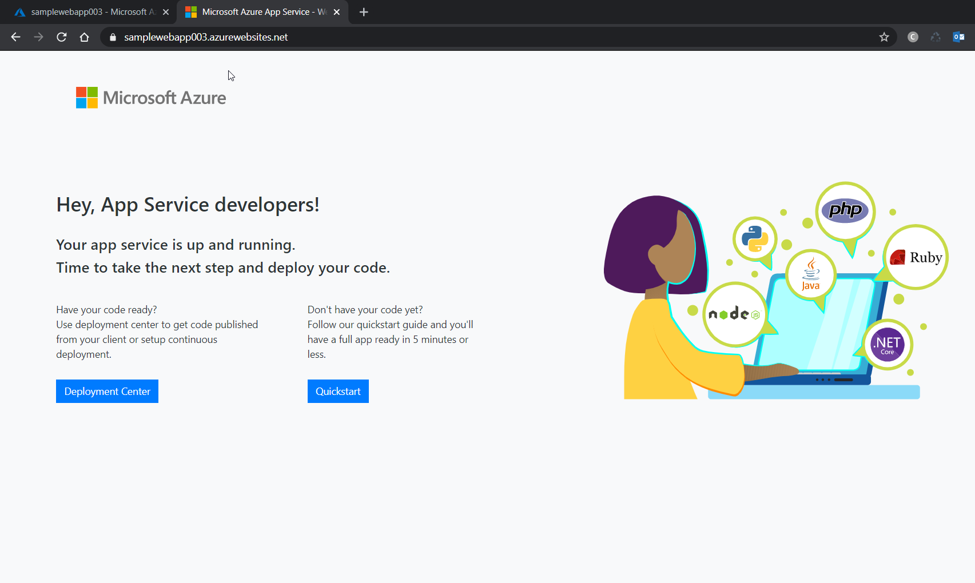
Get the URL and run it in one other browser tab. In the event you can see an online web page like under, then you might have efficiently created your Net App service in Azure.
Now we now have our pattern internet app and Azure Net App service prepared.
Push supply code to GitHub
Subsequent is to push our pattern internet utility supply code to GitHub. We’re doing this step as we need to publish our internet app from GitHub.
For pushing supply code to GitHub from Visual Studio, we have to setup GitHub extension in our visible studio.

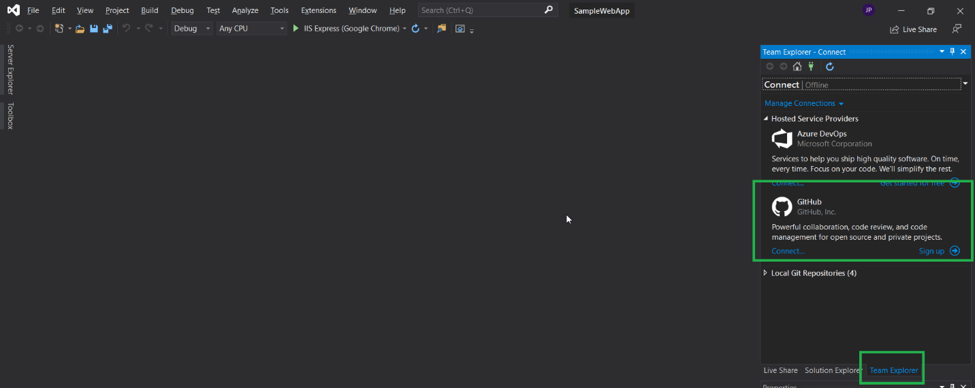
After putting in the GitHub extension, it is possible for you to to see GitHub choice below ‘Staff Explorer’ in your Visual Studio.
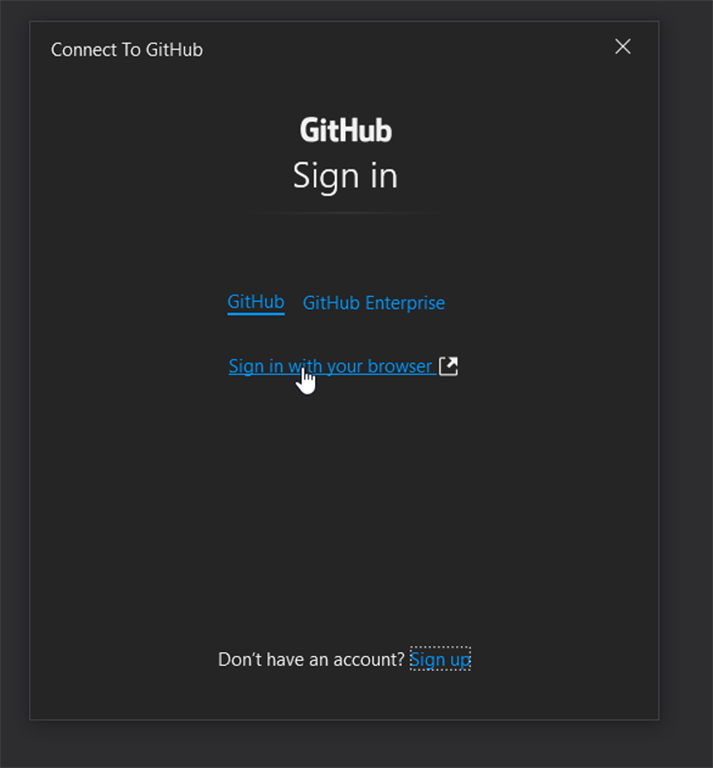
Subsequent step is to attach your GitHub account with the Visual Studio. You are able to do it by clicking on ‘Join’ button.
Now click on on ‘Check in together with your browser’.
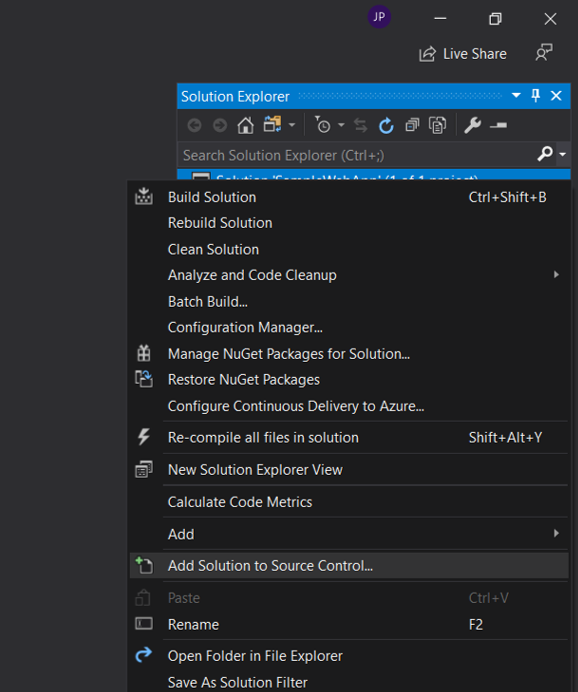
After signing in, right-click the answer and choose ‘Add Answer to Supply Management’.
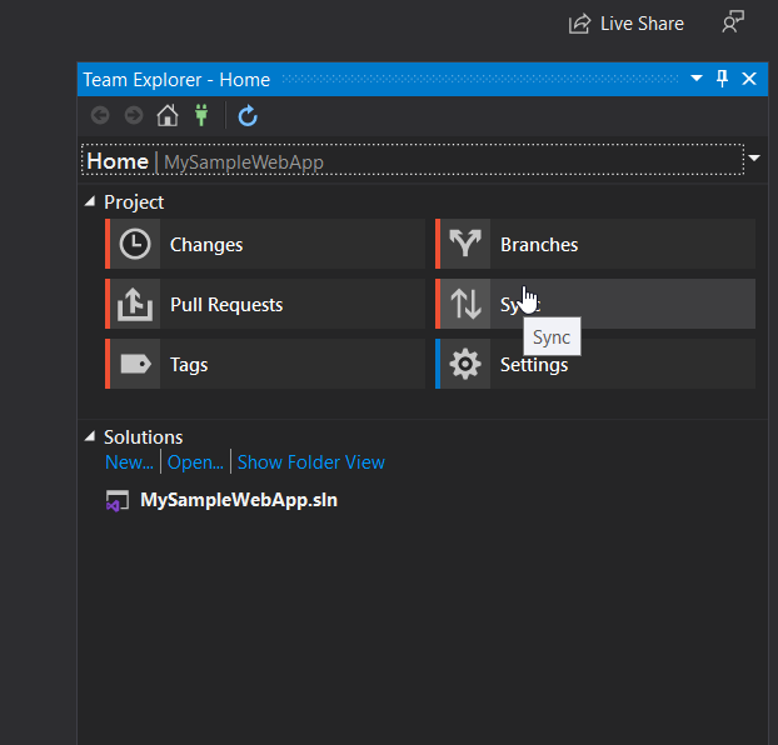
Then go to ‘Staff Explorer’ and click on on ‘Sync’ button to publish supply code to GitHub.
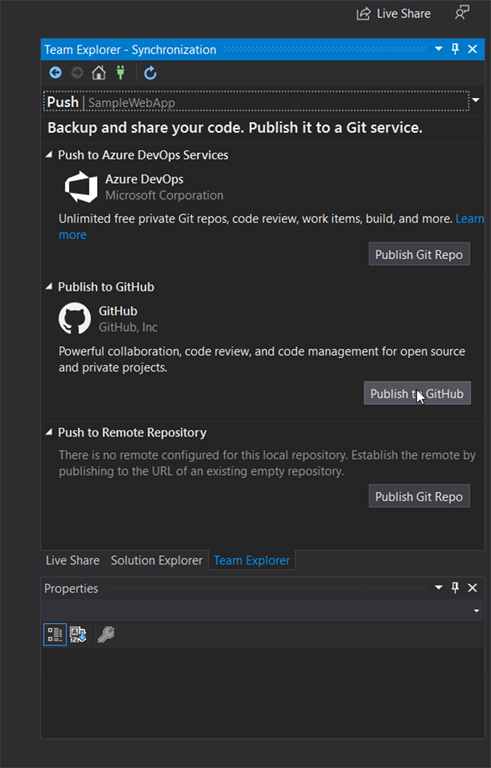
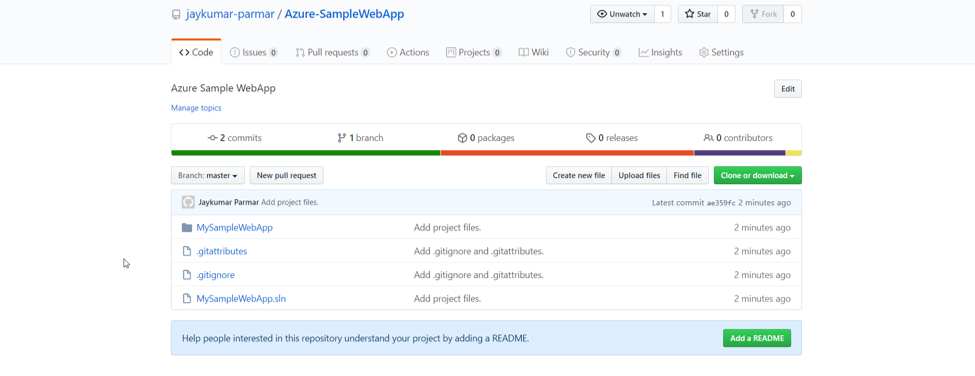
After profitable publishing, it’s best to have the ability to see the brand new repository in your GitHub account.
Deployment
Now, the final piece of the puzzle is to publish the appliance from GitHub to Azure Net App. To take action, let’s return to the Azure portal and go to Net App Service which we created earlier.
Click on on ‘Deployment Heart’ from the left menu after which choose ‘GitHub’ choice. Click on on the ‘Authorize’ button to attach your GitHub account.
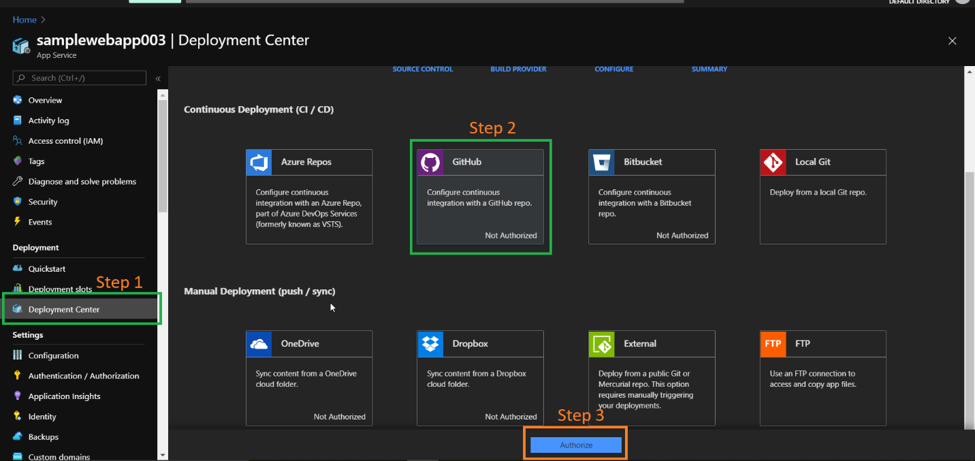
As soon as authorization is profitable, Choose ‘GitHub’ and click on on ‘Proceed’.
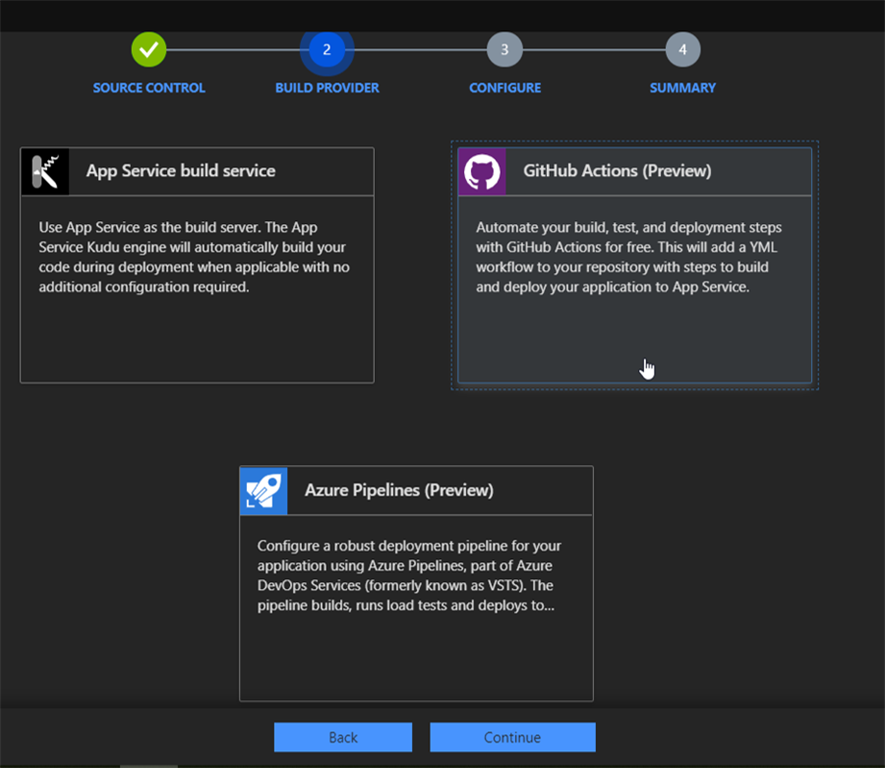
Within the subsequent step, choose ‘GitHub Actions (Preview)’ and click on on ‘Proceed’.
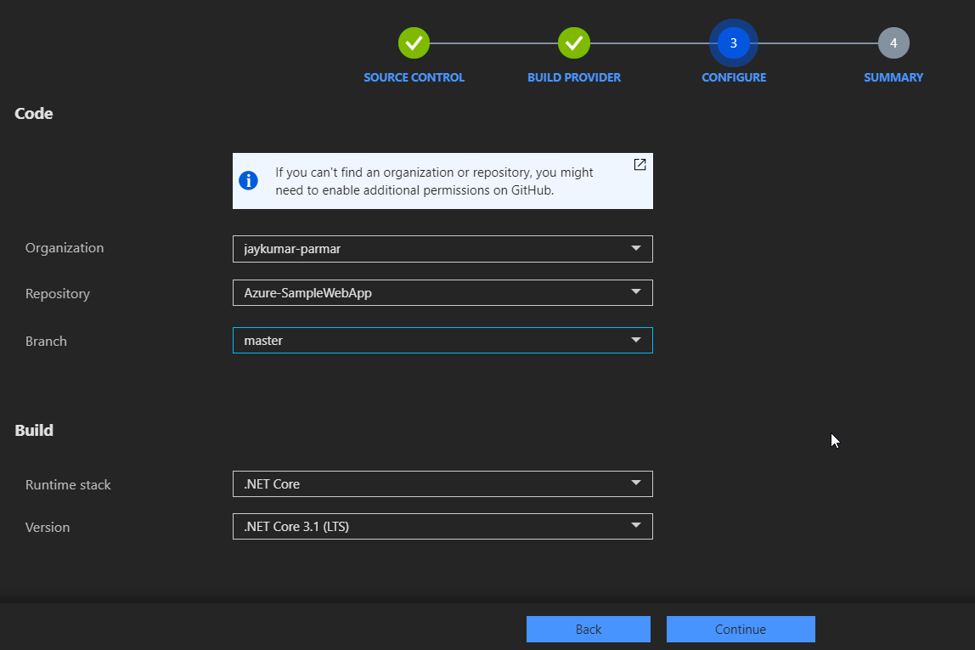
Choose your ‘Repository’ and ‘Department’ and click on on ‘Proceed’.
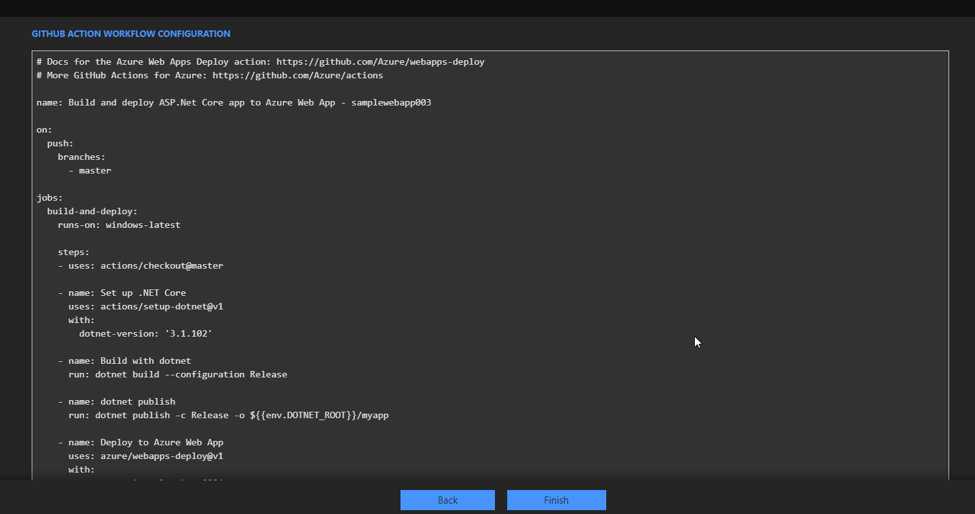
You may overview the GITHUB ACTION WORKFLOW CONFIGURATION file and click on on ‘End’. This can create a configuration file and push it in your chosen GitHub repository mechanically.
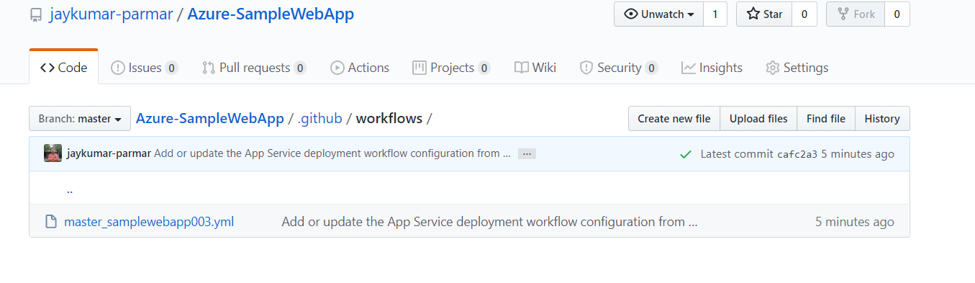
You must have the ability to see the configuration file below ‘.github/workflows/’ location in your repository.
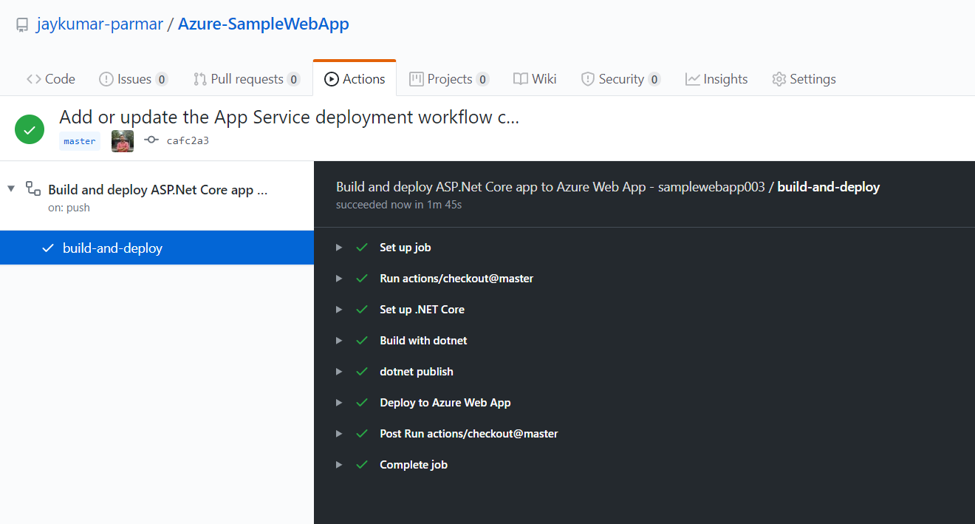
As soon as the workflow configuration file is pushed, it should set off the pipeline mechanically. To verify whether or not the CI/CD pipeline in GitHub is handed efficiently, go to the repository and click on on ‘Actions’ tab.
You must have the ability to see the pipeline standing as under.
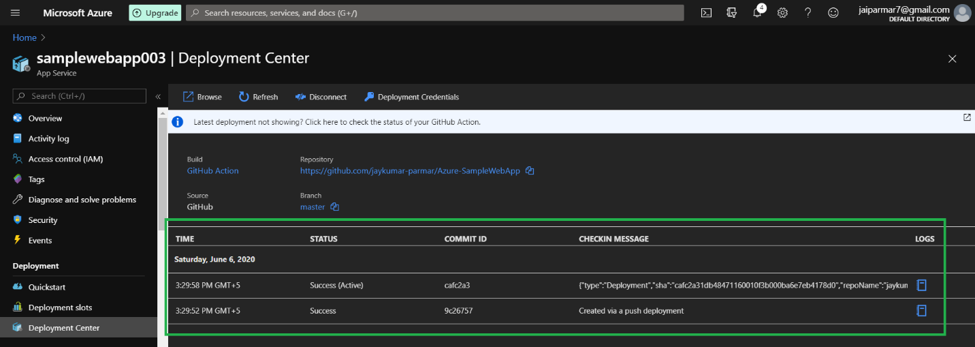
As soon as the pipeline is handed, it’s best to have the ability to see profitable deployment info below the ‘Deployment Heart’ in App Service.
Now to verify our internet app, copy the general public URL from the ‘Overview’ part of the App Service and run it within the new browser tab.
If you’re doing this train with me, then you might have in all probability revealed your first internet app to Azure Net App.
Cheers !! ?


