Easy Steps to Remove a Specific Email using Azure Logic App
Azure Logic Apps
Azure Logic Apps is a cloud-based service that lets you respond to an event in one service (like SharePoint online) and take action with the data from that event into another service (such as Twitter). It simplifies business processes by enabling users to create workflows that automate various business tasks and processes across different applications and services. By connecting your essential apps and services with Azure Logic Apps, you can automate workflows without the need to write any code.
Before diving into this article, take a look at some essential references listed below,
Prerequisites
Here, we will guide you on how to move a specific email to a designated Excel file using Azure Logic App
Follow these steps to create a Workflow using a template.
Step 1
- Sign in to https://portal.azure.com/.
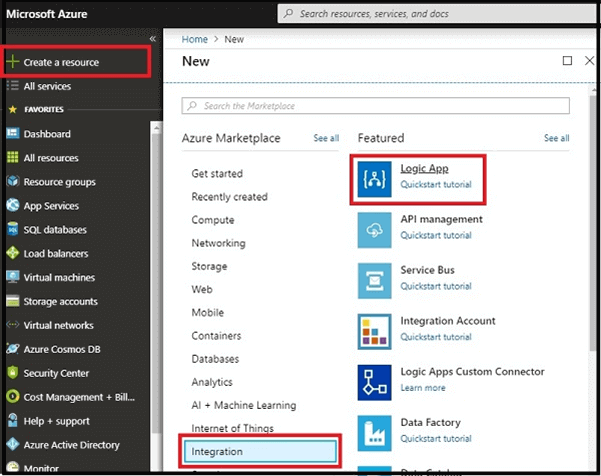
- In the dashboard, select “create a resource” and then click on “Integration”. Next, choose “Logic App”.
Step 2
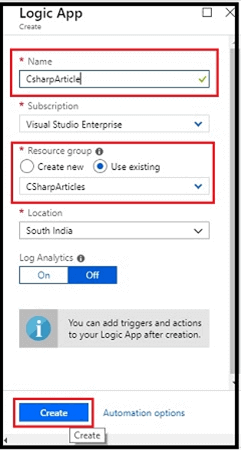
- Provide a name for the logic app, select the subscription and resource group where you want to manage related resources, choose the location to store your logic app, and click “Create”.
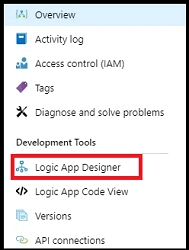
- On the dashboard, click “Logic App Designer”.
Step 3
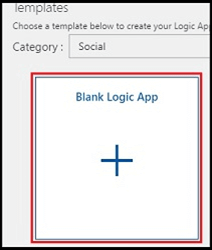
Click on the Blank Logic App.
Step 4
Configure the Email by signing into Outlook
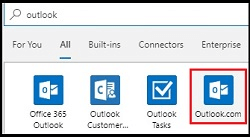
- Search for “Outlook” in the search bar.
- Select the Triggers.
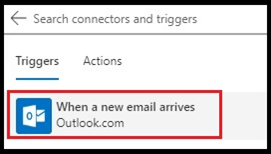
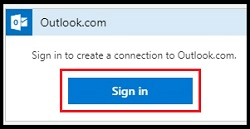
- Log in to Outlook.
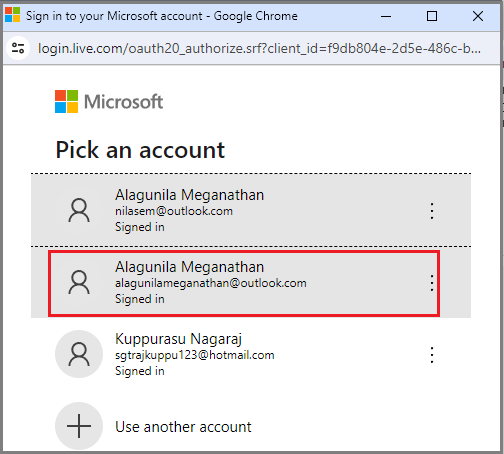
Step 5
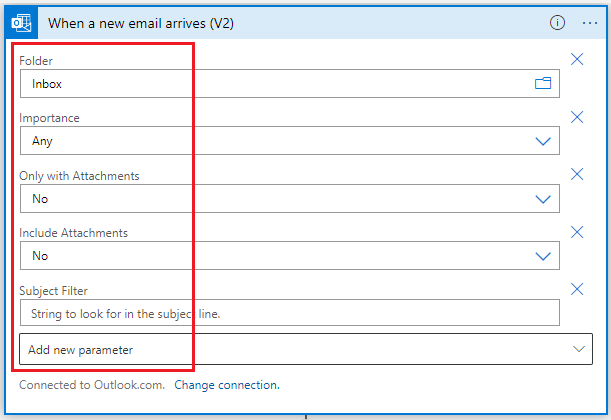
Set up the necessary values.
- Choose the Folder.
Step 6
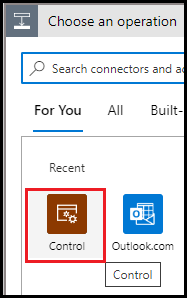
Configure the Control connector
The final workflow will appear like this.
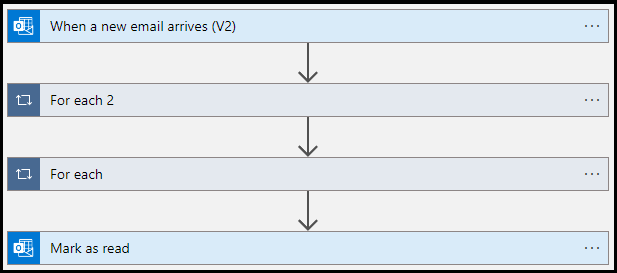
Now, you can save and execute the workflow.
Output
Run the Logic App

Any email received from the specified Email ID will be automatically deleted.
Summary
Now you have learned how to delete a specific email using Azure Logic App. Stay tuned for more interesting Logic App articles.
Find out more about Skrots on our website Skrots. Explore all the services we offer at Skrots Services. Also, don’t forget to check out our other interesting blogs on Skrots Blog.
