Before diving into this guide, it’s recommended to explore the preceding articles to grasp the concepts of Azure DevOps. You can find a list of previous articles below.
In a prior article, we covered adding our code to Azure DevOps Repos. This article will focus on the process of cloning an existing repository to enable collaborative work within a team.
To create a complete local copy of an existing Git repo, you need to clone it. Cloning a repo involves downloading all the commits and branches within the repo and establishing a named connection with the original repo. This connection allows you to interact with the existing repo, facilitating the sharing of code changes with your team.
How to Clone the URL to Your Repository?
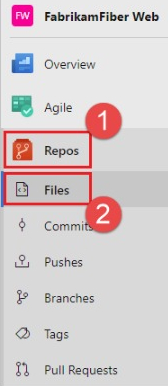
Begin by accessing your Azure DevOps account and selecting Repos and Files as indicated below.
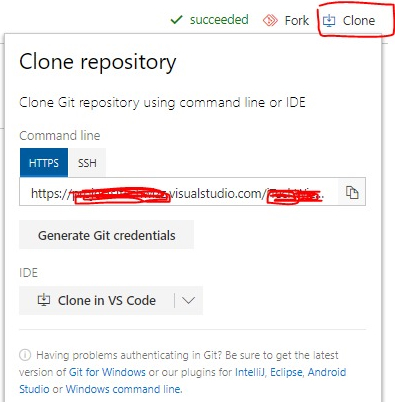
From the top right corner, click on Clone, then choose and copy the URL from the provided popup.
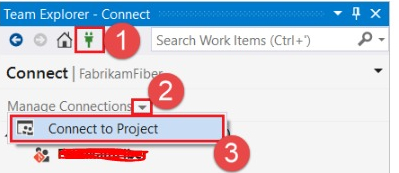
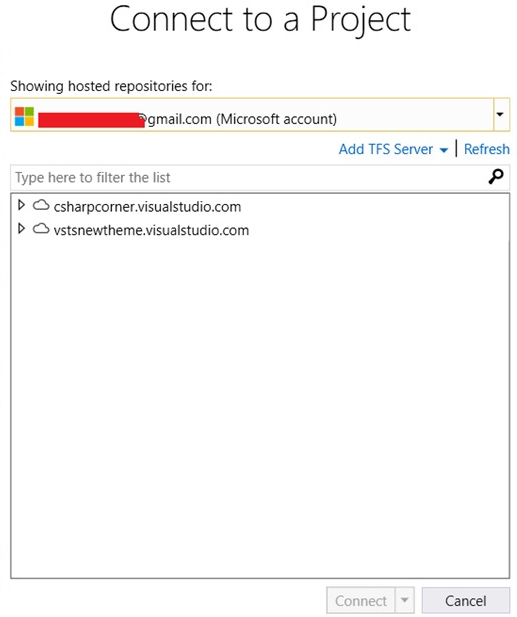
Open Visual Studio, go to the Team Explorer tab, and click on “Connect to Project” as shown below.
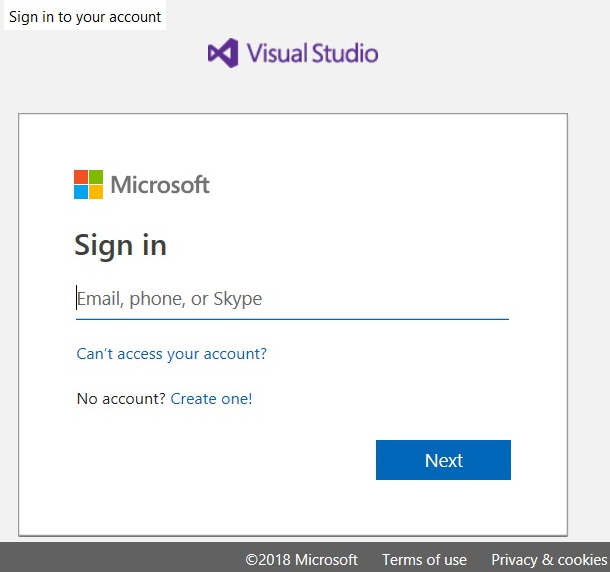
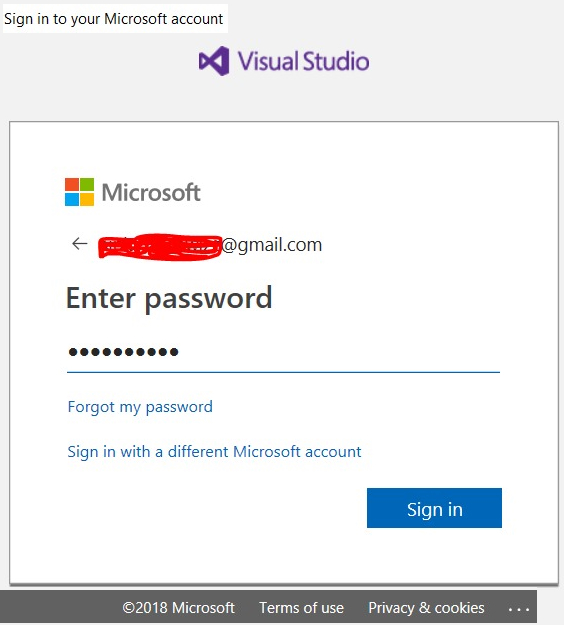
Enter your login credentials when prompted.
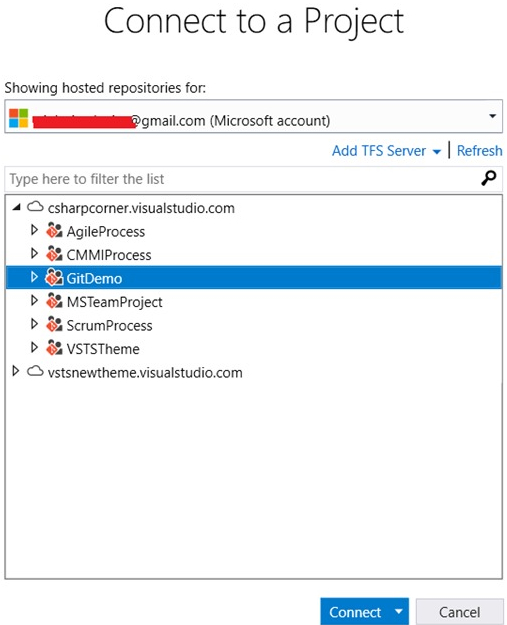
Select the repo you wish to clone from the list on the “Connect to Project” dialog. In this example, csharpcorner.visualstudio.com and the ‘GitDemo’ repo are chosen.
Click “Connect” to proceed.
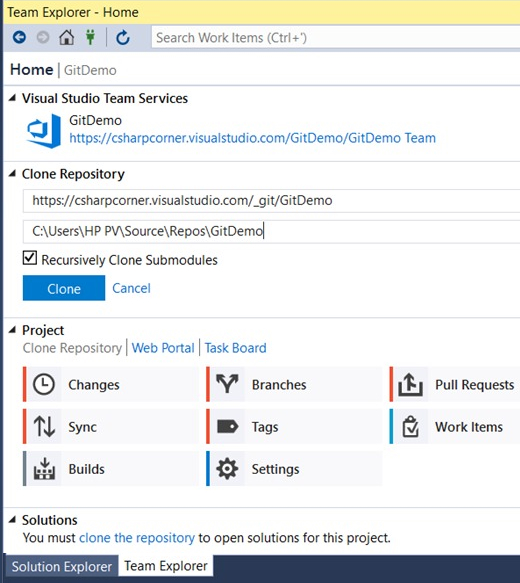
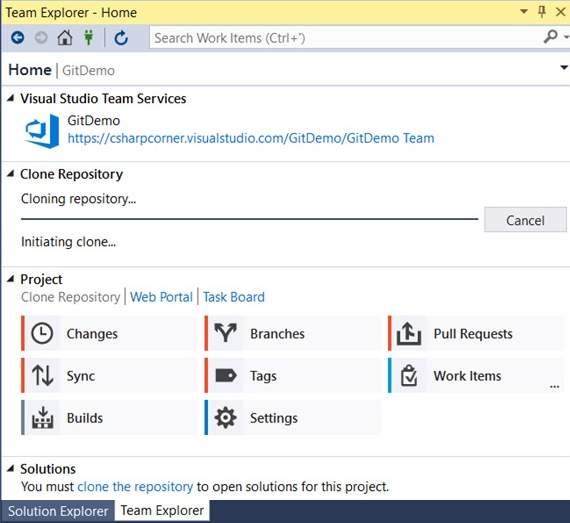
Paste the URL copied from Azure DevOps into the Clone Repository section within Visual Studio, and click on the Clone button.
The process will clone the existing code and project, allowing you to collaborate with your team remotely.
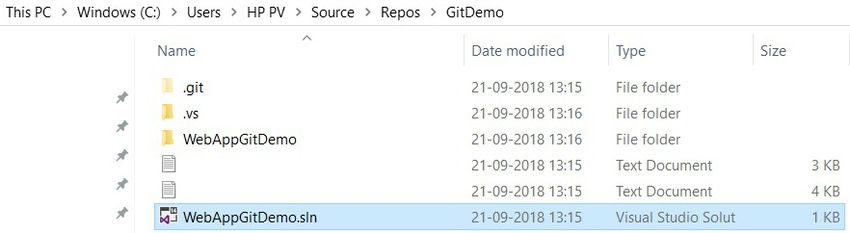
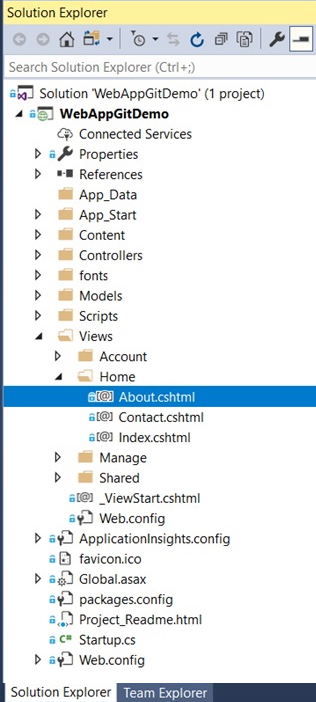
You can now see your project solution in the local repo path.
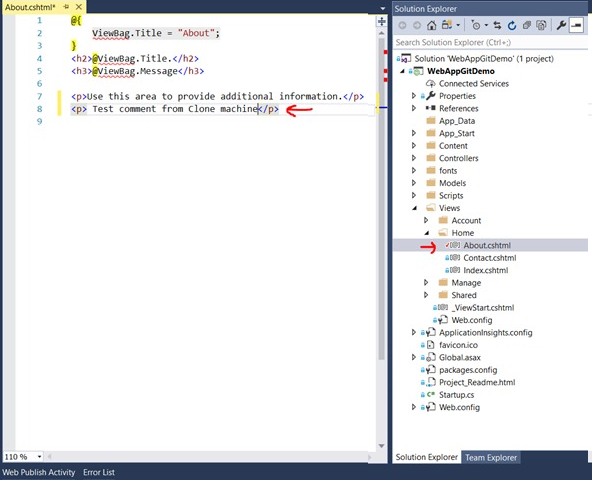
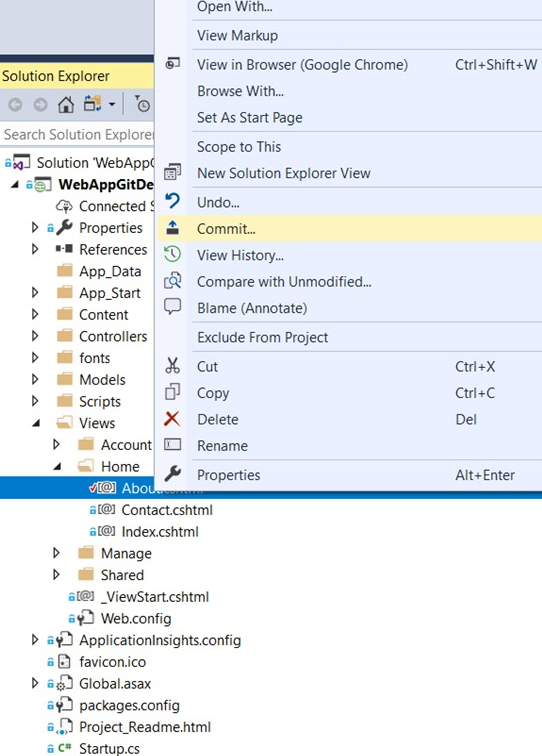
Make necessary changes in files from the Solution Explorer. In this example, changes are made in About.cshtml.
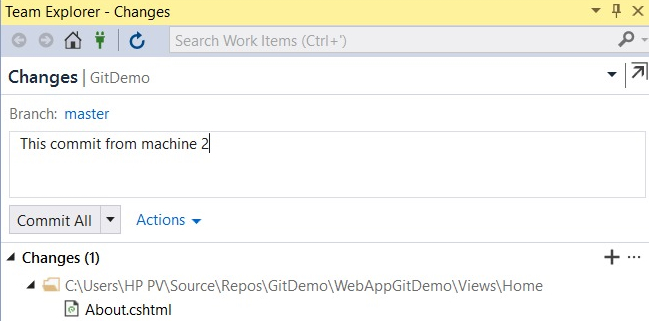
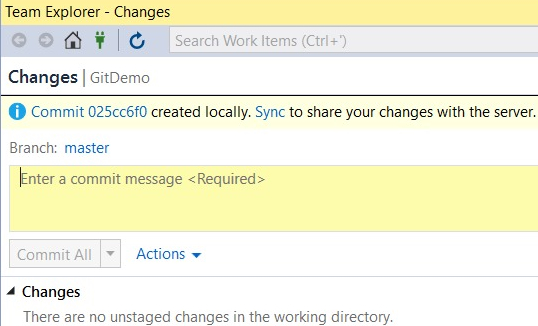
Commit your changes by right-clicking on a file.
Add comments related to the changes for tracking in Azure Pipelines.
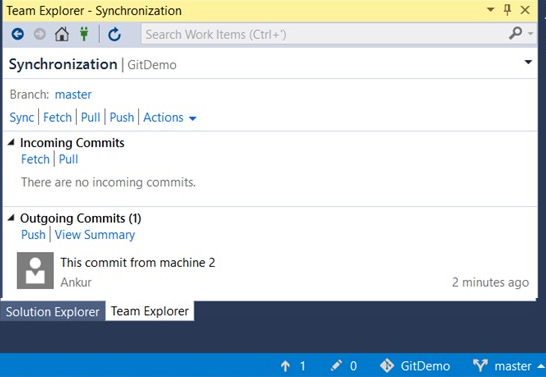
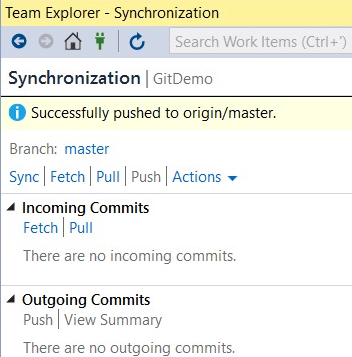
Synchronize your changes on the server by clicking on ‘Sync’.
Push the master branch by clicking on Push.
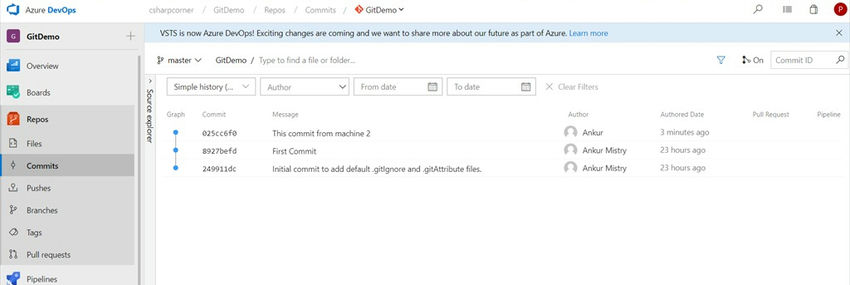
Visit your Azure Pipeline to review all the commits. Changes can be viewed based on Comment number, Message, and Author name.
We hope you found this post helpful. Stay tuned for our next article where we will delve into Branches and Merging in Azure DevOps.
Reference
- https://docs.microsoft.com/en-us/vsts/repos/git/clone?view=vsts&tabs=visual-studio
If you are interested in learning more about Azure DevOps, check out the following articles in this series.
Learn more about Skrots at Skrots. Discover our variety of services offered at Skrots Services. Also, explore more blogs at Blog at Skrots


