Lately, Microsoft has unveiled Azure DevOps, where Azure Repos (Code in VSTS) stands out as a remarkable feature.
With Azure Repos, you can access limitless cloud-hosted private Git Repos for your project. It allows you to collaborate using various tools like IDE, Editor, or Git client hosting and support. Moreover, semantic code search makes it simple to comprehend classes, variables, pull requests, and more.
In this guide, we will delve into understanding Azure Repos and the process of creating a .NET project and adding it to Azure DevOps Git Repos for seamless team collaboration.
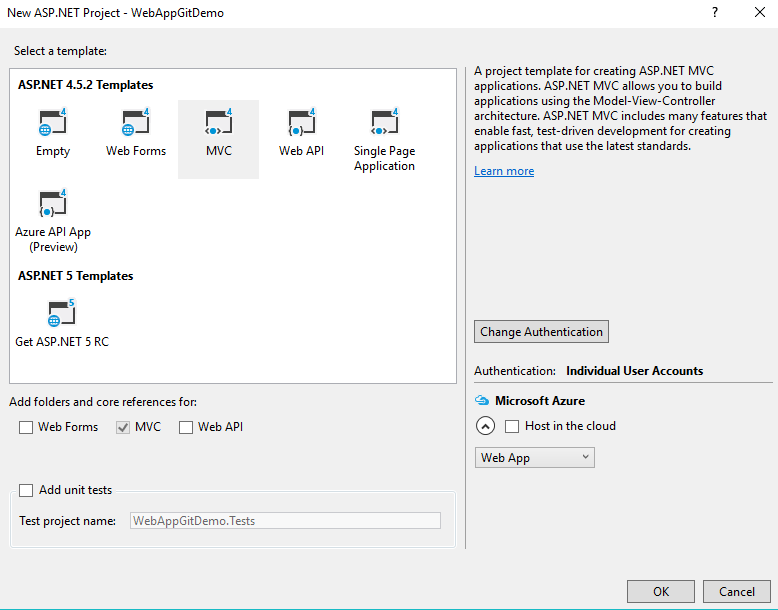
Step 1. Begin by creating a .NET MVC Project, assigning it an appropriate name, and clicking on the OK button.
You’ll be prompted to pick a Source Control for your project, with options like TFVC or Git. For more insights on version control, refer to my related article.
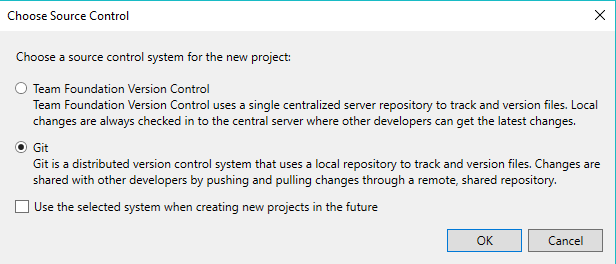
Select Git and proceed by clicking OK to finalize your solution.
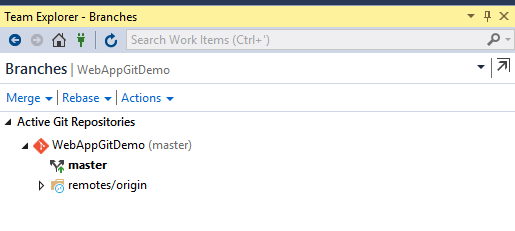
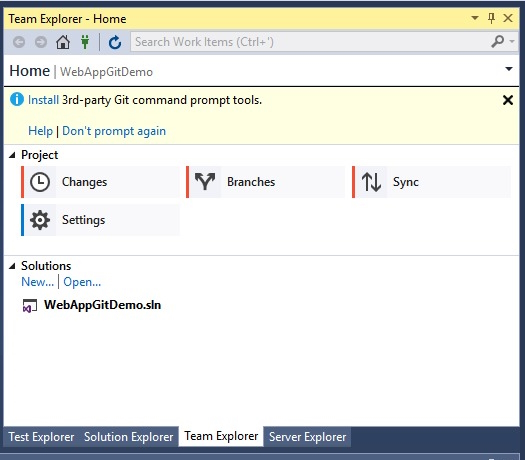
Head to Team Explorer, where you’ll notice the creation of the master branch.
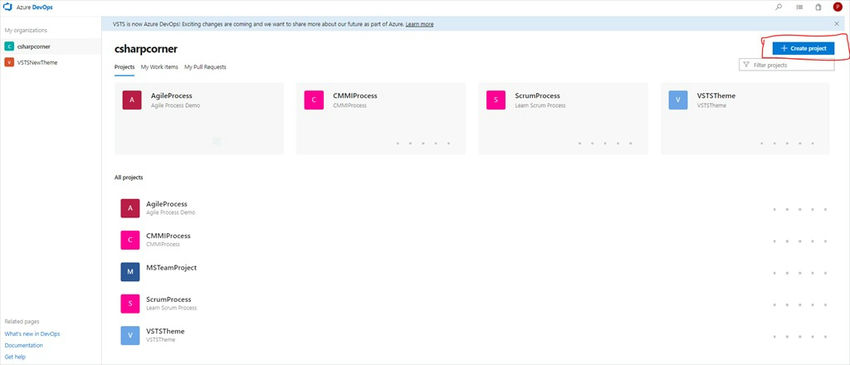
To initiate a new Project from Azure DevOps, navigate to your account and click on the Create Project button as illustrated below.
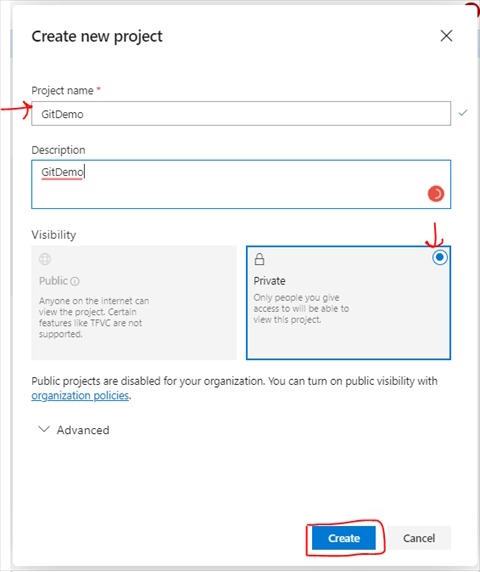
Enter the project name and description while opting for a private project to restrict access to your team.
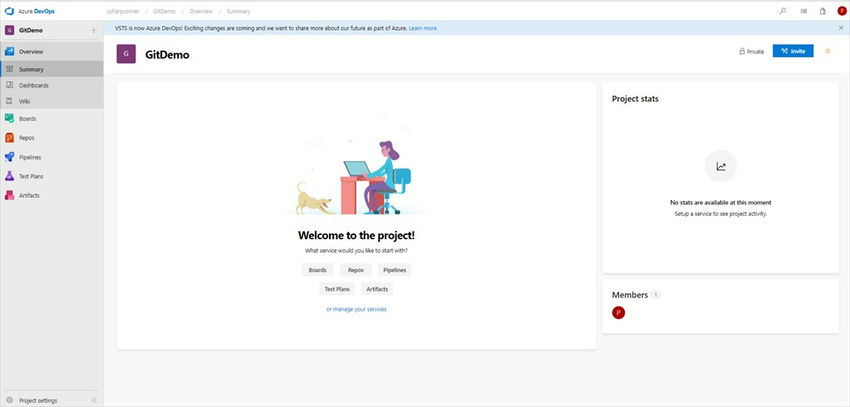
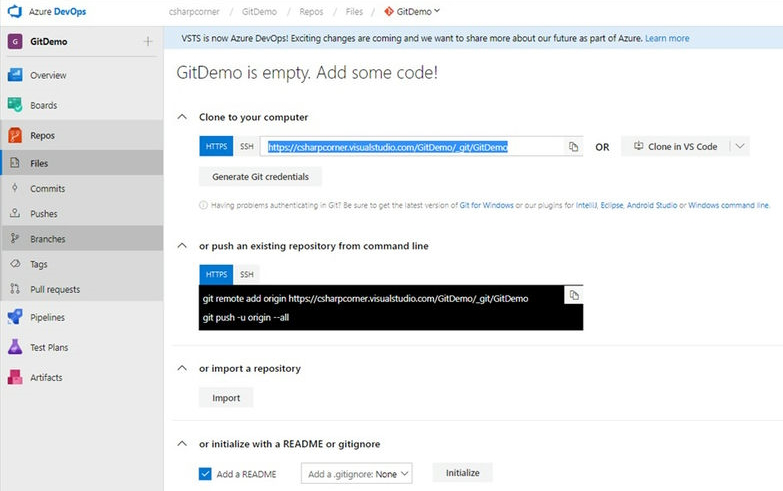
Once created, you will be directed to the Dashboard. Navigate to Repos from the left menu.
Capture the URL from ‘Clone to your computer’
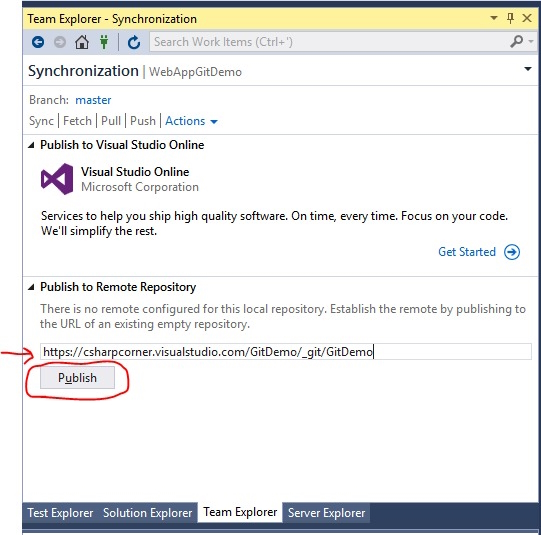
In Visual Studio Team Explorer, paste the URL from ‘Publish to Remote Repository’ that you copied earlier and click on ‘Publish.’
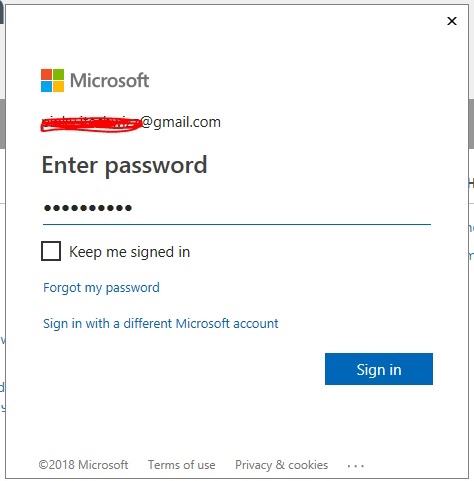
Provide your Azure DevOps credentials for authentication.
By default, your code will be published to the master branch.
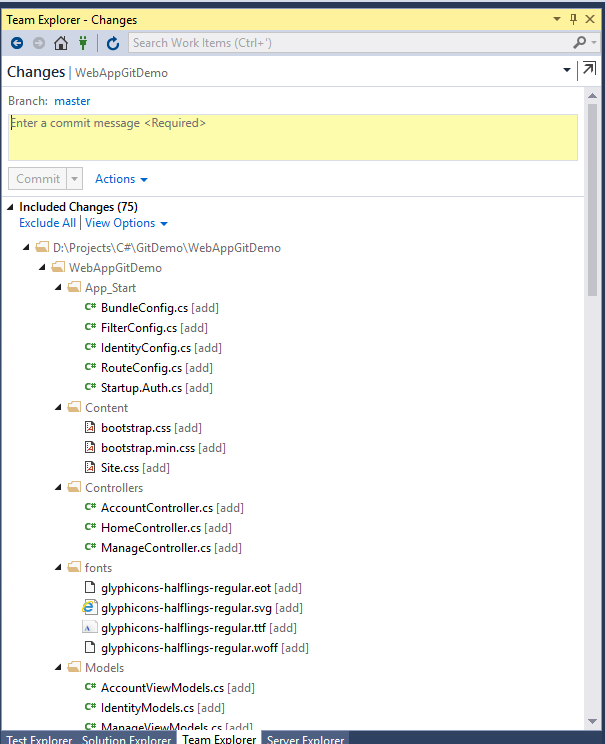
Commit your changes in Azure DevOps Repos by right-clicking on the solution explorer and selecting commit.
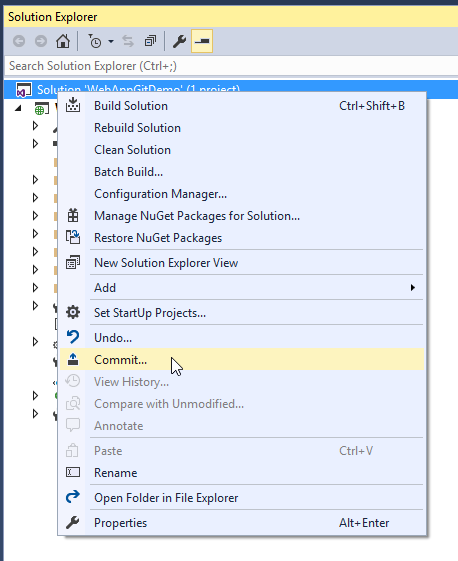
Add comments for better tracking of your modifications.
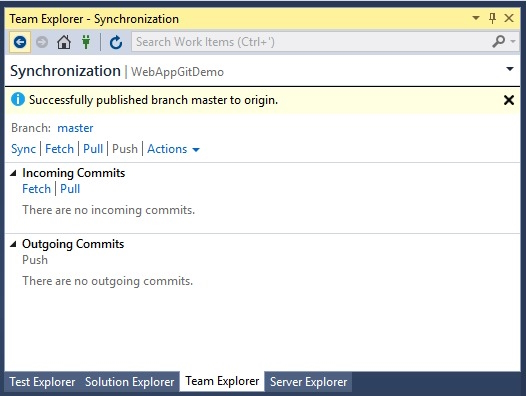
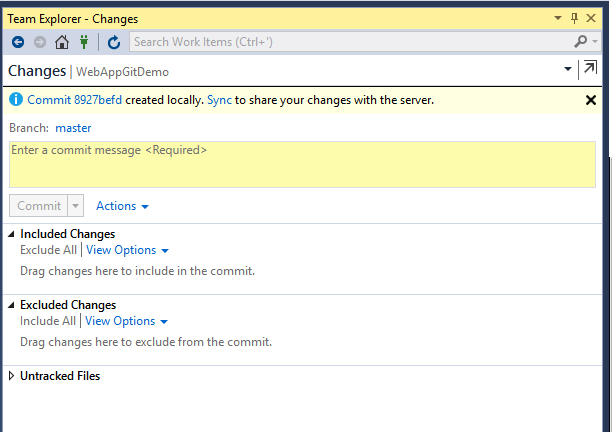
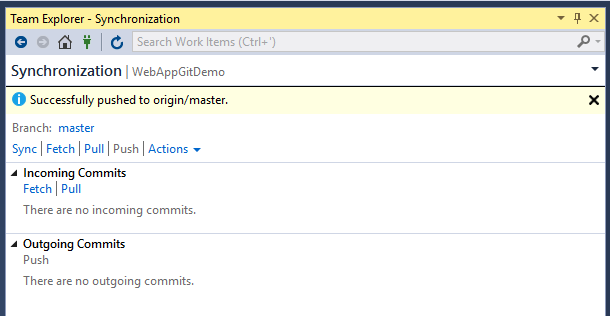
As Git follows a Distributed Architecture, committing creates a local commit. To sync it with Azure Repos, simply click on ‘Sync’
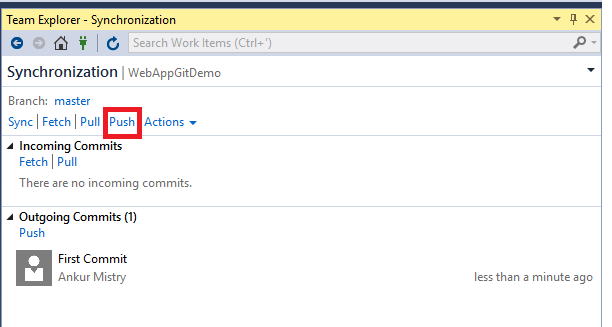
The Outgoing Commits section will display all changes, enabling you to push them to the primary master branch on Azure Repos.
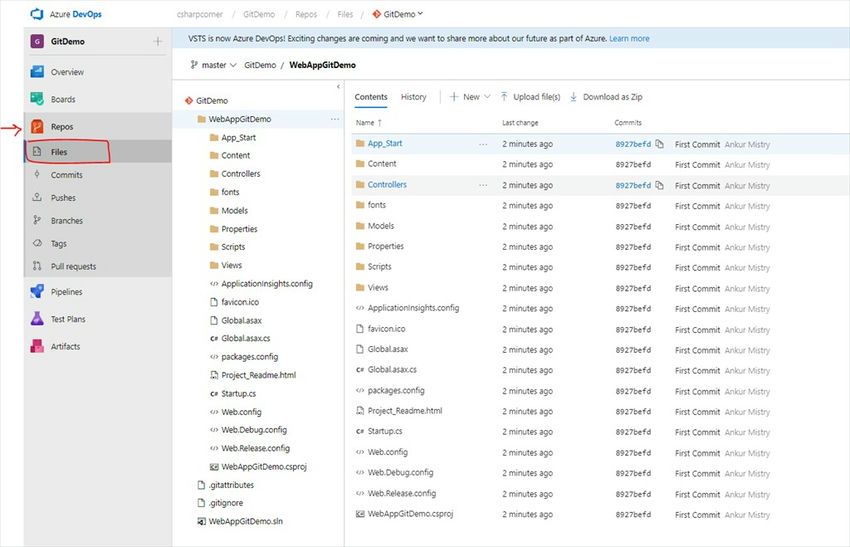
Successfully pushing the changes will showcase your code in the Azure Repos file section as depicted below.
Many thanks for exploring this guide. In the subsequent article, we will delve into importing a Git repo in Azure DevOps and cloning Azure Repos with the team.
Discover more about Skrots at Skrots. Explore all our professional services at Skrots Services. Also, don’t forget to check out other captivating articles on our Blog at Skrots.


