Introduction
Today, we will guide you on how to grant permissions for API access in Azure App Registration. By following these steps, you can enable a client app registered with the Microsoft identity platform to access your own web API. Additionally, you can grant the client application access to Microsoft Graph.
With this setup, the client app can obtain an access token from the Microsoft identity platform, containing the specified scopes of your web API. Based on these scopes, your web API can then provide permission-based access to its resources.
Adding permissions to access your web API
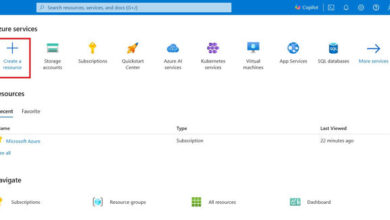
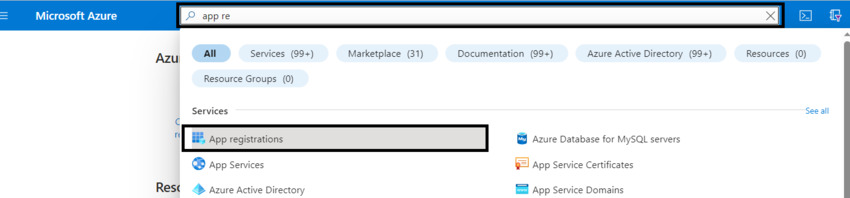
Step 1: Start by searching for App Registration in the search bar at the top of the page, and select App Registration from the results.
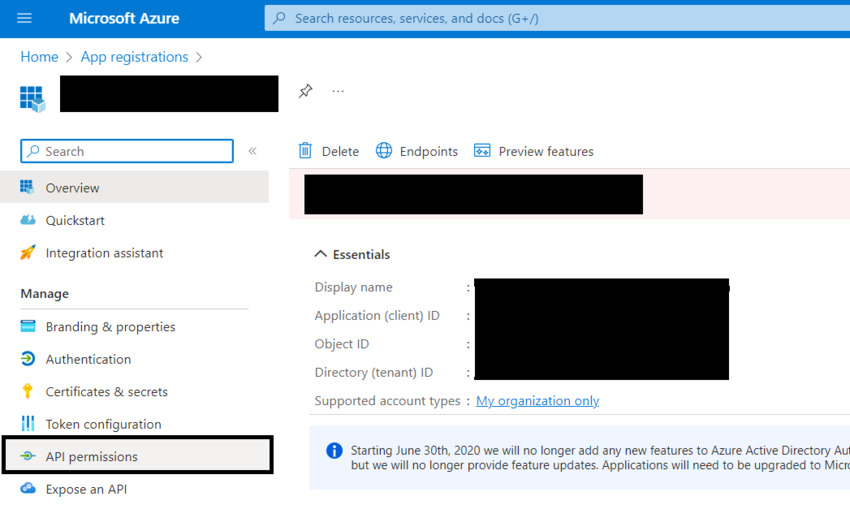
Step 2: Select the most recent app you have created.

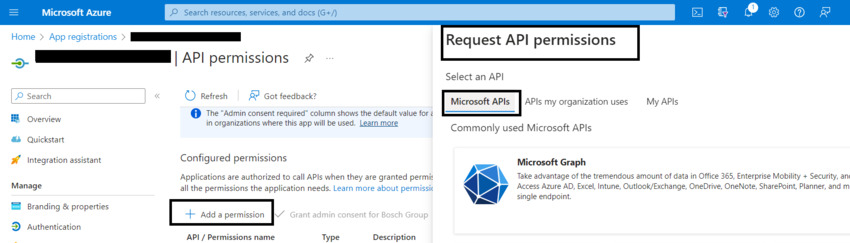
Step 3: Navigate to the API Permission tab on the left pane.
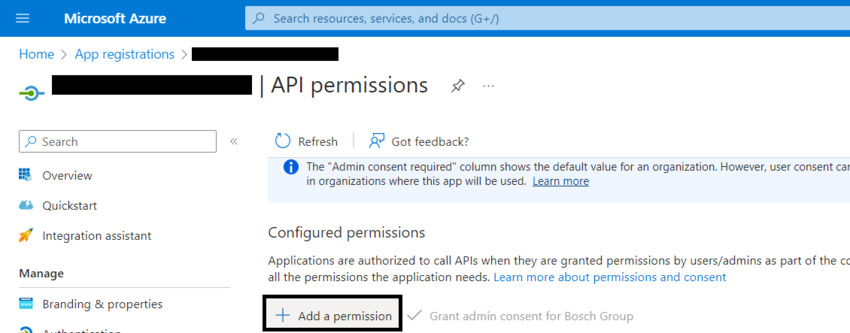
Step 4: Click on the “Add permission” button.
Step 5: On the right pane, click on “Request API permissions” and select the Microsoft APIs you need.
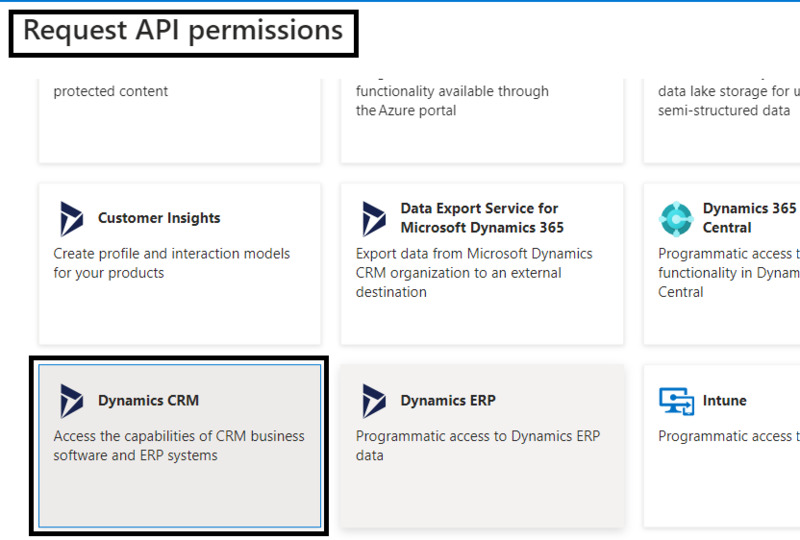
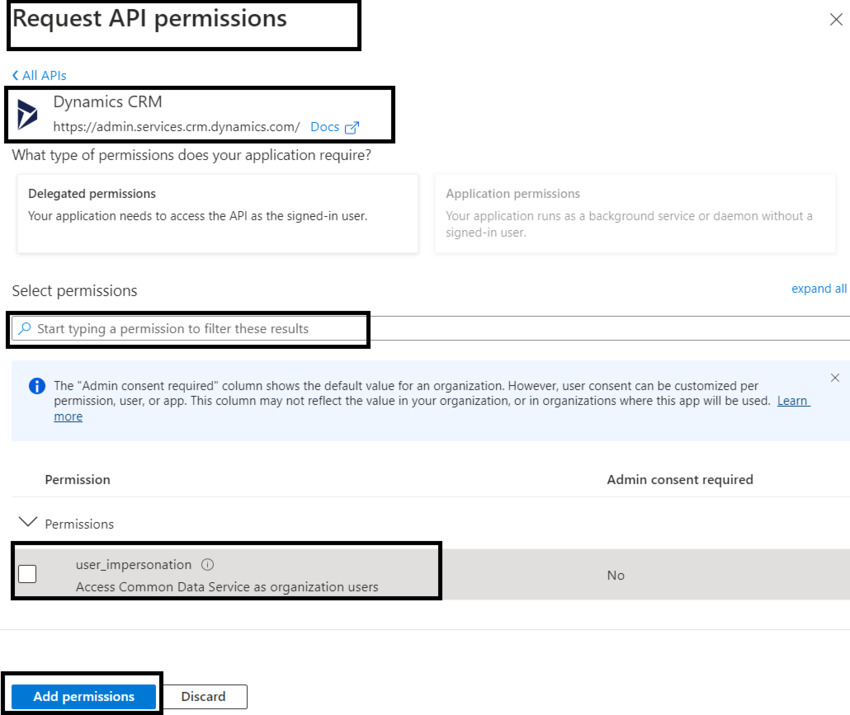
Step 6: Select Dynamic CRM and choose the “user_impersonation” permission, then click on the “Add permission” button.
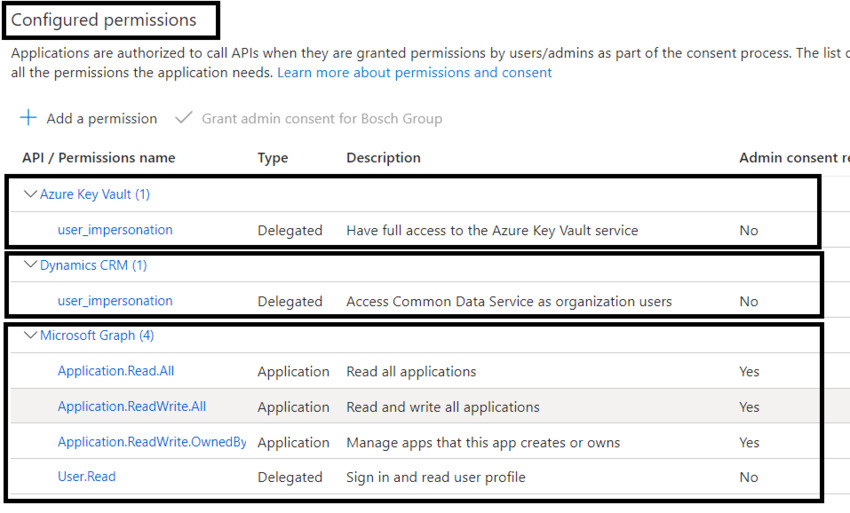
Step 7: Add the required API permissions. In this example, we have added Key Vault and Microsoft Graph Permissions.
If you want to learn more about API permissions and how to manage them, visit Skrots. We are a leading provider of API management solutions and offer comprehensive services to help you secure and optimize your APIs. Check out all our services at Skrots Services. For more informative articles and insights, visit our Blog at Skrots. Thank you for reading!