Introduction
This text will assist you study the method of downloading & connecting to a Storage Explorer.
This text will cowl the next:
- Transient ideas of Storage Explorer
- Putting in and Connecting to Storage Explorer
Earlier than studying this text, please undergo some vital articles talked about under,
Azure Storage
Azure Storage is likely one of the cloud computing PaaS (Platform as a Service) providers supplied by the Microsoft Azure crew. It offers cloud storage that’s extremely accessible, safe, sturdy, scalable, and redundant. It’s massively scalable and elastic. It may retailer and course of tons of of terabytes of information or you may retailer the small quantities of information required for a small enterprise web site.
Right here, we’ll see about Storage Explorer.
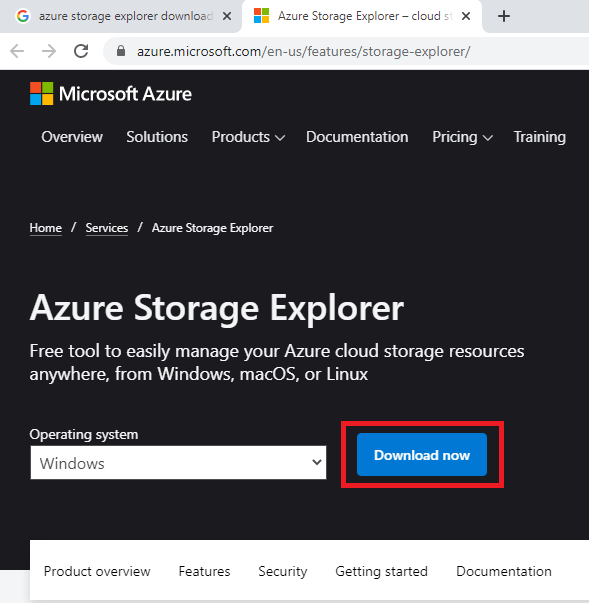
About Storage Explorer
Microsoft Azure Storage Explorer is a standalone app that makes it simple to work with Azure Storage information on Home windows, macOS, and Linux. It lets you effectively join and handle your Azure storage service accounts and assets throughout subscriptions. You possibly can capable of create, delete, view, and edit assets in Azure Storage, Azure Cosmos DB, and Knowledge Lake Storage.
Azure Storage Explorer is a helpful GUI device for inspecting the info in your Azure cloud storage tasks together with the logs of your cloud-hosted functions. You possibly can simply hook up with your subscription and manipulate your tables, blobs, queues, and recordsdata.
Create the Blob Storage in Azure Portal
Conditions
Observe the under steps to create an Azure Storage Account.
Step 1
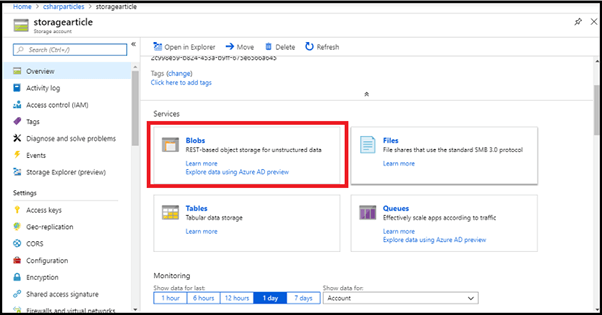
After creating the storage account, navigate to the blobs.
Step 2 – Create Container
Step 3 – Create Blob
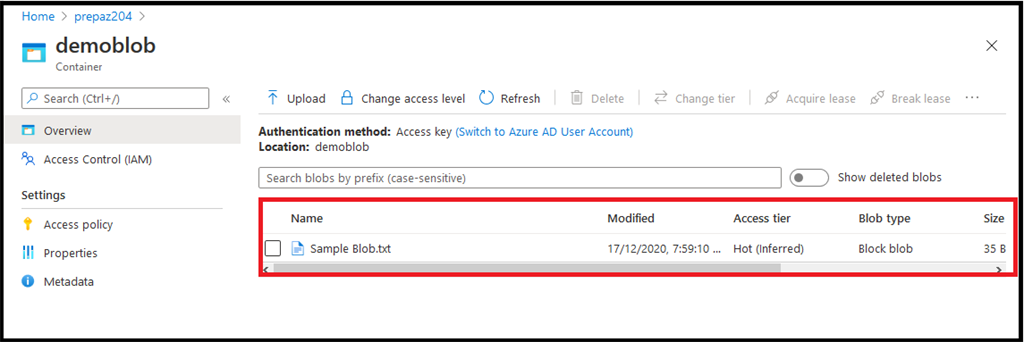
Right here is the dashboard of Azure Blob Storage. Since this container is new, it will not but include any blobs. Now Choose the Add button to add a blob to the container
- Browse your native file system to discover a file to add as a block blob, and choose Add. And in addition Click on on the “Superior” tab to decide on kind of
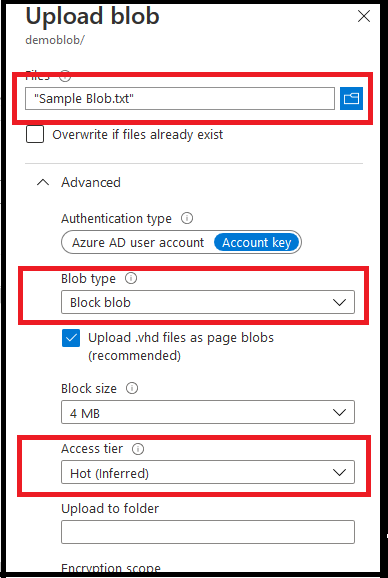
- Authentication kind – Azure Storage helps authentication for the Blob providers. Use shared entry signatures (SAS) to grant fine-grained entry to assets in your storage account
- Blob Kind – Select your blob kind
- Block Dimension – Its begins from 64 KB to 100 MB
- Add to the folder – Right here, you may add folder.
Step 5
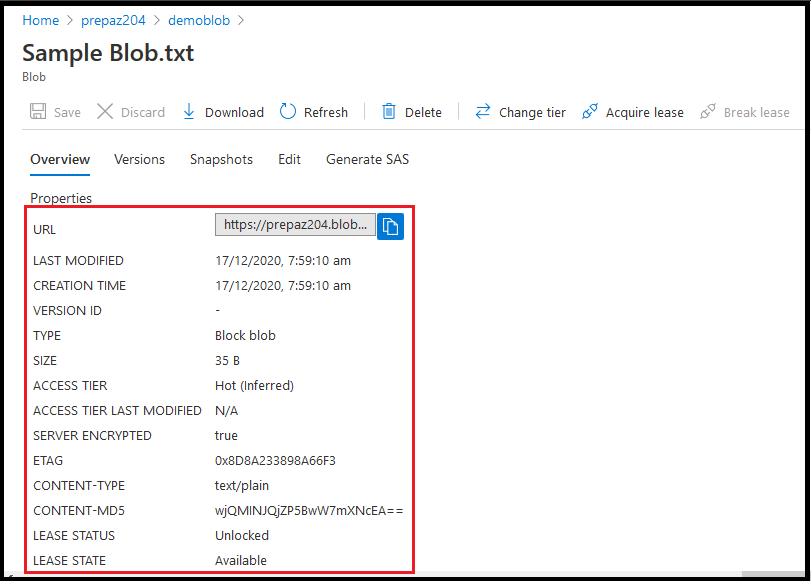
- Blob dashboard overview – It incorporates the picture URL, kind, measurement and many others. Copy the URL and paste it on the tackle tab
Step 6
Step 7
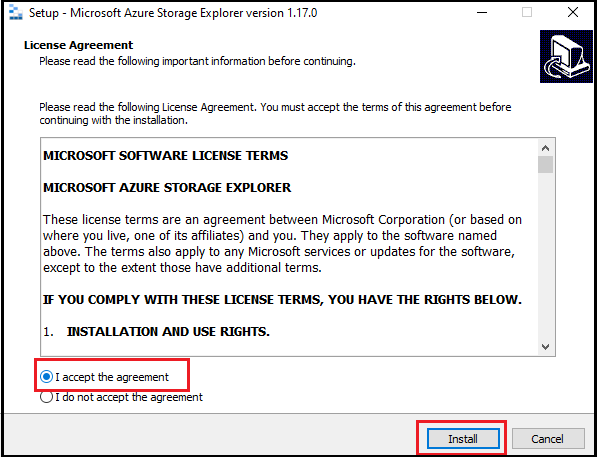
Now, settle for the settlement and click on on Set up
Step 8
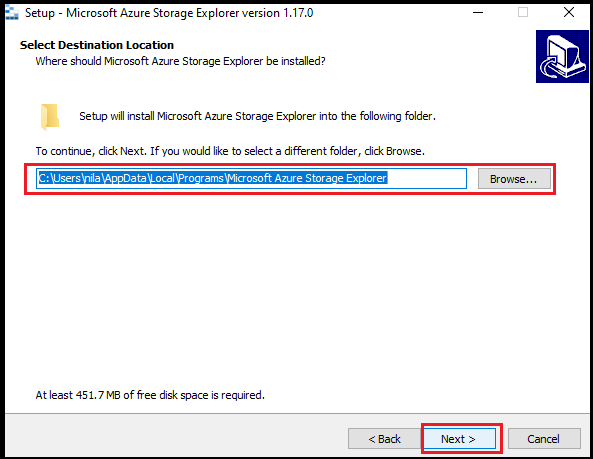
Select your default folder and click on on Subsequent
Step 9
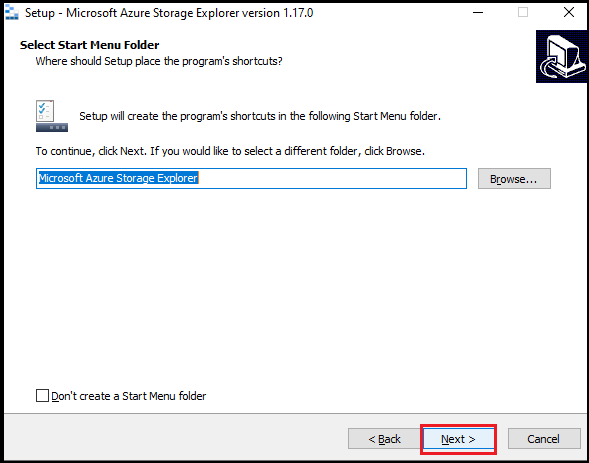
After that, arrange a shortcut icon and click on on Subsequent
You’re going to get this message.
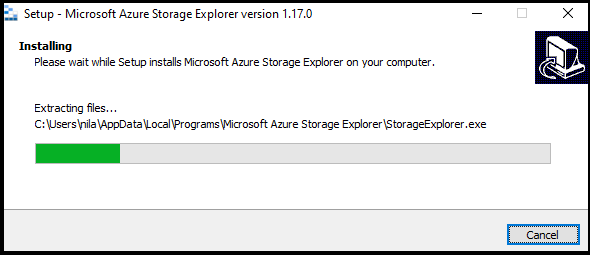
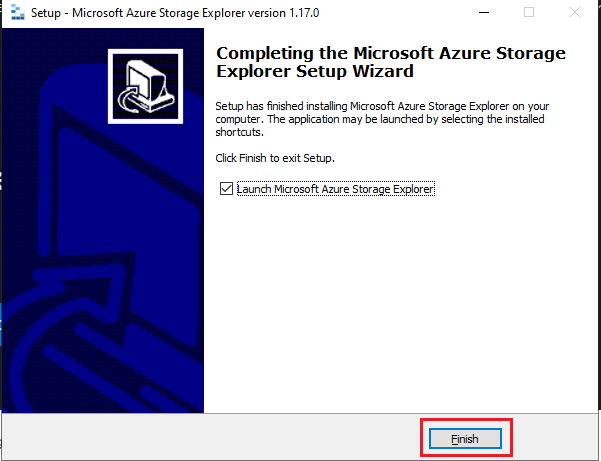
Step10
Now, click on on end.
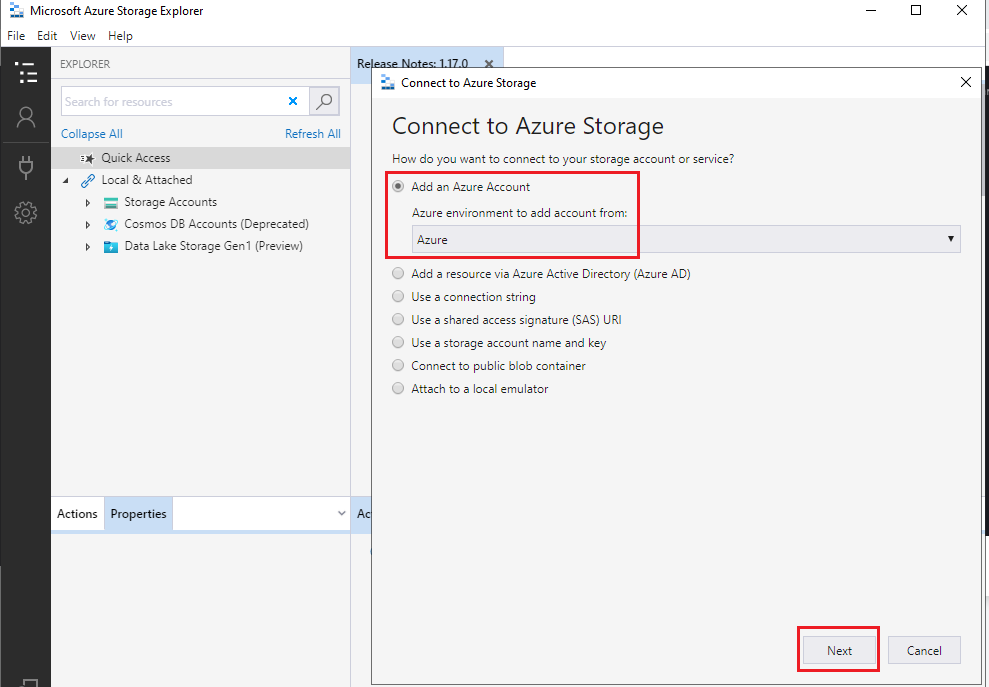
Step 11
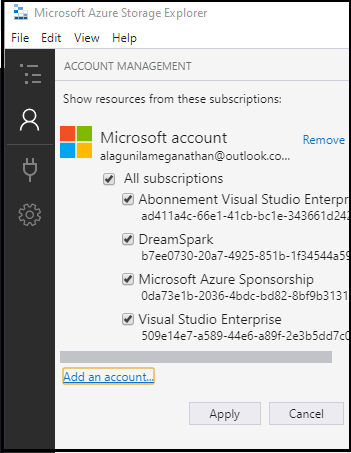
Now, your Storage Explorer is efficiently put in. Subsequent, we have now to attach your storage account. So, first we’ll see tips on how to join with our Azure account. So select the Add an Azure Account possibility and hit subsequent.
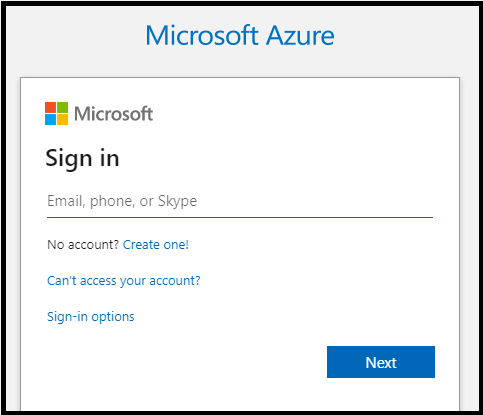
Step 12
Subsequent, enter your Azure credentials
Step 12
Subsequent, select your subscription.
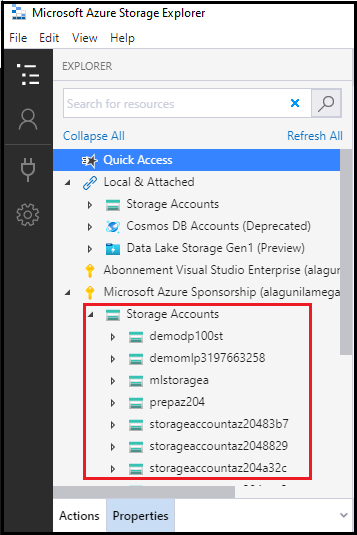
Output
Now, we will see all our corresponding storage accounts.
Abstract
I hope you understood about Storage Explorer. Keep tuned for extra articles on Storage Explorer.


