WebJobs is a function of Azure App Service that allows you to run a program or script in the identical context as an online app, API app, or cell app. There is no such thing as a extra price to make use of WebJobs.
Azure WebJobs can run repeatedly, on demand or on a schedule.
Azure WebJobs may be created utilizing the next scripts,
- .cmd, .bat, .exe (utilizing home windows cmd)
- .ps1 (utilizing powershell)
- .sh (utilizing bash)
- .php (utilizing php)
- .py (utilizing python)
- .js (utilizing node)
This text demonstrates the usage of c# command line app.
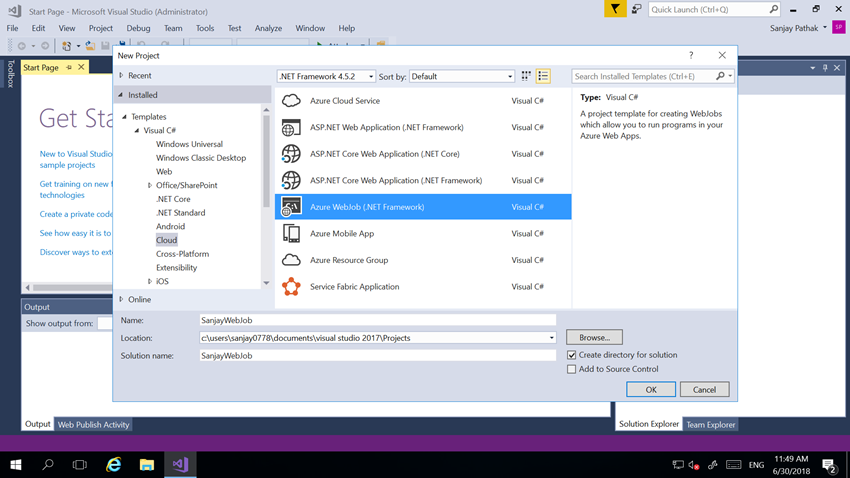
Step 1
Click on File > New Undertaking, after which within the New Undertaking dialog field click on Cloud > Azure WebJob (.NET Framework).
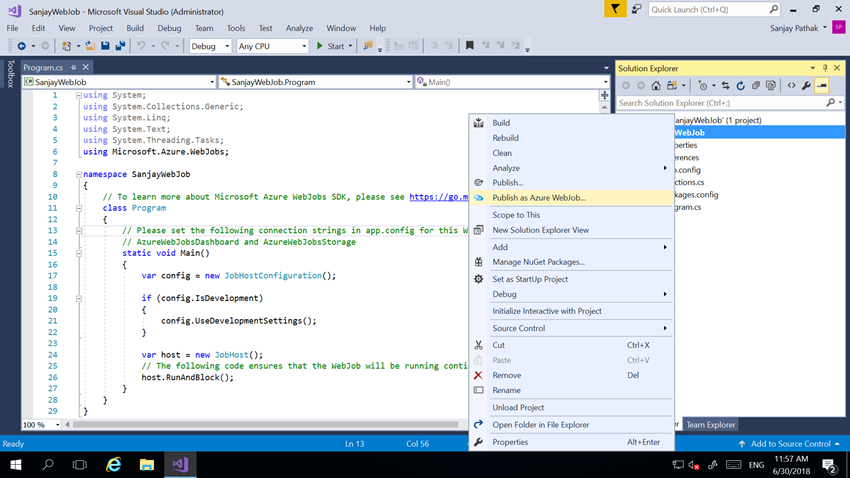
Step 2
A console software is created. Proper-click the Console Utility venture in Answer Explorer, after which click on Publish as Azure WebJob.
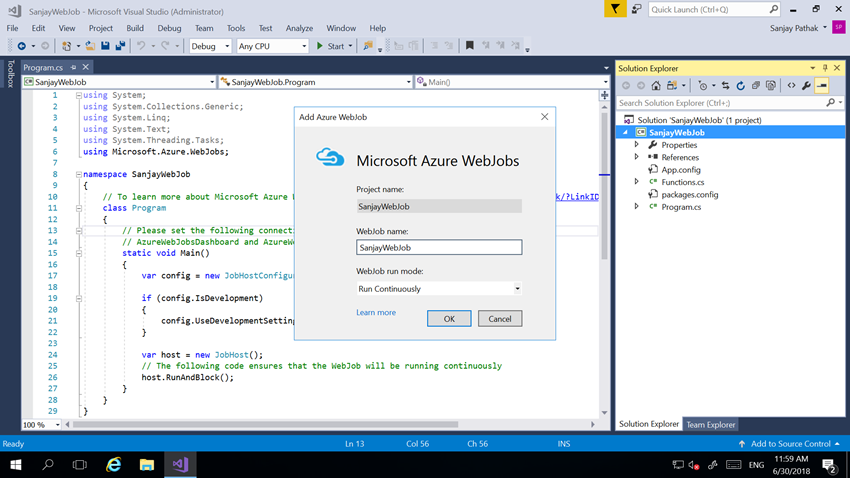
Step 3
The Add Azure WebJob dialog field seems, with the venture chosen within the Undertaking identify field. The Add Azure WebJob dialog allows you to enter the WebJob identify and run mode setting on your WebJob. Full the Add Azure WebJob dialog field, after which click on OK.
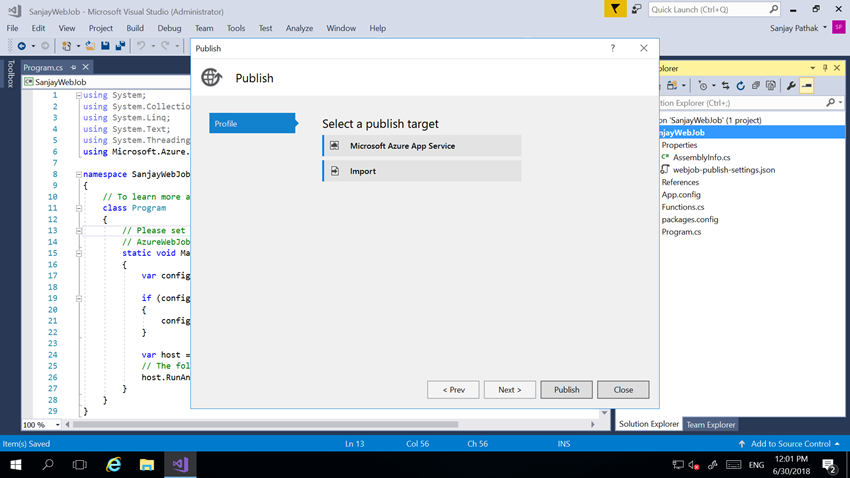
Step 4
Choose a publish goal, on this instance the goal will likely be a Microsoft Azure App Service (Azure net app).
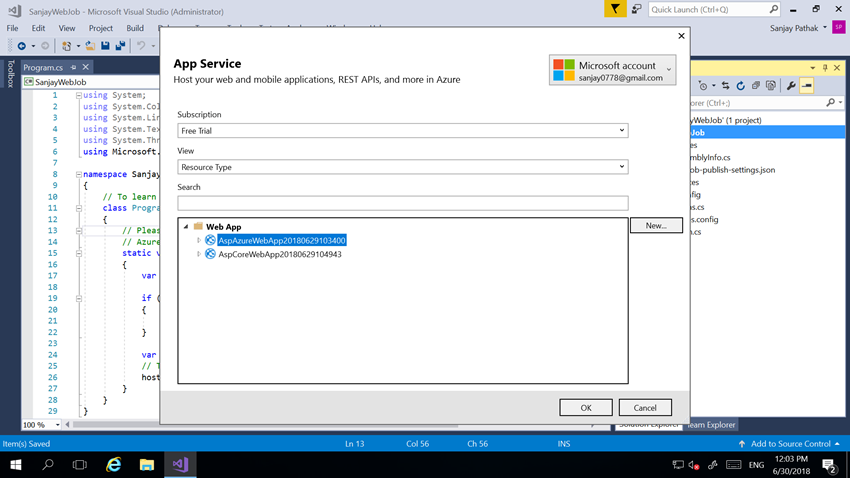
Step 5
We’re deciding on present ASP.Web azure net app. You can even create a brand new net app.
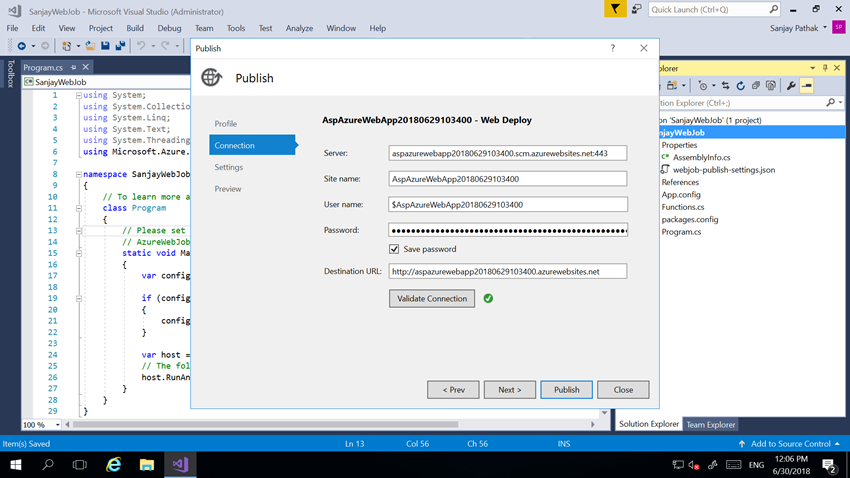
Step 6
When you click on OK. It’ll populate all of the connection particulars of chosen net app. If you need you’ll be able to validate connection by clicking on ‘Validate Connection’ button
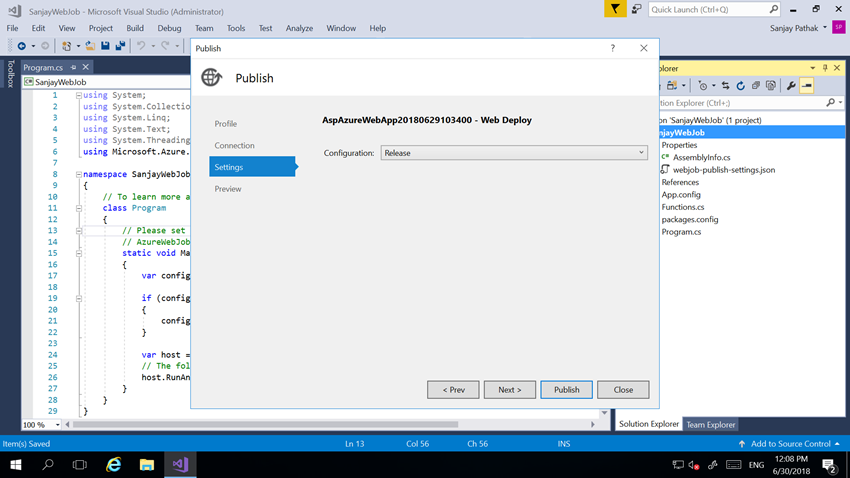
Step 7
Click on on ‘Subsequent’ button to see configuration setting. It may be Debug or Launch. Click on on Publish button to publish this net job.
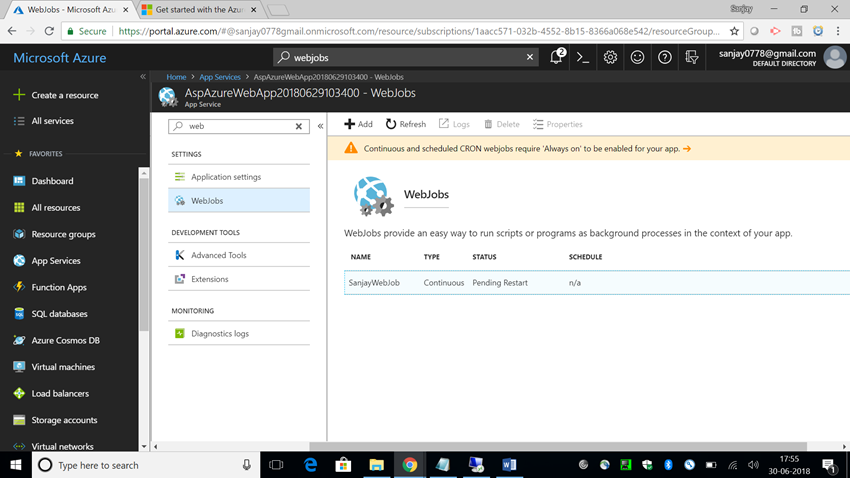
Step 8
To see webjob related together with your net app, sort net in search field and choose ‘WebJobs’ as proven under.
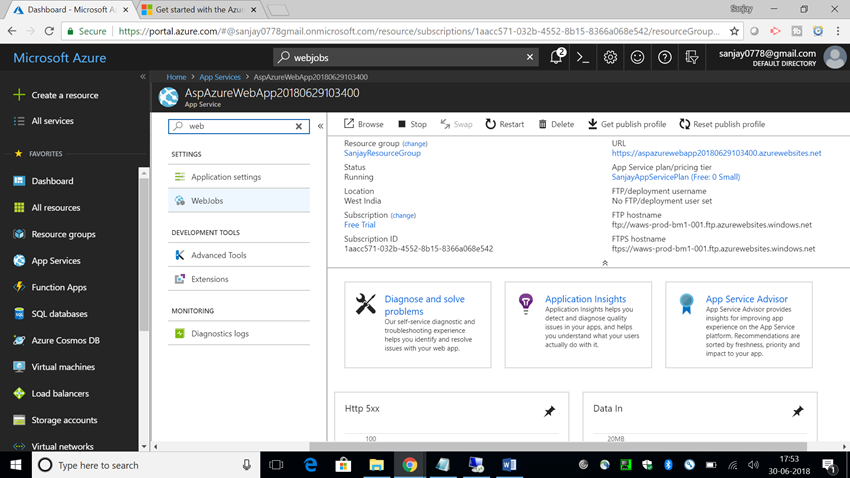
Step 9
Now you’ll be able to see your WebJob with all the main points.