Introduction
In a real-world state of affairs, your bodily machine is operating out of storage. You should purchase a bodily onerous drive to retailer a small quantity of information for a small length of time you spend more cash.
Learn my earlier article:
On the identical time you’re operating a digital machine in Azure, that digital machine wants extra storage, what are you able to do? You can’t purchase and set up onerous disk from regionally. Azure can present a storage disk to retailer knowledge in a cloud-like bodily onerous drive.
A storage disk is identical idea as a bodily onerous disk, it is accessible in two sorts:
-
HDD (Arduous Disk Drive)
-
SSD (Stable State Drive)
By studying this text, you’ll study easy methods to create and add a storage disk in digital machine.
Stipulations:
Making a Storage Disk
Step 1
Step 2
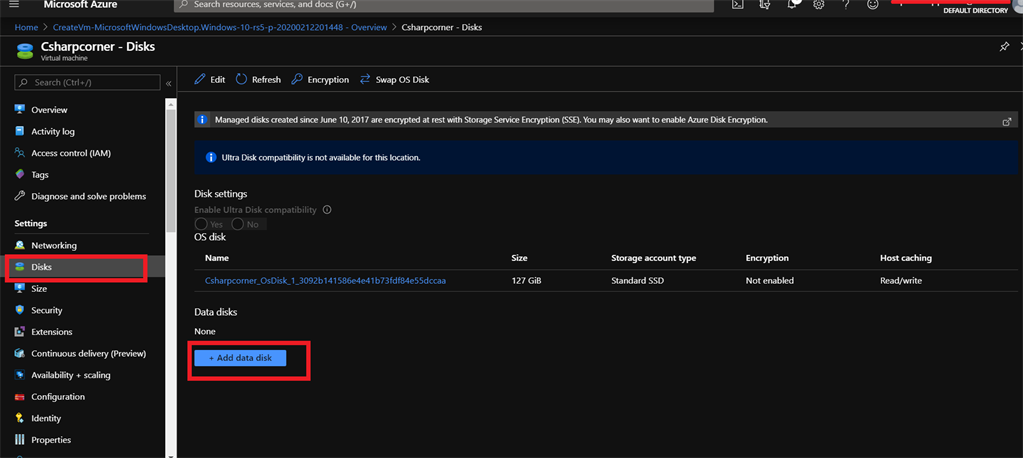
Go to the digital machine dashboard, choose “Disks” after which click on the “Add” button.
Step 3
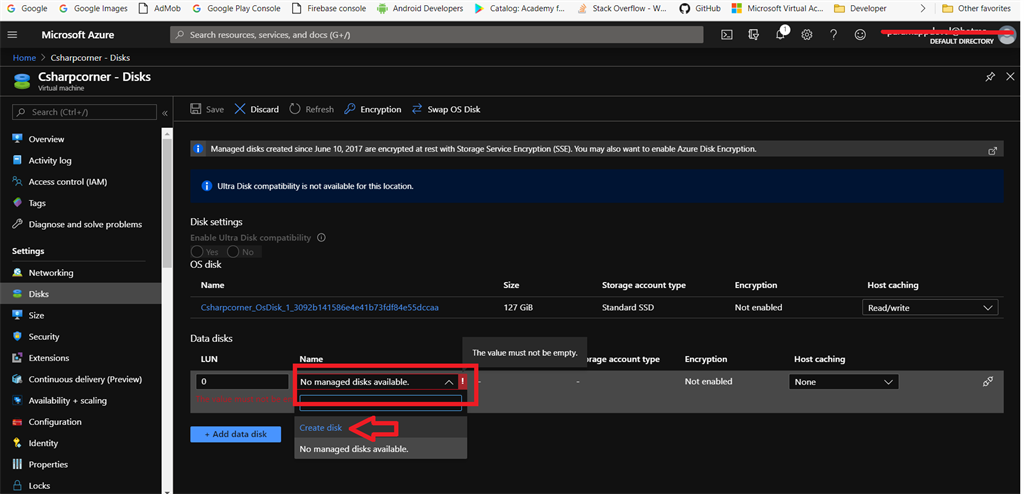
Click on the “Title” dropdown record after which choose the “Create Disk” possibility.
Step 4
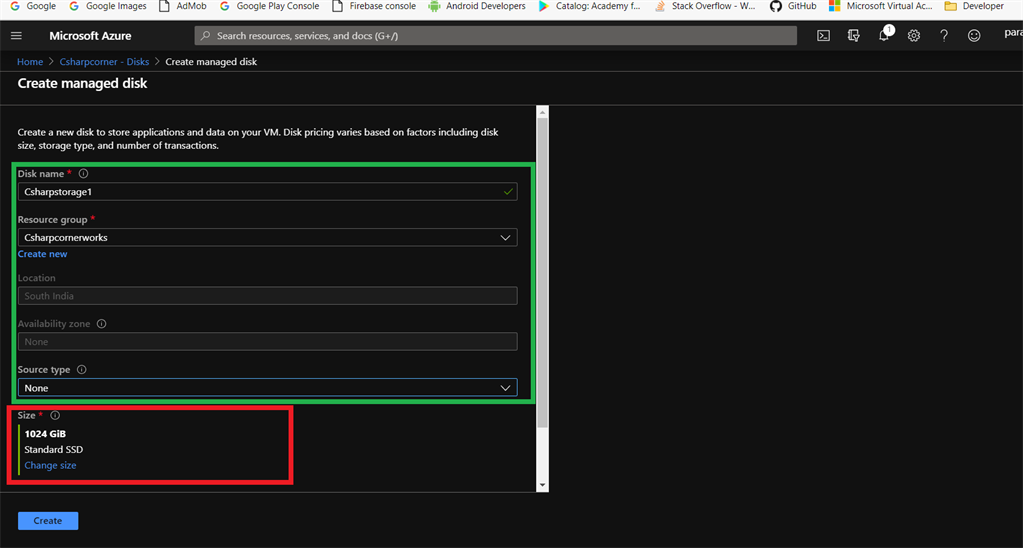
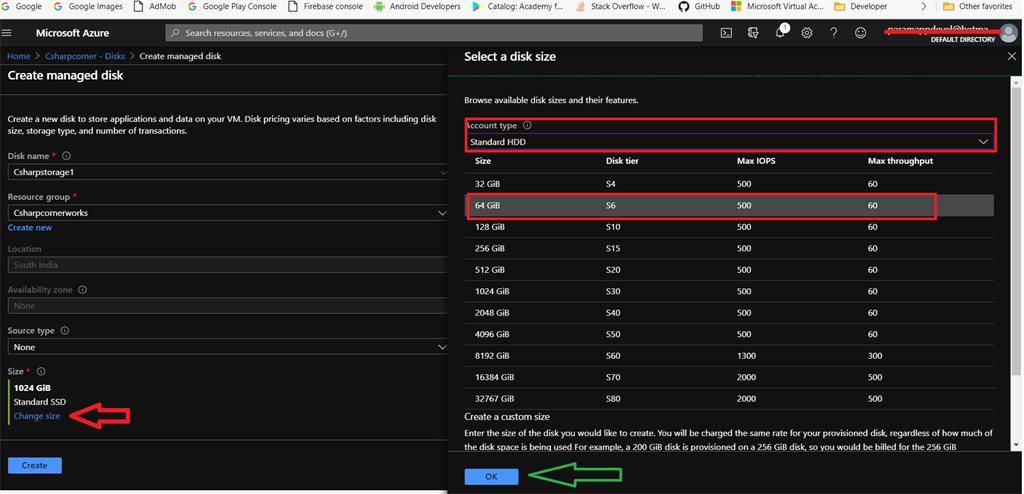
In “Create a Managed disk” web page, fill the disk title, useful resource group title. Subsequent, click on the “Change Measurement” possibility to pick out the disk sort and dimension.
Step 5
In “Choose Disk Measurement pane”, first choose the “Account sort” as the usual HDD.
Azure can present many disk dimension variants, now I’m choosing 64 GB disk and eventually, click on the OK button.
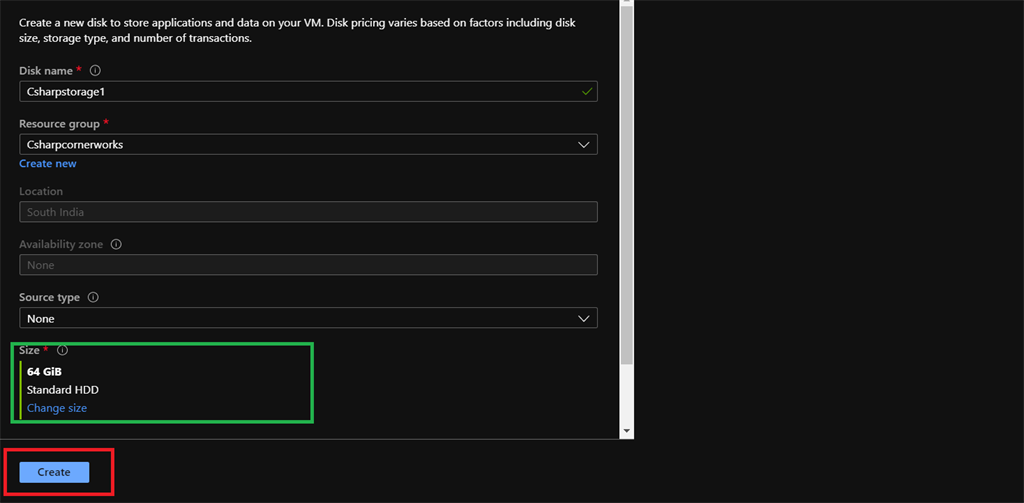
Step 6
Our disk dimension is chosen as our requirement, lastly click on the “Create” Button.
Step 7
Now, we choose the created disk title and click on the “Save button”.

Including Storage Disk in Digital machine
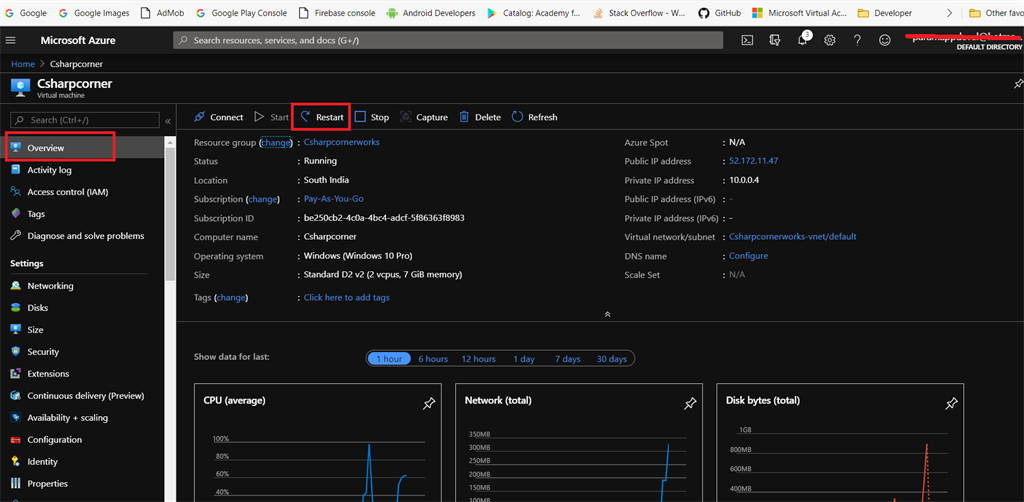
Step 1
Click on the “Overview” after which click on the “Restart” button, our digital machine is restarting.
Step 2
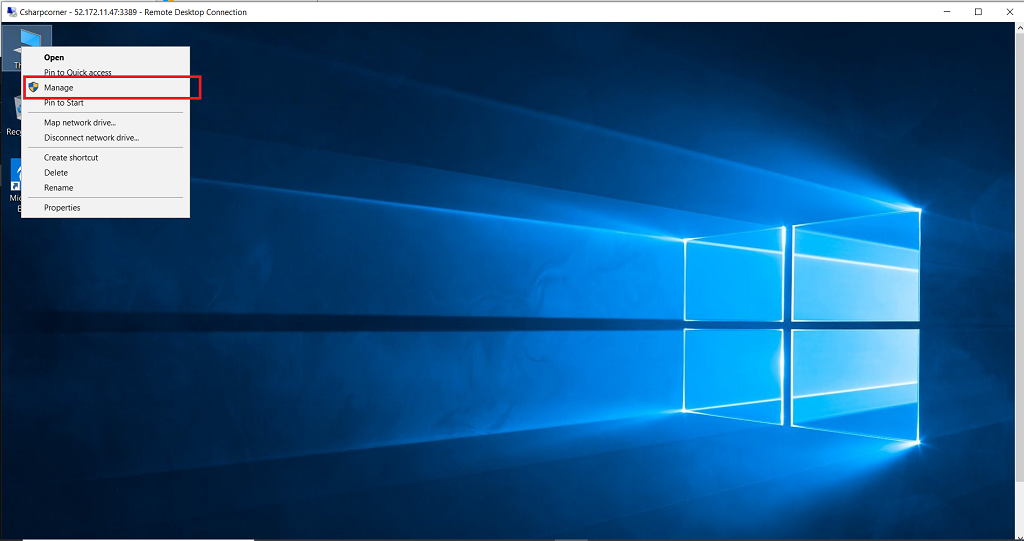
Afterward, join your digital machine through the use of the RDP software program.
Step 3
Proper-click “This PC” and choose “Handle” within the popup menu.
Step 4
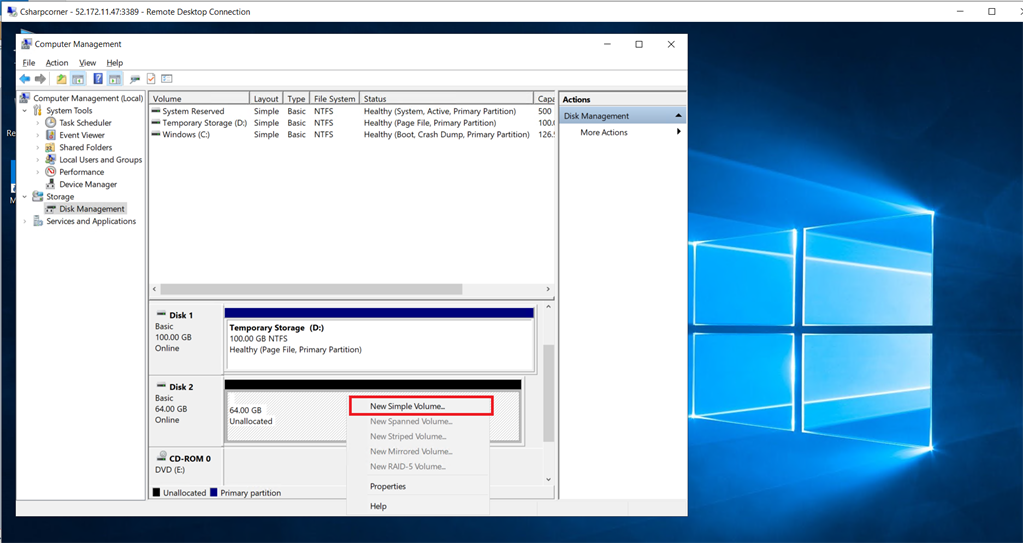
Within the pc administration window, choose “Disk Administration”. Within the middle panel, show the unallocated storage disk.

Step 5
Proper-click the Unallocated disk after which click on the “New Easy Quantity”. When configuration wizard opens click on the Subsequent button.
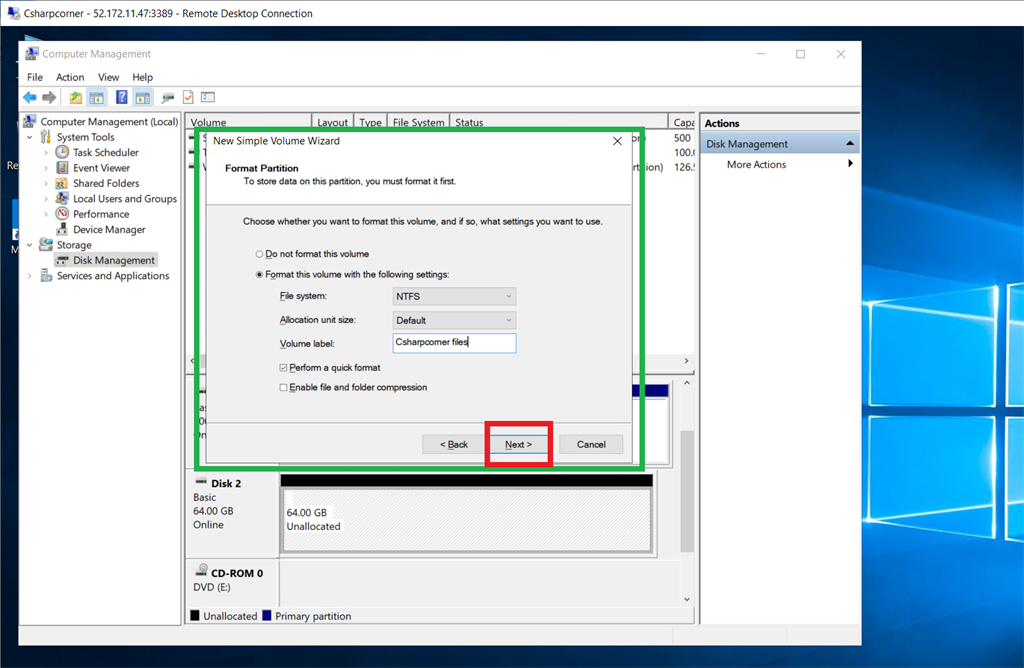
Step 6
Give the quantity a label title after which click on the subsequent button. Lastly, the disk can begin formatting for regular use.
Step 7
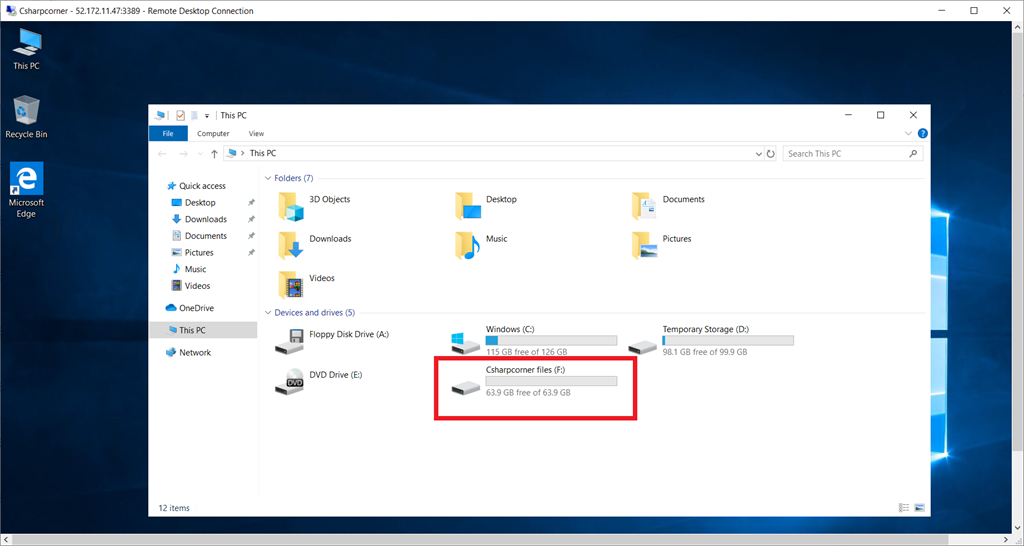
Subsequent, open “This PC” to examine the disk.
Abstract
Our storage disk is efficiently added in our digital machine, and it is able to retailer our digital machine knowledge.