1. Log in to Azure Portal through the use of your UserName and Password, As soon as You Log in to the touchdown web page you may see the Digital Machine choice Pls click on on that.
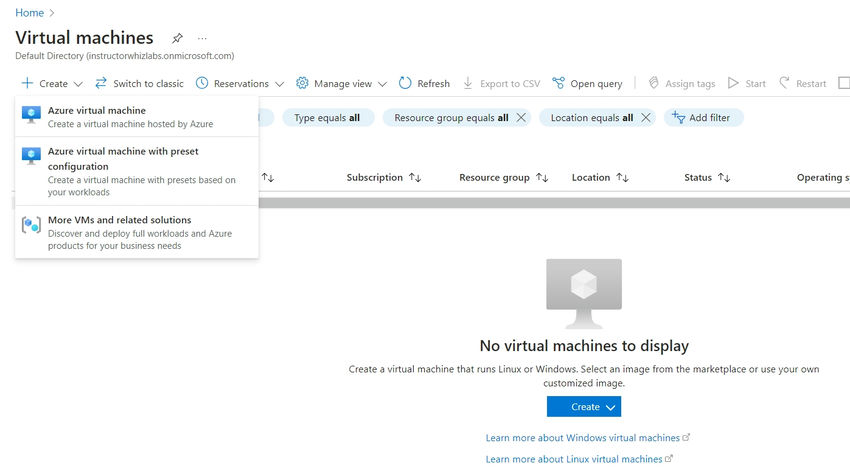
2. After clicking the Digital Machine icon, you may be directed to the following web page. On the left-hand nook, find the “Create” choice. Click on on it, then choose “Azure Digital Machine.”
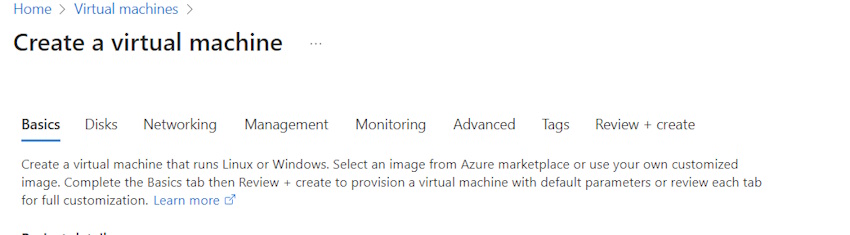
3. You may see a listing of tabs together with Fundamental, Disks, Networking, Administration, Monitoring, Superior, Tags, and Overview + Create. We’ll undergo every tab and fill within the crucial particulars.
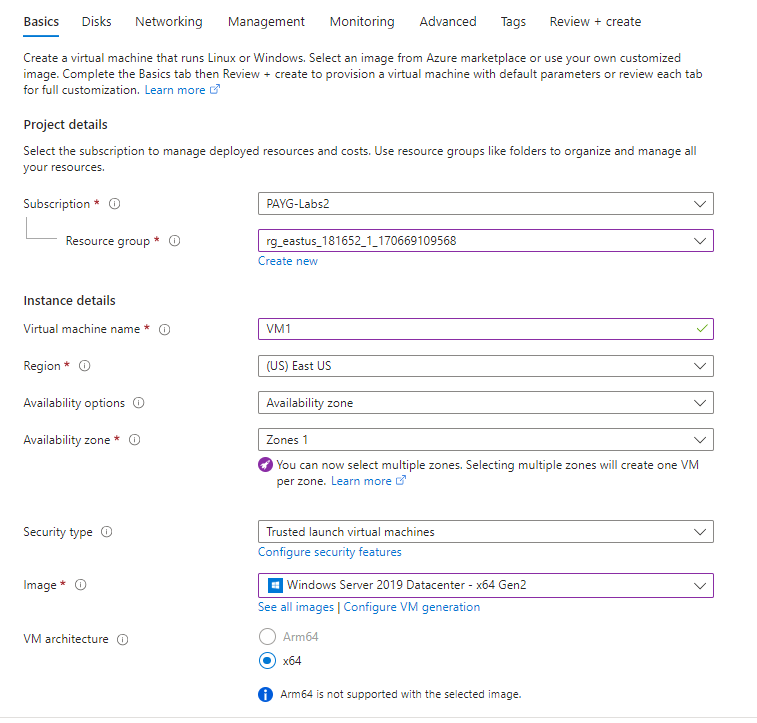
4. Within the “Fundamental” tab, select the subscription mannequin you’ve got already created. Within the “Useful resource Group” subject, you might have the choice to both choose an present useful resource group or create a brand new one. Choose the suitable useful resource group.
- Give a reputation to your Digital Machine.
- Choose the area the place you wish to arrange the setting.
- Underneath the “Picture” choice, choose “Home windows 2019 x64 gen2.”
5. Within the “Dimension” choice, select the “Normal” choice.
6. Within the “Account” part, present a username and password for the Digital Machine.
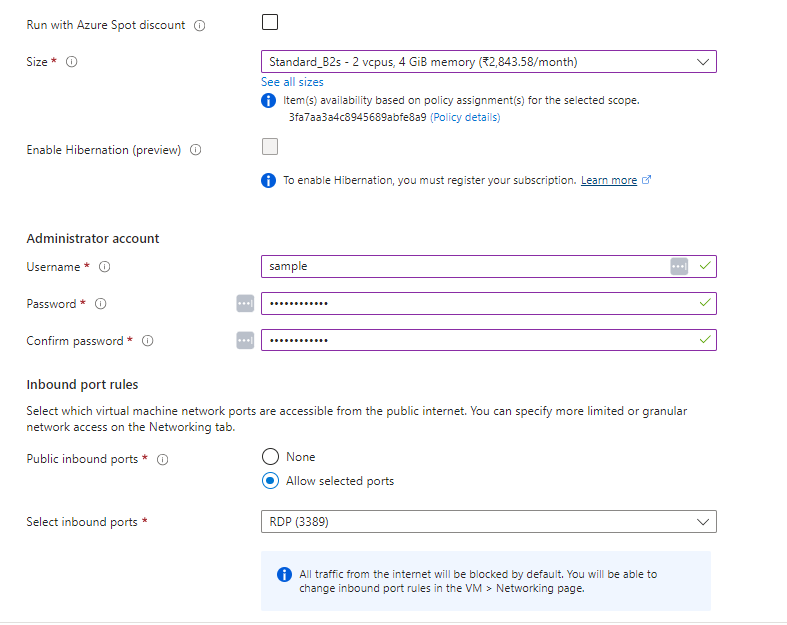
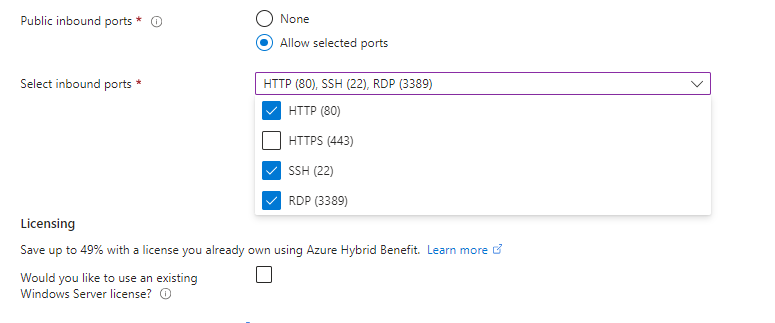
7. Lastly, within the “Choose inbound ports” part, be sure that HTTP (port 80), SSH (port 22), and RDP (port 3389) are enabled.
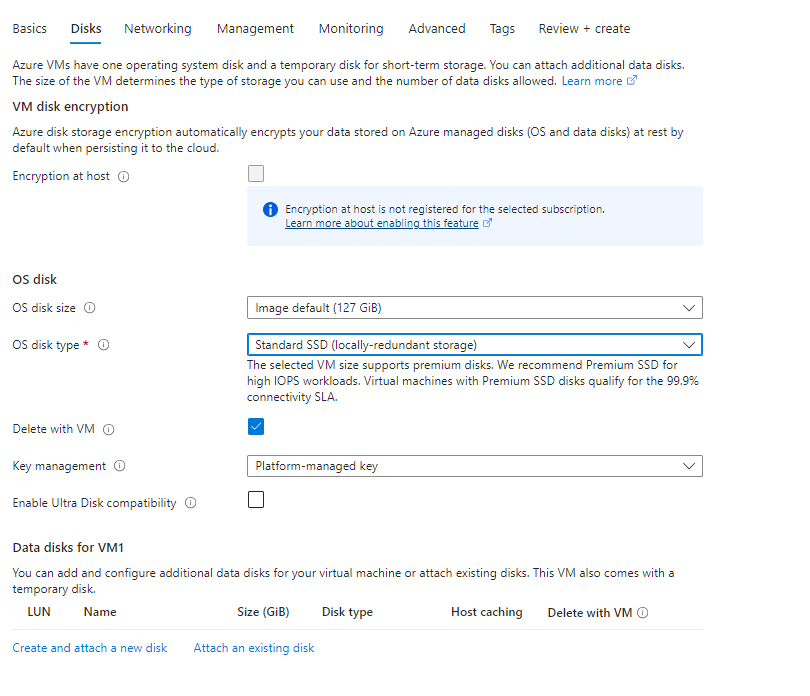
8. Now Click on Subsequent and Transfer to the Subsequent Tab “Disk”
- Right here choose the Disk sort as Normal and transfer to the Monitoring Tab Depart Community and Administration Tab as it’s.
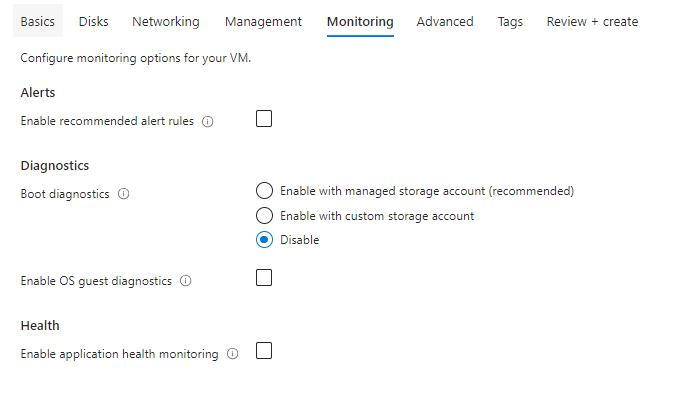
9. Within the Monitoring Tab Choose the choice Disable for Boot Diagnostics.
10. Now click on the Overview + Create and validate that the validation is accomplished it should present the validation Handed Message.

11. Choose the Create Button to start out the Deployment of the Digital Machine.
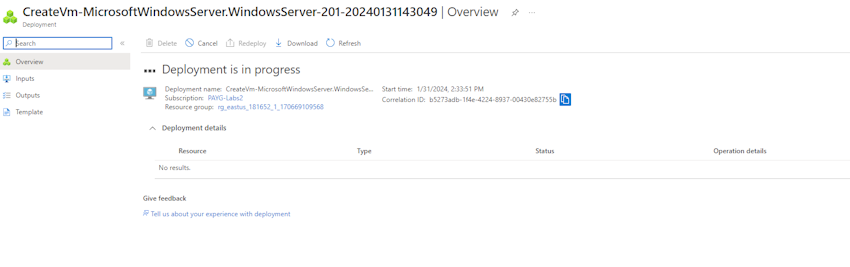
12. As soon as the deployment is accomplished beneath display screen will seem.

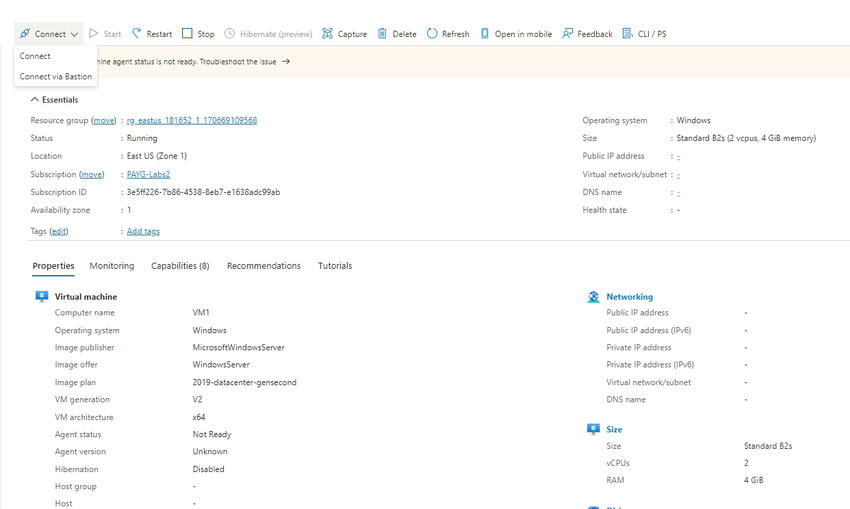
13. Choose the Go to Useful resource choice and navigate to the View Display there you may see the choice as join within the Left facet nook and click on the Join.
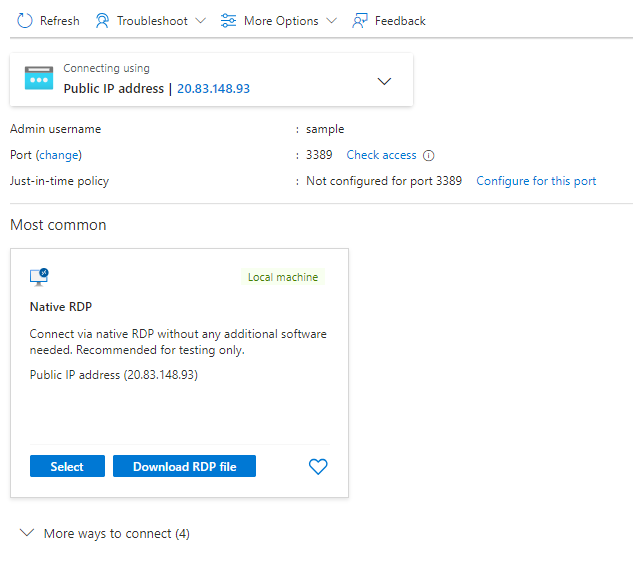
14. As soon as Clicked join you might even see the choice Obtain RDP file click on and obtain.
15. The downloaded file seems like this.

16. Click on the file and open the distant connection.
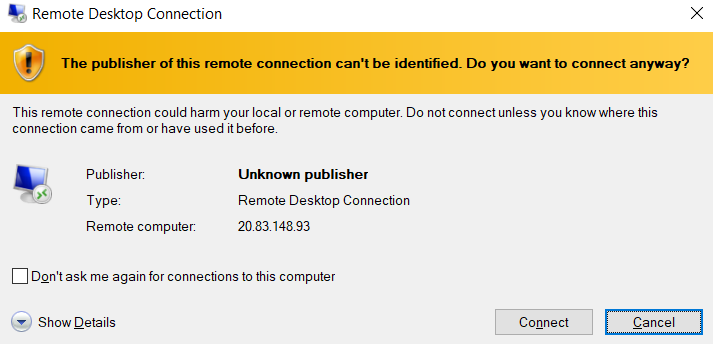
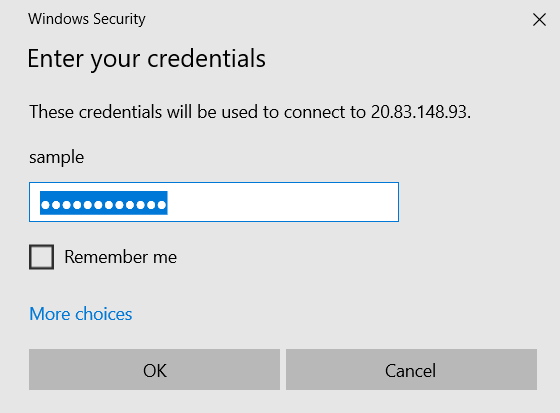
17. Enter the password and click on okay.
18. Now you may see the New Digital Machine open within the Azure cloud.

Know extra about our firm at Skrots. Know extra about our providers at Skrots Companies, Additionally checkout all different blogs at Weblog at Skrots