
Introduction
On this article, we’ll find out about importing photos to azure. You need to use the Azure Storage SDK for JavaScript in your React app to add photos to Azure Storage. As everyone knows, Azure is a complete cloud platform providing over 200 revolutionary services that can assist you deliver new concepts to life. It means that you can construct, function, and handle your purposes throughout a wide range of environments, together with a number of clouds, on-premises, and the sting, utilizing the instruments and frameworks of your selection. Whether or not you are seeking to clear up present challenges or create new alternatives, Azure offers the sources it is advisable to succeed. Okay, let’s transfer on.
This is an instance of how one can implement picture add to Azure Storage in a React UI
Picture add to Azure Storage in React UI
Step 1
Create React app
Then run our Undertaking
Step 2
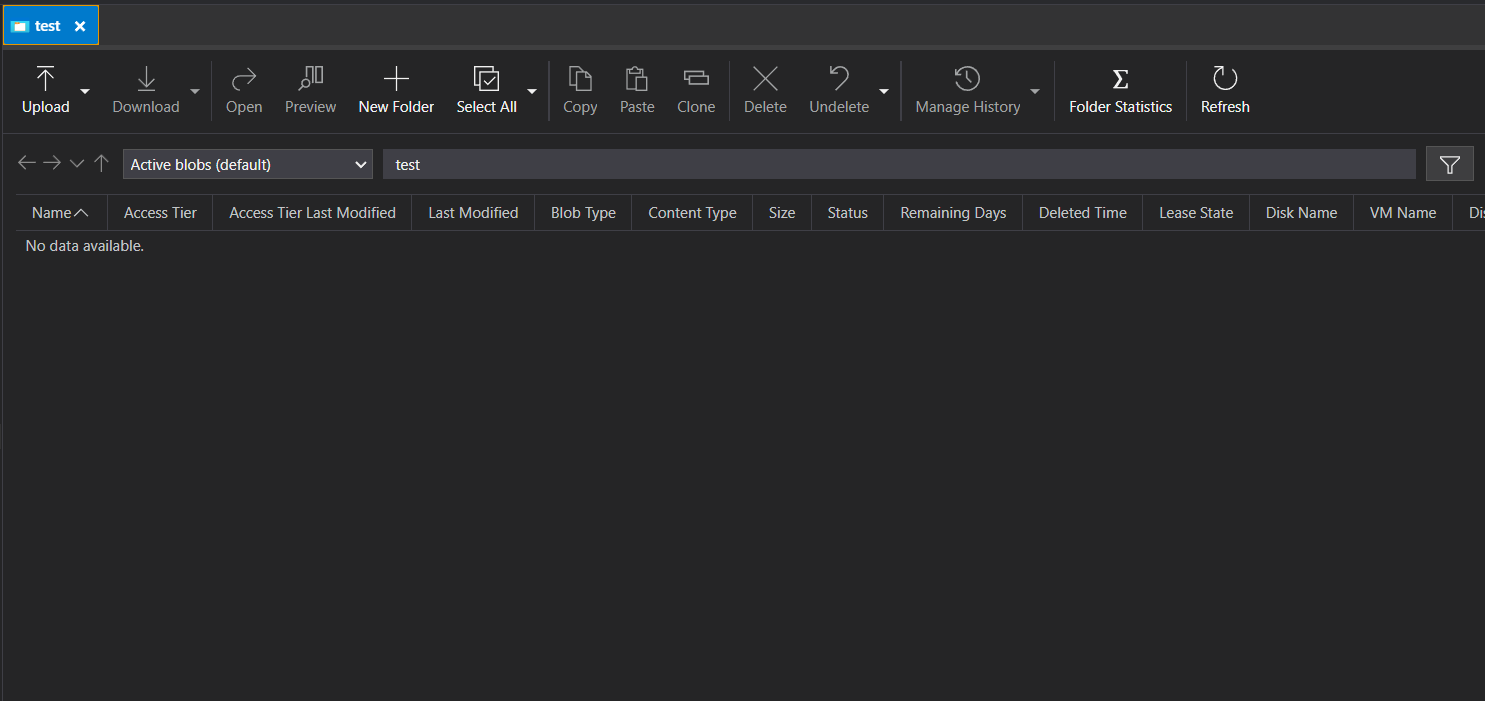
Create a Storage account and Container
Step 3
Create a kind with an enter discipline for the picture file.
import React, { useState } from "react";

operate ImageUpload() {
  const [file, setFile] = useState(null);

  const handleFileChange = occasion => {
    setFile(occasion.goal.information[0]);
  };

  return (
    <kind>
      <enter sort="file" onChange={handleFileChange} />
    </kind>
  );
}

export default ImageUpload;
Step 4
Set up the Azure Storage SDK.
npm set up @azure/storage-blob
Step 5
In your React part, import the Blob consumer.
import { BlobServiceClient } from "@azure/storage-blob";
Step 6
Create an occasion of the Blob consumer utilizing the connection string on your storage account.
const blobServiceClient = new BlobServiceClient(
  "connection-string-to-your-storage-account"
);
Step 7
Create a operate that makes use of the SDK to add the picture to Azure Storage.
import { BlobServiceClient } from "@azure/storage-blob";

async operate uploadImage(containerName, file) {
  const blobServiceClient = new BlobServiceClient(
    "connection-string-to-your-storage-account + sas tokken"
  );
  const containerClient = blobServiceClient.getContainerClient(containerName);
  const blobClient = containerClient.getBlobClient(file.title);
  const blockBlobClient = blobClient.getBlockBlobClient();
  const consequence = await blockBlobClient.uploadBrowserData(file, {
    blockSize: 4 * 1024 * 1024,
    concurrency: 20,
    onProgress: ev => console.log(ev)
  });
  console.log(`Add of file '${file.title}' accomplished`);
}
Step 8
Now we see learn how to get Shared Entry Signature(SAS). Open your storage account and right-click your Container
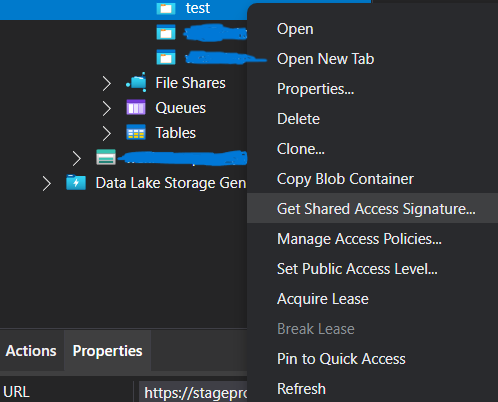
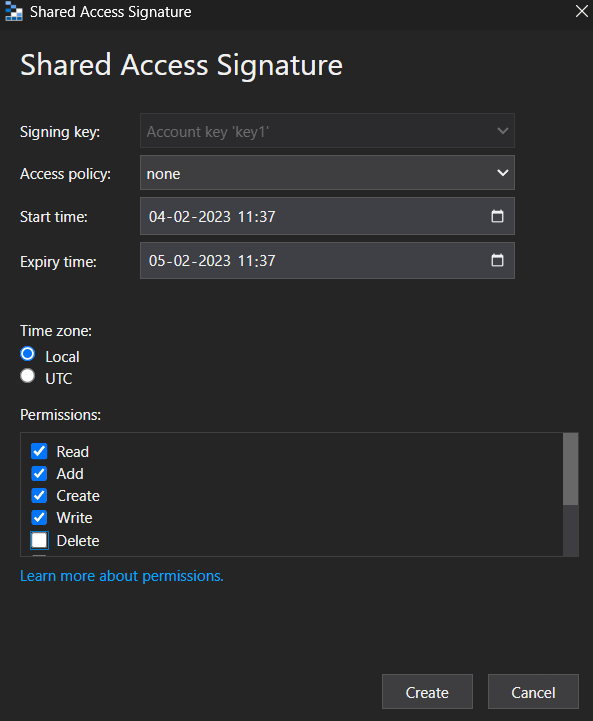
Then copy your question string.
Step 7
Add a submit button to your kind that calls the uploadImage operate when clicked.
import React, { useState } from "react";

operate ImageUpload() {
  const [file, setFile] = useState(null);

  const handleFileChange = occasion => {
    setFile(occasion.goal.information[0]);
  };

  const handleSubmit = occasion => {
    occasion.preventDefault();
    uploadImage("your-container-name", file);
  };

  return (
    <kind onSubmit={handleSubmit}>
      <enter sort="file" onChange={handleFileChange} />
      <button sort="submit">Add Picture</button>
    </kind>
  );
}

export default ImageUpload;
Then run your undertaking
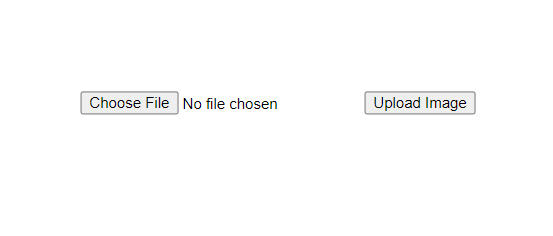
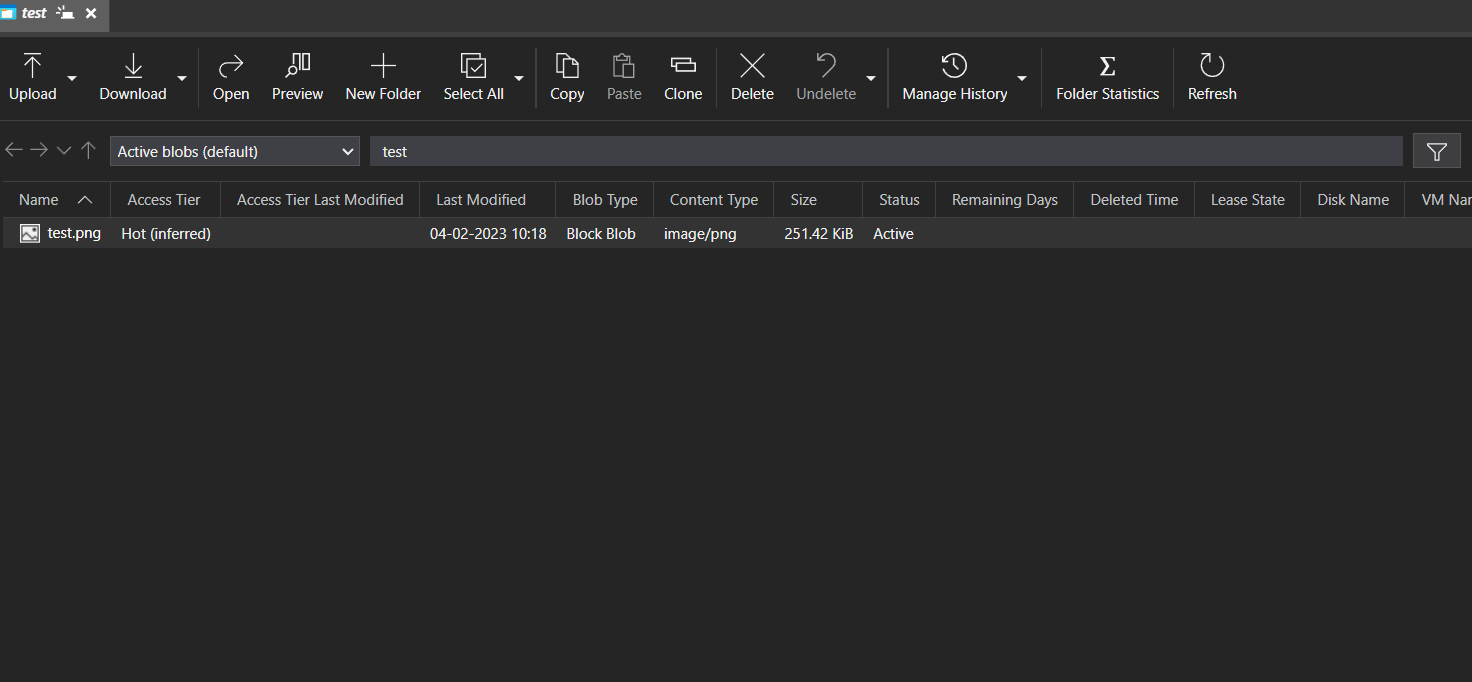
Then select the file and click on the add button and see your storage account.
Abstract
On this article, you realized learn how to add photos and create a SAS token additionally. Please use the feedback part if in case you have any clarification.
Know extra about our firm at Skrots. Know extra about our companies at Skrots Companies, Additionally checkout all different blogs at Weblog at Skrots


