On this article, we’ll discover the best way to use Azure OpenAI DALL-E service in .NET to generate photographs primarily based on consumer prompts. By leveraging Azure OpenAI’s highly effective DALL·E mannequin, we are able to create distinctive picture content material dynamically primarily based on our immediate. We’ll stroll by means of an instance of how to connect with Azure’s OpenAI API, submit a immediate, and retrieve generated photographs in .NET Functions.
Conditions
Earlier than we begin, guarantee now we have the next.
- Azure Subscription: You’ll need entry to the Azure OpenAI service.
- OpenAI Useful resource: Arrange an OpenAI useful resource in your Azure account.
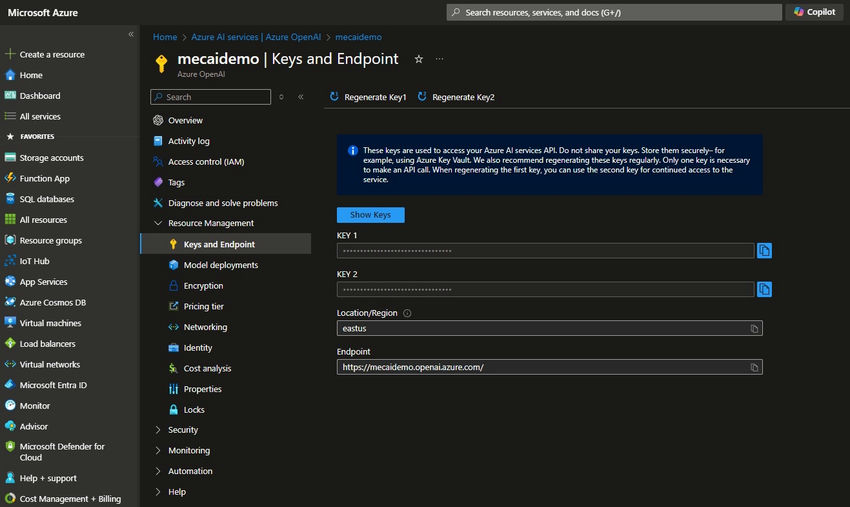
- API Key and Endpoint: Retrieve the important thing and endpoint on your Azure OpenAI useful resource.
- Visual Studio or .NET SDK: Be sure you have a working .NET atmosphere.
Step 1. Arrange Azure OpenAI in Azure Portal
- Create an OpenAI useful resource in Azure
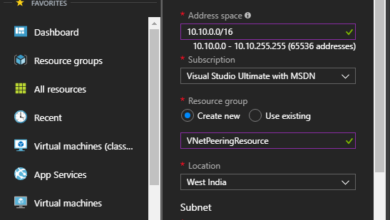
- Navigate to the Azure Portal, seek for “Azure OpenAI” and click on Create.
- Present primary particulars like useful resource group, area, and pricing tier.
- After the useful resource is deployed, yow will discover the API endpoint and key within the Keys and Endpoints part.
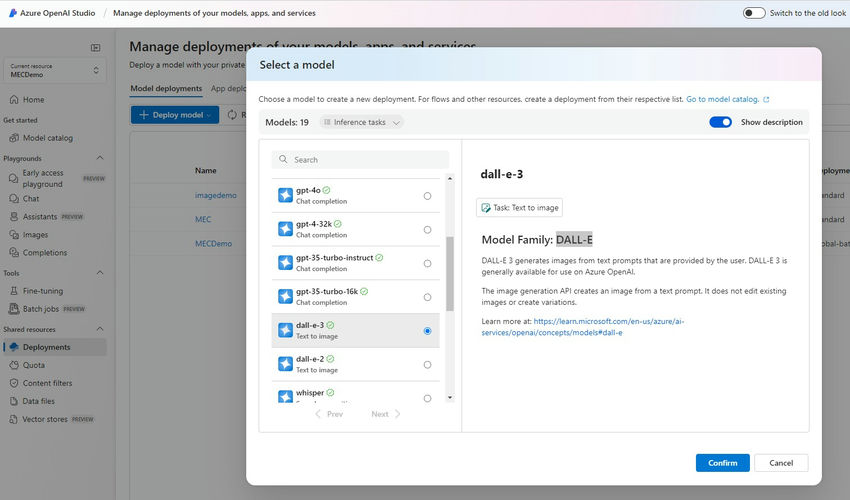
- Deploy DALL-E: Below our OpenAI useful resource, go to the Fashions deployments part and deploy the `dall-e-3` mannequin. We are going to use this within the API calls later in our functions.
Step 2. Create a .NET C# Mission
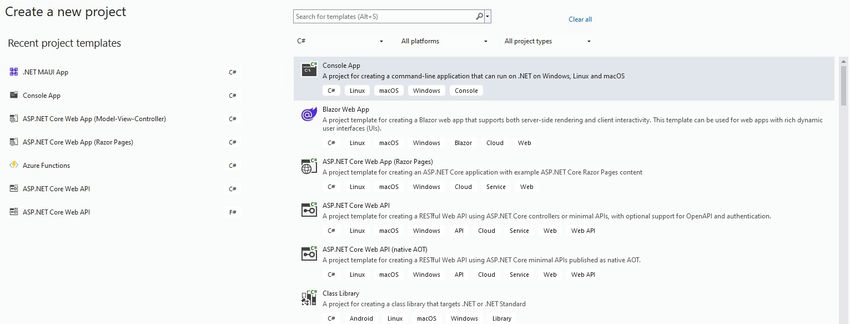
- Create a brand new Console Utility: Open Visual Studio and create a brand new Console App utilizing .NET 6.0+.
- Set up NuGet Packages
- Set up the shopper library for .NET with NuGet:
- dotnet add bundle Azure.AI.OpenAI –version 1.0.0-beta.12
Step 3. Write Code to DALL-E App
utilizing Azure.AI.OpenAI;
utilizing Azure;
namespace GenerativeAI
{
    public class AzureOpenAIGPT
    {
        // Change with your individual key and endpoint
        const string key = "***********************************";
        const string endpoint = "https://*************.openai.azure.com/";
        const string deploymentOrModelName = "imagedemo";
        public async Job<string> GetContent(string immediate)
        {
            var shopper = new OpenAIClient(new Uri(endpoint), new AzureKeyCredential(key));
            var imageGenerationOptions = new ImageGenerationOptions
            {
                Immediate = immediate,
                DeploymentName = deploymentOrModelName,
                Measurement = new ImageSize("1024x1024"),
                ImageCount = 1
            };
            var response = await shopper.GetImageGenerationsAsync(imageGenerationOptions);
            return response.Worth.Knowledge[0].Url.AbsoluteUri;
        }
    }
    class Program
    {
        static async Job Predominant(string[] args)
        {
            var dalle = new AzureOpenAIGPT();
            var dallePrompt = "Cat consuming cake on the sky";
            Console.WriteLine($"{await dalle.GetContent(dallePrompt)}");
            Console.ReadLine();
        }
    }
}
Key Parts
- API Key and Endpoint: The important thing and endpoint are crucial to authenticate and talk with Azure OpenAI. These values are particular to our Azure subscription and OpenAI useful resource.
const string key = "your-azure-key"; const string endpoint = "your-endpoint"; - OpenAIClient Initialization: The OpenAIClient is the principle shopper for interacting with Azure OpenAI providers. It requires the endpoint and the Azure API key.
var shopper = new OpenAIClient(new Uri(endpoint), new AzureKeyCredential(key)); - Picture Technology Choices: This part configures the immediate and different parameters for picture era. On this instance, we use the “picture demo” mannequin to generate a 1024×1024 picture primarily based on the consumer immediate.
var imageGenerationOptions = new ImageGenerationOptions { Immediate = immediate, DeploymentName = deploymentOrModelName, Measurement = new ImageSize("1024x1024"), ImageCount = 1 }; - Retrieving and Displaying the Picture URL: The generated picture is returned as a URL, which will be immediately opened or embedded into an internet web page.
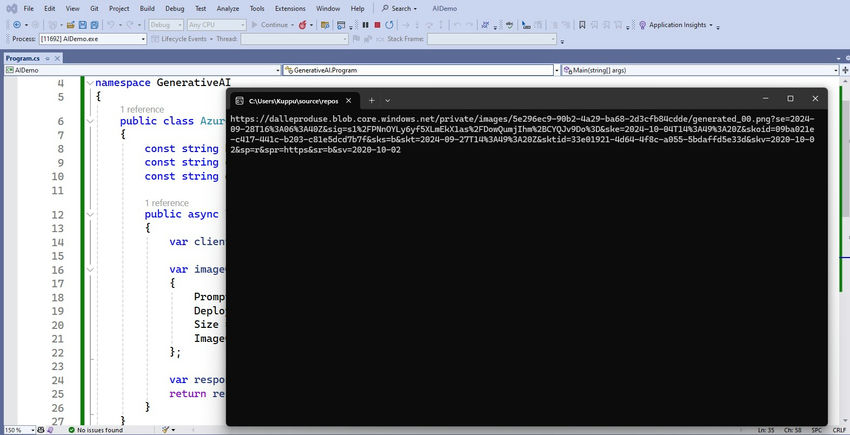
var response = await shopper.GetImageGenerationsAsync(imageGenerationOptions); return response.Worth.Knowledge[0].Url.AbsoluteUri; - Console Output: The Predominant perform runs the code and outputs the picture URL to the console, permitting us to view the generated content material.
Console.WriteLine($"{await dalle.GetContent(dallePrompt)}");

Conclusion
This easy software for the best way to use Azure OpenAI’s DALL·E mannequin to generate photographs in a .NET atmosphere. By integrating Azure OpenAI into our .NET tasks, we are able to unlock highly effective generative AI capabilities that may improve consumer experiences, automate content material creation, and construct modern functions.
Know extra about our firm at Skrots. Know extra about our providers at Skrots Providers, Additionally checkout all different blogs at Weblog at Skrots