What’s the Azure Bastion?
Azure Bastion is a managed service in Microsoft Azure that gives safe RDP and SSH entry to digital machines without having public IP addresses. It permits connections straight by the Azure portal utilizing SSL, decreasing the assault floor. The service ensures safe, browser-based entry whereas eliminating the necessity for public publicity of your VMs. Azure Bastion is totally managed by Microsoft, simplifying safe connectivity.
Azure Bastion gives a number of benefits
- Enhanced Safety: It eliminates the necessity for public IP addresses on VMs, decreasing publicity to threats from the web.
- Simplified Entry: Gives seamless RDP and SSH entry straight by the Azure portal utilizing SSL with out extra consumer software program.
- Platform Managed: Microsoft manages the Bastion service, making certain excessive availability and scalability and decreasing administrative overhead.
- Constant Connectivity: Ensures safe, dependable, and constant connections to VMs from wherever without having to configure VPNs or firewalls
Step 1. Create the VNet
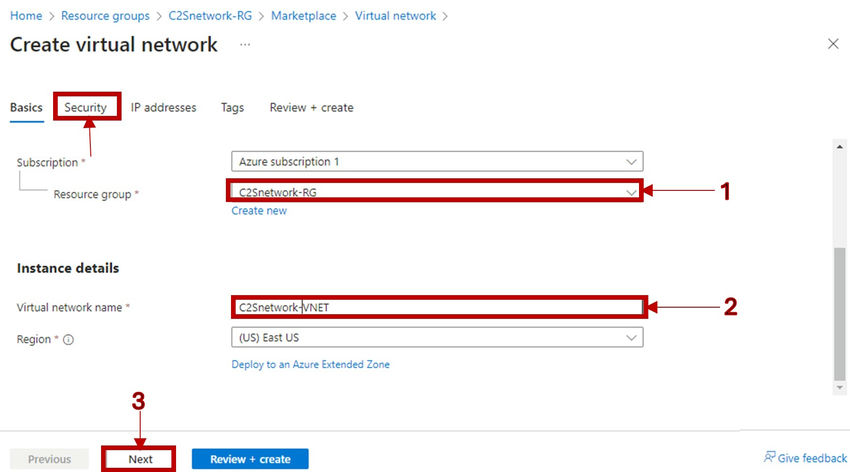
Within the Azure portal, first, create a useful resource group named “C2Snetwork-RG.” After efficiently creating the useful resource group, proceed to create a digital community inside it. This units up the foundational community infrastructure to your setting.
Beginning a fundamental configuration. Deciding on the right useful resource group within the Azure portal; selecting the incorrect one will stop profitable completion of your setup. After choosing the precise useful resource group, create the digital machine. As soon as the VM setup is initiated, proceed to the subsequent web page to configure extra settings.
After creating the digital machine, choose the safety choices menu and allow Azure Bastion. This motion reveals two extra choices: the primary is the “Bastion-VNET” possibility, which mechanically assigns the Azure Bastion to your digital community. The second possibility permits you to customise the Bastion public IP title, supplying you with management over its naming. As soon as configured, proceed to the IP deal with choice to proceed establishing your digital machine.
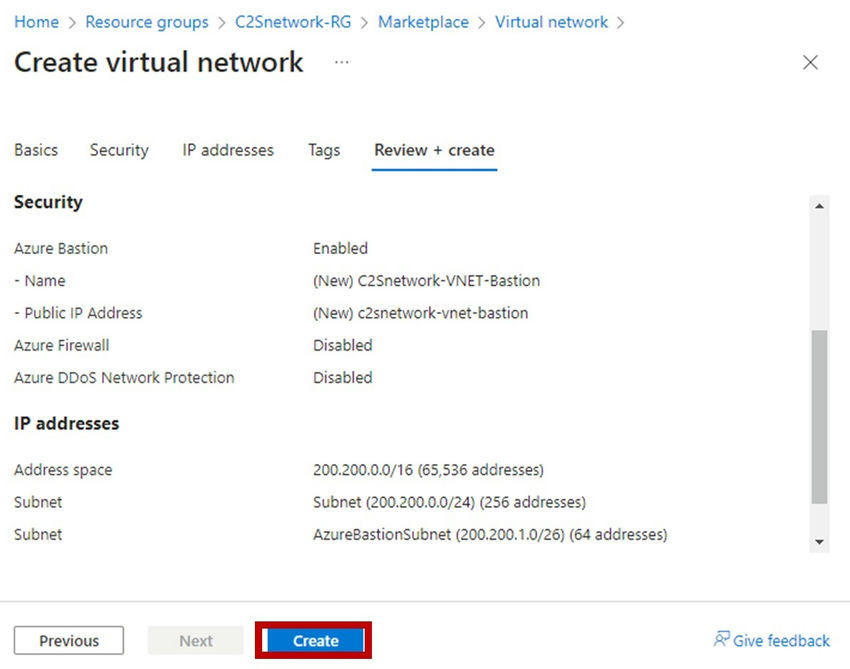
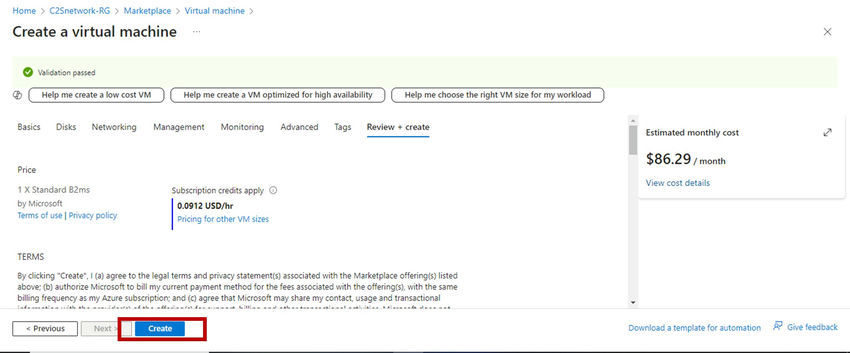
Create your IP deal with, then add the subnet to your digital community. As soon as the subnet is efficiently added, choose the “Evaluation + Create” choice to finalize the setup.
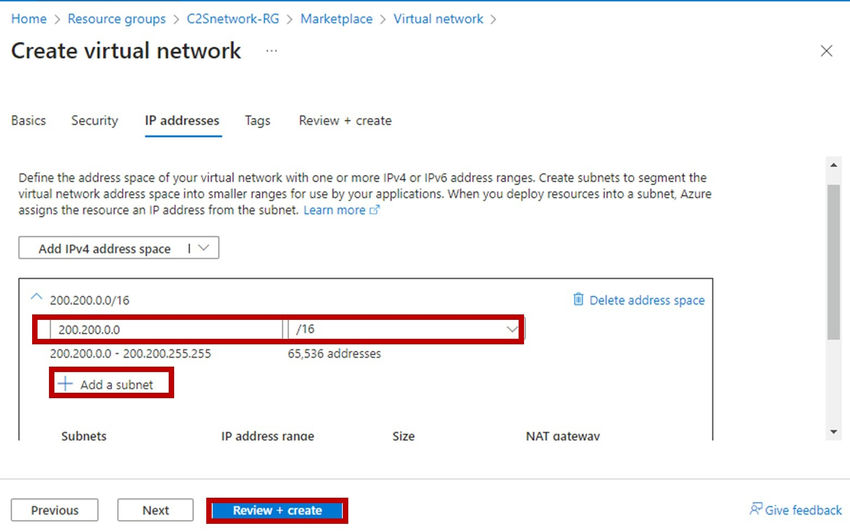
Then click on the Create button. As soon as every thing is configured accurately, you will attain the ultimate wizard. Now you can efficiently deploy the VNet.
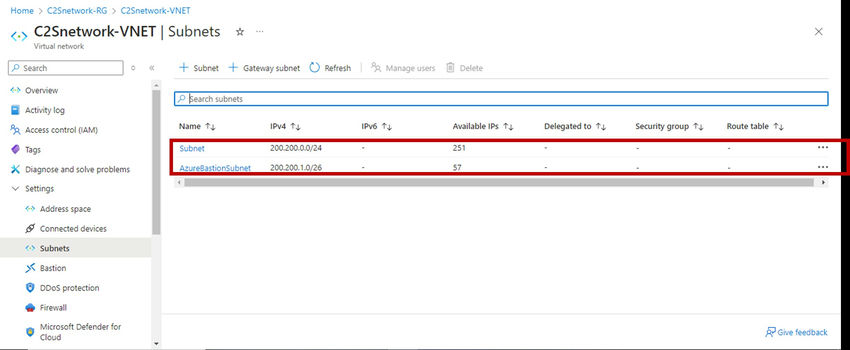
After creating the digital community (VNet), navigate to the VNet possibility and verify your subnets. You will notice two subnets: one to your digital machine and one other for the Bastion host. The Bastion subnet makes use of a /26 CIDR blocks. It is a default subnet, and you can not change it.
Step 2. Create the digital machine
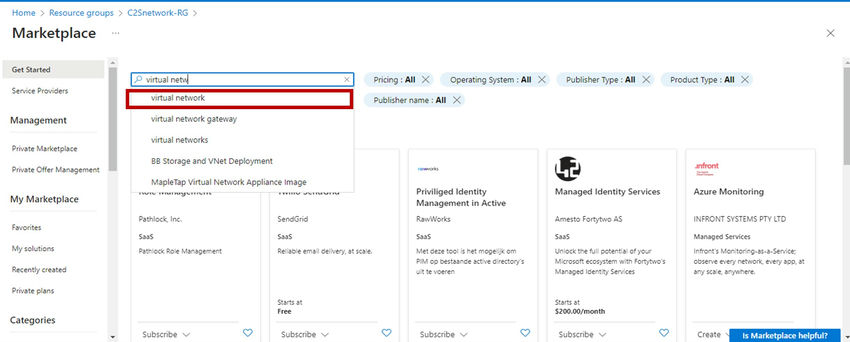
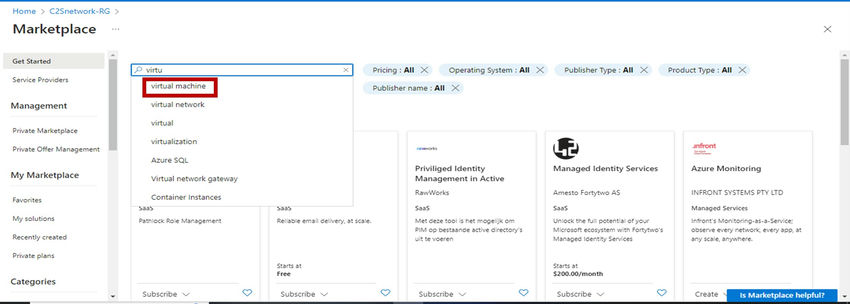
After efficiently creating the VNet, go to the search bar and kind “Digital Machine” to proceed with making a VM.
After choosing the Digital Machine possibility, proceed to the wizard, the place you select the suitable useful resource group and choose the VM sort. On this state of affairs, we’ll create a Home windows Server 2019. Arrange the username and password, making certain they’re safe. It is vital to show off public inbound ports for the reason that connection will likely be secured with out utilizing a public IP. This helps preserve a safe setting.

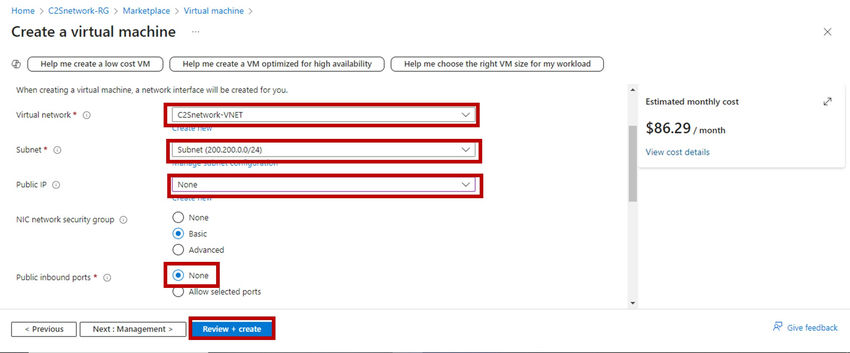
After finishing the essential configuration, transfer on to the Disks part. There’s no want to alter any choices right here, so proceed on to the community part. Choose the right VNet, and the VM will mechanically obtain an IP deal with. Confirm the subnet related along with your VNet. Then, flip off the general public IP deal with by choosing the “None” possibility, and be certain that public inbound ports are additionally set to “None.” Lastly, click on on “Evaluation + Create” to finish the setup.
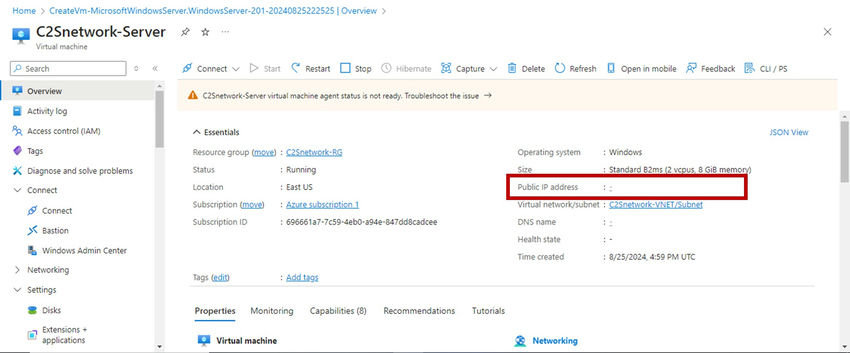
As soon as the setup is full, finalize the wizard to efficiently create the digital machine.
As soon as the digital machine is efficiently created, observe that with no public IP deal with, you gained’t be capable of obtain the RDP file or entry the VM remotely.
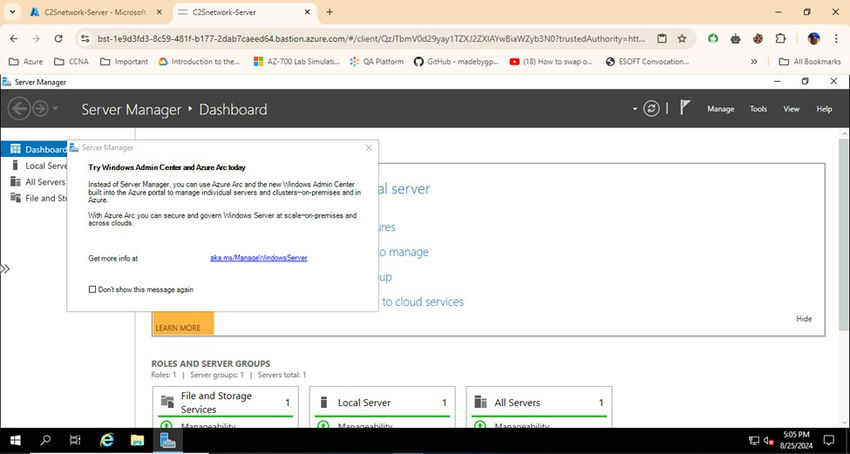
Lastly, connect with your digital machine utilizing Azure Bastion, because it’s the one option to entry the VM. Go to the Bastion possibility in your VM, enter your username and password, after which connect with the VM.
Growth! For those who’ve adopted the steps accurately, you possibly can entry the VM straight in your default browser tab. Take pleasure in your safe connection to the digital machine!
Conclusion
To securely connect with your Azure VMs, use Azure Bastion. It supplies seamless RDP/SSH entry straight by your browser with out exposing public IP addresses. This ensures a safe and environment friendly connection to your VMs.
Know extra about our firm at Skrots. Know extra about our providers at Skrots Providers, Additionally checkout all different blogs at Weblog at Skrots


