
Introduction
This doc explains find out how to arrange Azure File Share with AD authentication for a buyer utilizing an Alternate Plan 1 Microsoft license. This setup permits customers to entry Azure File Share utilizing their Lively Listing credentials.
Conditions
- Microsoft 365 Subscription
- Azure AD DS (Azure Lively Listing Area Providers)
- On-premises Lively Listing synchronized with Azure AD.
- Azure Subscription: Make sure the buyer has an Azure subscription, as that is required for Azure Recordsdata.
Set Up Azure Storage Account
Step 1. Log into the Azure Portal.
Step 2. Navigate to Storage accounts and click on on Create.
Step 3. Fill within the required particulars, comparable to Subscription, Useful resource group, Storage account identify, Area, and Efficiency tier.
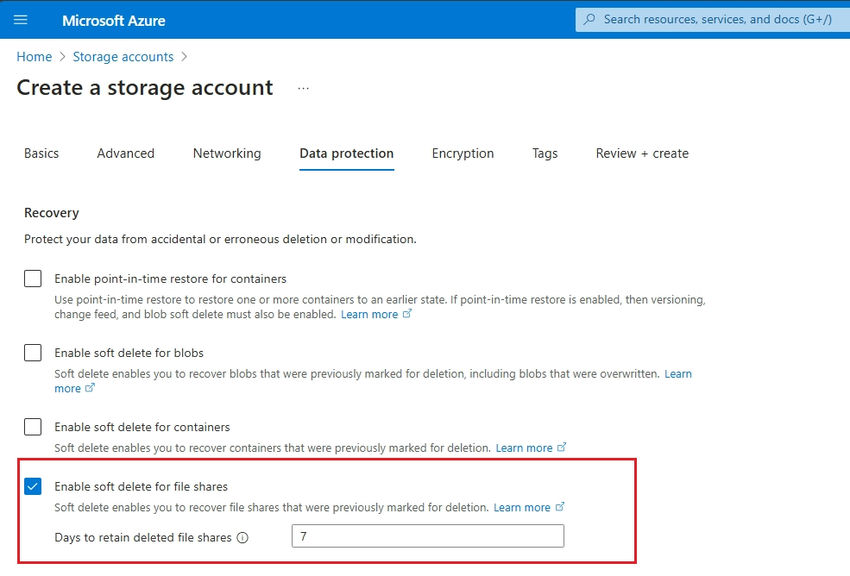
Step 4. Select the File shares possibility below Information Safety.
Step 5. As soon as created, go to the newly created storage account and click on on File Shares.
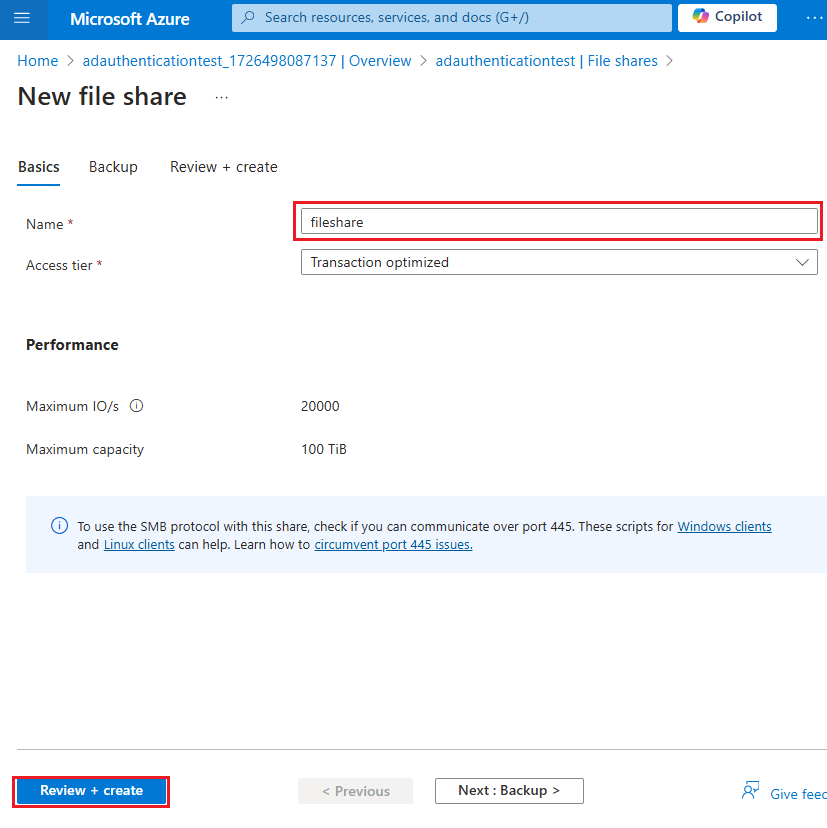
Step 6. Click on + File share and enter a reputation to your file share. Select a quota based mostly on storage wants.
Combine with Lively Listing
You may combine Azure Recordsdata with both Azure AD DS or your on-premises Lively Listing.
Utilizing On-Premises Lively Listing (Hybrid Setup)
AzFilesHybrid PowerShell module
- Arrange VPN/ExpressRoute: Guarantee a community connection between on-premises AD and Azure utilizing VPN or ExpressRoute.
- Sync AD with Azure AD: Use Azure AD Connect with synchronize your on-prem AD with Azure AD.
Be a part of Azure Recordsdata to On-Prem AD:
Step 1. In Azure Portal, go to Storage account > Configuration.
Step 2. Select Lively Listing and configure it to hook up with your on-prem AD utilizing the credentials of an AD person with adequate privileges.
Configure Azure File Share Authentication
- Allow SMB Authentication: Go to the storage account > Configuration > Allow SMB Multichannel.
- Set NTFS ACLs on the file shares
- Go to the Azure File Share and choose Entry Management (IAM).
- Assign customers or teams from AD to the file share and assign roles like Storage File Information SMB Share Contributor.
- Configure share-level and directory-level permissions utilizing normal NTFS ACLs, simply as you’ll for an on-prem file server.
Step 3. Accessing the File Share
Conclusion
Azure File Share could be built-in with AD authentication, offering safe and managed entry to information. Relying on whether or not the shopper has Azure AD DS or an on-premises AD setup, the configuration steps might differ. Moreover, this setup does require an Azure
Know extra about our firm at Skrots. Know extra about our providers at Skrots Providers, Additionally checkout all different blogs at Weblog at Skrots


