
Introduction
Utilizing a proxy server is a typical manner of adjusting the port variety of a service. In our earlier article, we realized easy methods to map a DNS title to our public IP handle in Azure. On this article, we’ll exclude a port quantity from the DNS title when accessing to Grafana service hosted in Azure.
What’s a reverse proxy server?
A reverse proxy server acts as a intermediary between the web and your internet servers. It sits on the fringe of your community, receiving requests from customers (like these looking your web site) after which forwarding them to the suitable internet server behind the scenes.
Consider it like a receptionist on your internet servers. The receptionist (reverse proxy) receives all of the guests (shopper requests) and directs them to the right workplace (webserver) based mostly on their wants.
Listed here are our use instances for reverse proxy
- Load Balancing: Distributes incoming site visitors amongst a number of internet servers for higher efficiency and scalability. This ensures no single server will get overloaded, particularly throughout high-traffic intervals.
- Safety: Offers an additional layer of safety by hiding the true internet servers behind the proxy. The reverse proxy acts as a protect, defending the origin servers from malicious assaults.
- SSL Termination: Handles SSL/TLS encryption and decryption, offloading work from internet servers. This frees up sources on the net servers to concentrate on processing requests.
- Caching: Can cache incessantly accessed content material to enhance response occasions. The reverse proxy can retailer incessantly requested static content material (like photographs or HTML pages) and serve them to purchasers with out having to return to the origin server every time, bettering efficiency.
- Static Content material Serving: Can serve static content material (like photographs, movies, or JavaScript information) effectively. By offloading static content material serving to the reverse proxy, the net servers can concentrate on dynamic content material that requires extra processing energy.
For this text, we’ll use a reverse proxy to alter the port quantity. As a proxy server, we are going to use Nginx.
Putting in and configuring Nginx
First issues first, we have to set up the Nginx server on our VM.
- Hook up with VM utilizing Putty. (Try our earlier article to be taught extra about it)
- Verify if we have now an nginx server utilizing nginx -v
- We don’t have it, so we have to set up it. Run the next command to put in the nginx server.
sudo apt set up nginx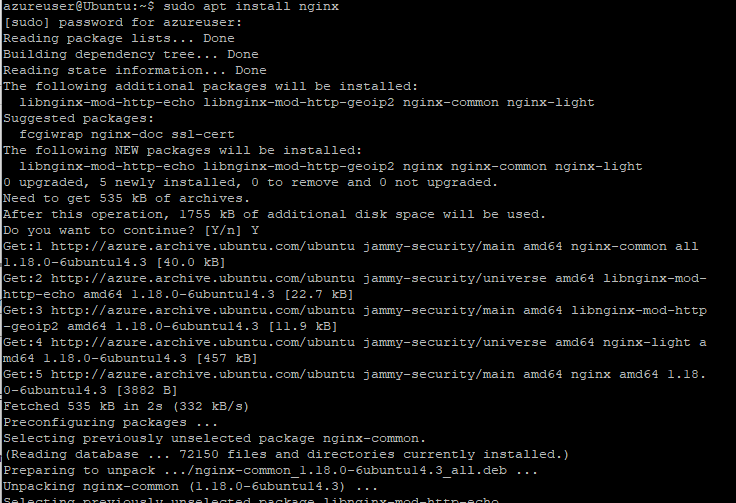
- After set up, run the identical model checking command to see if nginx is put in.

- The system ought to mechanically run nginx however anyway, let’s have a look at whether it is operating or not. Run the next command.
sudo service nginx standing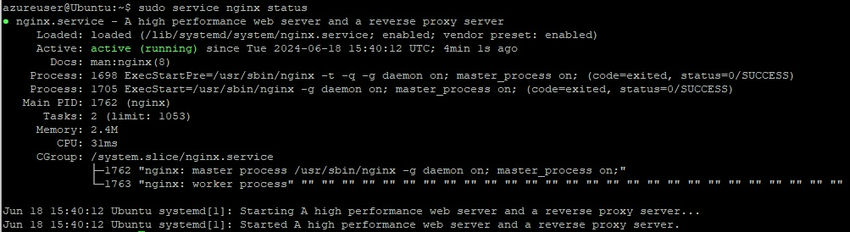
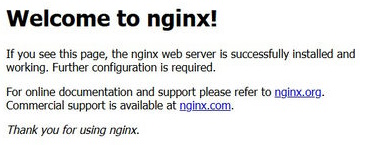
Nice, now we have now s easy hosted Nginx server web page however it isn’t potential to see it if you simply run.
http://mygrafana.eastasia.cloudapp.azure.com (use your configured DNS title) or by way of your public IP handle. As a result of we don’t have an inbound rule we have to configure it.
Right here is how one can configure it.
- Choose your VM and seek for community settings
- Add inbound rule for port 80
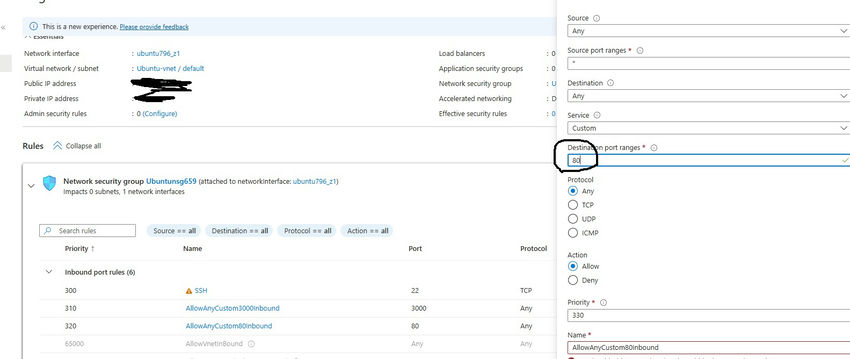
- Click on the “Add” button and attempt to navigate by way of the browser once more. And right here we’re,
Now let’s configure Nginx to redirect our request on to the inner 3000 port for Grafana.
Here’s what you must do to deal with it.
- From the terminal, let’s navigate to the identical stage because the/and so on folder utilizing the cd ../../ command
- Then run the next command cd and so on/nginx/sites-enabled
- While you run the ls command right here, you must see solely the “default” file
- Now, let’s create a brand new config file utilizing sudo nano mygrafana. conf. You should utilize any title as an alternative of mygrafana.conf
- Kind the next.
server {
            hear 80;
            hear [::]:80;
            server_name mygrafana.eastasia.cloudapp.azure.com;
            location / {

                        proxy_pass              http://localhost:3000/;
            }
   }
Then, hit Ctrl+X and the “Enter” button.
The supplied .conf file snippet is for the Nginx internet server configuration and defines how Nginx ought to deal with requests for a web site named “mygrafana.eastasia.cloudapp.azure.com”. Let’s break down the directives:
- server { … } block: This block defines a configuration for a single digital server. Every little thing inside this block applies particularly to the web site or software managed by this server.
- hear 80: This directive tells Nginx to hear for incoming connections on port 80, the usual HTTP port.
- hear [::]:80: This directive instructs Nginx to additionally hear for connections on port 80 for IPv6 site visitors. The [::] notation represents IPv6 addresses.
- server_name mygrafana.eastasia.cloudapp.azure.com: This directive specifies the area title that this server block ought to deal with requests for. On this case, it is “mygrafana.eastasia.cloudapp.azure.com”. Nginx will solely serve content material from this block when a request arrives for that particular area title.
- location / { … } block: This block defines a configuration for dealing with all requests (indicated by the “/”) which are routed to this server.
- proxy_pass http://localhost:3000/: That is the important thing directive. It tells Nginx to behave as a reverse proxy for incoming requests. This is what it does:
- proxy_pass: This key phrase signifies that Nginx ought to perform as a reverse proxy.
- http://localhost:3000/: This specifies the vacation spot server to which Nginx ought to ahead the request. On this case, it is sending the request to http://localhost:3000/, which possible factors to a Grafana service operating on the identical server (localhost) on port 3000.
Abstract
this .conf file configures Nginx to behave as a reverse proxy for the area “mygrafana.eastasia.cloudapp.azure.com”. When a request arrives for that area, Nginx intercepts it, forwards it to the Grafana service operating on localhost:3000, after which returns the response from Grafana to the shopper’s internet browser. This method provides advantages like centralized administration and potential safety enhancements.
Vital Be aware. Whereas this configuration may work for a fundamental setup, it is vital to contemplate safety implications when exposing companies on to the web. You may wish to add authentication or use a safe connection methodology for manufacturing environments.
Earlier than transferring ahead,s we have to examine if the nginx config is legitimate or not. That’s the reason we have to run
sudo nginx -t
Command

Now, let’s restart nginx.
sudo service nginx restart
After that, let’s restart Grafana.
sudo service grafana-server restart
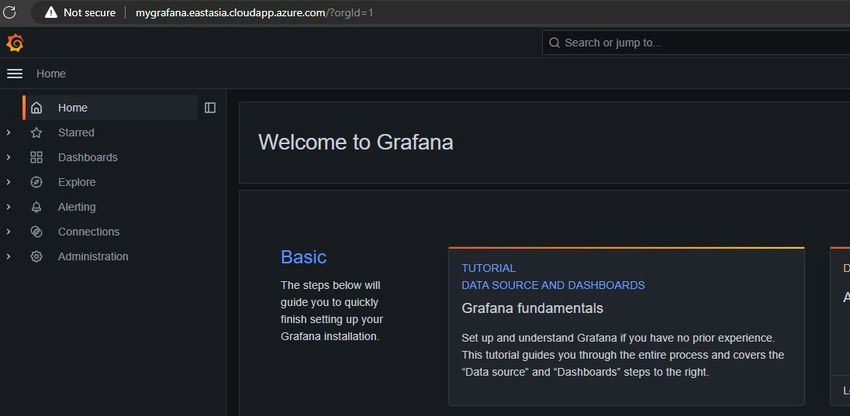
Now operating your URL with no port ought to work.
Know extra about our firm at Skrots. Know extra about our companies at Skrots Companies, Additionally checkout all different blogs at Weblog at Skrots


