Today, let’s explore the steps required to set up an Azure Databricks workspace, configure a Spark cluster, and work with data using SQL notebooks.
Azure Databricks stands out as a cutting-edge Apache Spark platform tailored for Azure, allowing you to enhance and scale your analytics globally, saving time and costs while fostering fresh insights and innovation. Microsoft Azure Databricks proves to be a comprehensive solution for all your data and analytics needs.
If you’re new to Apache Spark, it serves as a universal framework for distributed computing, delivering high performance for both batch and interactive processing. Supporting Java, Python, and Scala, Sparkcore, and additional projects like SparkSQL, a module for managing structured data.
Aside from Databricks, Hortonworks also offers the Spark platform on Azure through HDInsight, while Cloudera independently provides the Spark platform.
Step 1. Setting up the Azure Databricks workspace
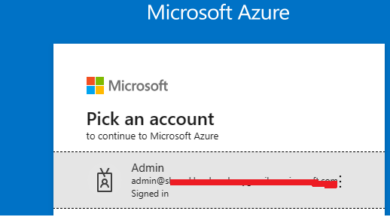
Begin by logging into the Azure portal.
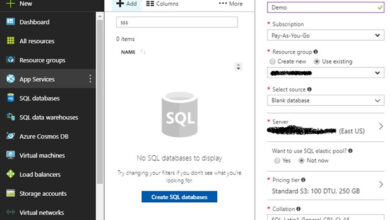
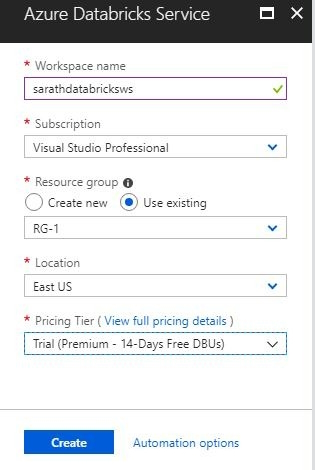
Choose to Create a Resource and filter for Azure Databricks. Select your workspace name, resource group, and location. If needed, create a new resource group. Azure Databricks currently offers a 14-day trial premium subscription.
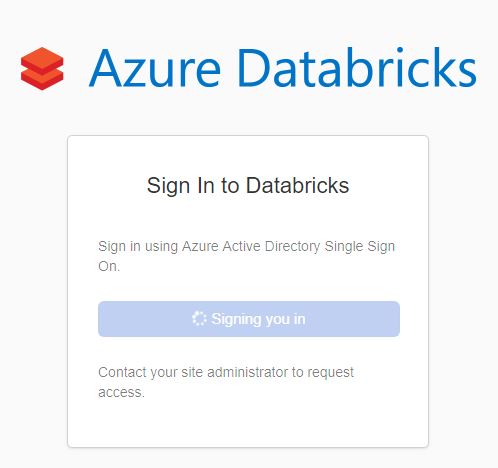
After the workspace creation, access the resource and launch the workspace using Single Sign-on.
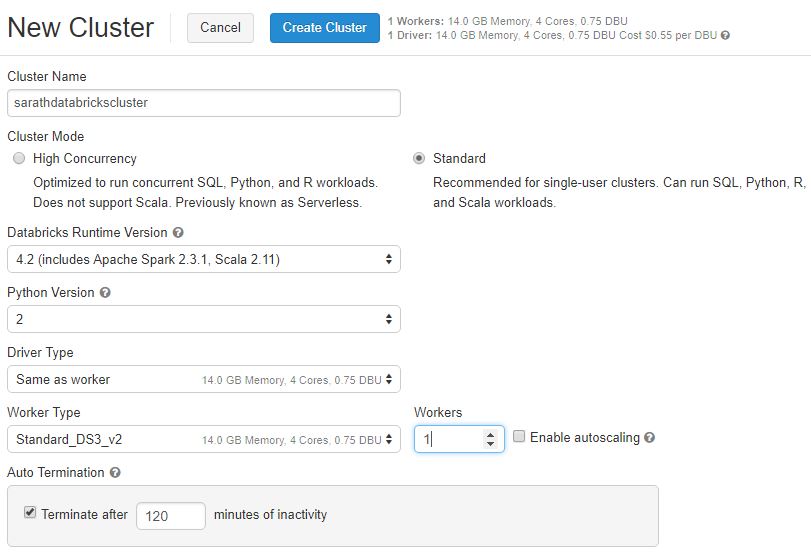
Next, create a new Spark Cluster. Select the number of worker nodes, driver type, worker type, and the number of workers. Remember, each Spark Cluster needs a driver node. Opt for the appropriate nodes based on your subscription and available cores. For example, choose the Standard_DS3_v2 worker type and driver type with one worker node for testing.
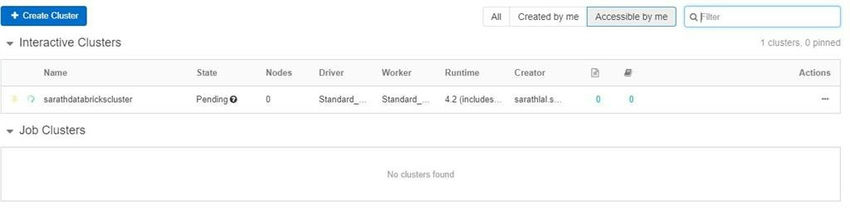
It will take a moment to set up the cluster, and you will see the cluster creation status as Pending.
Once completed, the cluster will be up and running, with the status showing as Running.

Reviewing the resource list, you will notice 17 new resources created for this cluster.
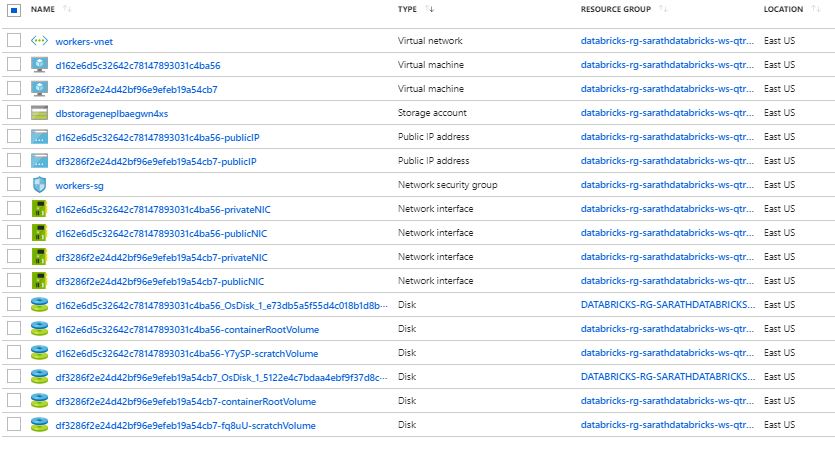
These include 1 virtual network, 2 virtual machines (1 for worker and 1 for driver), 1 storage account, 2 public IPs, 1 network security group, 4 network interfaces, and 6 disks (3 each for worker and driver).
Step 2. Creating a table from an existing CSV file
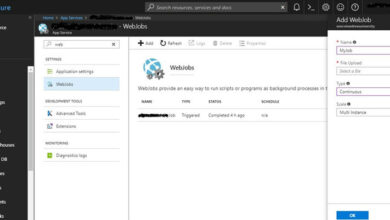
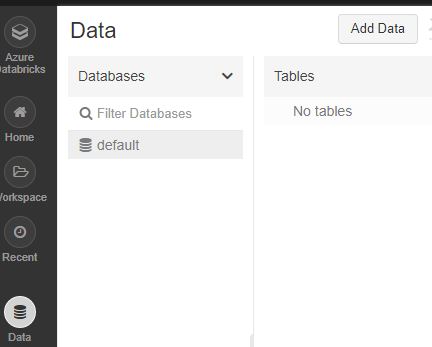
Navigate to the Data tab and click on Add Data.
Upload your CSV file, which typically includes columns such as id, name, and age. Let’s assume 5 rows are present in this file.
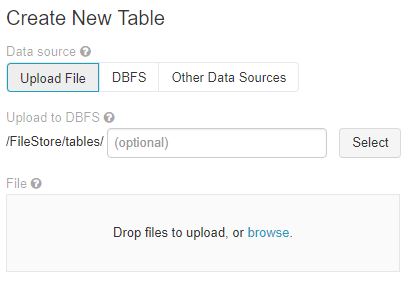
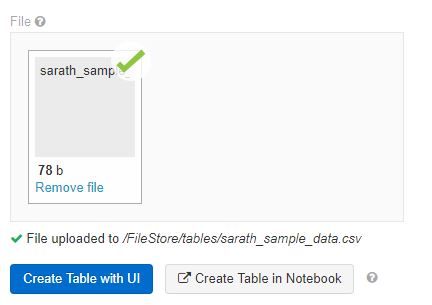
The uploaded file will be stored in the FileStore/tables folder using Databricks’ custom DBFS (Data Bricks File System).
Click the create table with UI button. You can also opt to Create Table in the Notebook section. The Notebook serves as an editor to run SQL, Python, R, and Scala codes.
Upon selecting Create Table with UI, a table schema editor screen will appear.
Customize the table name, column names, and schemas. Opt for the header row and inferred schema, considering that the table is based on an existing CSV file. The UI provides sample data for reference.
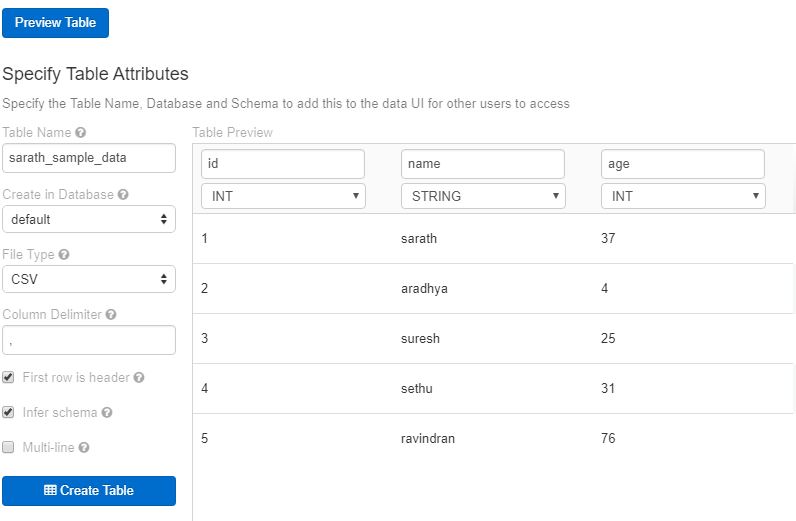
Confirm by clicking the Create Table button.
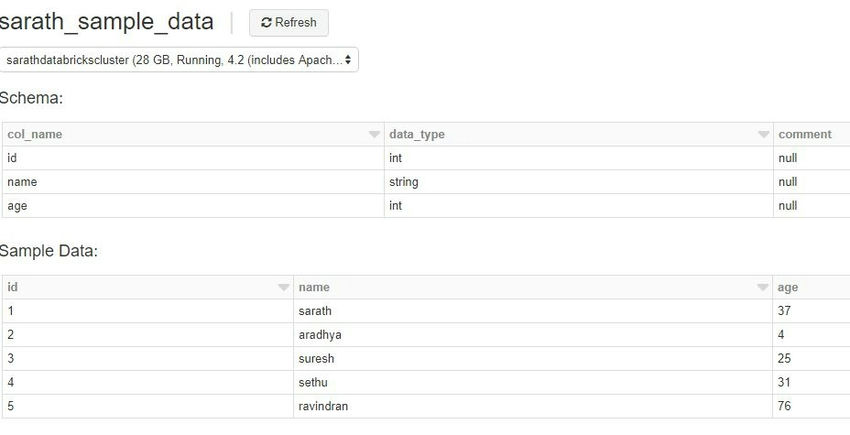
A successful table creation displays the sample data.
Step 3. Analyzing data using SQL notebook
Utilize SQL notebook to query the data. Azure Databricks offers Python, Scala, R, and SQL notebooks. For this instance, let’s work with the SQL notebook.
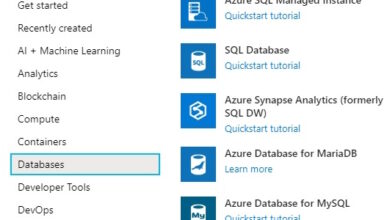
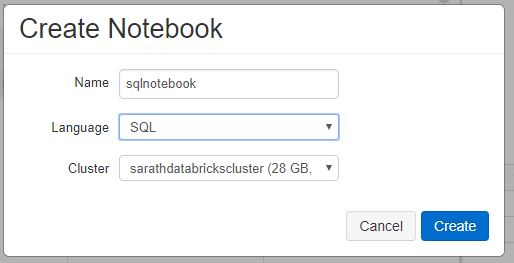
Select Workspace -> Create -> Notebook -> Choose SQL as the type
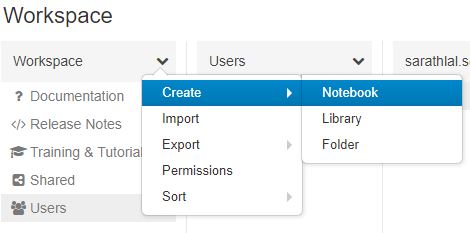
Name your notebook and create it.
Execute valid SQL statements in the notebook to query data.
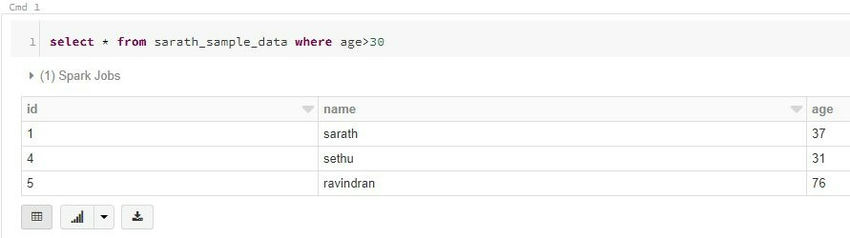
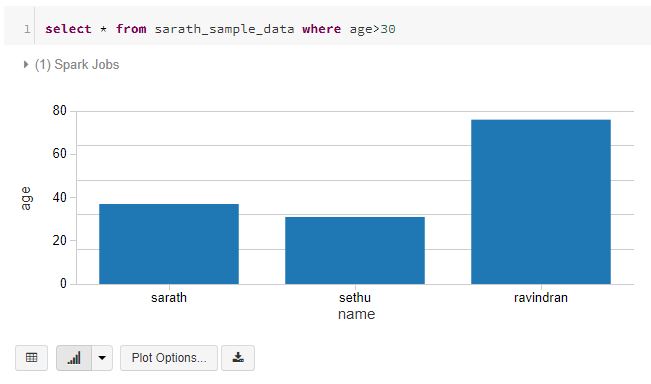
Data is initially shown in raw table format. Visualize the data using various plot options in the notebook. See below, a bar chart plotting the same data.
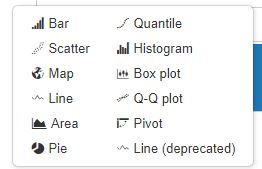
Discover more plot options available.
This concludes the basic overview of Azure Databricks, covering workspace creation, cluster setup, table creation, and SQL notebook data querying. For complex queries, multiple clusters are used to process heavy data efficiently. Stay tuned for more Azure Databricks features in upcoming tutorials.
Feel free to share your feedback and queries in the comments section.
Find more information about our services at Skrots. Explore our extensive range of services at Skrots Services. Also, don’t forget to dive into our blog section at Blog at Skrots