Certificates Primarily based Authentication in Azure AD App Registration utilizing POSTMAN
Introduction
Have you ever confronted a requirement when you’ll want to check certificate-based authentication utilizing the POSTMAN software. When you’ve got, then you might be on the proper place. On this article, we are going to undergo the method of registering an Enterprise AD App utilizing PowerShell and testing the applying entry utilizing a Certificates utilizing the POSTMAN software.
Pre-requisites
You could have.
- A Developer Subscription / Group subscription
- Utility Proprietor rights / International Admin rights
- SharePoint Admin rights / Website Assortment Admin entry to a SharePoint On-line web site
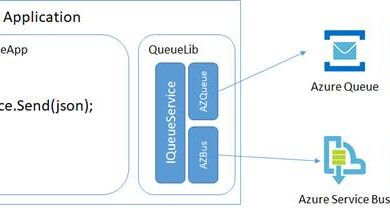
Structure
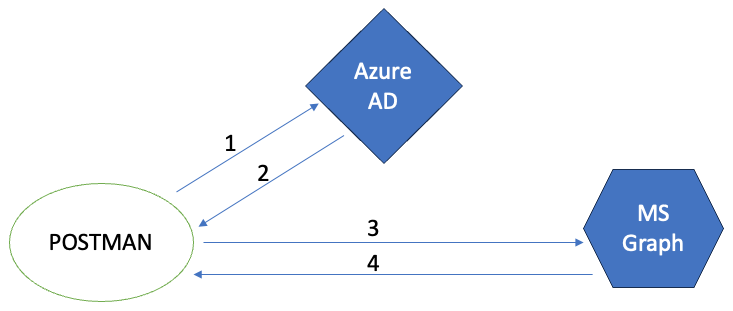
Beneath is the easy structure of the applying that we’re going by way of on this article.
- Postman sends a request to the Azure AD token endpoint.
- Postman acquires tokens from Azure AD.
- Postman passes the request to MS Graph with a token within the header.
- Postman receives a response from MS Graph.
Creating an App in Azure
Step 1. Run the PS Script for App registration. For Enterprise AD App creation, we’re utilizing the PowerShell script to do this. At first, we outline the parameters after which run the Register-PnPAzureADApp command and get the certificates saved in a neighborhood folder. Beneath are the strains of the PS Script.
$AppRegistrationName = "CBATestApp"
$TenantName = "5wrdjv.onmicrosoft.com"
$SPOAdminUrl = "https://5wrdjv-admin.sharepoint.com"
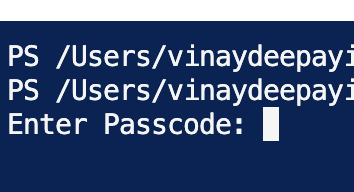
$CertPasscode = Learn-Host -AsSecureString -Immediate "Enter Passcode"
Join-PnPOnline -Url $SPOAdminUrl -Interactive
Register-PnPAzureADApp -ApplicationName $AppRegistrationName -Tenant $TenantName -OutPath "/Customers/vinaydeepayinapurapu/Desktop/VinayWorkingDocs/PowerShell/Certs/CBATest/" -CertificatePassword $CertPasscode -SharePointApplicationPermissions Websites.Chosen -InteractiveWord. Throughout this script execution, you’ll be prompted for the passcode, which is required to encrypt the Self-signed certificates. Please save the passcode for extracting Public and Non-public keys.
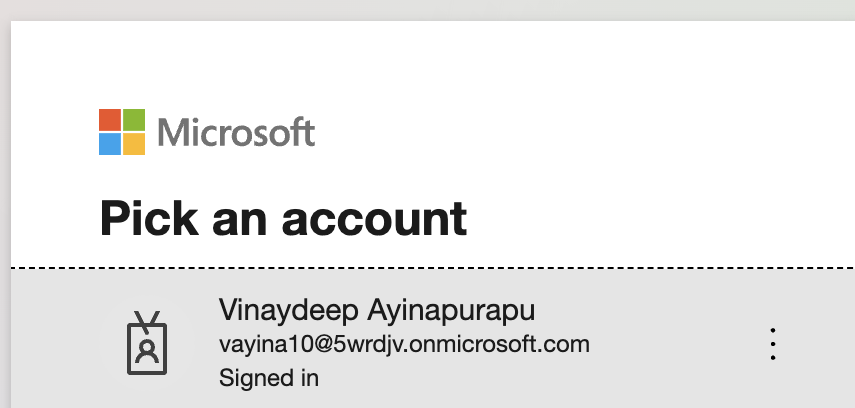
Step 2. Select the account or enter the credentials. After coming into the password, within the interactive mode, you could be requested to enter the credentials, the e-mail ID that has an M365 developer subscription, or with group e mail as talked about within the pre-requisites. On this case, I’ve an M365 developer subscription and an account with International Admin rights.

On profitable authentication, you’ll be getting a message, efficiently acquired Auth token.

Step 3. Grant Consent. It’ll take one other 30 seconds to run the consent circulation. This time, it checks the scope for which the AD app has been requested and asks for admin consent that wants International / Tenant admin consent earlier than provisioning.
Take note of the requested scopes. In case your account doesn’t have International Admin rights, you’ll want to work along with your International Admin to grant the consent for the requested scopes. Within the screenshot under, the app requests to.
- Signin and browse the person profile
- Entry to Particular Website Collections.
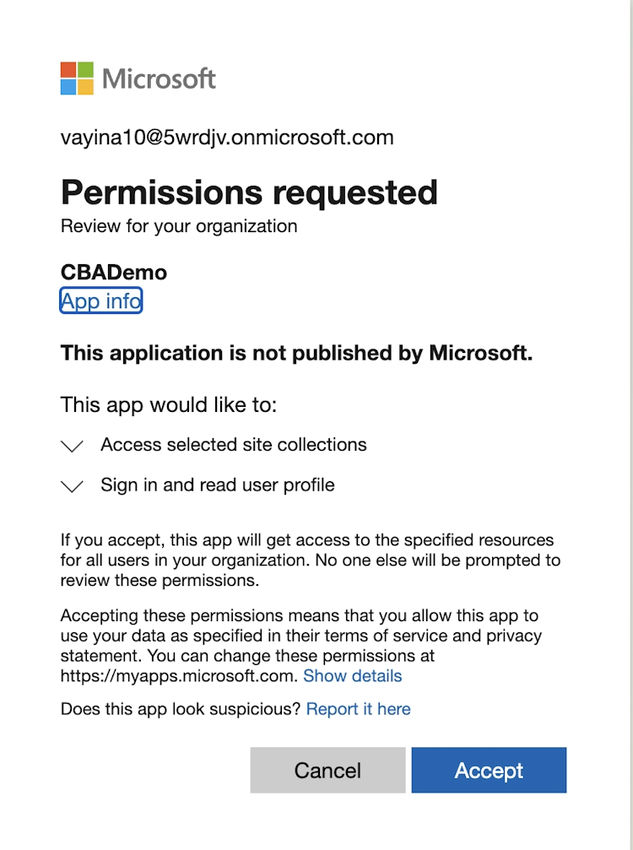
When you click on on ‘Settle for’ one other window seems that claims you consented to the Azure AD App.
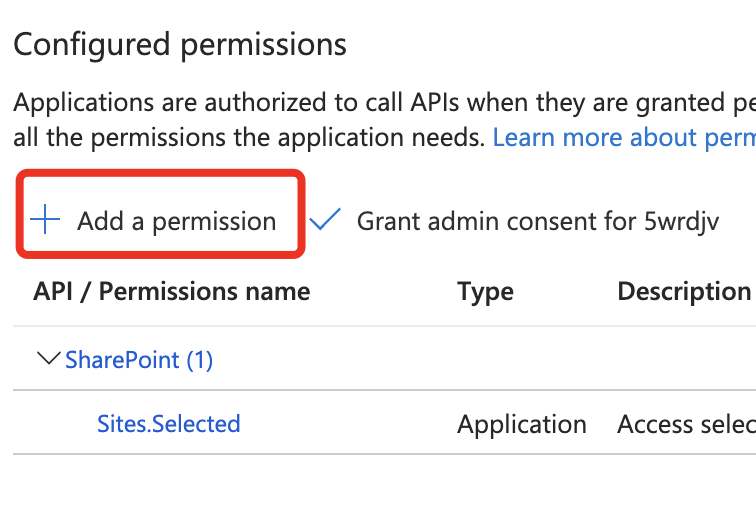
Step 4. Validate the API permissions in Azure Portal. You too can log in to the Azure Portal (https://portal.azure.com) Microsoft Entra App registrations and seek for newly created apps. Test the ‘Api Permissions’.
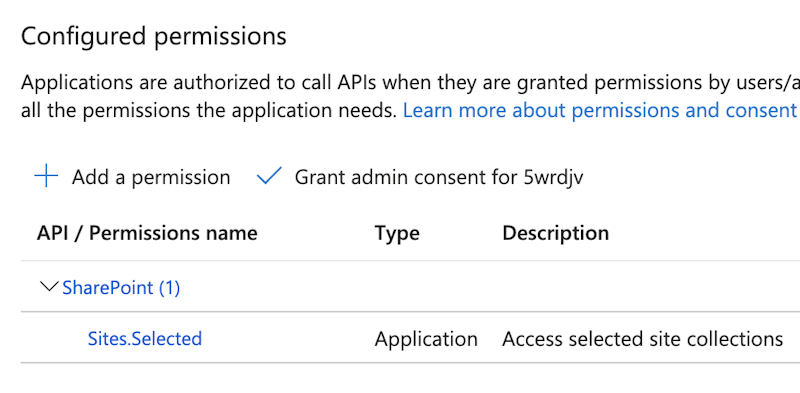
Step 5. Add the ‘Graph’ API permissions for scope ‘Websites.Chosen’. That is wanted to test the Graph API calls by way of POSTMAN utilizing Certificates-Primarily based Authentication.
Choose ‘Microsoft Graph’
Choose ‘Utility Permissions’ Tab.
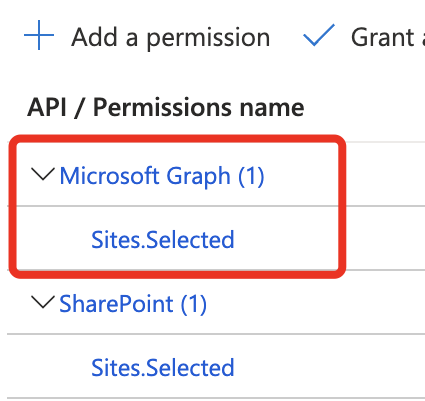
Seek for ‘websites’ after which choose ‘Websites.Chosen’.

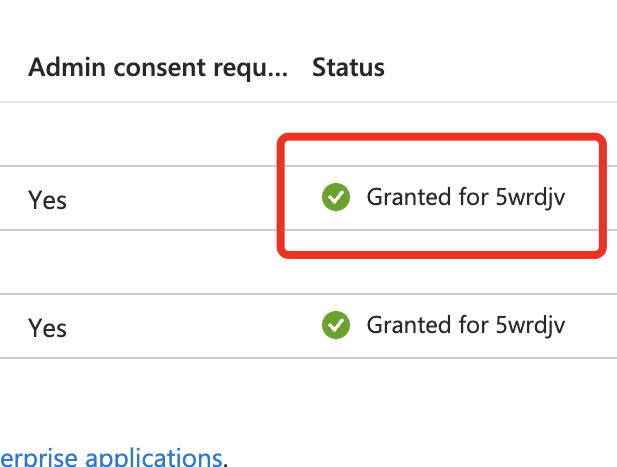
Lastly, Grant ‘Admin Consent’ for the chosen ‘Scopes’.
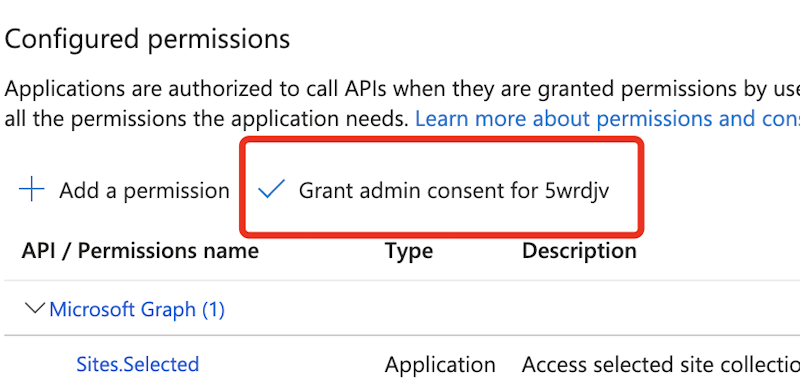

It is best to have the ability to see a inexperienced tick after admin consent has been granted, similar to the screenshot under.
Step 6. Validate the generated certs. As soon as the App is registered, you must see the under information within the folder the place the trail is talked about within the PowerShell -OutPath parameter.
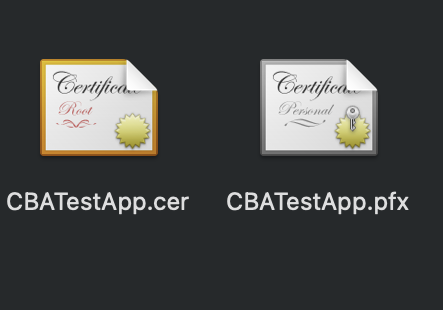
- .cer file: Public key file imported to Azure AD Certificates part, and in flip, you’ll get thumb print.
- .pfx file: personal key file used to authenticate with the App and get entry token with outlined scopes.
Extracting the required values
As soon as the app is created and the certificates can be found in your native folder, it’s required to extract sure values.
- Public key in pem format
- Non-public key in pem format
- Thumbprint in base 64 encoded format
Word. PEM stands for privacy-enhanced mail, which is the format used to encode the certificates. Extra concerning the PEM may be discovered within the references part.
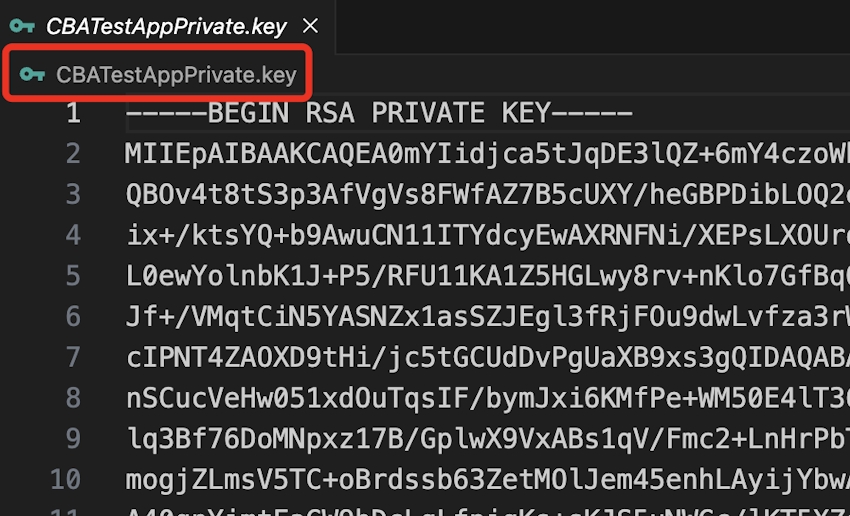
Getting Non-public key in PEM format
For this, you’ll use the pfx certificates that’s generated throughout the app creation utilizing the PowerShell command Register-PnPAzureADApp and the ‘openssl’ command.
openssl pkcs12 -in CBATestApp.pfx -nodes -nocerts | openssl rsa -out CBATestAppPrivate.key
Word: You’ll be requested for an import password. Enter the passphrase that was entered throughout the Azure AD App creation.
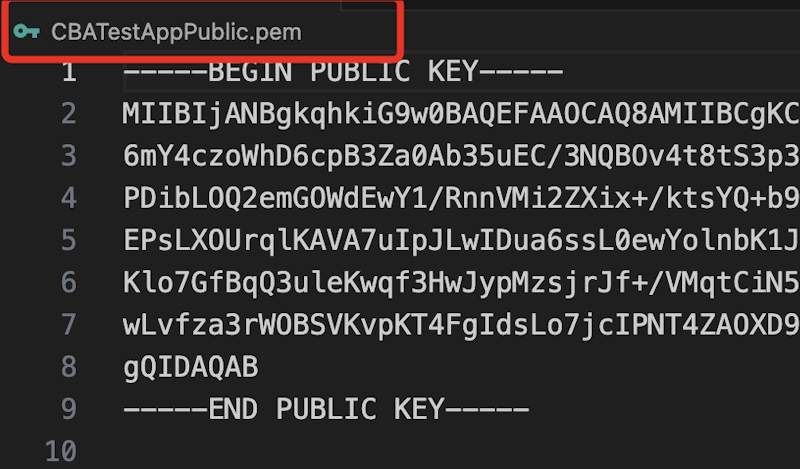
Getting Public key in PEM format
After getting the Non-public key, you may extract the general public key utilizing openssl by coming into the under command.
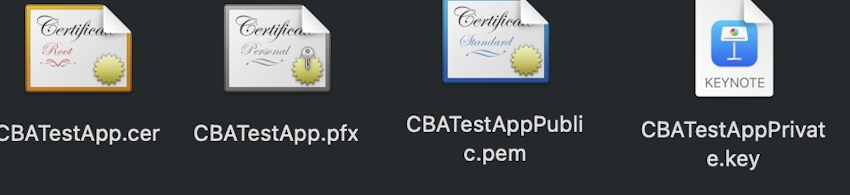
openssl rsa -in CBATestAppPrivate.key -pubout -out CBATestAppPublic.pem
You’ll see the message ‘writing RSA key’. After that, you must see new private and non-private keys. On this case CBATestAppPublic.pem, CBATestAppPrivate.key.
Getting x5t Declare
To get the certificates thumbprint, I used the Python code. Report the certificates Thumbprint throughout the App creation after which complement the Thumbprint within the under Python script to get the x5t declare.
import binascii
import base64
thumbprint_hex = 'DAF2FA27E005C4A7FAC98AC1F5837DAC02FF0579'
thumbprint_binary = binascii.unhexlify(thumbprint_hex)
x5t_compliant = base64.b64encode(thumbprint_binary).decode('utf-8')
print(x5t_compliant)
Output
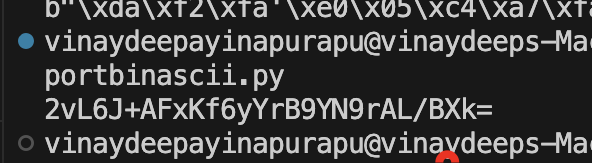
On this case the x5t declare is 2vL6J+AFxKf6yYrB9YN9rAL/BXk=
Get Shopper Assertion
Go to https://jwt.io to get the shopper assertion.
Header values
Substitute the x5t worth that you simply received from the above part. Get the x5t declare.
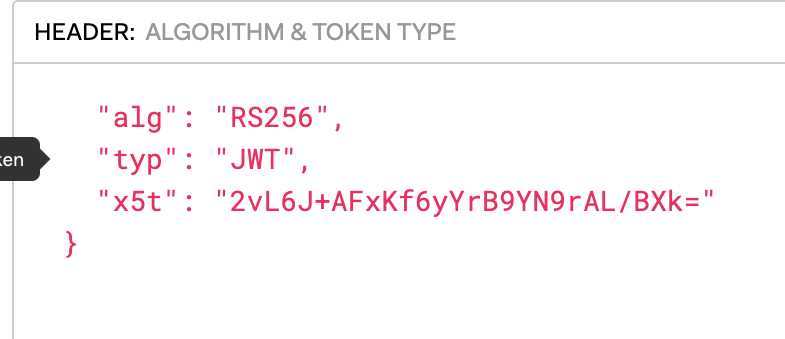
HEADER
{

  "alg": "RS256",
  "typ": "JWT",
  "x5t":"2vL6J+AFxKf6yYrB9YN9rAL/BXk="
}
Screenshot for reference from the jwt.io web site.
Payload values
- iss: that is the shopper ID. On this case, it’s
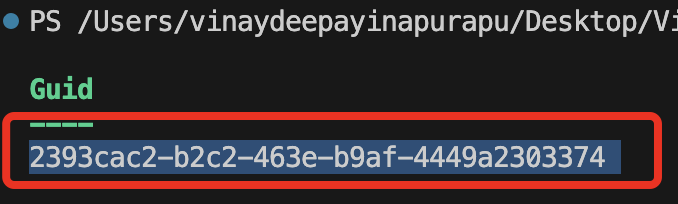
- jti: distinctive identifier. You’ll be able to generate a brand new GUID utilizing VS code or PowerShell. On this case, I’ve used the PowerShell command New-Guid.
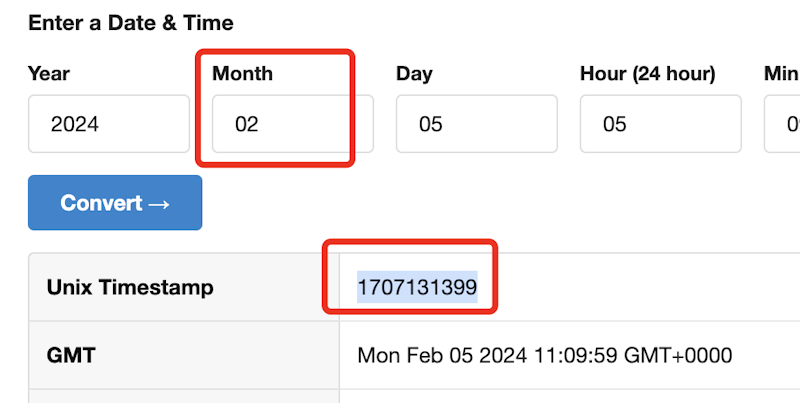
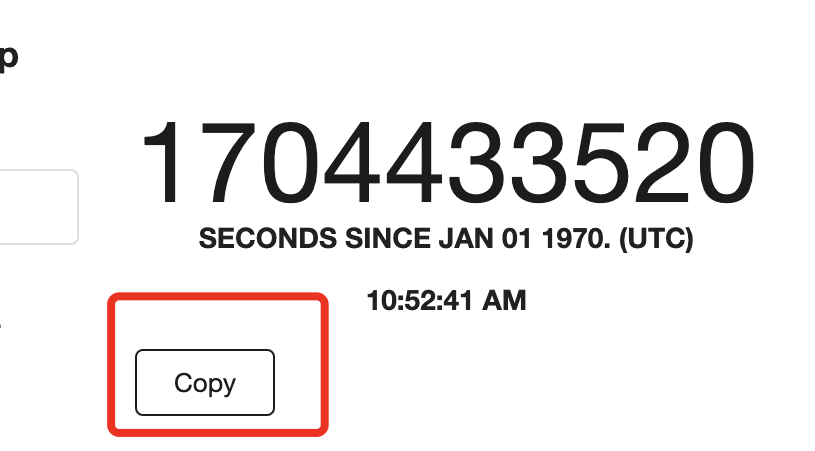
- nbf: stands for not earlier than. Setting the worth from unix time stamp. Copy the present timestamp worth.
- sub: it’s the utility ID.
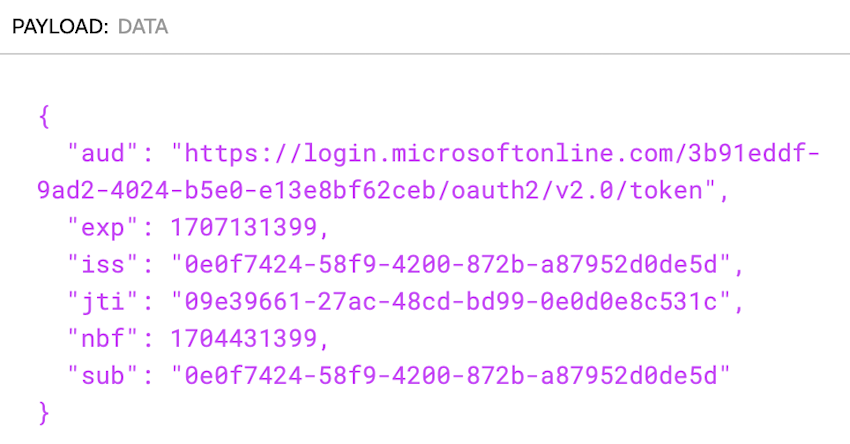
The payload information after the values can be within the following JSON format.
PAYLOAD:DATA
{

  "aud": "https://login.microsoftonline.com/{TenantD}/oauth2/v2.0/token",
  "exp": 1699254916(expiration time),
  "iss": "<utility client_id>",
  "jti": "<random distinctive identifier>",
  "nbf": 1699254916,
  "sub": "<utility client_id>"

}
Screenshot for reference from jwt.io web site.
Signature Part
On this part, there are 2 containers. Within the first field, we must be coming into ‘Public Key’. You’ll be able to learn this worth utilizing any code editor (vs. code on this case) that was generated utilizing OpenSSL within the above part. On this case, the file identify is CBATestAppPublic.pem.
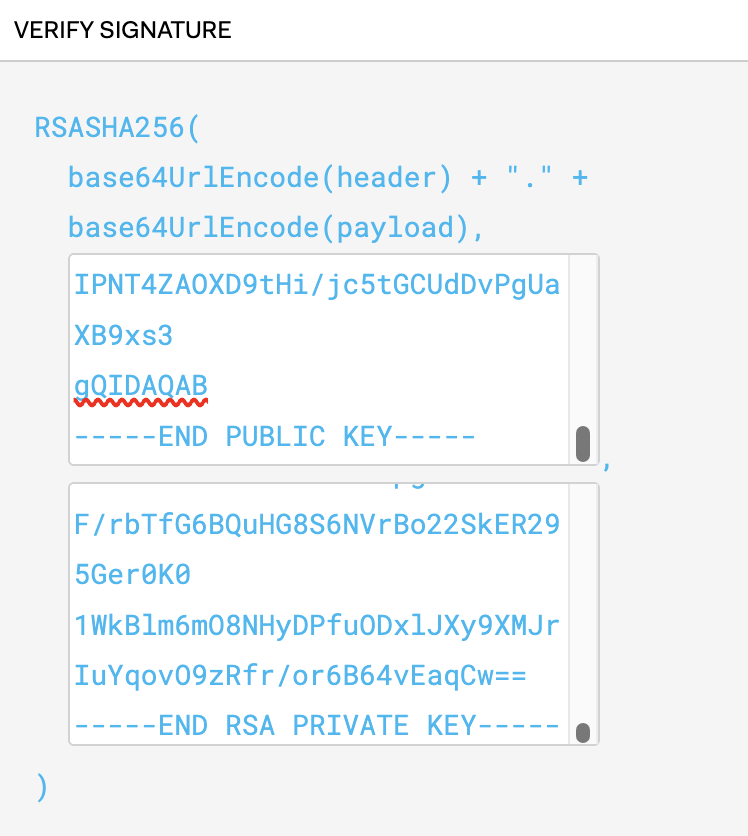
Within the second field, enter the RSA personal key. You’ll be able to learn this from the VS code once more. Beneath is the display seize for reference. On this case file identify is CBATestAppPrivate.key.
As soon as all of the values, which on this case, x5t, Public key, and Non-public key, are within the left-hand part, you will notice the encoded shopper assertion worth, and also you also needs to be getting a message ‘Signature Verified’. Copy the shopper assertion worth and put it aside in a notepad.
It is best to see the under message after coming into the right values.
Validating in POSTMAN
Now open the POSTMAN software or net model and ship the request. On this case, I’ve chosen a Graph API request.
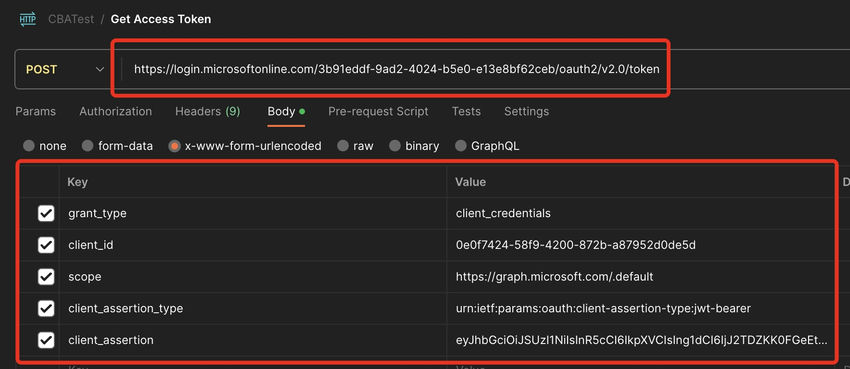
Step 1. Set the request sort as ‘POST’ and enter the under URL within the URL part. You could have to replace the tenant ID in response to your values.
https://login.microsoftonline.com/3b91eddf-9ad2-4024-b5e0-e13e8bf62ceb/oauth2/v2.0/token
Step 2. Within the ‘physique’ part, choose the sort x-wwwform-urlencoded. Enter the next key-value pairs.
| Key | Worth |
| grant_type | client_credentials |
| client_id | <Shopper ID of Azure AD App> |
| scope | https://graph.microsoft.com/.default |
| client_assertion_type | urn:ietf:params:oauth:client-assertion-type:jwt-bearer |
| client_assertion | <Generated assertion from jwt.io> |
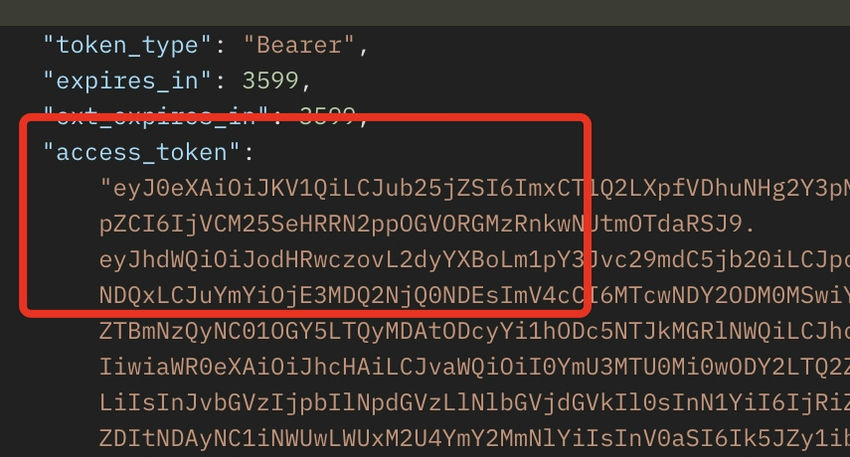
Step 3. Ship the POST request as per the under display shot. On success, you must see an entry token.
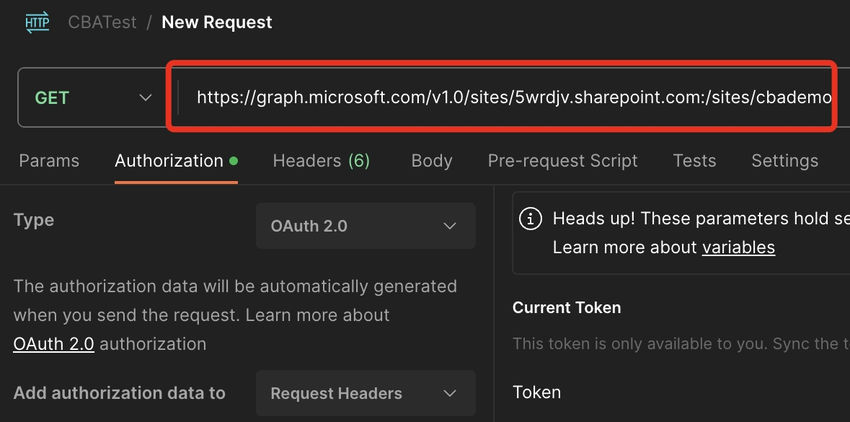
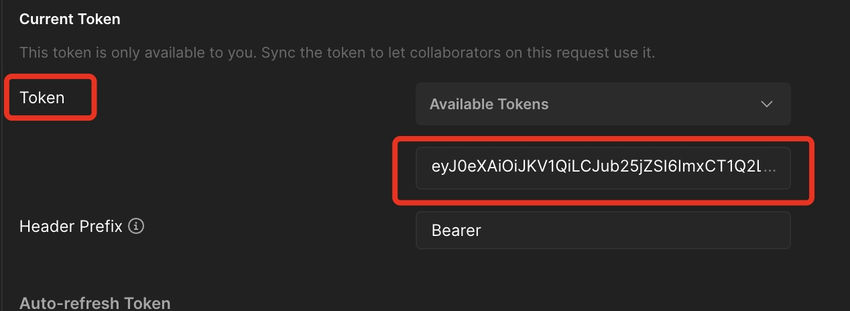
Step 4. Copy the entry token and ship it to Graph API. On this case, I’m attempting to get the location particulars. The request sort is ‘Get’. Within the ‘Authorization’ tab, choose the sort as ‘Oauth2.0’. Paste the token that you simply received from Step 3 below the token area. The URL I used to get web site particulars is https://graph.microsoft.com/v1.0/websites/{hostheader}:/{SiteRelativePath}. On this case,
- hostheader: 5wrdjv.sharepoint.com
- SiteRelativePath: /websites/cbademo
Step 5. Validate the output. It is best to get the fundamental web site particulars as proven screenshot under.

Step 6. Strive the identical entry token for one more web site the place the App permissions are usually not configured. It is best to get entry denied.
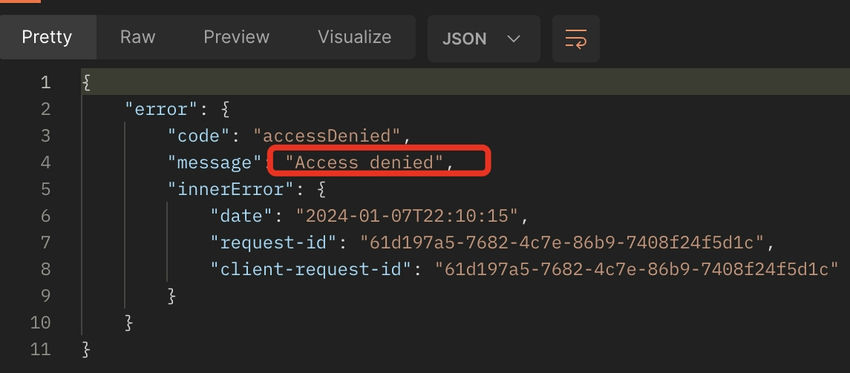
This validates that the websites.chosen scope in Azure AD api permissions is working as anticipated. We’ve configured the write permissions to solely the CBA Demo (https://5wrdjv.sharepoint.com/websites/cbademo) SPO web site.
Attainable Errors
Key not discovered
Motive: This error could possibly be as a result of the x5t declare worth and thumbprint are usually not right or not within the right format. Use the connected Python to get the x5t which is revered by POSTMAN.
“error_description”: “AADSTS700027: The certificates with identifier used to signal the shopper assertion isn’t registered on the applying. [Reason – The key was not found., Thumbprint of the key used by the client: ‘021B9DF69584C45FFAE4BE54ABD03D9F238C007D’. Please visit the Azure Portal, Graph Explorer, or directly use MS Graph to see configured keys for app Id ‘0e0f7424-58f9-4200-872b-a87952d0de5d’. Review the documentation at https://docs.microsoft.com/en-us/graph/deployments to determine the corresponding service endpoint and https://docs.microsoft.com/en-us/graph/api/application-get?view=graph-rest-1.0&tabs=http to build a query request URL, such as ‘https://graph.microsoft.com/beta/applications/0e0f7424-58f9-4200-872b-a87952d0de5d’]. Hint ID: 884562c9-bbab-4a4d-80e5-915eda76d902 Correlation ID: 10ecf411-12fa-433a-b28e-d7eb734a131b Timestamp: 2024-01-07 00:31:07Z”,
“error_codes”: [
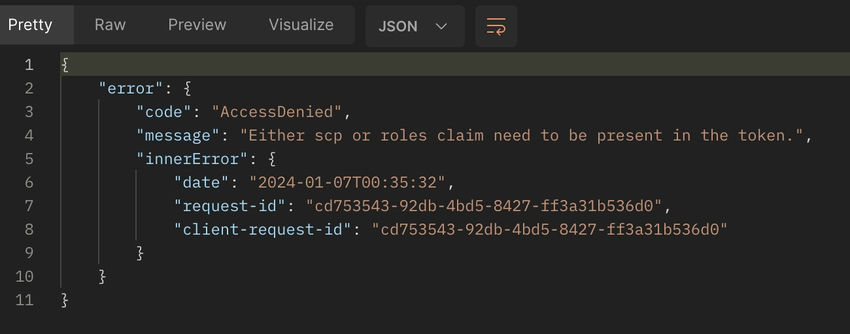
Roles declare have to be current within the token
Motive: This could possibly be as a result of the scopes for the applying or not accurately outlined.
Repair: Login to Azure Portal and search for the applying scope. On this case, I forgot the outline Graph permissions for the scope ‘Websites.Chosen’. As soon as outlined and granted consent from admin the under subject is mounted.
Shopper Assertion viewers declare doesn’t match Realm Issuer
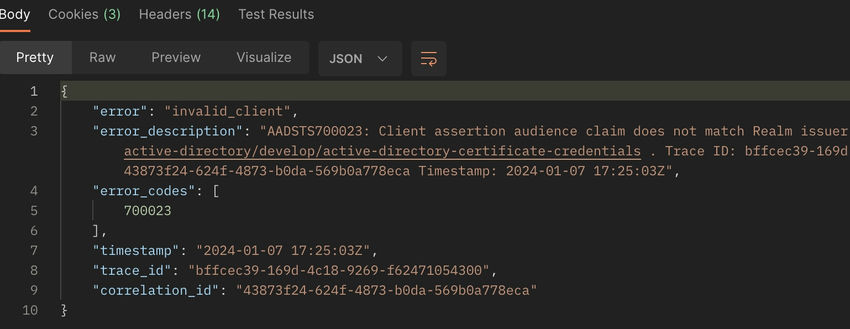
This subject is as a result of token URL to Azure AD not being formatted accurately. It must be within the format of https://login.microsoftonline.com/{TENANTID}/oauth2/v2.0/token.
Conclusion
Thus, on this article, we’ve seen easy methods to check Graph API requests to the SPO web site utilizing Certificates-Primarily based Authentication. We’ve additionally used Open SSL and Python scripts to get the certificates values to generate shopper assertion tags utilizing https://jwt.io. Lastly, we’ve additionally validated the ‘Websites.Chosen’ scope for Azure AD App permissions.
References
Know extra about our firm at Skrots. Know extra about our providers at Skrots Companies, Additionally checkout all different blogs at Weblog at Skrots